The Last of Us Crafting and Upgrade Guide: Every Recipe
Alcohol and a rag makes a health kit. Alcohol and a rag also makes a molotov. That one overlap is the entire economy of The Last of Us, and most players never think about it deliberately.
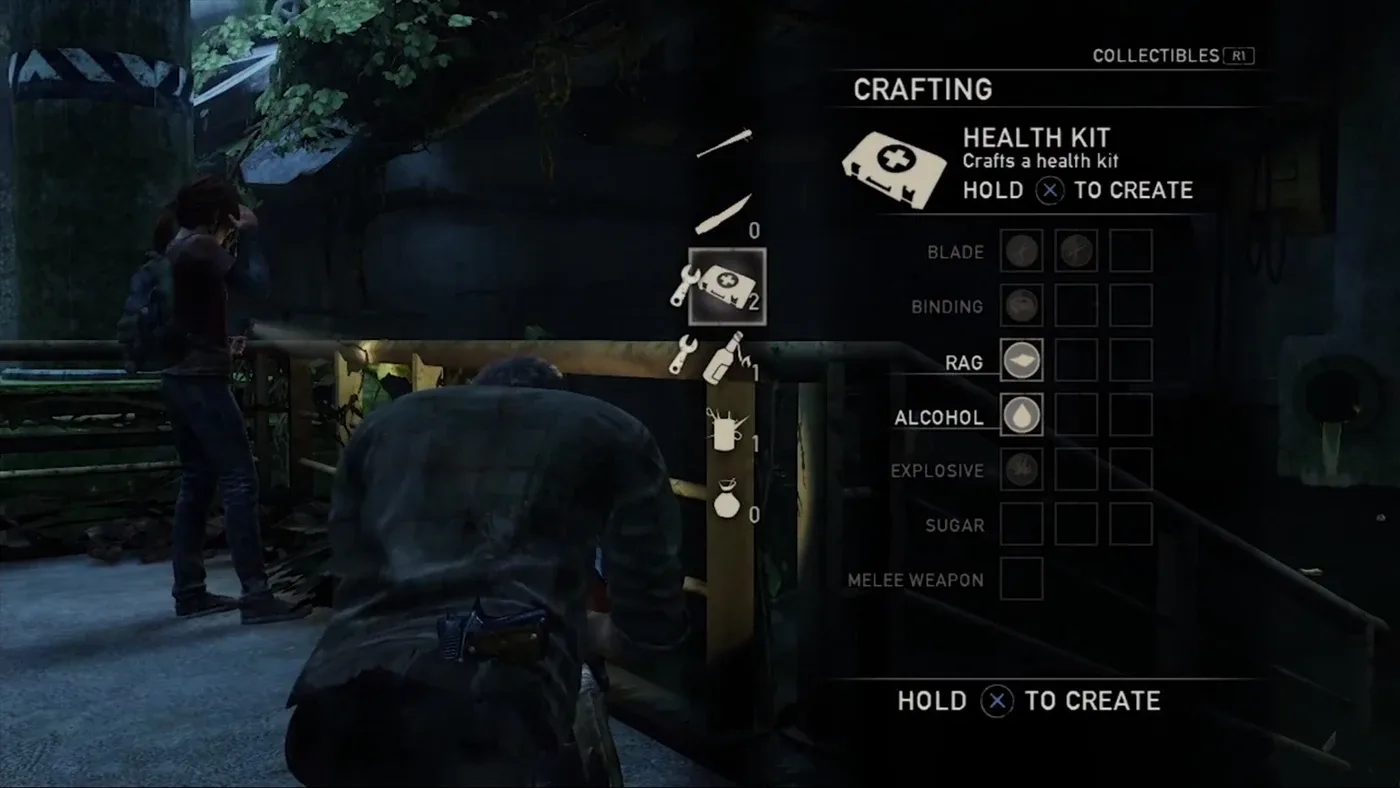
Alcohol and a rag makes a health kit. Alcohol and a rag also makes a molotov cocktail. Those are the exact same two ingredients, and The Last of Us never once tells you which one you should have made. That single overlap is the whole economy of the game compressed into one menu screen, and the players who lose runs are almost always the players who never made the choice deliberately.
The Last of Us has six crafting recipes. Six. That is tiny on purpose — the depth is not in the recipe list, it is in the fact that the ingredients are shared and finite and you are always trading one future option for another.
This guide covers the first game: The Last of Us, its Remastered release, the Part I remake, and Left Behind. Part II has a different, larger system with canisters, silencers and arrows, and is not described here. For more, see our The Last of Us coverage hub or the Mythras blog.
What crafting actually costs you
Two things, and neither of them is the ingredients.
The first is time. Crafting is not a free menu action you take in a safe pocket of the world. It is a thing Joel does with his hands, and the game charges you for it — which is why one of the six purchasable skills is literally crafting speed. If you are opening the backpack mid-encounter, you are spending seconds you do not have.
The second is the other recipe. Every ingredient in the game feeds at least two crafts. There is no such thing as a spare rag. There is only a rag you have decided is a bandage rather than a wick.
That is the actual skill of this game, and it is why difficulty settings hit so hard. Supplies scale with difficulty — the higher you go, the fewer healing items, ammunition, crafting components and melee weapons the world spawns. What does not scale is supplements, parts and collectibles; those are fixed regardless of difficulty. So on a harder run, your upgrade progression stays identical while your consumable budget collapses. The upgrades become proportionally more valuable the harder you play.
Every recipe in the game
Here is the complete single-player craft list. Nothing else is craftable in the first game.
| Craft | Ingredients | What it is for |
|---|---|---|
| Health kit | Alcohol + Rag | The only healing item. Heals over a few seconds while you stand still |
| Molotov cocktail | Alcohol + Rag | Thrown fire. The answer to bloaters and to grouped infected |
| Shiv | Binding + Blade | Silent kills, the only counter to a clicker grab, and the key to shiv doors |
| Melee upgrade | Binding + Blade + a melee weapon | Turns a pipe or a bat into a one-hit killer for a limited number of swings |
| Nail bomb | Blade + Explosive | Proximity explosive. Excellent as a trap in a doorway |
| Smoke bomb | Sugar + Explosive | Blinds and staggers a group, and covers a stealth reset |
Ingredients come in groups, not specific objects. Binding covers duct tape and sports wrap interchangeably; Blade covers scissors, knives and similar. You never need a particular item, only something from the right group — which is why the pickup prompts feel generous even when your options are not.
One note worth having: the Factions multiplayer mode uses slightly different recipes — molotovs there also want a binding, and nail bombs also want sugar — so multiplayer guides will not match your single-player backpack.
The ingredient overlap that decides your run
Lay the recipes on top of each other and the pressure points appear immediately.
- Alcohol + Rag is contested between the health kit and the molotov. This is the big one.
- Blade is contested three ways: shivs, melee upgrades, and nail bombs.
- Binding is contested two ways: shivs and melee upgrades.
- Explosive is contested two ways: nail bombs and smoke bombs.
- Sugar feeds only smoke bombs, which makes it the one truly uncontested ingredient in the game.
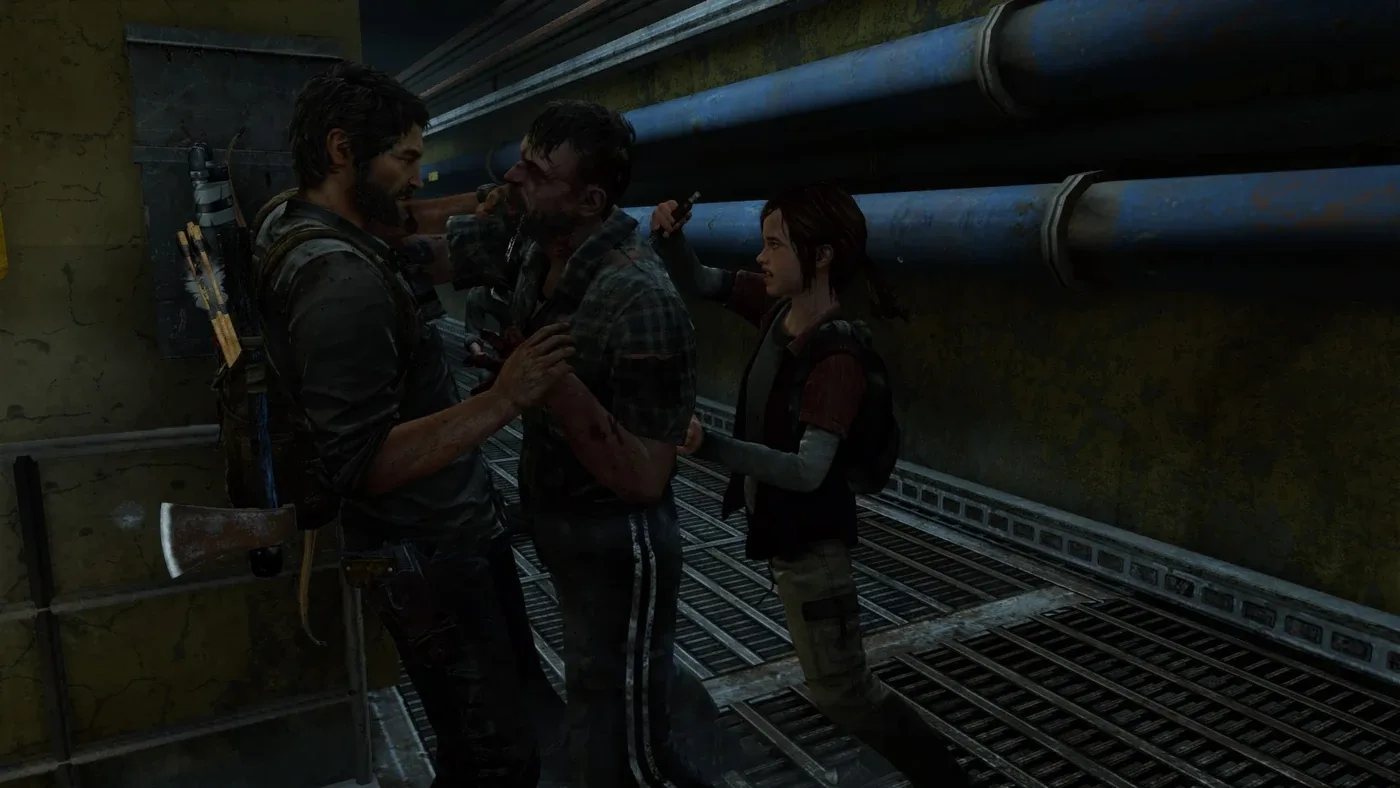
The practical rules that fall out of this:
Sugar is free, so smoke bombs are cheap. If you have sugar sitting unused, you are leaving a crowd-control tool on the table for no opportunity cost. The only thing you give up is the explosive, and explosives are less contested than blades.
Blade is your scarcest resource, not alcohol. Most players fixate on the health-kit-versus-molotov decision because it is the emotional one, but blades are pulled in three directions and one of those directions — shivs — is mandatory for opening locked rooms full of loot. Hoard blades.
Health kit versus molotov is a difficulty question. On lower difficulties, lean health kits; supplies are abundant and you will find more alcohol. On Survivor and Grounded, where enemies do double and triple damage respectively, a health kit often will not out-heal what is coming, and preventing the fight with fire beats surviving it. Our Grounded mode guide breaks that math down properly.
Shivs, shiv doors, and the 460-part question
The shiv is the most important craft in the game and it is not a combat item. It has three jobs:
- A silent instant kill on runners and human enemies, faster than strangling.
- The only escape from a clicker grab — and clickers cannot be strangled, so without a shiv, that grab is simply death.
- Opening shiv doors.

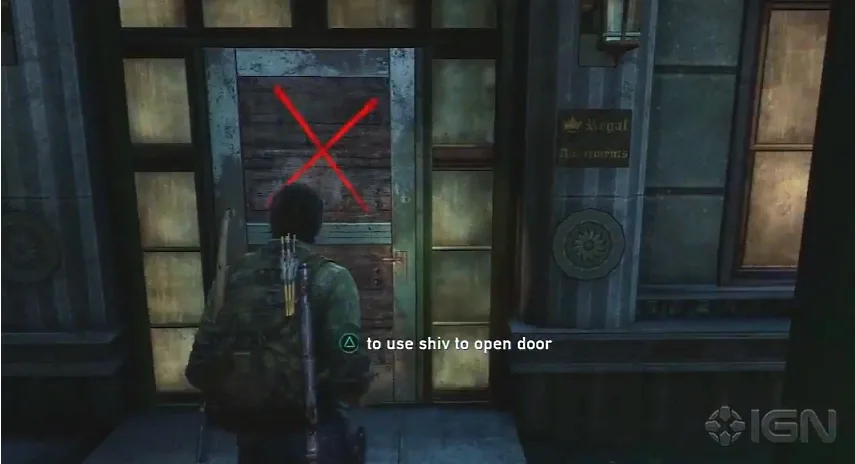
Shiv doors are locked rooms that consume an entire shiv to open, and there are thirteen of them across the campaign. Each one holds a supply stash — parts, supplements, ammunition, health kits — and every shiv door is guaranteed to contain at least one supplement bottle.
Here is the number that should change how you play: 460 of the campaign's parts are locked behind shiv doors, with another 200 sitting inside safes. Out of 1,620 total parts available in a single playthrough, that means well over a third of your weapon-upgrade currency is gated behind things you have to actively hunt rather than walk past. Players who skip shiv doors because a shiv "feels expensive" end up with visibly worse guns, and they usually never work out why.
One durability catch: a shiv made from scissors starts with one use before it breaks. That is not a lot. The number of uses per shiv is raised by collecting training manuals, and a fully-upgraded shiv reaches three uses — which is a tripling of your most contested consumable and one of the strongest returns in the game.
Supplements and the six skills
Supplements are the pills and potted purple flowers scattered through the world, worth 5 for the small pickups and 10 for the larger ones. They buy Joel's personal skills, of which there are six:
| Skill | What it does | Availability notes |
|---|---|---|
| Maximum health | Raises Joel's health pool | Always available |
| Listen mode distance | Extends the radius of Listen Mode | Disabled on Survivor and Grounded |
| Crafting speed | Craft items faster | Always available |
| Healing speed | Apply health kits faster | Always available |
| Weapon sway | Steadier aim | Always available |
| Shiv Master | Stab out of a clicker grab | Not purchasable on Easy — it is granted automatically instead |
Two of those entries are the useful ones to internalise. Listen mode distance is dead weight on the two hardest difficulties, because Listen Mode itself is disabled there — so on a Survivor or Grounded run, that skill is not merely weak, it is unavailable, and your supplements should go elsewhere. And Shiv Master is free on Easy, which is exactly backwards from where you need it; on higher difficulties you must pay for the thing that stops clickers from ending your run.
The total to max everything out is 800 supplements, and there are not 800 available in one playthrough. Full skill completion requires New Game Plus, which carries your supplements, parts, tools, training manuals, skills and weapon upgrades forward into a fresh run. Your backpack, however, comes back empty apart from the Military Pamphlet, the Boston QZ Map, and manuals you had already collected — so consumables do not carry, and weapons must be found again, though they keep their upgrades when you re-acquire them.
Workbenches, parts, and tools
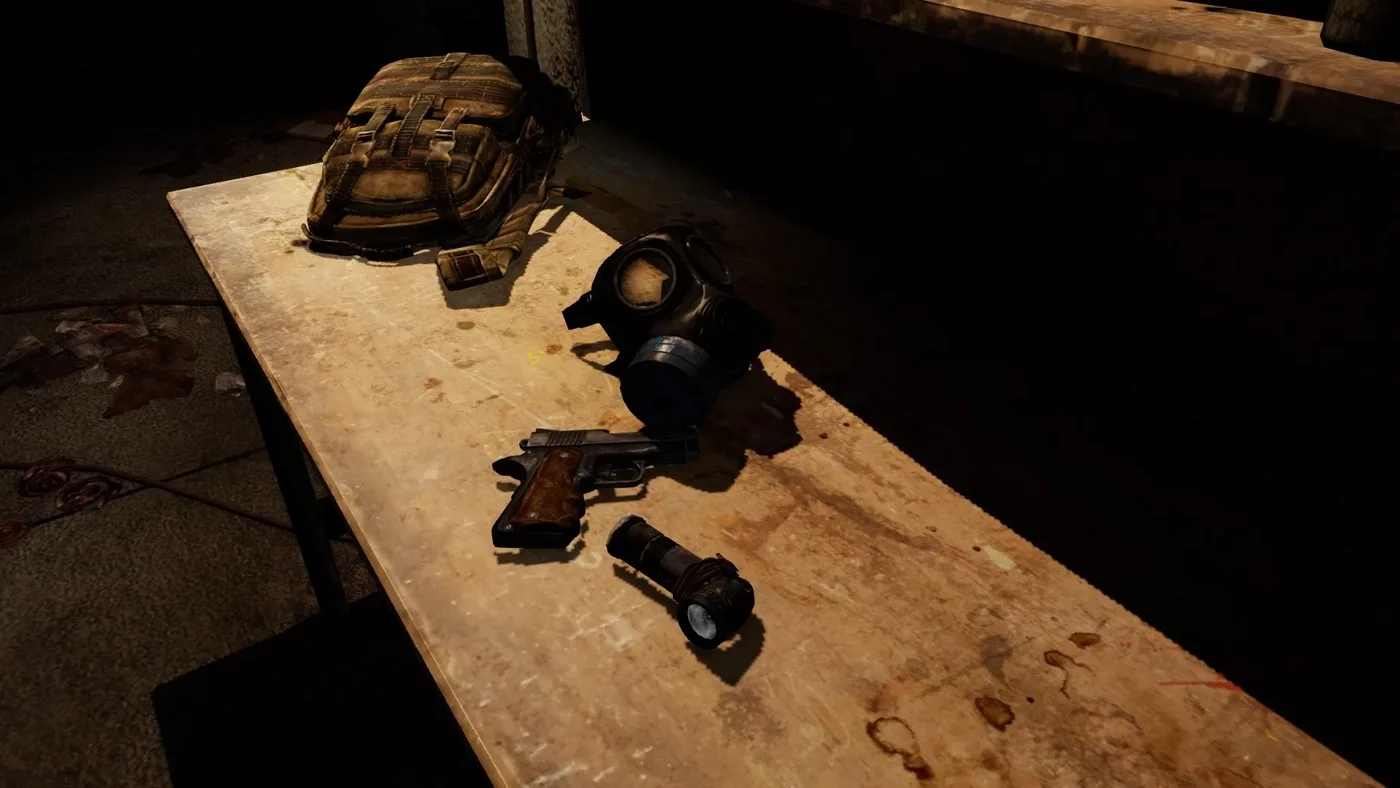
Workbenches are where parts turn into better guns. Parts are the gears, nuts and bolts you scavenge, found in denominations of 1, 5, 10, 25 and 50 — the 50-part pickups look like a disassembled 9mm pistol or hunting rifle laid out on a tray, which is a nice bit of visual signposting once you know to look for it.
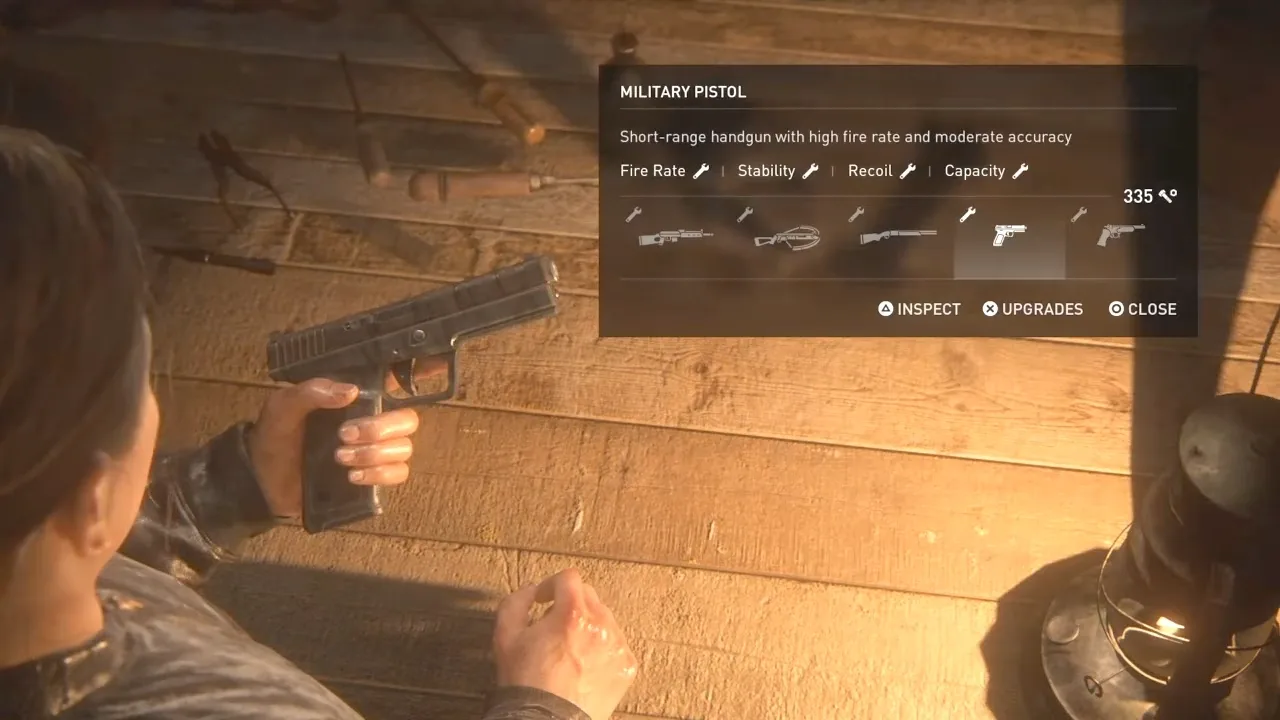
Upgrades come in eleven varieties across the arsenal: weapon holsters, armor piercing, clip capacity, draw speed, fire rate, power, range, recoil, reload speed, scope and spread. Not every weapon offers every upgrade, and higher tiers need tools as well as parts, which is the game's way of pacing you — you cannot simply dump 300 parts into your first pistol.
The arsenal splits into handguns — the 9mm pistol, revolver, Shorty and El Diablo — and long guns: the hunting rifle, shotgun, bow and flamethrower.
The scarcity headline: fully upgrading every weapon and holster costs 2,510 parts, and only 1,620 exist in a single playthrough. A complete upgrade set is mathematically a New Game Plus goal, not a first-run one. Which means your first playthrough is not about maxing everything; it is about picking two or three weapons and making those genuinely good.
If you want a recommendation: holsters first, then the shotgun, then the hunting rifle. Holsters because carrying a second long gun and a second sidearm changes what encounters you can even attempt. The shotgun because it is the most reliable answer to clickers, per our infected guide. The hunting rifle because quiet, accurate, high-damage range is the thing scarcity most often denies you.
Training manuals: twelve books that change the math
Training manuals are permanent multipliers on your crafting, and there are twelve in the campaign across five categories. Unlike supplements and parts, they cost nothing to use — you find them, and every craft of that type gets better for the rest of the game and every game after it.
| Manual line | What it improves |
|---|---|
| Stealth Combat Weapons and Tactical Movement | Shiv durability — each manual adds a use |
| Field Medicine and Emergency Care Procedures | Health kit potency — each manual heals more |
| Close-Combat Fighting Techniques and Personal Defense | Melee upgrade durability — more one-hit kills per weapon |
| Insurgent Ordinance: Fabrication and Tactical Deployment | Molotov blast radius |
| Improvised Traps and Area-Denial Techniques | Smoke bomb and nail bomb radius |
The Stealth Combat line is the standout, because it multiplies the thing you are most short of. A shiv that survives three uses instead of one does not just save blades — it changes whether you can afford to open shiv doors, which changes your parts income, which changes your guns. That is one collectible cascading through three separate systems.
Manuals also carry into New Game Plus, and they are the one thing that stays in your backpack when everything else is stripped out.
A build order that actually works
A first-playthrough priority list, in rough order:
- Pick up every blade and binding you see. Do not walk past them because your backpack looks full of shivs. Shiv doors will eat them.
- Open every shiv door you find. They are guaranteed value, and 460 parts across thirteen doors is roughly a third of your gun budget.
- Buy Shiv Master early if you are on Normal or above. It converts the game's most common instant-death into a survivable mistake.
- Buy holsters first at the workbench. Carrying capacity beats raw damage in a game about scarcity.
- Spend supplements on maximum health and healing speed after Shiv Master. Skip listen mode distance entirely on Survivor and Grounded.
- Keep one molotov and one shiv permanently in reserve. Not for a plan — for the encounter that goes wrong.
- Craft in cover, never in the open. The crafting-speed skill exists because the animation costs you real time.
Quick Action Checklist
- Memorise the six recipes; there are only six, and knowing them by heart is a real advantage mid-fight.
- Treat Alcohol + Rag as a single budget split between health kits and molotovs, and decide the split by difficulty.
- Hoard blades. They are contested by shivs, melee upgrades and nail bombs.
- Spend sugar freely on smoke bombs; nothing else in the game wants it.
- Open all thirteen shiv doors. They hold 460 parts and at least one supplement each.
- Buy Shiv Master with supplements before anything cosmetic. Clickers cannot be strangled.
- Do not buy listen mode distance on Survivor or Grounded — Listen Mode is disabled there.
- Prioritise weapon holsters at the first workbench, then focus two guns rather than spreading parts thin.
- Chase Stealth Combat manuals hardest; shiv durability cascades into parts income.
- Accept that 2,510 parts and 800 supplements need New Game Plus, and stop trying to max everything in run one.
Frequently Asked Questions
What are all the crafting recipes in The Last of Us?
How many shiv doors are there and are they worth opening?
Can you fully upgrade everything in one playthrough?
Do harder difficulties reduce the number of parts and supplements?
Which training manual should I prioritise?
Keep Reading
Related Guides
The Last of Us Part 2 Crafting Guide: All 12 Recipes
Part II has twelve crafting recipes and neither character gets all of them. Here is every ingredient list, which recipes are locked behind a skill, what one craft yields, and where the ingredients collide.
The Last of Us Part 1 Shiv Doors and Safes: All Locations
Out of 1,620 parts in a Last of Us campaign, 660 sit behind locks — 460 behind thirteen shiv doors and 200 inside four safes. The game tells you none of their locations. Here is every door, every safe, every combination, and exactly how many parts each lock is holding.
The Last of Us Part 2 Weapon Upgrades: All 1,920 Parts
Twelve guns, but only ten of them accept a single part. Fully upgrading The Last of Us Part 2 costs exactly 1,920 parts spent from two wallets that never talk to each other — and one upgrade alone eats 100 of them. Here is every cost, every gun location, and the buy order that survives Seattle.
The Last of Us Part 2 Skills Guide: Every Branch and Cost
Fifty player upgrades, ten branches, 1,900 supplements — and Ellie and Abby spend from completely separate wallets. Here is every branch with its real cost, all eight training manual locations, the cheapest route to the Specialist trophy, and the four upgrades worth buying in your first hour of Seattle.
The Last of Us Infected Guide: How to Beat Every Type
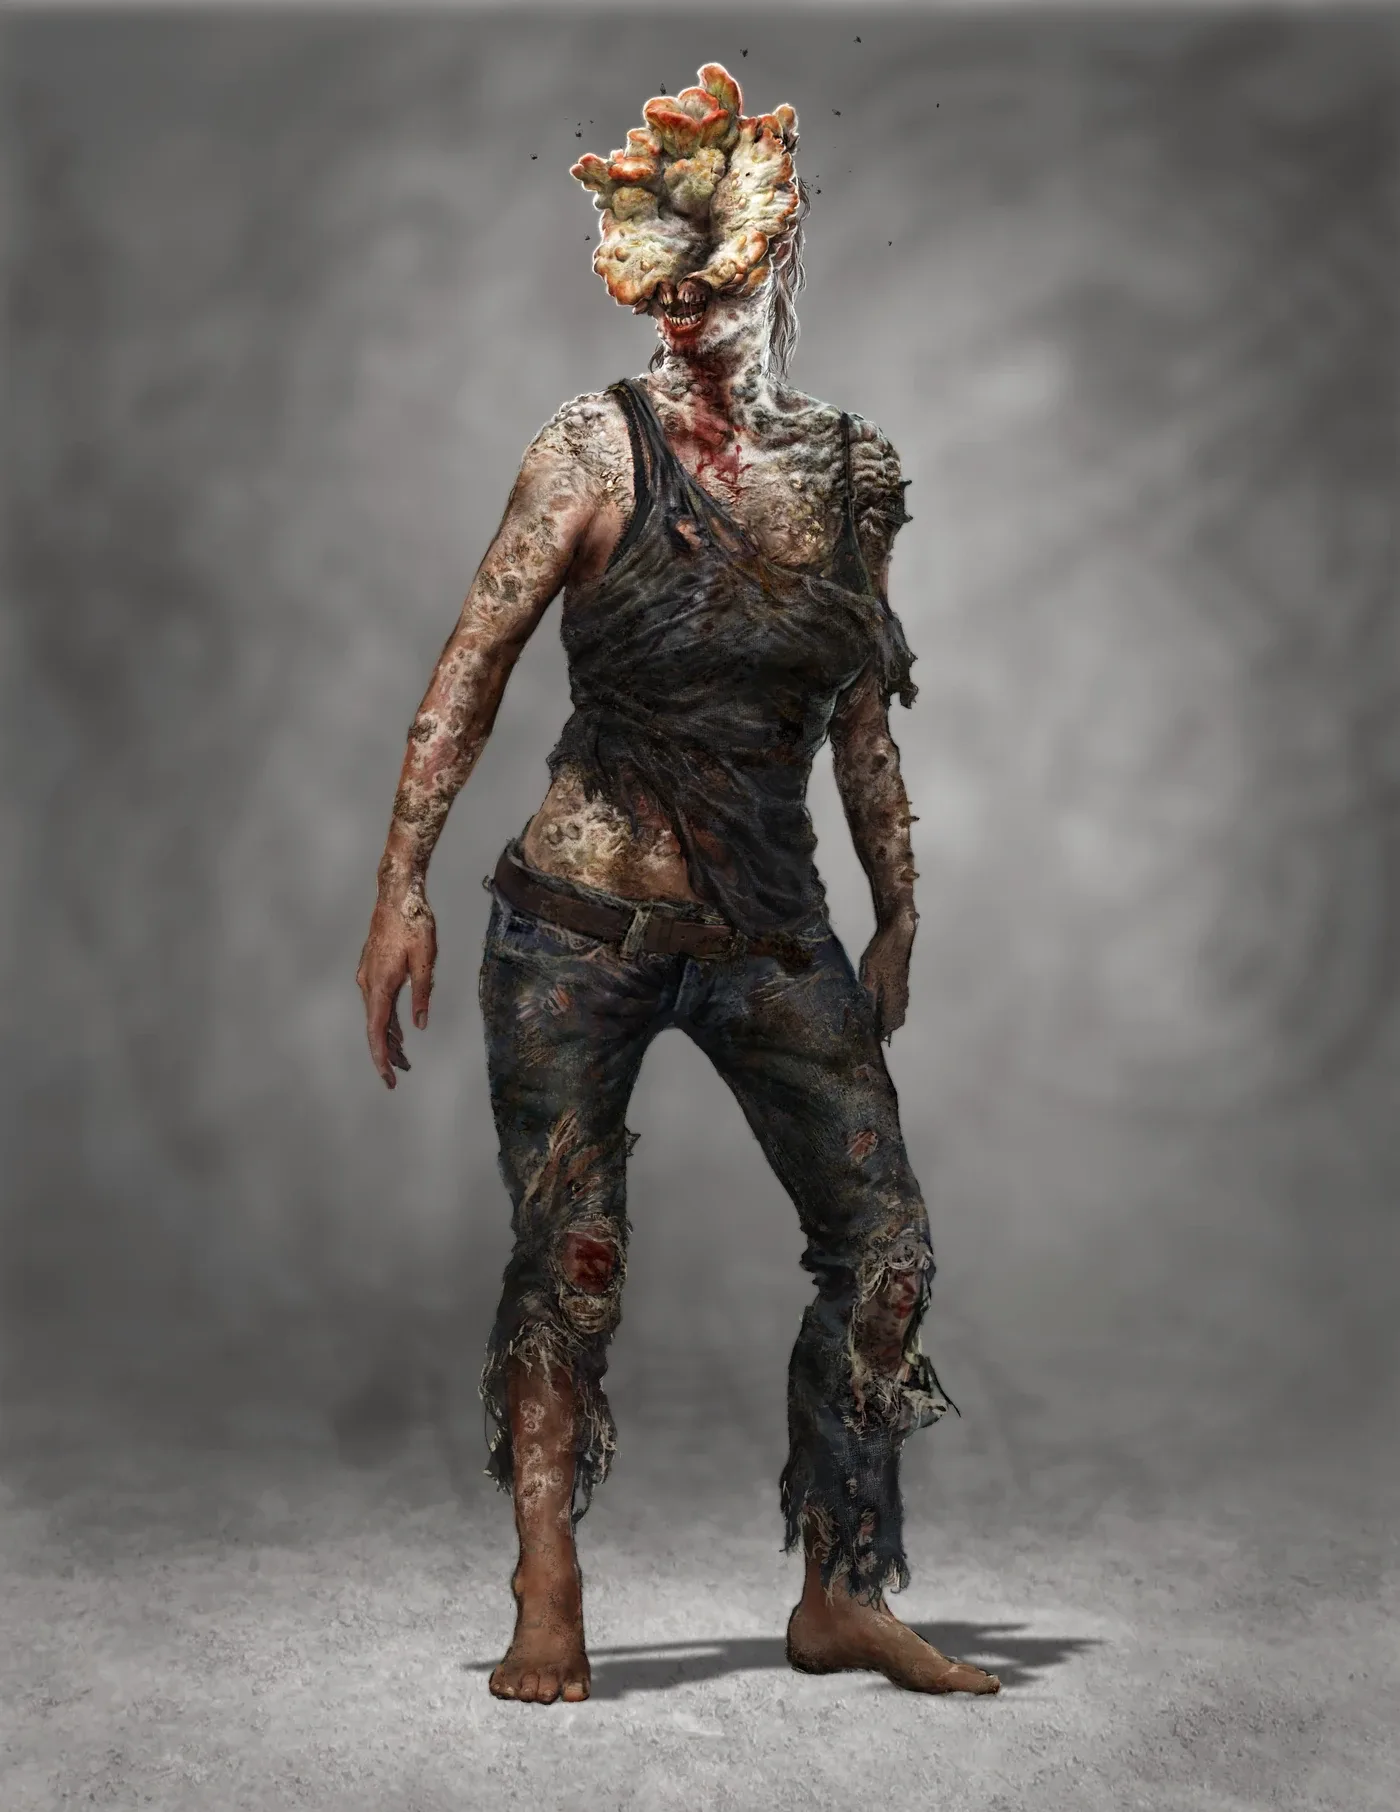
A clicker cannot see you and cannot be strangled. Those two facts decide more encounters than any gun you own. Here is how all four infected stages actually work, and what to spend on each.
The Last of Us Collectibles Guide: What Actually Matters
There are more than 150 things to pick up in The Last of Us, and exactly one type makes Joel stronger. Everything else is for you, not your character. Here is how to collect all of it without a wasted second playthrough.