Cookie Run Kingdom Bear Jelly Train Guide
The Bear Jelly Train is the single best source of Rarities in Cookie Run: Kingdom, and most players feed it whatever's cheapest and wonder why the loot is garbage. There's an actual optimization here. This guide covers unlocking, upgrading, the produce-and-ship loop, and the craft-time trick that decides your rewards.
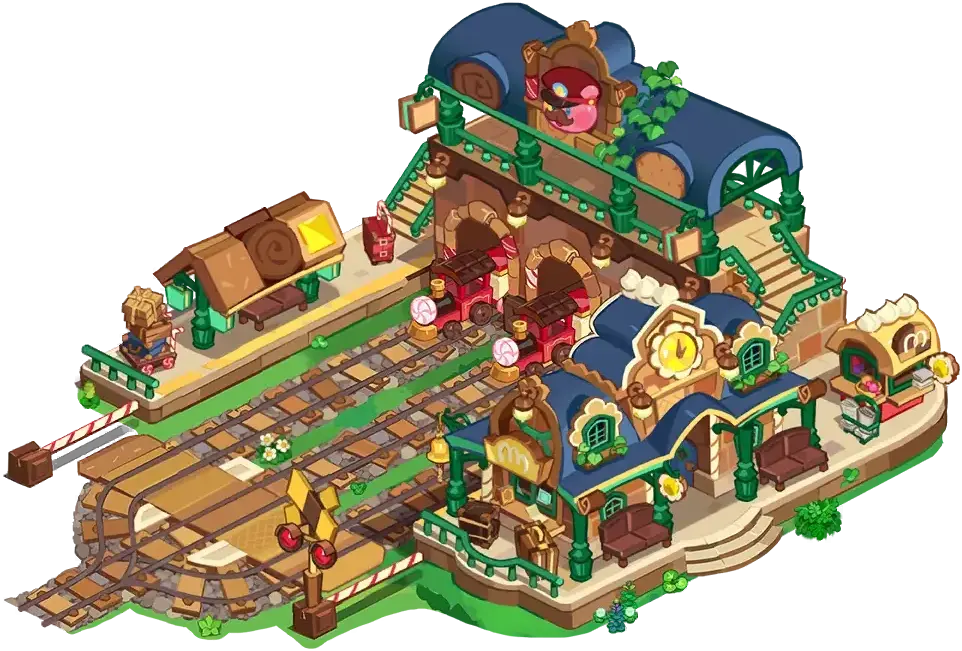
The Bear Jelly Train is the best source of Rarities in Cookie Run: Kingdom, full stop — and it is also the feature most players run on autopilot, tossing whatever material is cheapest into every cart and then complaining that the return is a handful of coins. There is a real optimization buried in how the train scores your shipments, and once you see it, the train quietly becomes one of the strongest passive engines in your Kingdom.
This guide covers the whole thing: unlocking and upgrading your trains, the produce-and-ship loop, exactly what you can get back, the "produce it 10 times first" rule that trips up new players, and the craft-time trick that decides whether your carts come back with junk or with Aurora Rarities. If you are still building out your Kingdom's production chains, pair this with the kingdom building guide.
What the Bear Jelly Train actually is
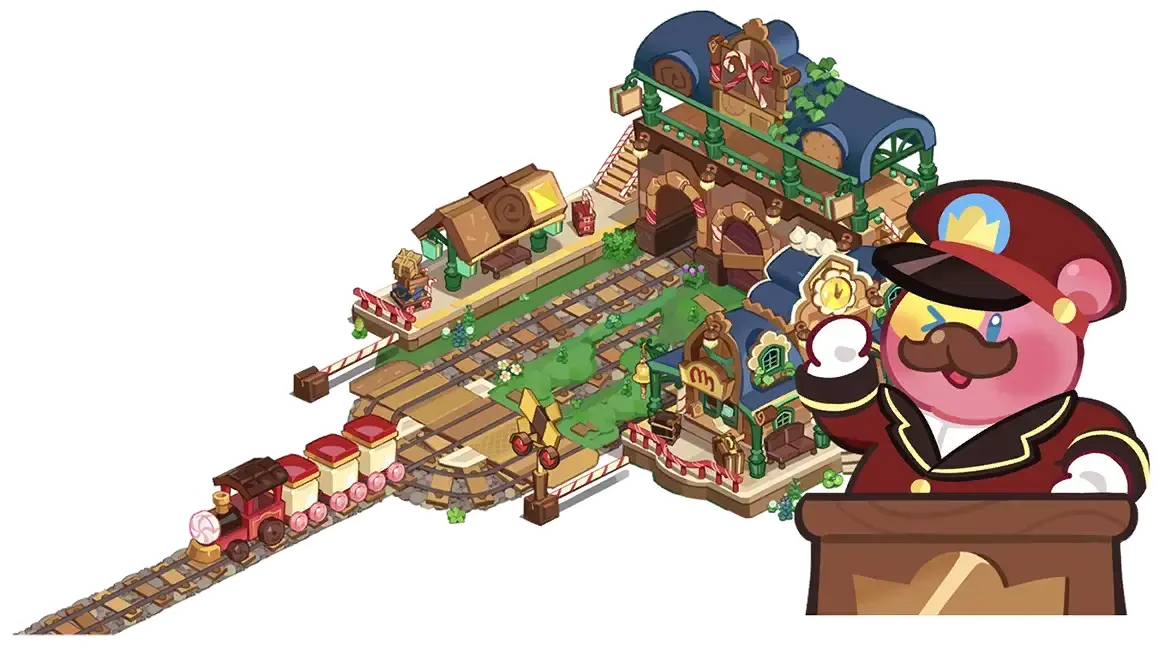
The Bear Jelly Train is a trading feature managed by the Train Attendant. It takes the materials and goods your Kingdom produces — the stuff coming out of your farms, mills, workshops, and factories — and ships them off in exchange for rewards you cannot easily get anywhere else. Each train shows up requesting a specific set of items, you load those items into its carts, and once a train is completely filled it departs. Later it comes chugging back carrying your loot.
The headline is Rarities. Rarities are the decoration items you need to level up your Kingdom's Landmarks, and the train is the most reliable faucet for them in the entire game. If your Landmark upgrades feel permanently starved, the answer is almost always "you are not running the train hard enough."
How to unlock and upgrade your trains
You get access in stages, gated by your Castle level:
- First train: available at Castle Lv. 4, after you restore the Bear Jelly Train Station.
- Second train: unlocks at Castle Lv. 6.
- Third train: unlocks at Castle Lv. 8.
Each additional train has to be purchased with Coins. This is one of the better Coin sinks in the early-to-mid game, because every train you unlock is another parallel shipment running at all times — more carts out means more Rarities coming back. If you are sitting on a Coin pile and have not bought your second and third trains yet, do that before almost anything else. Three trains running around the clock is the whole point of the feature.
The core loop
The loop is simple to state and easy to run lazily:
- A train arrives with a request — a list of specific materials or goods it wants.
- You produce those items in your Kingdom (or pull from stock you already have) and load the carts.
- When every cart is full, the train departs.
- After a timer, it returns with rewards.
That is it. The subtlety is entirely in what you choose to feed it, because not every shipment is scored the same. Which brings us to the single most important thing in this guide.
Why longer craft times mean better loot
Here is the rule that separates players who drown in Rarities from players who never have enough: the longer it takes to produce a requested item, the higher the train's chance of returning with more valuable items and Rarities.
In plain terms, the game rewards you for shipping your expensive, slow-to-craft goods, not your cheap raw materials. A cart full of a basic early-game material that takes seconds to produce will come back with a modest return. A cart full of a high-tier good that took a long production chain and real crafting time to make is far more likely to come back loaded with Rarities — including the good stuff.
So the optimization is: when the train requests something slow and premium, prioritize filling that shipment even if it stings to hand over goods you worked for. That is exactly the shipment that pays out. Do not hoard your best goods and feed the train only scraps — the scraps are what make the loot feel bad. Treat your production buildings as a Rarity factory whose output route is the train.
What you actually get out of it
When a train returns, its carts can contain any of the following:
- Rarities — the main draw, for leveling Landmarks
- Coins
- Kingdom EXP
- Treasure Tickets — for pulling Treasures
- Topping Pieces — for crafting Toppings
- Time Jumpers — to instantly finish production timers
- Radiant Shards
That spread is why the train matters beyond just decorations: Treasure Tickets and Topping Pieces feed directly into your combat power, and Time Jumpers feed right back into the production loop that fills the next train. One more detail worth knowing — when a cart does deliver the top-tier Aurora Rarities, the minimum it will drop is 2, so a good Aurora pull is never a lonely single.
The 10-times rule nobody explains
This one quietly confuses a lot of players: a newly-unlocked material or good will not appear in the Bear Jelly Train's requests until you have produced it at least 10 times. Unlock a new production building, craft the thing nine times, and the train acts like it does not exist.
There are four exceptions that show up immediately without the 10-produce requirement: Roll Cake Wood, Robust Axe, Sugar Cube, and Jellybean Jam. Everything else has to clear that production threshold first.
The practical takeaway: when you unlock a new good, batch-produce it early to "register" it with the train. Until you have made it 10 times, it is not part of your shipment rotation, and you are leaving a potential high-value cart off the table. New players who wonder why their fancy new good never gets requested are almost always sitting under that threshold.
Station designs are pure cosmetics
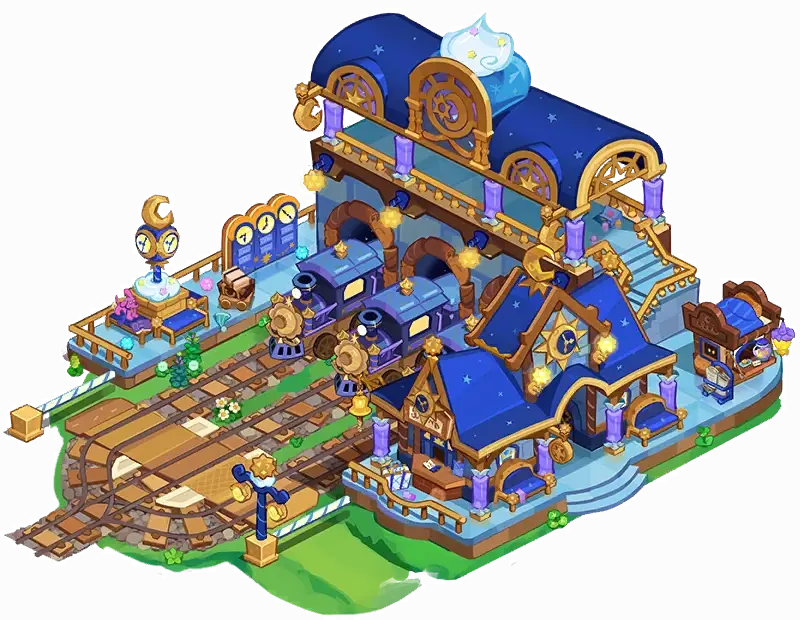
Do not overthink this part. Station Designs change how your train station looks — and in some cases the trains themselves or even the Train Attendant — but they offer zero gameplay benefit. The default is the Choo Choo Station, and the others (Holiday Preparations, Happy Holidays, Sea of Stars, and so on) come from purchasable packages or event passes.
If you love decorating your Kingdom, go wild; some designs swap the attendant for characters like Royal Bear Jelly or Milky Way Cookie, which is a nice touch. But if you are optimizing, spend nothing here for mechanical reasons. A fancier station does not ship better loot.
Working the train into your daily routine
The train is a passive engine, which means the only way to lose value is to let carts sit empty while you are offline. Fold it into your daily rhythm:
- Fill every available train before you log off. An empty cart parked overnight is pure wasted throughput. This belongs on your daily checklist right next to claiming production and running your battle content.
- Keep production running to feed it. The train is only as good as your output. If your farms and workshops sit idle, you have nothing premium to ship.
- Prioritize slow, high-tier goods when they are requested. That is the shipment that returns Rarities, per the craft-time rule above.
- Spend your Time Jumper returns on the next batch. The train hands you Time Jumpers; use them to finish the long production timers that fill the next train. It is a self-reinforcing loop.
Do this consistently and the train becomes a steady, mostly-hands-off source of the Rarities that otherwise bottleneck your whole Kingdom. It is not flashy like a new world exploration area, but it is one of the highest-return habits in the game.
Common Bear Jelly Train mistakes
In rough order of how often they show up:
- Feeding it only cheap raw materials. The craft-time rule means slow, premium goods return the best loot. Shipping only scraps is why your rewards feel bad.
- Not buying your second and third trains. Three parallel trains is three times the throughput. If you have the Coins, this is one of the best sinks in the game.
- Leaving carts empty overnight. Every empty cart while you are offline is throughput you will never get back. Fill before you log off.
- Not producing new goods 10 times. Until you cross that threshold, the good is invisible to the train and cannot be requested (outside the four exceptions).
- Spending real value on station designs for "benefits." They are cosmetic only. Buy them because you like them, never because you think they improve rewards.
- Letting production sit idle. The train converts output into Rarities. No output, no conversion — keep your buildings busy.
Quick Action Checklist
- Restore the Bear Jelly Train Station and unlock your first train at Castle Lv. 4
- Buy your second (Castle Lv. 6) and third (Castle Lv. 8) trains with Coins as soon as you can afford them
- Fill every available train before logging off — never leave carts empty overnight
- Prioritize slow, high-tier goods when requested; longer craft time means better loot and more Rarities
- Produce any newly-unlocked good at least 10 times so the train will start requesting it
- Remember the four exceptions that skip the rule: Roll Cake Wood, Robust Axe, Sugar Cube, Jellybean Jam
- Keep your production buildings running so you always have something premium to ship
- Reinvest Time Jumper returns into finishing the next batch of long production timers
- Buy station designs only for looks — they give no gameplay benefit
- Treat the train as the primary faucet for the Rarities that level your Landmarks
Frequently Asked Questions
What is the Bear Jelly Train in Cookie Run: Kingdom?
How do I unlock and upgrade the Bear Jelly Train?
How do I get more Rarities from the Bear Jelly Train?
Why does my new good never appear in the train's requests?
Do Bear Jelly Train station designs give any benefit?
Keep Reading
Related Guides
Cookie Run: Kingdom Sugar Gnome Laboratory Guide
The Sugar Gnome Laboratory is the most powerful building in CRK that new players completely ignore. It's a free, permanent stat-and-economy upgrade machine — but it only researches one thing at a time, so the order you pick matters more than almost anything else in the kingdom. Here's how the lab works and exactly what to research first.
Cookie Run: Kingdom Kingdom Building & Production Guide
The combat side of CRK gets all the guides. The half nobody explains is the one that quietly funds everything: production buildings, Cookie Houses, the Fountain, the Bear Jelly Train, and which landmarks actually pay off. Here's how the kingdom-management layer really works and the order to build it.
CRK Seaside Market Guide: What to Buy (2026)
The Seaside Market quietly hands you Epic soulstones, toppings, and skill powders every six hours for free — and most players walk past it. Here's what to grab and what to skip.
CRK Tree of Wishes Guide — Stop Wasting Your Golden Wishes
The Tree of Wishes quietly pays out crystals, Radiant Shards, and six-figure coin totals every day — if you hit the right breakpoints. Most players fulfill wishes at random and leave half of it on the table.

CRK Tier List — PvE & PvP Rankings (Timeline of Fate)
Timekeeper rewrote the Arena rulebook, Ash Salt is bullying World Exploration, and Eternal Sugar finally dropped a tier. Here is the CRK tier list for the Timeline of Fate meta, sorted for PvE, PvP, and Guild Battle, with the F2P investment picks that actually matter.
CRK Toppings Guide — Standard Sets, Sub-Stats & Rerolls
Most players lose more power to bad sub-stats than to missing the right Cookies. Here is every topping type, the sub-stat thresholds that matter, the best set for each role, and the reroll math that tells you when "good enough" actually wins.