Cookie Run: Kingdom Kingdom Building & Production Guide
The combat side of CRK gets all the guides. The half nobody explains is the one that quietly funds everything: production buildings, Cookie Houses, the Fountain, the Bear Jelly Train, and which landmarks actually pay off. Here's how the kingdom-management layer really works and the order to build it.

Every CRK guide on the internet wants to talk about toppings and Arena teams. Almost none of them explain the half of the game that quietly funds all of it — the kingdom itself. Production buildings, Cookie Houses, the Fountain, the Bear Jelly Train, decorations and landmarks. It's not flashy, there's no tier list for it, and it's the system most new players ignore until they hit a wall and wonder why they're permanently short on Coins, EXP Star Jellies, and crafting materials.
This is the kingdom-management guide: how production actually works, what generates Coins, EXP, and materials, what Decor Points and landmarks really do, and the order to build everything so your income compounds instead of stalling. No combat strategy here — this is the layer underneath it. Get this right and every other system in the game runs smoother.
Why the kingdom half actually matters
The kingdom isn't decoration with a leaderboard attached. It's the supply chain. Your buildings produce the Materials and Goods you trade away for rewards, your Cookie Houses generate the EXP Star Jellies that level your roster, the Fountain drips a steady stream of resources, and landmarks hand you passive stat boosts that apply in actual battles. Neglect it and you starve every other system: you can't level cookies without Star Jellies, you can't fuel the Bear Jelly Train without production, and you leave free combat stats on the table.
The trap is that the kingdom is mostly passive, so it's easy to forget. But passive income is exactly why it matters — it works while you're not playing. A player who set up their production a month ago is collecting resources every time they log in; a player who ignored it is grinding the same content for the same payouts. The kingdom is where you bank the difference.
The two kinds of production building
There are exactly two categories of production building, and the distinction governs how the whole economy flows:
- Raw Material Buildings produce Materials — the base inputs like wood, sugar, and jellybeans. These cost only Coins to run once built. Think of them as the bottom of the supply chain.
- Craft Buildings produce Goods — refined items made from a combination of Raw Materials plus other Goods. A Smithy, Jammery, or Carpentry Shop turns base materials into the higher-value items the game actually asks for.
A few hard rules apply to both:
- You can place a maximum of 3 copies of each building. More throughput means more buildings, but you cap at three of any given type.
- Each production building gives 24 Decor Points and takes up a 12x12 tile footprint. That's a real chunk of land, which is why expansion order matters.
- Each building starts with a set number of queue slots and can have them expanded four times using Crystals, at 300, 500, 700, and 900 Crystals for each successive slot. That's a steep premium — be selective about which buildings you pour Crystals into.
The supply chain flows one way: Raw Material Buildings feed Craft Buildings, and the Goods that come out the far end are what you trade on the Bear Jelly Train for the rewards you actually want. Upgrading Craft Buildings unlocks new Goods recipes, but be careful late-game — some unlocks add ingredients that complicate cheaper crafts. Read the building's page before you upgrade blindly.
The Cookie-staffing rule everyone misses
Here's the mechanic that catches every new player off guard: every production building must be staffed by a Cookie for the entire length of production. Not to start it — for the whole duration. If you have 10 buildings cooking at once, you need 10 Cookies assigned, full stop.
And a staffed Cookie isn't released until you've picked up every finished item in that building's queue with nothing left. Leave one stack of materials sitting uncollected and the Cookie stays locked to that building. This is why players who don't tidy up their queues run out of "roaming" Cookies to assign — half their roster is stuck guarding finished goods nobody collected.
The good news: a Cookie busy with production can still be used for World Exploration and Kingdom Arena at the same time. The one thing they can't do while staffing a building is go on Balloon Expeditions from the Balloon Dock. So your production crew and your Arena team can overlap — just keep your Balloon roster separate. You can swap the crafting Cookie at any time as long as at least one roaming Cookie is free.
Cookie Houses: your EXP engine
Cookie Houses are a special building type and the most reliable source of EXP Star Jellies in the game — the currency you spend to level cookies. They generate Star Jellies on their own, with no Cookie staffing required, and you collect by tapping them. Higher-level houses both produce more Star Jellies per minute and store a larger cap.
The catch worth knowing: once a Cookie House hits its storage cap, it stops producing until you collect. So a house you never tap is a house generating nothing past its cap. The fix is simple — collect on login. Each Cookie House gives 9 Decor Points and takes up an 8x8 tile footprint, smaller than a production building, and you'll want several of them running because cookie leveling is a constant Star Jelly drain across your whole roster.
Build Cookie Houses early and keep building them. There's no faster way to fall behind on roster progression than running short on Star Jellies, and these are the tap-to-collect engine that prevents it.
The Fountain of Abundance
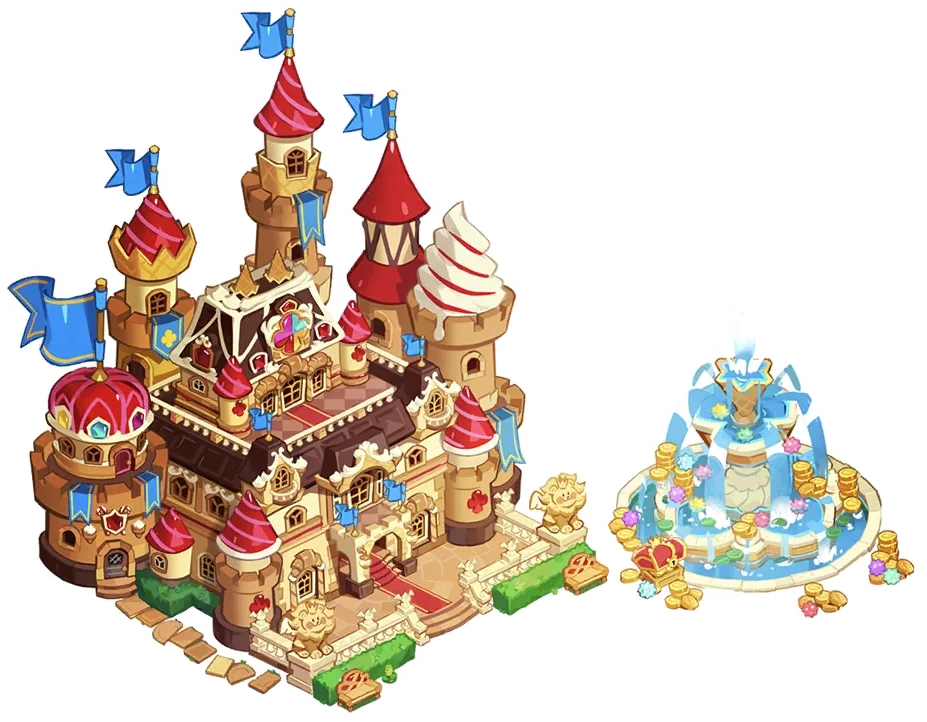
The Fountain of Abundance is the single best passive-income source in your kingdom, and it costs you nothing but the discipline to log in. It generates rewards over time, and the loot table is broad: Coins, Star Jellies, Materials, Crystals, Speed-Ups, Topping Pieces, Stamina Jellies, Skill Powders, and Radiant Shards. That's a slice of nearly every resource economy in the game, dripping out for free.
Two things govern it. First, it only generates for a set window based on its Level, then stops until you collect — the game explicitly wants you opening it regularly, so collect on every login. Second, the Fountain's Level can never exceed your Cookie Castle level, which currently caps it at Level 15. Upgrading the Fountain raises both how much it generates and how much it can store before it stalls, and the max production window scales up to 8 hours — meaning a fully-leveled Fountain banks up to a workday's worth of resources while you're away, but no more. If you can only check in once a day, the 8-hour cap is the ceiling on what you'll bank, so it rewards a couple of check-ins over a single one.
Prioritize Fountain upgrades. Few things in the kingdom give a better return for the materials than raising the building that hands you a bit of everything for free.
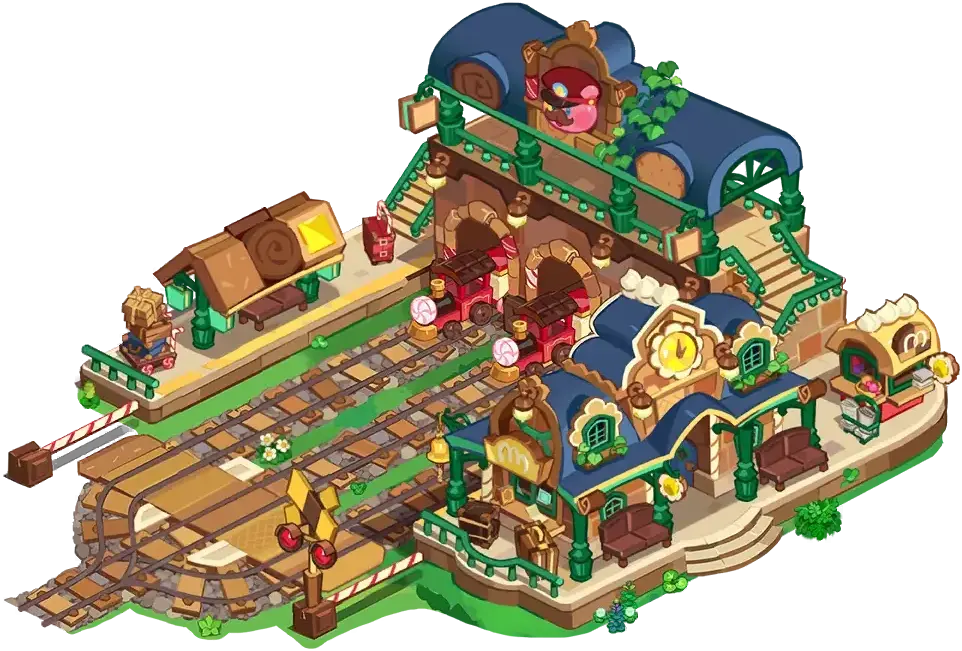
The Bear Jelly Train: your coin and rarity tap
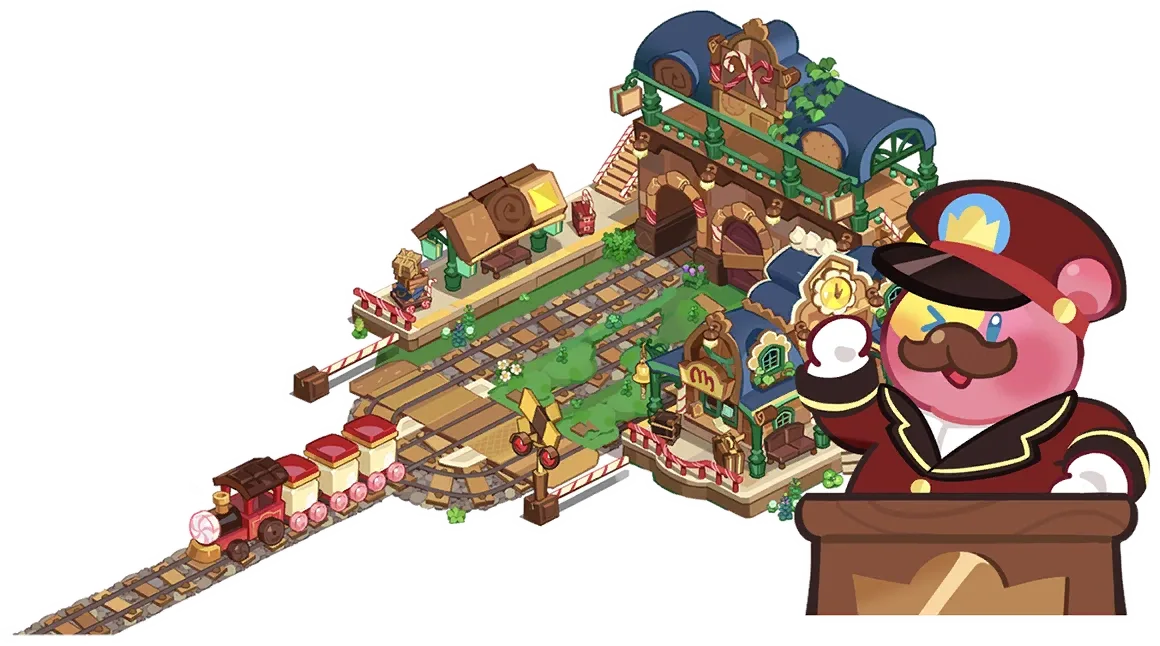
This is where your production buildings finally pay off. The Bear Jelly Train, run by the Train Attendant, trades the Materials and Goods you produce for rewards you can't easily get any other way. A train requests a set of items, departs once you've completely filled the order, and returns later carrying any of: Coins, Kingdom EXP, Rarities, Treasure Tickets, Topping Pieces, Time Jumpers, and Radiant Shards.
Two facts make the train central to your economy:
- It's the best source of Rarities in the game — the materials you use to upgrade your kingdom. Consistently fulfilling train requests is how you keep a steady (if randomized) supply of them flowing.
- The harder the request, the better the haul. The longer a requested Material or Good takes to produce, the higher the chance the train returns with more valuable items or Rarities. Filling slow, expensive orders is worth more than spamming cheap ones.
You unlock the first train at Cookie Castle Level 4 after restoring the station, the second at Level 6, and a third later still. Run all available trains constantly. The loop is the whole point of production: Raw Material Buildings feed Craft Buildings, Goods fill train orders, and the train pays you back in Coins, EXP, and the Rarities that let you upgrade everything else.
Decorations, Decor Points, and landmarks
Decorations look purely cosmetic, and most of them are — but the system around them pays out in real currency, and a subset of them are genuinely powerful. Here's what actually matters:
- Decor Points are awarded for placing decorations (and they stack with the points from your production buildings and houses). They're a progression metric the game uses to gate content, so a tidy, well-decorated kingdom isn't just for show — it's clearing thresholds.
- Decoration Themes are collections of related decor, and completing a Theme pays out Crystals — a flat, predetermined amount per Theme. Only the first copy of each decor counts toward completion, so buying duplicates does nothing for the reward. Chasing Theme completion is a legitimate, repeatable Crystal source for F2P players.
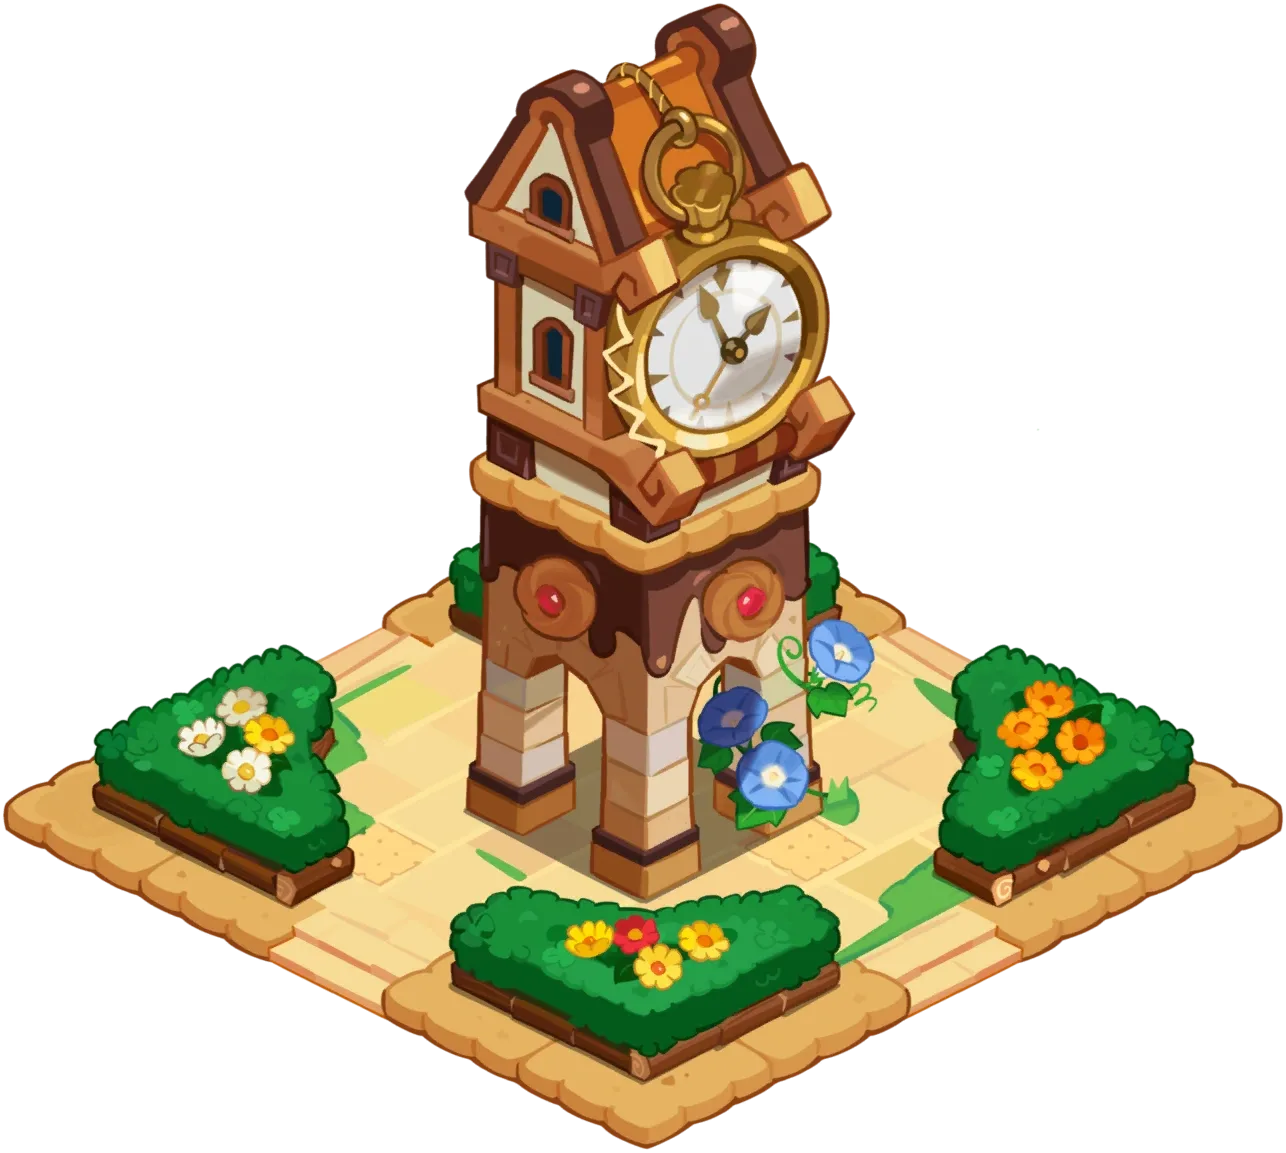
- Landmarks are the exception to "decor is cosmetic." These are special, high-Decor-Point decorations that grant passive stat boosts and/or continuously generate valuable items. They're leveled up with Aurora Materials, with the cost climbing as the level rises.
The landmark effects are the part worth caring about, and they're concrete. The Tick Tock Clock Tower cuts Goods production time by 10% (170 Decor Points, 50,000 Coins) — a direct upgrade to your supply chain. The Eerie Haunted House grants +8% CRIT Chance, the Everwinter Snow Globe gives +10% DEF, and others hand out flat combat stats that apply in battle. These are free, permanent buffs sitting inside the "decoration" menu, which is exactly why players who skip the kingdom layer leave power on the table.
Decorations unlock once you expand your land for the first time, after which they're bought from the Decor Shop, with new Themes opening up as your Kingdom and Cookie Castle levels rise.
The expansion order that builds steady income
You don't have unlimited land or materials, so order matters. Here's the priority that compounds income fastest:
- Restore the Bear Jelly Train station as soon as it's available (Castle Level 4). The train is your payoff engine — get it running before you optimize anything else, and add the second train at Level 6.
- Build and level the Fountain of Abundance. It's the best free-resource return in the kingdom, and its level is capped to your Cookie Castle, so keep your Castle progressing to unlock higher Fountain tiers.
- Plant Cookie Houses early and keep adding them. Roster leveling is a constant Star Jelly drain; the houses are your tap-to-collect EXP engine and you'll never regret having more.
- Set up your production chain — Raw Material Buildings first, then Craft Buildings. You need raw materials before you can refine Goods, and you need Goods to fill train orders. Don't overbuild past what your Cookie staffing can actually run.
- Expand land deliberately, not greedily. Each production building is a 12x12 footprint; expand to fit the chain you're actually staffing, not to hoard empty tiles.
- Buy landmarks for their effects, then chase Theme completion for Crystals. Prioritize the Tick Tock Clock Tower (production-time cut) and combat-stat landmarks; let the rest fill in as you complete Themes for the Crystal payouts.
The through-line: production feeds the train, the train and Fountain pay you back, Cookie Houses level your roster, and landmarks hand you free stats. Build in that order and the kingdom turns into a machine that funds the rest of the game while you sleep. If you're early enough that you're still making avoidable errors, the beginner mistakes guide covers the ones that stall accounts fastest.
Quick Action Checklist
- Learn the split: Raw Material Buildings make Materials (Coins to run), Craft Buildings refine those into Goods
- Remember every production building needs a Cookie staffing it the whole time — and the Cookie isn't freed until you collect the full queue
- Production Cookies can still do World Exploration and Arena, just not Balloon Expeditions
- Build Cookie Houses early and tap them on login — they're your EXP Star Jelly engine and they stop at their storage cap
- Upgrade the Fountain of Abundance (capped to your Cookie Castle level, max 15) and collect it regularly — its max window is 8 hours
- Restore and run the Bear Jelly Train (first at Castle Level 4, second at Level 6); fill slow, expensive orders for better Rarity payouts
- Place a max of 3 copies of each building; expand queue slots with Crystals (300/500/700/900) only on the buildings you lean on
- Buy landmarks for their effects — the Tick Tock Clock Tower cuts Goods production time 10%, others give flat combat stats
- Complete Decoration Themes for the Crystal payouts (only the first copy of each decor counts)
Frequently Asked Questions
Keep Reading
Related Guides
Cookie Run Kingdom Bear Jelly Train Guide
The Bear Jelly Train is the single best source of Rarities in Cookie Run: Kingdom, and most players feed it whatever's cheapest and wonder why the loot is garbage. There's an actual optimization here. This guide covers unlocking, upgrading, the produce-and-ship loop, and the craft-time trick that decides your rewards.

Cookie Run: Kingdom Sugar Gnome Laboratory Guide
The Sugar Gnome Laboratory is the most powerful building in CRK that new players completely ignore. It's a free, permanent stat-and-economy upgrade machine — but it only researches one thing at a time, so the order you pick matters more than almost anything else in the kingdom. Here's how the lab works and exactly what to research first.

CRK Kingdom Pass Guide: Every Reward And Whether To Pay
The premium Kingdom Pass costs $4.99 and hands you 1,000 Crystals at level 29 alone. That's the whole argument, and it's over before it starts. Here's the full 30-level reward table, both mission boards, and the one purchase in the pass that is an actual trap.

CRK Seaside Market Guide: What to Buy (2026)
The Seaside Market quietly hands you Epic soulstones, toppings, and skill powders every six hours for free — and most players walk past it. Here's what to grab and what to skip.

CRK Tier List May 2026 — PvE & PvP Rankings (Post-Timeline of Fate)
Timekeeper rewrote the Arena rulebook, Ash Salt is bullying World Exploration, and Eternal Sugar finally dropped a tier. Here is the May 2026 CRK tier list, sorted for PvE, PvP, and Guild Battle, with the F2P investment picks that actually matter.
CRK Toppings Guide (2026) — Every Set + Reroll Strategy
Most players lose more power to bad sub-stats than to missing the right Cookies. Here is every topping type, the sub-stat thresholds that matter, the best set for each role, and the reroll math that tells you when "good enough" actually wins.