Crimson Desert Pywel Guide: Regions, Traversal and Routes
Pywel is one continuous continent, not five zones stapled together — and two mid-game unlocks quietly turn it from a walking simulator into a playground.
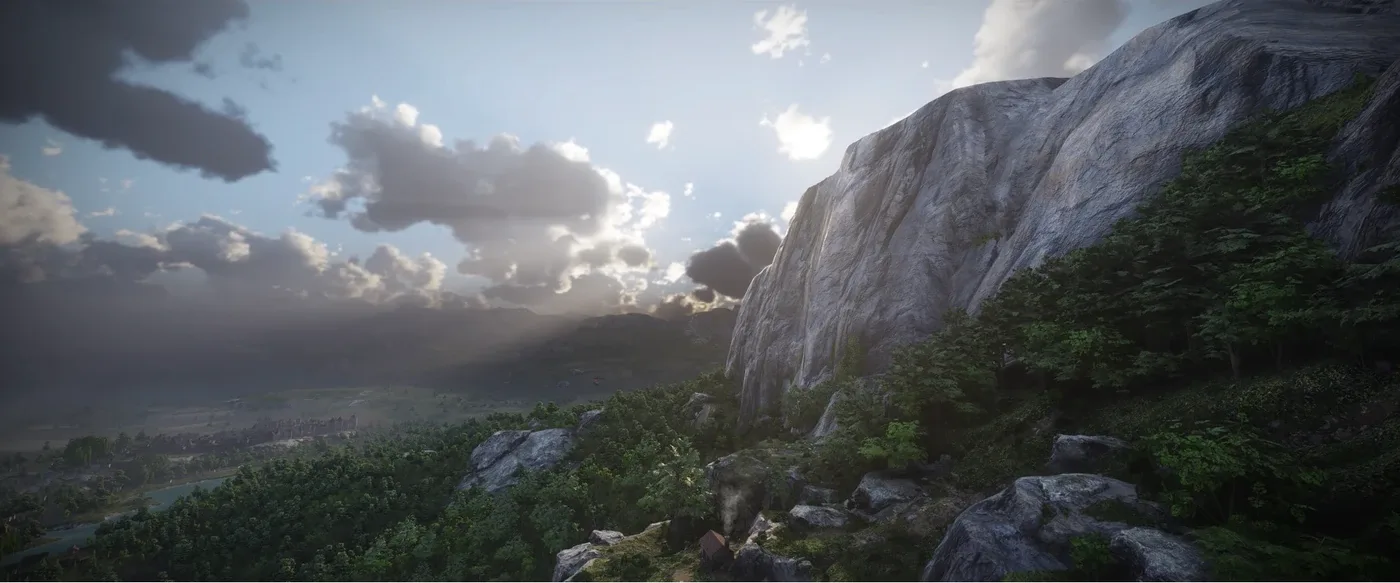
Pywel is one continent, not five zones stapled together
The moment Pywel opened up for me properly was not a story beat. It was standing on a ridge somewhere above Hernand, looking north at a snowline I could see with my own eyes, realising there was no loading screen between me and it, and then just... going there. It took a while. It was worth it.
That is the pitch for Crimson Desert's world, and it is the thing the game does most confidently. Pearl Abyss built Pywel on their BlackSpace Engine — an upgraded version of the tech behind Black Desert Online — and the result is a continent with genuine continuity between its five regions rather than five biomes wearing a shared skybox.
It is also enormous, which cuts both ways. The game moved six million copies in its first three months, and a recurring note in the reviews is open-world overload: there is more here than most people will ever see, and the game is not shy about pointing at all of it simultaneously.
So this guide is two things. First, what each region is actually for, so you can prioritise. Second — and more useful — the two traversal unlocks that turn Pywel from a commute into a playground, and why you should chase them early.
The five regions and what each one is for
Pywel splits into five distinct regions. They differ in more than climate: each has its own culture, its own political situation, and its own gameplay texture.
Hernand
Forests, fertile plains, rivers and mountains. This is where you start, and it is the region that teaches you the game's rhythm.
Hernand's identity is medieval politics. The quests here are about local conflicts, land, and the people caught between rival powers. Mechanically it is the most forgiving terrain in the game — rolling rather than vertical, which suits a Kliff who does not yet have the mobility toolkit.
Do not treat it as a tutorial zone to be cleared and abandoned. Enemy variety in Hernand is genuinely useful for the Watch and Learn system, and coming back later with full traversal opens up parts of it you physically could not reach on your first pass.
Pailune
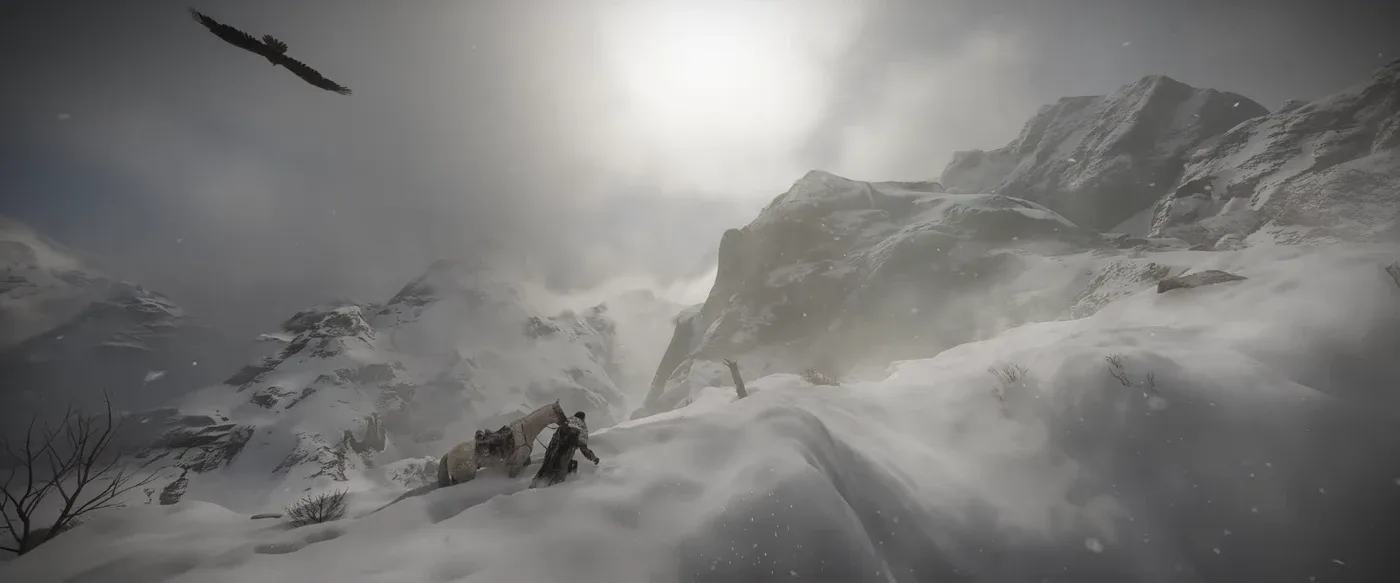
The northern mountains. Snow, cold, and a survival pressure the rest of the map does not apply. It is also the homeland of the Greymanes — Kliff's own faction — which gives it a narrative weight the other regions do not carry.
Pailune is where verticality first becomes a real problem rather than a scenic feature. Climbing burns stamina, the terrain does not offer convenient flat routes, and traversing it before you have mobility unlocks is genuinely tedious. This is the region that most rewards coming back later.
Demeniss
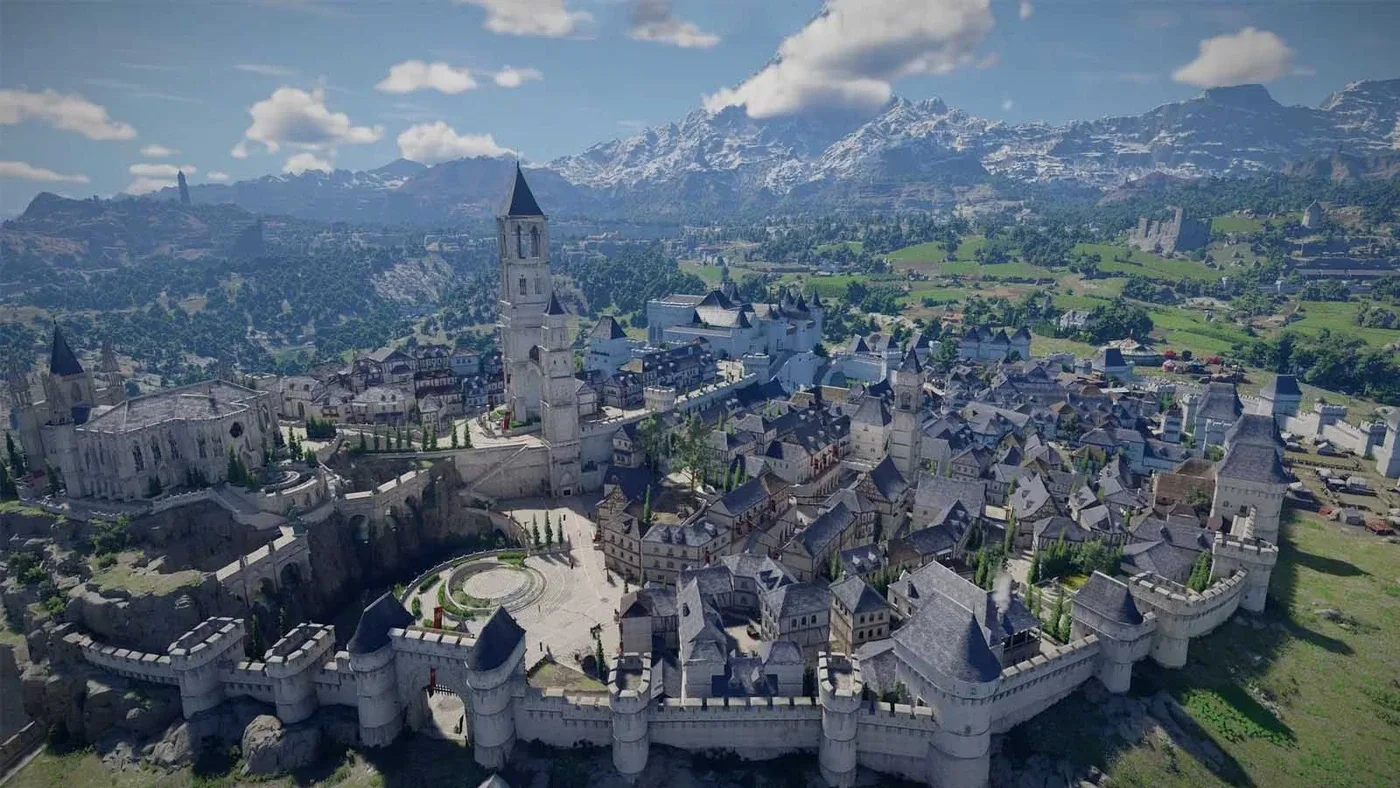
The political and military centre of the continent, built on cliffs. If Hernand is local politics, Demeniss is the capital-P Politics — the power struggles here drive a large chunk of the main story.
As a place to move through, Demeniss is the most architecturally vertical region in the game. Dense urban structure on a cliffside means grapple points everywhere. Once you have the mobility kit, it is the most fun region in Pywel to simply travel across, which is not something you can say about most fantasy capitals.
Delesyia
The technological region. Mechanical creatures, industrial infrastructure, environmental hazards that behave differently from anything else on the continent.
This is the region that most divides players, and it is also the strongest argument that Pywel is not a generic fantasy map. Machines exist here as both threats and, eventually, transport. If you came to Crimson Desert expecting straight medieval fantasy, Delesyia is where the game tells you otherwise.
The Crimson Desert
The region that names the game. Red sand, canyons, and effectively no law.
It is the highest-risk exploration in Pywel and the encounters are the least predictable. Open sightlines mean you get seen from a long way off, and there is less cover to reset a fight you are losing. Go here when your combat fundamentals are solid, not before.
Axiom Force is the unlock that rewrites the map
Everything above is context. This is the part that changes how you play.
Axiom Force is Kliff's mobility skill, acquired through the main storyline — specifically during the "Polar Opposites" quest, part of the Traces questline. It is one of a set of unusual abilities tied to the Abyss, and prerelease gameplay coverage described it as granting both greater manoeuvrability in traversal and tactical options in combat.
The critical detail, and the one people miss: the grappling hook is not part of the base skill. You have to upgrade Axiom Force to Level 2 to unlock grappling. Plenty of players acquire Axiom Force, do not immediately invest in it, and spend another ten hours walking around a map that was designed to be swung through.
Upgrade it as soon as you have it. It is the highest-value mobility investment in the game by a wide margin.
The grapple itself is not a zip-line. It fires an energy strand that attaches to surfaces and grapple points, and rather than reeling Kliff in, it slingshots him — momentum-based, closer to web-swinging than to a hookshot. That distinction matters practically: you are managing arcs and release timing, not selecting destinations. It has a skill curve, and it is fun once you are past it.
There is also an environmental application people underuse. The grapple interacts with the world, not just with anchor points — you can pull on a tree and fling yourself into an enemy encampment. Traversal and combat are the same system here, which is very much the point.
Crow's Wing and the grapple-glide loop
The second unlock is Crow's Wing, the glider. Kliff's cloak becomes a set of large, ragged raven wings, and it is granted by White Crow the Witch after Kliff reaches the Library of Providence, at the culmination of the Traces main quest.
On its own, Crow's Wing does the obvious thing: it lets you survive long falls and cover ground descending. PlayStation's pre-launch hands-on report described exactly that — after reaching the Abyss, Kliff gains a glider that lets him survive long falls and travel farther.
Combined with the grapple, it becomes something better. The loop is:
- Fire the grapple at a high anchor point.
- Let the slingshot carry you up rather than cancelling early.
- Deploy Crow's Wing at the apex.
- Convert that vertical height into horizontal distance.
- Look for the next anchor before you lose altitude.
Chained properly, this is the fastest non-mounted traversal in the game, and it stays competitive with mounts across broken terrain because it ignores the ground entirely. In Demeniss and Pailune, where the terrain is hostile to horses, grapple-glide is simply better.
Both unlocks sit on the Traces questline. If you want mobility early — and you do — prioritise Traces over the faction content competing for your time.
Stamina is the real speed limit
Here is the constraint that governs all of it.
Stamina in Crimson Desert covers far more than combat. Sprinting, climbing, swimming and gliding with Crow's Wing all draw from the same pool that dodging and heavy attacks use. It regenerates passively when you are not spending it.
Two consequences for exploration:
Your traversal range is a stamina budget, not a distance. A long glide costs. A long climb costs more. Planning a route across Pailune means planning where you land and recover, not just where you are going.
Arriving somewhere is not the same as arriving ready. If you grapple-glide into an enemy camp on an empty bar, you have no dodge, no heavy attack, and no block that will hold. Land outside, let the bar refill, then engage. This is the single most common way players die to encounters that should have been trivial.
The upside is that stamina investment pays double. Every point that extends your traversal range also extends your combat endurance, which is unusually efficient as far as stat allocation goes. We go deeper on the resource economy in the combat guide.
Mounts, and when to ignore them
Pywel supports a genuinely strange range of mounts: horses, wolves, dragons, and machines. That is not a list most open-world games can offer.
Horses are your baseline and they are good on Hernand's plains and the desert's open sand. Horseback combat is fully supported, so a mount is not purely transport.
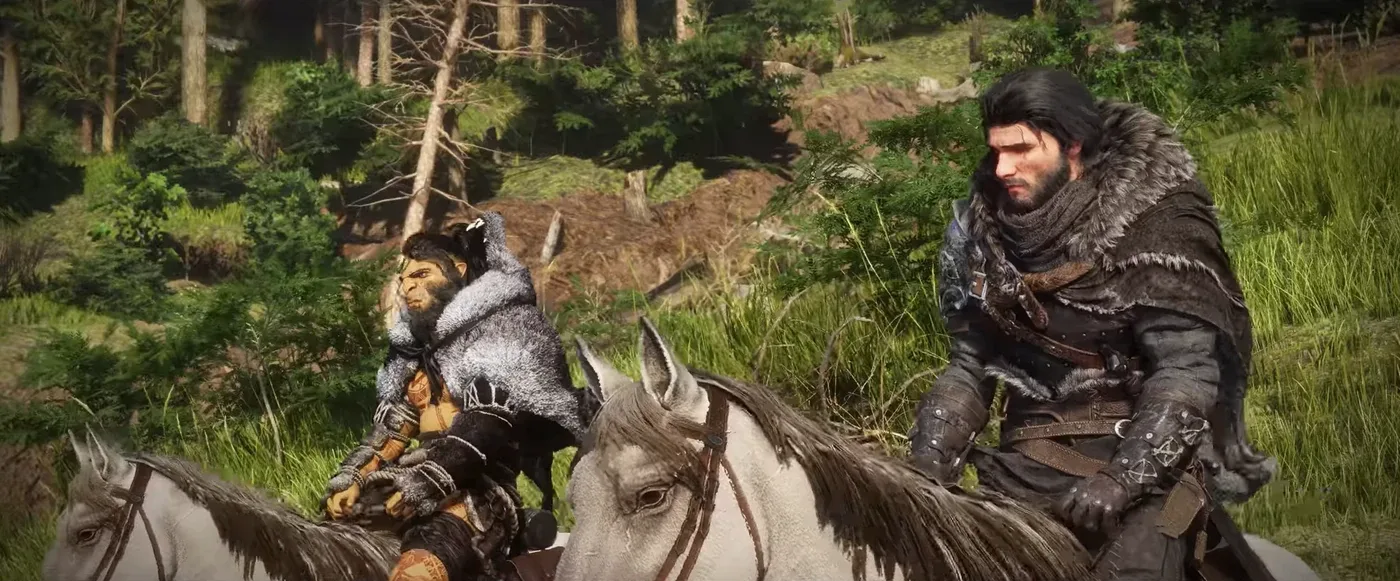
But mounts have a hard limitation and it is worth naming: they follow the ground. In Pailune's mountains and Demeniss's cliffside architecture, a horse spends most of its time going around things that grapple-glide goes over. Once you have both unlocks, the honest split is:
- Open terrain, long distance, Hernand or the desert: mount up.
- Vertical terrain, urban density, Pailune or Demeniss: grapple and glide.
- Anywhere you plan to fight in the next thirty seconds: arrive on foot with full stamina.
How to explore Pywel without burning out
The most common failure mode with this game is not difficulty. It is fatigue. There is more content in Pywel than any reasonable person will finish, and treating it as a checklist is how people end up putting it down at hour forty with a review that says "bloated."
What worked for me:
Prioritise Traces over everything until you have grapple and glide. All exploration before those unlocks is slower and less interesting. Get the toolkit, then explore.
Explore one region at a time and let the others wait. The map does not care about your order. Regional focus preserves the sense of place that makes Pywel work.
Let the terrain pick your objectives. Crimson Desert rewards seeing something on a ridge and going to look at it far more than it rewards clearing icons. The hand-built encounters and world detail are the good stuff; the density of markers is the noise. Those bosses are also your most reliable source of Abyss Cores, so the exploring pays for your build too.
Use camps. Base-building, companion expeditions for resources, and cooking and farming for stat buffs to HP, Spirit and Stamina all run through the camp system. Cooked stat buffs directly extend traversal range, which makes camps an exploration tool and not just a home base.
Come back to Hernand. Seriously. The starting region with full mobility is a different place, and it is the cleanest demonstration of how much those two unlocks change the game.
Once you are ranging freely, the next thing worth your silver is the socket system — covered in our Abyss Cores guide.
Quick Action Checklist
- Prioritise the Traces main questline before faction content. Both mobility unlocks are on it.
- Get Axiom Force from the "Polar Opposites" quest, then upgrade it to Level 2 immediately for the grappling hook.
- Finish Traces through the Library of Providence to receive Crow's Wing from White Crow the Witch.
- Practise the grapple-glide loop: slingshot up, deploy wings at the apex, convert height to distance.
- Remember the grapple slingshots rather than reels. Manage arcs and release timing.
- Grapple environmental objects such as trees to launch into encampments.
- Watch your stamina bar as a traversal budget. Sprinting, climbing, swimming and gliding all draw from it.
- Land outside enemy camps and let stamina refill before engaging.
- Use mounts on Hernand's plains and the open desert. Use grapple-glide in Pailune and Demeniss.
- Cook at camps for HP, Spirit and Stamina buffs before long expeditions.
- Focus one region at a time instead of chasing markers across the whole continent.
- Revisit Hernand once you have full mobility. It is effectively new terrain.
Frequently Asked Questions
How many regions are in Crimson Desert?
How do you get the grappling hook in Crimson Desert?
How do you unlock the glider in Crimson Desert?
What is the fastest way to travel in Crimson Desert?
What mounts are available in Crimson Desert?
Keep Reading
Related Guides
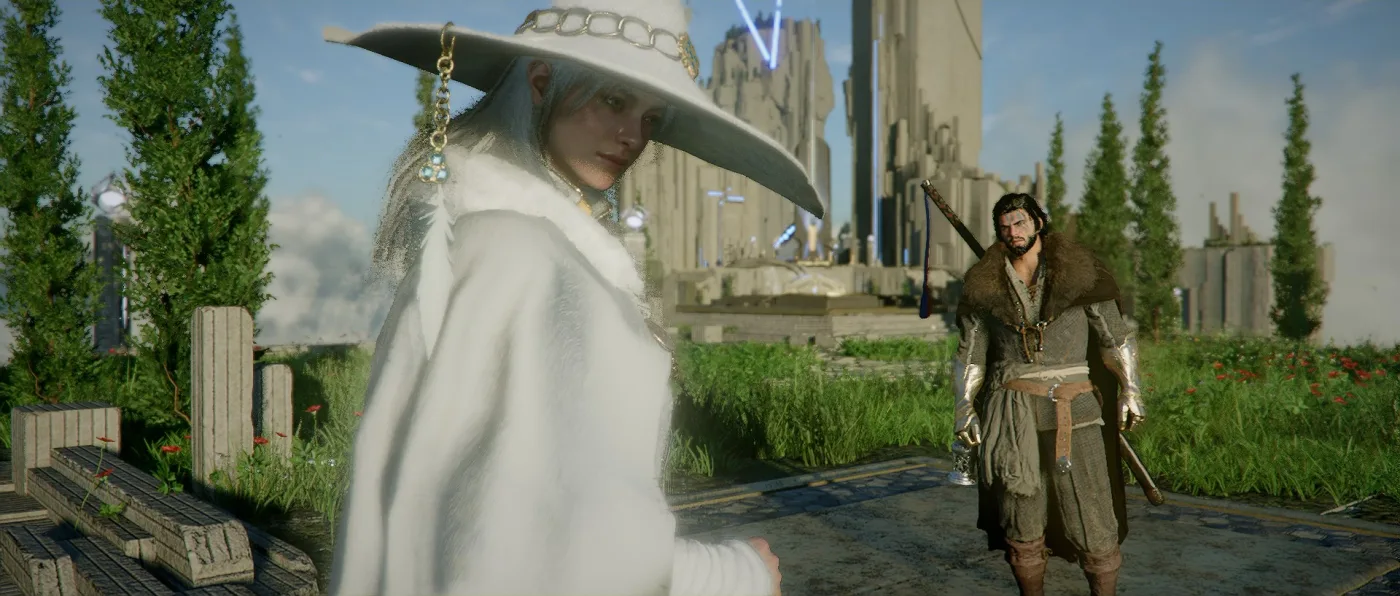
Crimson Desert Achievements: All 34, Rarity and Missables
Five of Crimson Desert's 34 achievements come from the story and camp. The other 29 each ask for a whole family of Challenges. Here is every one with its Steam unlock rate, the Sealed Abyss Artifact rule, and the missables list rechecked against Pearl Abyss's patch notes.
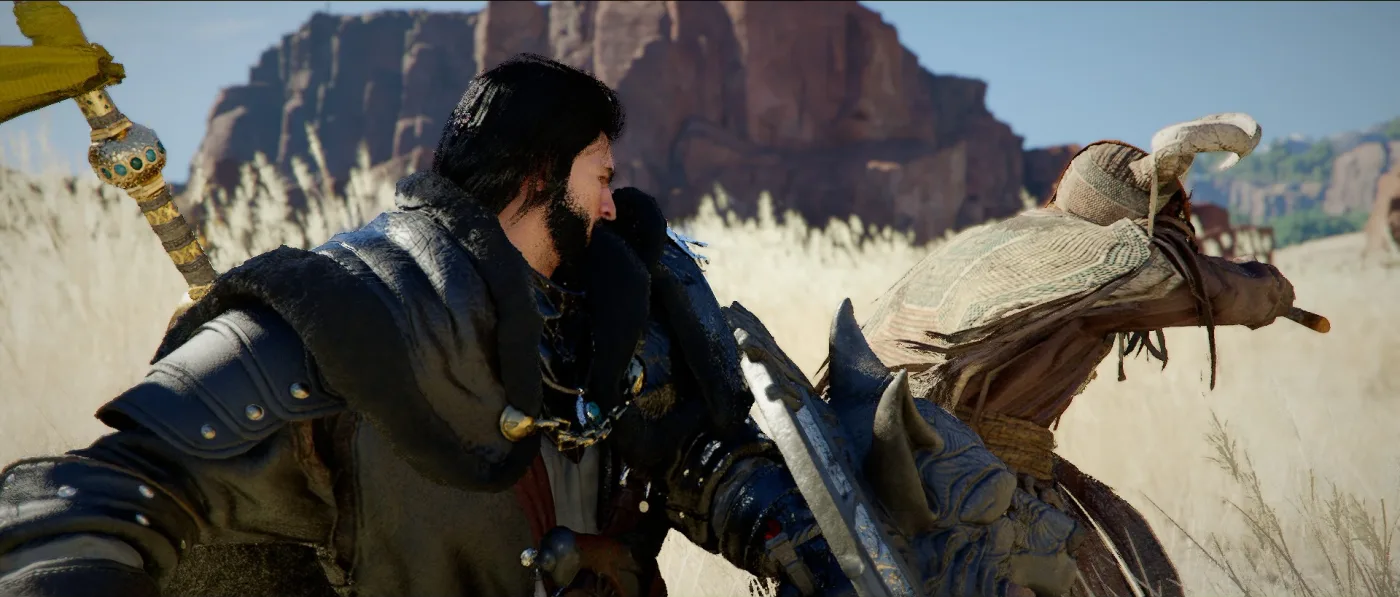
Crimson Desert Boss Rematch: Reminisce vs Resonate
Beat a boss once and its Memory Fragment lets you fight it again, as any of the three characters, in one of two modes. Here is how Rematch works, why it pays nothing, and what 1.07.00 and 1.13.00 moved.
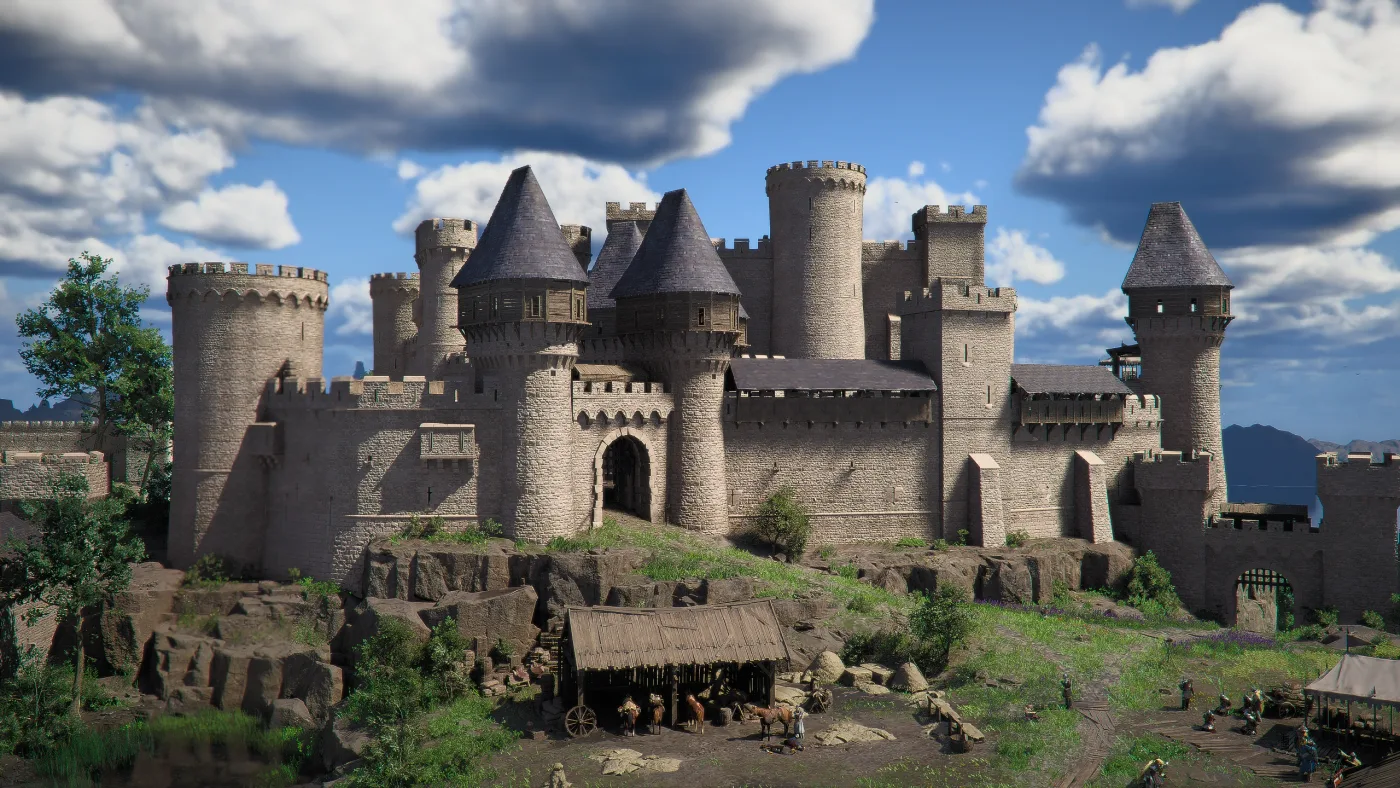
Crimson Desert Re-Blockade: How to Stop Forts Being Retaken
Enemies back on a fort you cleared weeks ago is not a bug. It is Re-blockade, switched on by default since May. Here is how the setting, Protection and the 1.10.00 stages actually work.
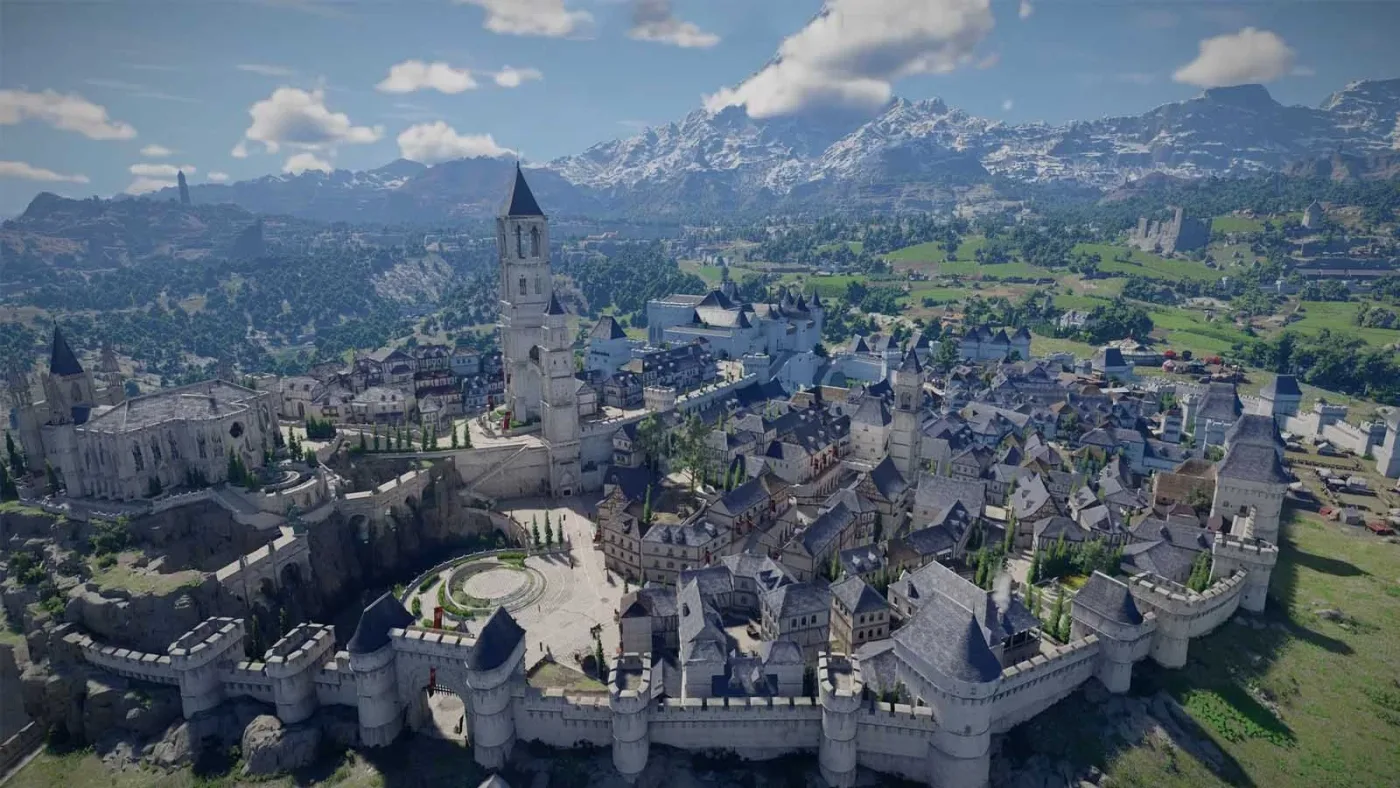
Crimson Desert Contribution Guide: All 5 Regional Shops
Three sibling posts on this site name-drop "Contribution" in passing. None of them explain what it is, how to earn it, or why one of its five shops does not open until the literal last chapter of the game.
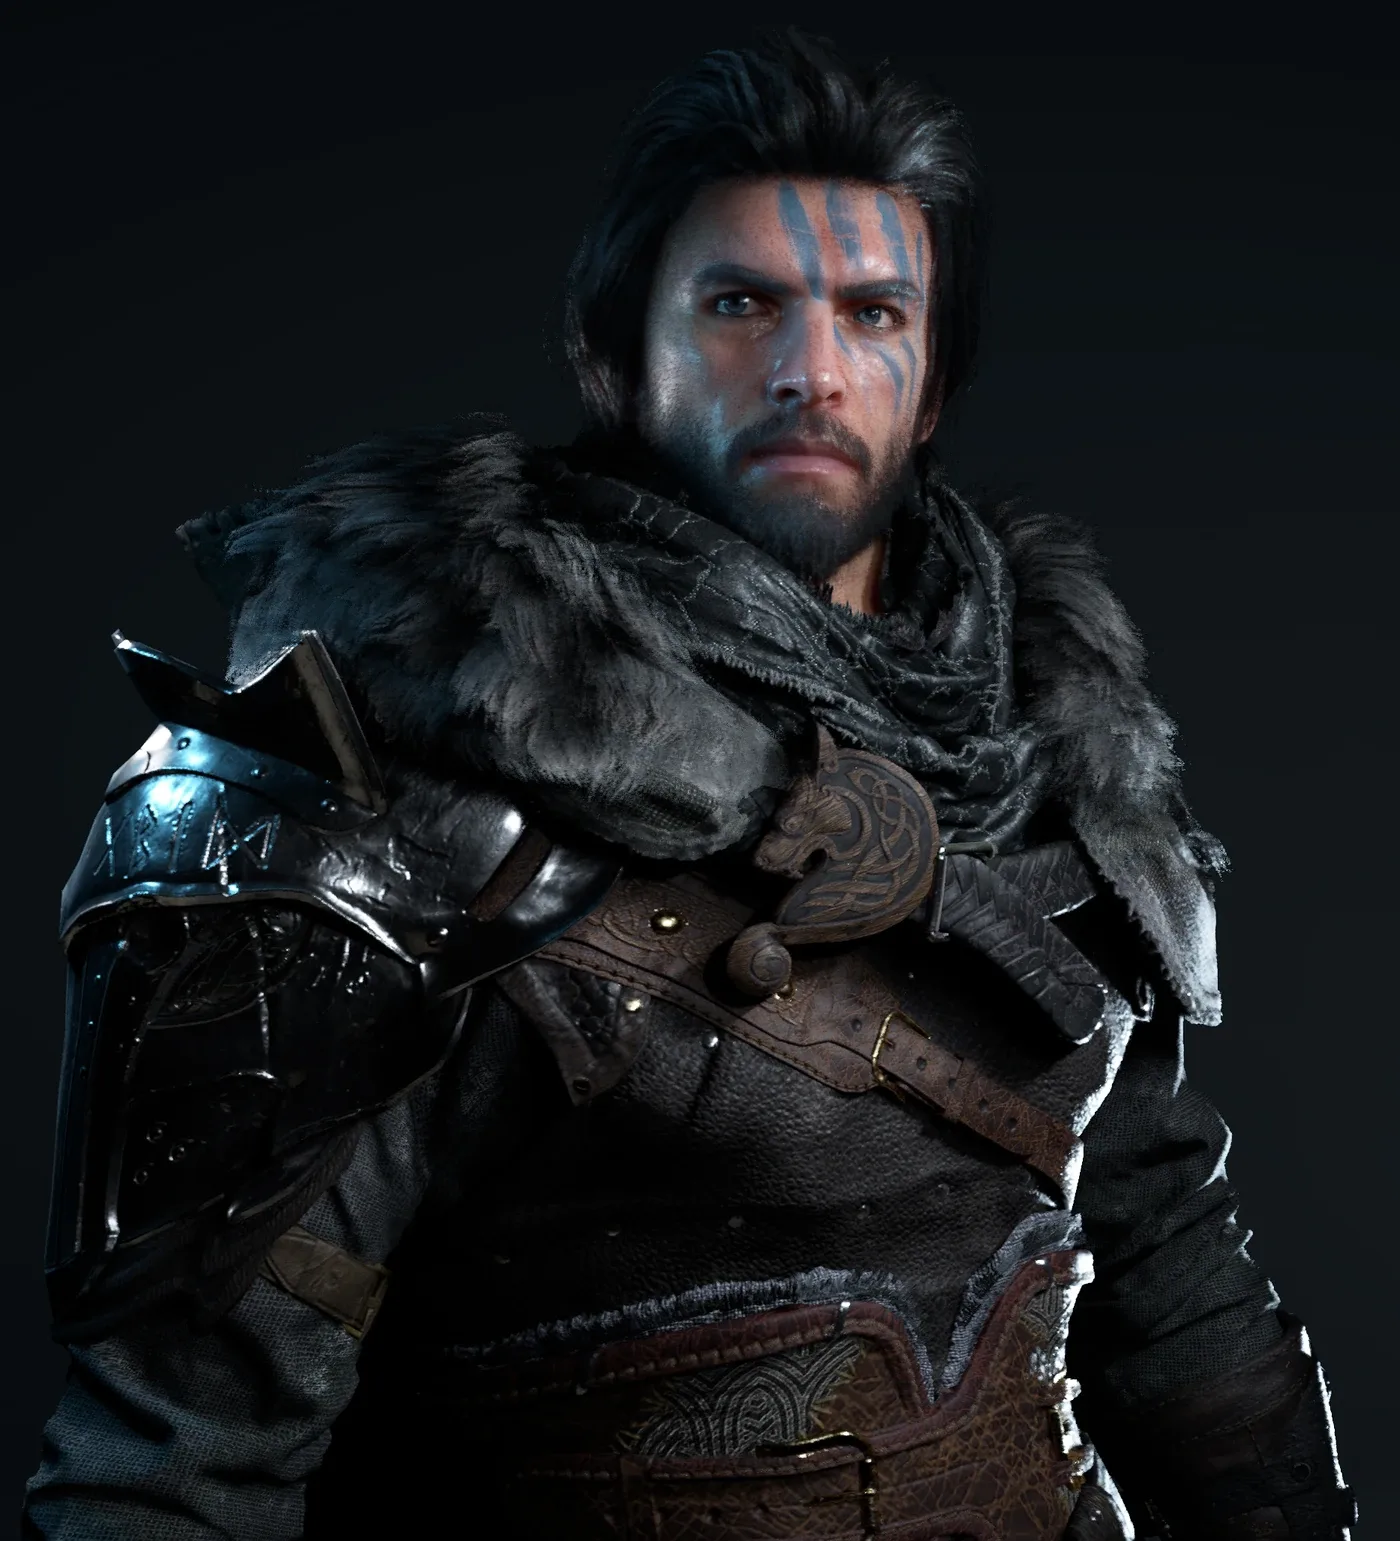
Crimson Desert Combat Guide: Parry, Counter, Watch & Learn
Crimson Desert is not a Souls game wearing a bigger map. It is closer to a fighting game, and the players bouncing off it are all making the same three mistakes.
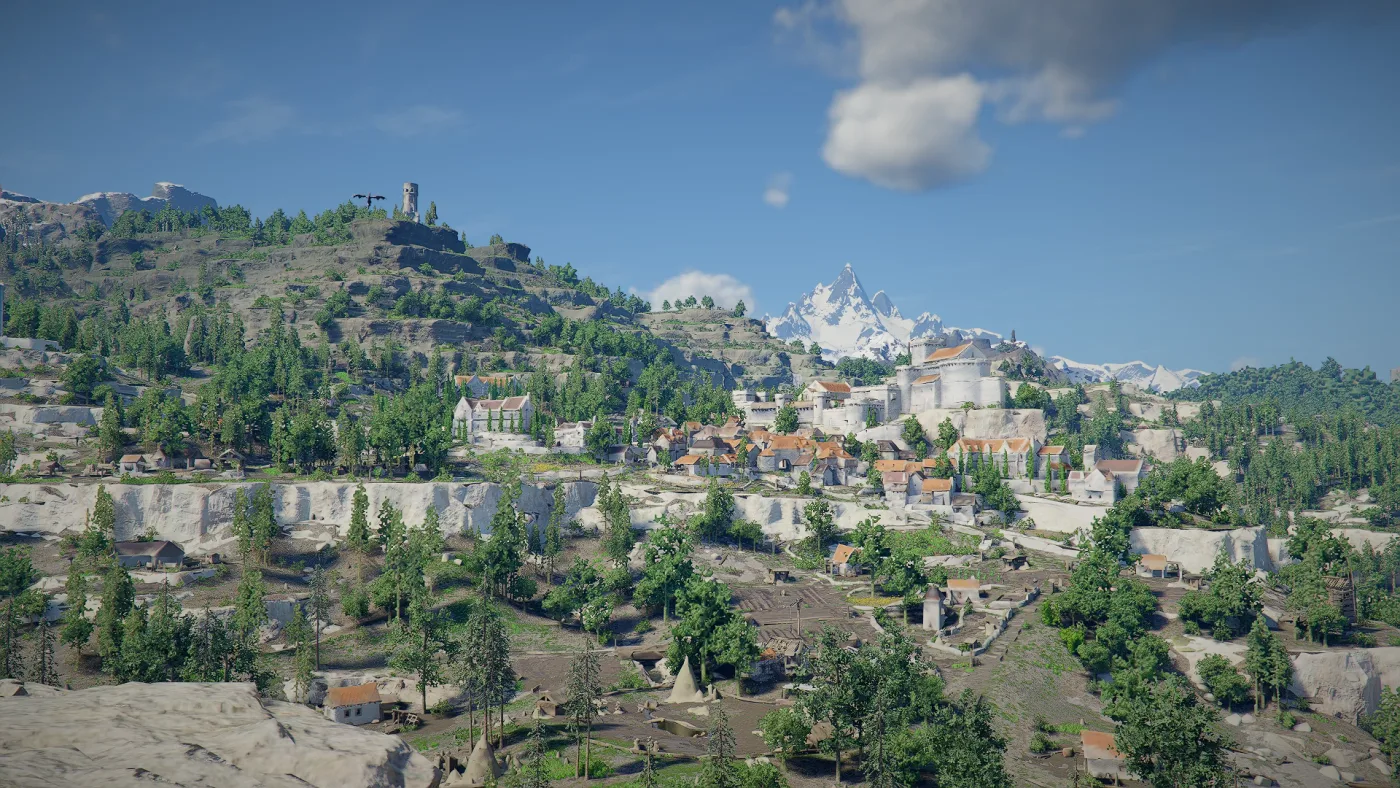
Crimson Desert Duo and Five-Card: How to Play and Win
Crimson Desert hides two full card games inside its taverns, and this vertical has never covered either. Here is how Duo and Five-Card actually work, cross-checked across five sources that do not all agree with each other — plus the live bug that just took one table offline.