PUBG Settings & Sensitivity Guide
Your sensitivity isn't a number you copy from a pro — it's a setting you tune until your spray sits still. Here's how to dial in PUBG's settings so your hardware stops fighting you.
Your sensitivity is not a number you copy from a pro and call it done. It's a setting you tune until your full-auto spray sits where you point it, and what works for a streamer on a desk-sized mousepad will feel like ice skating for you. The fastest way to plateau in PUBG: Battlegrounds is to bounce between random "best settings" videos every week and never build muscle memory on any of them.
This guide does two things: it explains what each setting actually does, and it gives you a repeatable method to dial in your own sensitivity instead of borrowing someone else's. Get this right once and it pays off every single match — your hardware stops fighting you and your aim becomes consistent. (This is the PC and console version; PUBG Mobile uses a completely different sensitivity system, so ignore mobile sensitivity codes here.)
Why pro sensitivity settings fail for you
A pro's sensitivity is tuned to their DPI, their mousepad size, their arm-versus-wrist aiming style, and thousands of hours of muscle memory. Copy their in-game number without matching their DPI and you've copied nothing — you might end up twice as fast or twice as slow as they actually play.
What you can borrow is the philosophy: most PUBG pros play on the lower end of the sensitivity range because PUBG rewards precise recoil control over fast flicks. But the exact number has to be yours, found by tuning against your own setup. Any specific pro sensitivity figure you see floating around is a rough reference, not a target to match — those numbers vary by source and drift over time.
Consistency beats optimization. A "wrong" sensitivity you've used for 200 hours will out-aim the "perfect" sensitivity you switched to yesterday. Pick a setting in a sane range and commit to it long enough to build muscle memory before you tweak again.
DPI and eDPI: the only number that matters
Your true sensitivity is a combination of two things: your mouse's DPI (a hardware setting) and PUBG's in-game sensitivity slider. Multiply them and you get eDPI (effective DPI), the number that actually describes how fast your crosshair moves. Two players with wildly different DPIs and in-game settings can have identical, equivalent aim if their eDPI matches.
- Most competitive players sit on the low end, around 800 DPI or lower, with 800 a common choice and 400 popular among low-sensitivity aimers. Very high DPI is generally discouraged because it amplifies sensor jitter and makes fine aim harder. These are community conventions rather than hard rules, and they drift over time — treat them as a sane starting band, not exact figures to copy.
- Set your DPI once and forget it. Pick 800, then do all your tuning with the in-game slider. Changing DPI later resets your muscle memory.
- Think in eDPI when comparing settings. If you switch DPI, adjust the in-game slider to keep your eDPI the same and your aim won't change.
The practical move: set 800 DPI, then ignore DPI entirely and tune everything through the in-game sliders below.
General vs scope sensitivity
PUBG splits sensitivity into separate sliders for hip-fire/camera and for each scope magnification. This is the most important settings concept in the game, because the right zoom needs the right speed.
| Setting | What it controls | Tuning principle |
|---|---|---|
| General / Camera | Looking around while not aiming | Comfortable for scanning your surroundings quickly |
| Targeting (ADS, no scope / red dot) | Aiming down iron sights or a dot | Slightly lower than general for control |
| Scope sensitivity (per magnification) | 2x, 3x/4x, 6x, 8x aiming | Lower as magnification climbs, so each zoom tracks at a similar real speed |
The key insight: higher-magnification scopes need lower sensitivity. At 8x, a tiny mouse movement throws your crosshair across the screen, so your 8x sensitivity should be much lower than your red-dot sensitivity. Many players keep scope sensitivities near a default of 1 to start, then lower the high-zoom scopes until tracking a target at range feels controlled rather than twitchy. There's no single correct per-scope multiplier — these are personal-preference values that every player sets differently, so use them as a starting band and tune from there, not as gospel.
Vertical sensitivity sometimes gets a small reduction relative to horizontal so your recoil pull-down feels controlled — but only tweak this once your base sensitivity is locked.
How to find your sensitivity
Here's the repeatable method. Do it in the training mode, not in live matches:
- Lock your DPI at 800 and leave it alone.
- Set a starting general sensitivity in a moderate range and spend a few minutes just moving around. It should feel easy to do a smooth 180 without flinging the camera.
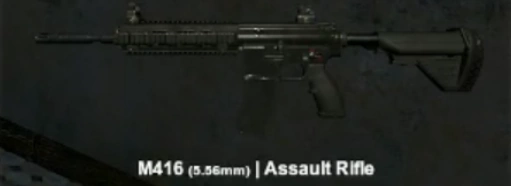
- Spray a wall at 50m with a kitted M416 in full-auto. Pull your mouse down to counter the recoil. If you can hold the spray roughly on target, your ADS/targeting sensitivity is workable. If the spray flies off uncontrollably, lower it.
- Test each scope. Track a moving target at the scope's intended range. If the crosshair feels jumpy, lower that scope's sensitivity until it tracks smoothly.
- Commit for a week. Don't touch the numbers again until you've put real reps in. Only then make small adjustments.
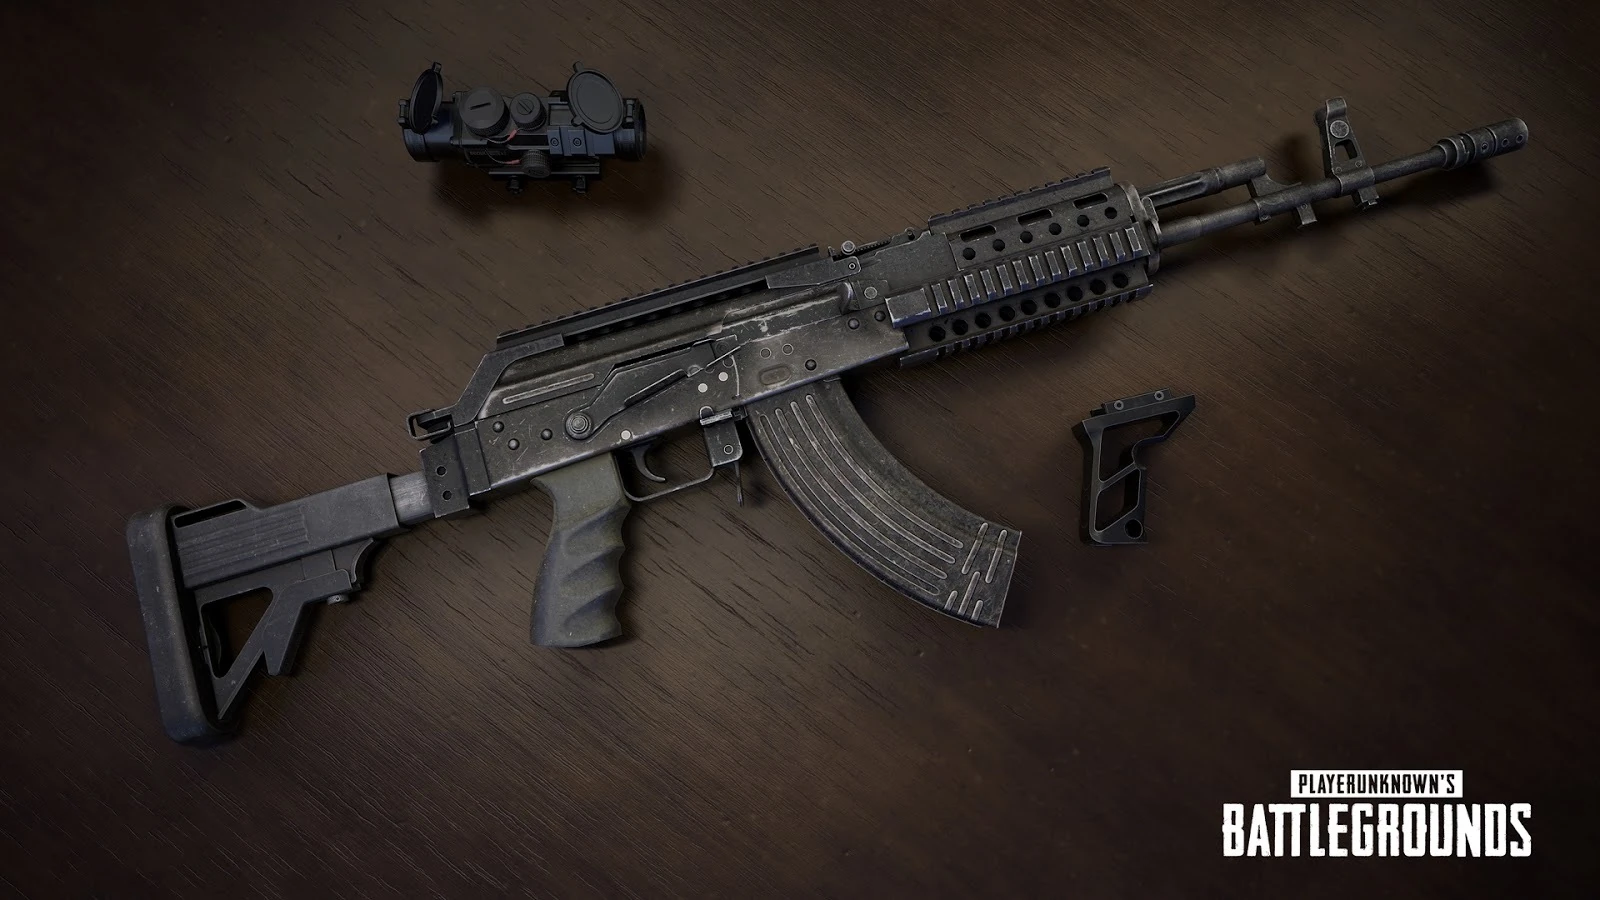
The recoil test is the real one. A high-recoil gun like the Beryl M762 instantly exposes a sensitivity set too high — if you can't pull down smoothly enough to keep the spray on a wall, your sensitivity is fighting you. Lower it until recoil control feels deliberate. For more on taming recoil with hardware-independent tools, see the PUBG loadouts guide.
FOV and graphics for visibility
Settings aren't just about aim — they're about seeing the enemy first.
- FOV (field of view). A wider FOV shows more of your surroundings, which helps spot flanks, at the cost of making distant targets appear smaller. There's no universally "correct" FOV — it's personal preference and players land all across the range, so pick what lets you see threats without shrinking targets too much, and keep it consistent. Note that FOV behavior can differ between first-person and third-person modes.
- Graphics: prioritize visibility over prettiness. Turn shadows and post-processing down — they hide enemies in dark corners and cost frames. Keep view distance high so you can see far players, and textures at a level your GPU handles without stutter.
- Frame rate over eye candy. A stable, high frame rate makes tracking and reacting easier. Drop the settings that don't help you see enemies (fancy effects) and keep the ones that do (view distance, anti-aliasing within reason).
The throughline: every graphics choice should answer "does this help me see and hit enemies, or just look nice?" Visibility and frames win fights; pretty foliage doesn't.
Audio: the setting most players ignore
PUBG's directional audio is some of the best in the genre, and your settings can sharpen it. Footsteps, doors, vehicles, and gunshots all carry directional information that tells you where threats are before you see them.
- Use headphones, always. Stereo headphones give you the directional cues that speakers smear together. This is non-negotiable for competitive play.
- Consider disabling or tuning any "virtual surround" features and testing what gives you the clearest, most locatable footsteps — many players find plain stereo most accurate.
- Keep effects volume high enough to hear faint footsteps, and learn the difference between someone above you, below you, and behind a wall.
Tuning audio is the single highest-value, least-glamorous setting change you can make. Half of staying alive in PUBG is hearing the fight before it starts — our beginner's guide covers why sound is half the game.
Keybinds worth changing
The defaults are fine, but a few rebinds win fights:
- Lean (Q and E). Make sure peeking left and right is comfortable; lean-peeking is core to PUBG gunfights.
- Separate hold-breath, heal, and throwable binds so you can do them under pressure without fumbling a menu.
- Quick weapon swap on convenient keys — swapping to your second gun is often faster than reloading mid-fight.
- Map and inventory on keys you can hit without moving your hand off movement.
You don't need an exotic layout. You need binds you can hit reflexively while your other hand is busy aiming. Lock them in, then build muscle memory — the same principle that governs sensitivity. Once your settings are dialed, put them to work with the right gear from the weapons tier list and smart drops from the landing spots guide.
Quick Action Checklist
- Set DPI to 800 and never touch it again; tune everything with in-game sliders
- Think in eDPI (DPI x in-game) when comparing or switching settings
- Use separate, lower sensitivities for higher-magnification scopes
- Tune your ADS sensitivity with the M416 wall-spray recoil test
- Commit to a sensitivity for a full week before adjusting
- Lower shadows and post-processing; keep view distance high for visibility
- Prioritize a stable high frame rate over visual eye candy
- Wear headphones and tune audio for clear, locatable footsteps
- Rebind lean, heals, and weapon swap to keys you can hit reflexively
Frequently Asked Questions
What is the best sensitivity for PUBG?
What DPI should I use for PUBG?
Why are there separate scope sensitivities in PUBG?
What graphics settings are best for PUBG?
Should I use headphones for PUBG?
Can I copy a pro player’s PUBG settings?
Keep Reading
Related Guides
PUBG Dawnbreakers of Rondo: How the SLB PvE Mode Works
Update 43.2 brings back Survivors Left Behind, PUBG's co-op PvE mode against the Hungers, for a fourth run, this time on Rondo. Here is how a stage works, what Rookie and Veteran change, what you can craft and deploy, what carries over between matches, and how it differs from the Haven, Taego and Miramar versions.
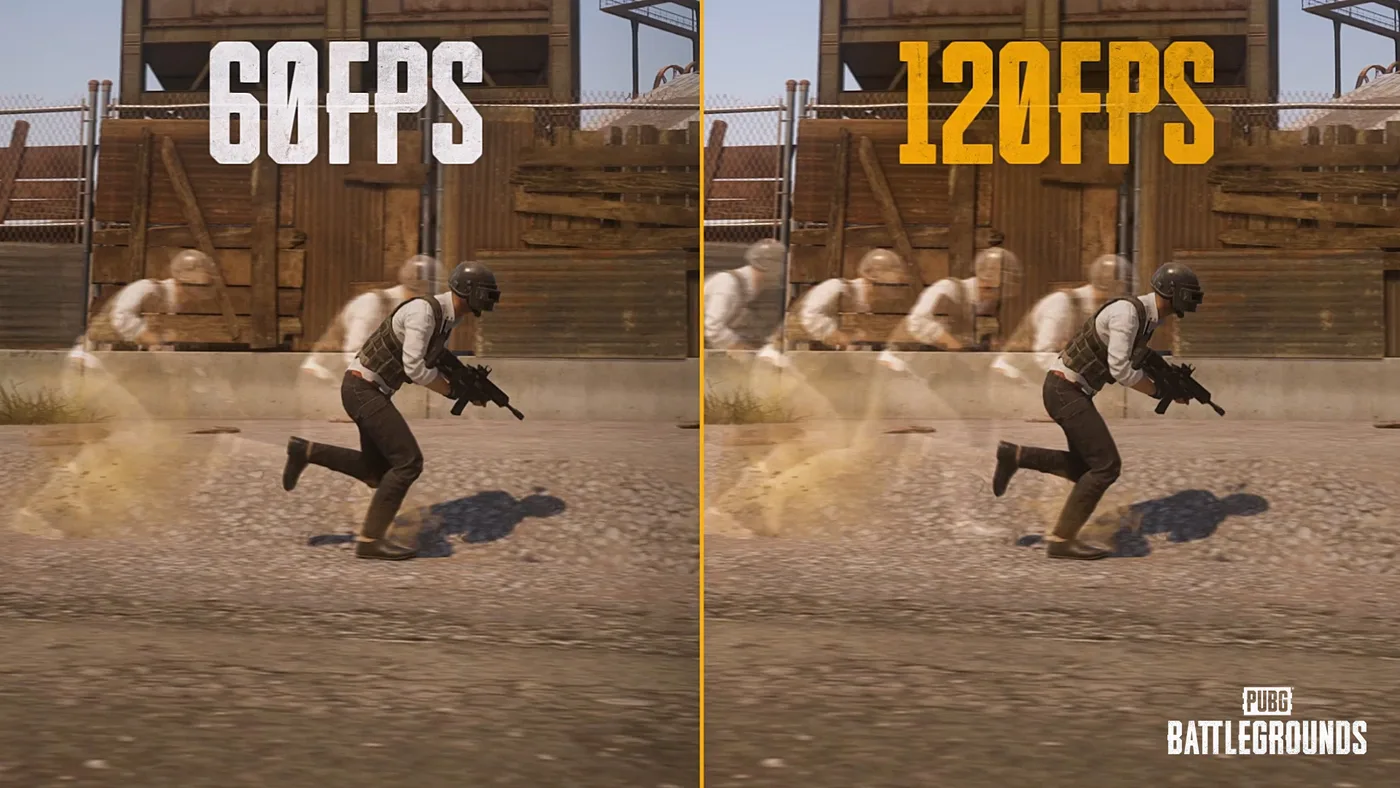
PUBG on PS5 and Xbox: 120 FPS Mode and Bigger Hitboxes
PUBG on PS5 and Xbox Series X|S was held to 60 FPS by design until July. Update 42.2 added a 120 FPS Frame Rate Priority mode on all four consoles, and Update 43.1 enlarged console-only hitboxes with no damage or recoil changes attached to them. Here is the resolution and frame rate for each console, the buttons 42.2 moved, and the controller scheme KRAFTON announced but hasn't shipped.
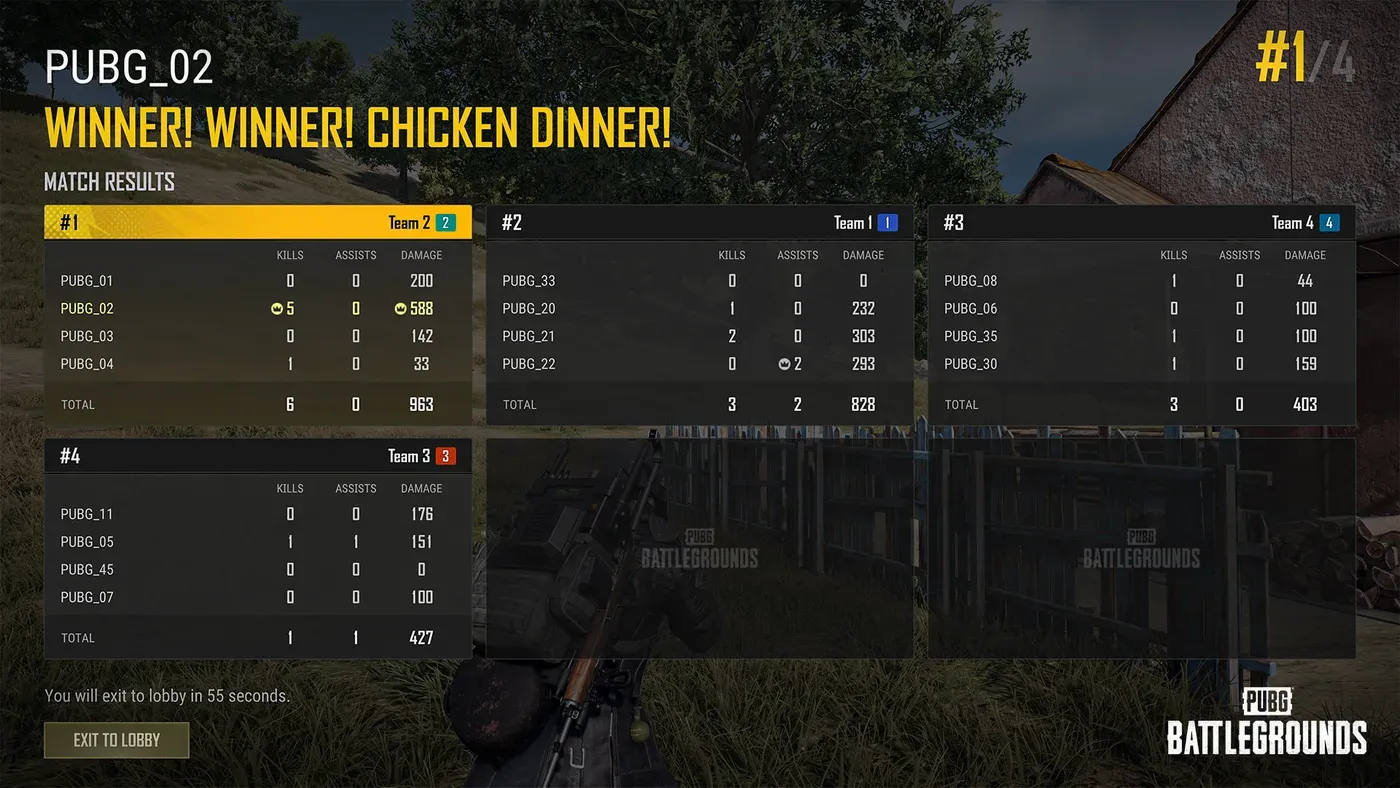
PUBG Match Results and Leaderboard, Explained
Update 43.1's patch notes buried two stat-tracking systems under headings nobody reads top to bottom: an expanded Match Results screen filed under Arcade, and an entirely new Career Leaderboard filed under its own heading with no platform tag. Here's what each one actually shows, which modes the Match Results upgrade does and doesn't cover, and how the four leaderboard categories are scored.
PUBG Workshop Guide: How Crafting and Disassembling Work
PUBG's Workshop has quietly run on Imprints, Vouchers and Credits since 2022. In 2026, KRAFTON deleted a standing chest, retired the two-step randomness its own developers called the 'Double Gacha,' and just made a chunk of the catalogue up to five times more expensive to craft or disassemble.
Best Weapons in PUBG: Tier List
Every PUBG tier list is out of date the moment a balance patch drops. So here's the list, ranked by role, plus the durable logic to re-tier any gun yourself when the next patch shakes things up.
Best PUBG Loadouts & Attachments
A naked M416 and a fully kitted M416 are basically two different guns. Here's how to build the strongest two-gun loadouts in PUBG and the attachment priority that turns loot into recoil control.