PUBG Drop Shots and Gunfight Movement Guide
The best PUBG duelists don't stand still and out-aim you — they move in ways that make your shots miss high while their own spray stays tight. Here's how drop shots, crouch-spam, and strafe-jiggling actually work, and when each one wins or loses the fight.
You have him. Crosshair on his chest, first three rounds connect, and then he just... sinks. Your stream stitches the air where his head was, he finishes his mag into your face, and you're staring at the deploy screen wondering how a guy you were beating dropped you. He didn't out-aim you. He dropped under your bullets, and that's a skill you can learn too.
This is the layer of PUBG: Battlegrounds gunfighting that sits on top of aim and recoil control: in-fight movement. Not rotating across the map, not peeking a corner — the small, violent stance and strafe changes you make during an active duel to make the enemy's crosshair wrong while keeping your own bullets on target. Drop shots, crouch-spam, strafe-jiggling. Done right they turn even fights into wins. Done wrong they're the reason your own spray sails into the sky.
The corner-baiting version of jiggling — flashing out to draw a held angle and pull back — lives in the peeking and crosshair placement guide. This one is about what you do once you're both already shooting. Pair it with solid recoil control and it's genuinely oppressive.
The guy who keeps dropping your bullets
Watch a good PUBG duelist in a close fight and they're never a still target. They're stepping left, dropping to crouch, standing back up, strafing right — all while keeping a stream on you. It looks twitchy and chaotic. It isn't. Every one of those movements is doing one of two jobs: making your crosshair land where they no longer are, or keeping their own crosshair steady enough to land shots.
Those two jobs pull in opposite directions, and that tension is the whole subject. Movement makes you hard to hit. Movement also makes your shots less accurate. The players who win close fights aren't the ones who move the most — they're the ones who move at the exact moments it costs the enemy more than it costs them.
The one mechanic underneath all of it
Before any of the tricks, you have to understand the single mechanic they all exploit: PUBG has a movement inaccuracy penalty. Firing while you move — running, strafing, or mid stance-change — spreads your bullets wider than firing while stationary. Standing still and aimed is the most accurate you can be; moving is the least. Crouching is steadier than standing, and going prone is steadier still, because a lower, planted stance reduces both your weapon sway and your recoil.
That's the trade the whole game runs on. Every stance and strafe trick is you trying to grab the defensive benefit of moving (harder to hit) while paying as little of the offensive cost (wider spray) as possible — and ideally forcing the enemy to pay the full cost instead.
PUBG doesn't publish exact spread values, and they get re-tuned across patches, so ignore anyone quoting you a precise "moving adds X% bloom" number — most of that is datamined or lifted straight from PUBG Mobile, which has entirely different gunplay. What's durable and true is the direction: still and low is accurate; moving and tall is not. Build your habits around that and you don't need the decimals.
The drop shot: duck under their spray
A drop shot is dropping your stance mid-fight — tapping crouch, or slamming prone — the instant you and an enemy start trading, so their bullets pass over where your head used to be while you keep firing into them.
Here's why it works. Your opponent has their crosshair placed at standing head-and-chest height, because that's where you were. The moment you crouch or go prone, your head drops below their aim line. Their spray, which is already climbing from recoil, now sails clean over you. Meanwhile you've dropped into a steadier stance, so if anything your own bullets just got tighter. You made them miss and yourself more accurate in the same keystroke.
How to actually do it:
- Crouch-drop for the fast version. Tap crouch (default C) the instant the fight starts. It's quick, it keeps you mobile, and it drops your head enough to duck a lot of sprays. This is the one to lean on 90% of the time.
- Prone-drop for the committed version. Slamming prone (default Z) drops you furthest and steadies you the most, but you're slow to get up and you've glued yourself to one spot. Save it for when you know it's a straight 1v1 and there's no one else about to walk in on you lying in the open.
- Drop while you fire, not before. The trick is the change of stance happening as the enemy commits their spray. Pre-crouching before the fight just means you're a slow, low target they aim at normally.
- Aim slightly up as you drop. Dropping stance dips your muzzle too, so nudge your aim up a touch so your stream stays on their body instead of sinking into the floor with you.
The drop shot is at its filthiest in tight indoor fights and sudden corner run-ins, where the ranges are short enough that your accuracy barely suffers and the enemy has zero time to re-aim downward.
Crouch-spam and why it cuts both ways
Crouch-spam (some players call it crouch-jiggling) is rapidly tapping crouch up and down during a fight so your head bobs between standing and crouched height, making you a moving vertical target that's genuinely hard to track.
It's effective — a bobbing head is much harder to keep a bead on than a static one, especially for the enemy's own recoil-climbing spray. But it is the single most over-used and misunderstood trick in the game, so here's the honest version: crouch-spam makes you harder to hit and makes you less accurate at the same time. Every time you change stance you eat a bit of that movement inaccuracy penalty, and your own crosshair bounces with your head.
So the rule is range-dependent:
- Up close, crouch-spam is strong. At 5-15 meters your spread barely matters because the target is huge and near, so the tracking-disruption you gain outweighs the accuracy you lose. Bob away.
- At range, crouch-spam is self-sabotage. Past ~30 meters the accuracy you throw away by never being planted costs you far more than the enemy struggles to track you. A calm, stationary, controlled spray beats a bouncing one at distance almost every time.
If you only remember one thing: crouch-spam is a knife-fight tool, not a rifle-duel tool.
Strafe-jiggling inside a fight
Strafe-jiggling is the horizontal cousin of crouch-spam: instead of bobbing up and down, you tap left (A) and right (D) to shuffle side to side while shooting, so the enemy has to chase you laterally.
The core move is the counter-strafe. If you strafe right, your enemy leads their aim to the right to track you; the instant you reverse to the left, their crosshair is now dragging the wrong way and your model is somewhere it isn't. Alternate unpredictably — not in a metronome rhythm they can time — and you're constantly a half-beat ahead of their tracking.
The catch is the same movement penalty. A pure sideways strafe while spraying at range smears your bullets across the target instead of drilling one spot. Two ways good players manage it:
- Micro-strafe, don't sprint sideways. Small taps to shift your model are enough to break tracking; big committed strafes turn your spray into a garden hose.
- The strafe-and-plant. Strafe to make them miss, then for the half-second you actually commit your spray, plant — stop moving — so those rounds land accurately. Then strafe again. You're alternating between "hard to hit" moments and "accurate" moments instead of trying to be both at once, which the game won't let you.
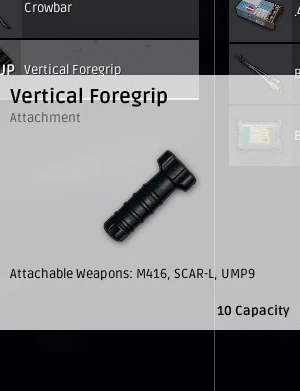
Stack a vertical or angled foregrip on your rifle and you claw back some of the sway and recoil this movement costs you, which is exactly why grip attachments matter more to aggressive strafe-fighters than to campers.
The stop-and-plant that actually lands shots
Here's the counter-intuitive part that separates people who understand this stuff from people who just mash crouch and hope: the accurate shots come from the moments you stop.
All the movement in the world only sets up the kill; it doesn't deliver it. Bullets that actually connect at any real range are the ones you fire while planted. So the elite pattern isn't constant motion — it's a rhythm of disrupt, then plant. Drop or strafe to make their shots miss, then freeze for the fraction of a second it takes to put an accurate burst into them, then move again before they recover.
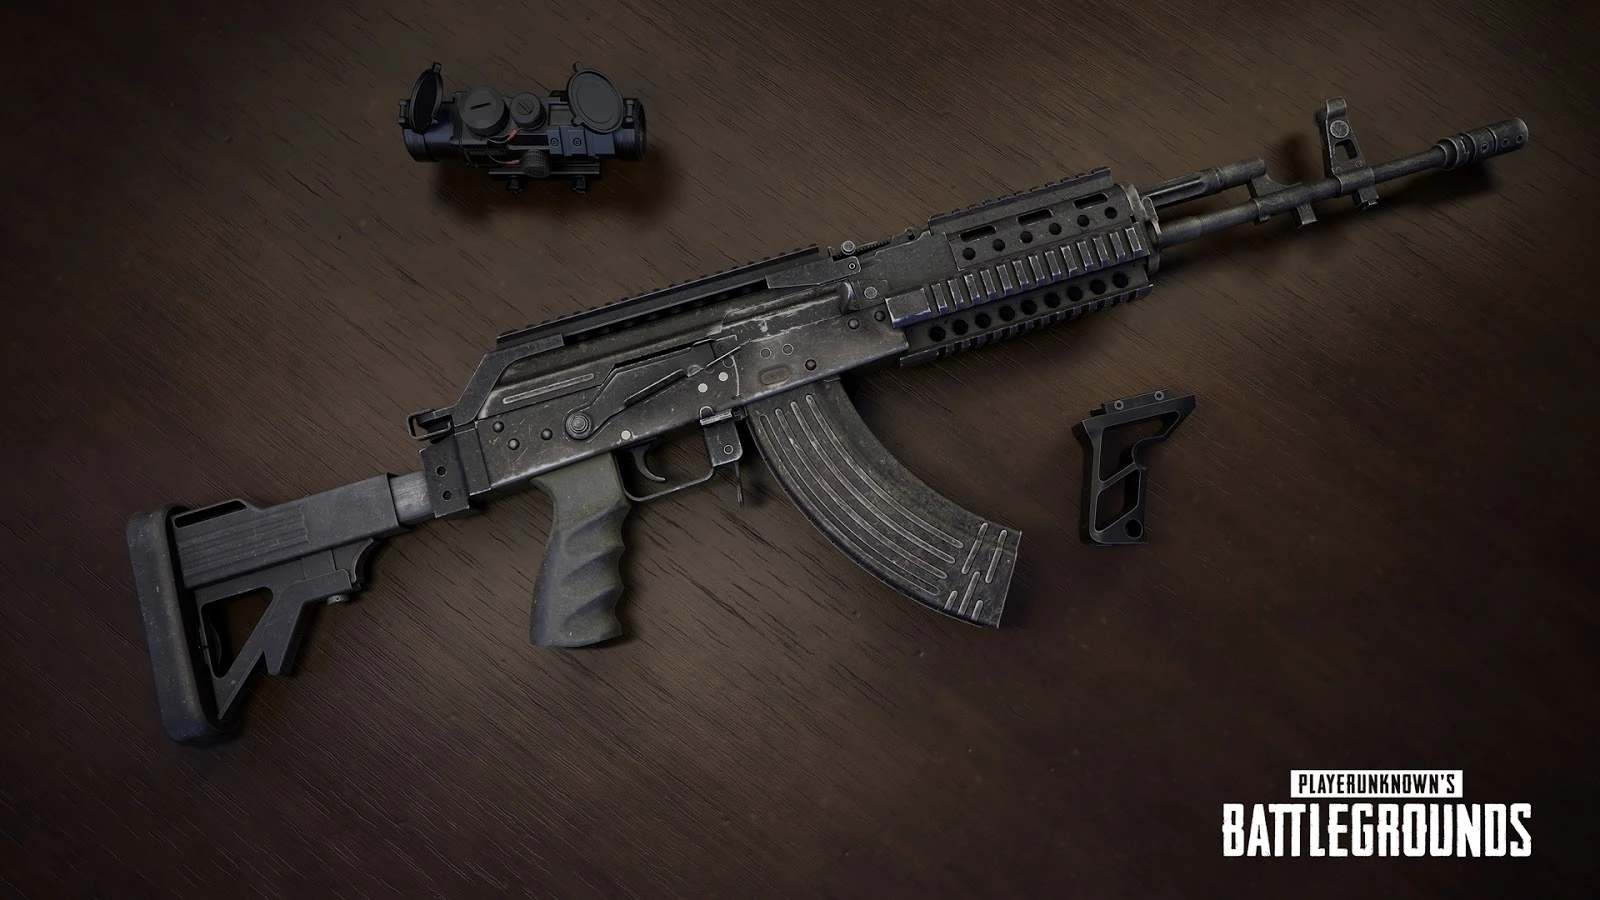
This is why a player who never stops moving loses to a player who moves deliberately. The first guy is permanently inaccurate. The second guy is untrackable in the gaps and laser-accurate in the plants. On a high-recoil gun like the Beryl M762, where the movement penalty stacks on top of an already vicious spray, the plant matters even more — try to strafe-spray a Beryl at range and you'll hit nothing but the landscape.
When movement tricks get you killed
None of this is free, and cargo-culting it will lose you more fights than it wins. The failure modes:
- Drop-shotting into a third party. Going prone glues you in the open. If a second squad rolls up while you're lying there mid-1v1, you're a free kill who can't reposition — check your flanks before you commit to the floor.
- Crouch-spamming at range. Covered above, but it bears repeating because it's the most common mistake: bobbing at 50m just means you never land a controlled spray. Plant and out-shoot them instead.
- Predictable rhythm. Any jiggle on a fixed beat — left-right-left-right like a metronome — is trackable within a second or two. If it has a pattern, a decent player reads it and leads it. Vary the timing or don't bother.
- Moving on open ground with no cover. These tricks buy you fractions of a second, not immunity. They're a supplement to good positioning and cover, not a replacement for it. Dancing in an open field just means you die tap-dancing.
- Forgetting it's a PC/close-range game. On controller, stance-spamming is clunkier and the payoff is smaller; console players lean harder on crouch-drops and good positioning than on frantic strafe-jiggles. Know your input.
Movement tricks are a multiplier on a fight you're already fighting well. They don't rescue bad positioning, bad aim, or a bad angle — they just tip the even fights your way.
Quick Action Checklist
- Remember the one rule: still-and-low is accurate, moving-and-tall is not — everything else is applying it
- Crouch-drop (C) the instant close fights start to duck the enemy's climbing spray; save prone (Z) for confirmed 1v1s
- Nudge your aim up slightly as you drop so your stream stays on their body, not the floor
- Crouch-spam only inside ~15 meters; at range it wrecks your own accuracy more than it saves you
- Counter-strafe with A and D on an unpredictable rhythm, never a metronome beat
- Use the strafe-and-plant: move to make them miss, plant to make your shots land, repeat
- Run a vertical or angled foregrip to claw back the accuracy your movement spends
- Check your flanks before you prone in the open, and never trade movement tricks for actual cover
Frequently Asked Questions
What is a drop shot in PUBG?
Does moving make you less accurate in PUBG?
Is crouch-spamming good in PUBG?
How do you strafe-jiggle in a PUBG gunfight?
Why do my shots miss when I move and shoot in PUBG?
Do drop shots and jiggles work on console PUBG?
Keep Reading
Related Guides
PUBG Cover Guide: What Actually Stops a Bullet
Half the deaths in PUBG happen behind something the player thought was protecting them. Bushes, grass, car doors, smoke — here's what actually stops a bullet, what only hides you, and how to use each one without getting killed while you feel safe.
PUBG Peeking and Crosshair Placement Guide
Most PUBG fights are decided before either player fully sees the other — by who peeked smart and whose crosshair was already at head height. Here's how to lean-peek, pre-aim, jiggle-peek, and hold angles without feeding free kills.
PUBG Movement and Positioning Guide
Most PUBG deaths aren't aim losses — they're positioning losses you took before the trigger pulls. Here's how to lean-peek, use cover, cross open ground, hold angles, and stop walking into third-parties.
Best PUBG Console Settings (PS5 & Xbox)
Default controller settings are why you keep losing gunfights you should win. Here's how to pick a controller layout, dial in three separate sensitivities, set your dead zones, and stop fighting your sticks on PS5 and Xbox.
Best Weapons in PUBG: Tier List
Every PUBG tier list is out of date the moment a balance patch drops. So here's the list, ranked by role, plus the durable logic to re-tier any gun yourself when the next patch shakes things up.
Best PUBG Loadouts & Attachments
A naked M416 and a fully kitted M416 are basically two different guns. Here's how to build the strongest two-gun loadouts in PUBG and the attachment priority that turns loot into recoil control.