Mystic Flour Cookie Toppings Build & Guide
Mystic Flour is a Beast cookie filed in the wrong drawer by half the community — she's a healer, not a nuker, and her whole kit runs on cooldown rather than attack. Build her for raw ATK and you make her worse. Here is the build that turns her into an unkillable shield engine — toppings, beascuit, substats, Magic Candy, and team fit.

Mystic Flour breaks the instinct every CRK player carries about Beast cookies: that a Beast must be a screen-deleting damage threat. She isn't. She's the first of the Five Beasts ever released, and she's a Healing cookie — a back-row shield engine whose entire job is to wrap your team in a shield nothing can strip and keep them standing through fights that should kill them. Gear her like a damage dealer because the rarity says "Beast" and you actively make her worse, because her kit doesn't scale on attack. It scales on how fast and how often her shield comes back up. That makes cooldown the build, not ATK.
This guide is the June 2026 build sheet for her: toppings, beascuit, tart, Magic Candy, team fit, and the specific mistakes that turn a Beast into a benchwarmer. Where the community has invented precise substat roll-targets, I'm giving you the direction instead of a fake number — because the wrong number gets copy-pasted forever, and the direction is what actually moves the needle.
Who Mystic Flour actually is
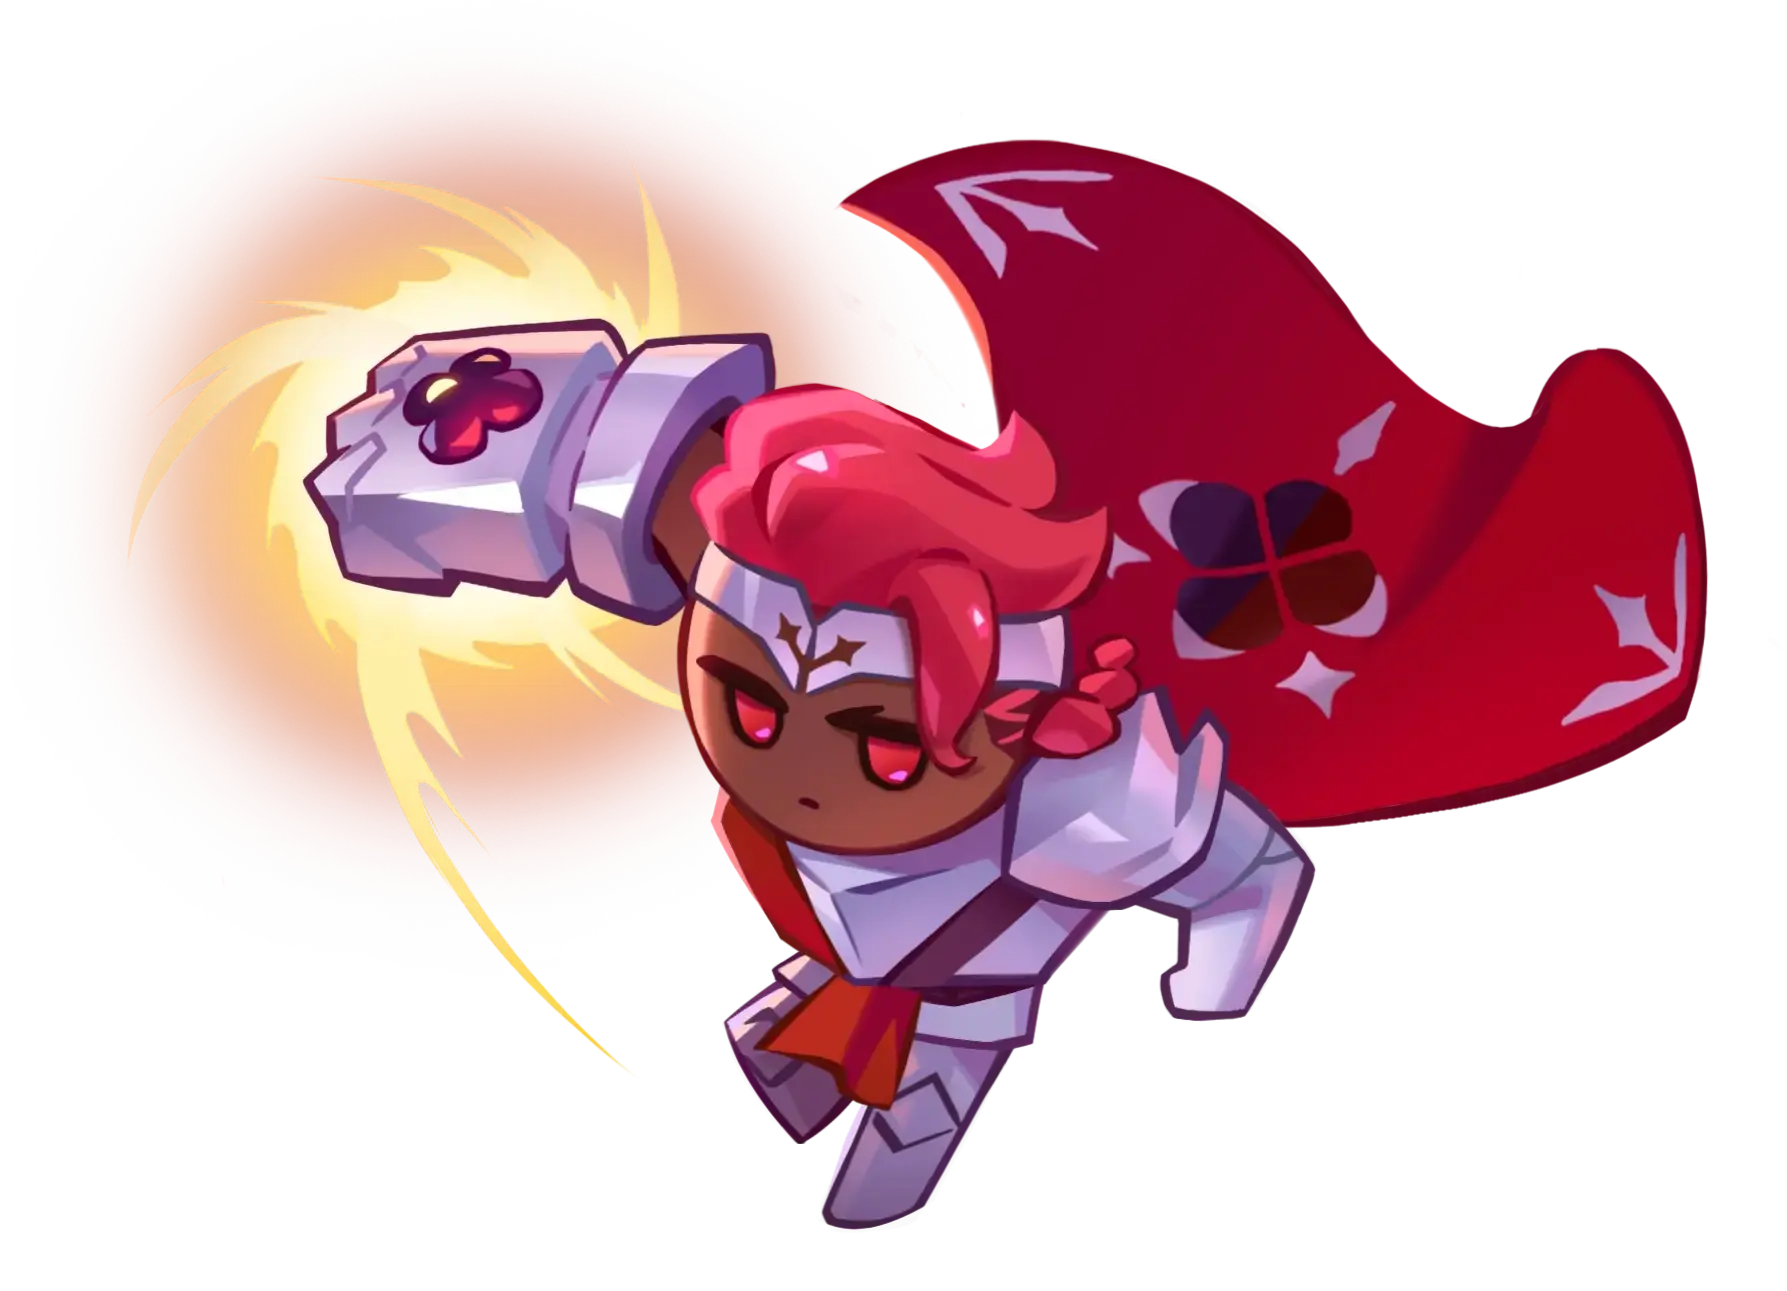
Get the identity right before you spend a single topping. Mystic Flour Cookie is Beast rarity — one of the Five Beasts, among the hardest cookies in the game to pull — and her class is Healing, positioned in the Rear row. She's the antagonist of the Realm of Apathy chapter and the first Beast to release, back in the Awakening of White Apathy update. She is not a DPS, not a tank, and not a buffer in the conventional sense. She's a shield-and-sustain cookie that happens to sit at Beast power.
Her skill, Whispers of Apathy, creates the Realm of Apathy and shields your allies inside it with the Cocoon of Futility. While the Realm is up, allies have their HP periodically restored and gain a buff, and when the Realm ends they're healed for a portion of the damage they dealt during it. The shield is the headline: the Cocoon of Futility cannot be dispelled, Zapped, or removed by Overcurrent, and it sticks around even after its HP value hits zero. If an ally is already at max HP, incoming healing tops up the shield instead of being wasted. Enemies who wander into the Realm get their cooldown increased and their attack speed cut, and pick up a debuff that punishes them further.
Here's the part that defines the build. Mystic Flour increases her own DMG Resist based on how much her cooldown is reduced — so cooldown isn't just frequency, it directly buys her survivability through her Lantern of Apathy. And that Lantern keeps healing your team regardless of her status, with the healing ramping up if she's defeated. Read the whole thing together and you get a self-sustaining defensive anchor whose every important number keys off one stat: cooldown.
Why cooldown is the whole build
Most Beast cookies want a giant cast, so you stack ATK and time one big hit. Mystic Flour is the opposite kind of cookie entirely. Her value is the uptime of an unstrippable shield plus a steady stream of healing, and both of those scale with how quickly Whispers of Apathy comes back. The limiting resource isn't the size of a hit — there is no hit. It's the gap between casts.
That makes cooldown your number-one stat, full stop. Every point of cooldown reduction means the Cocoon of Futility refreshes sooner, the Realm of Apathy has higher uptime, the damage-to-healing conversion fires more often, and — the kicker — her own DMG Resist climbs, because her Lantern of Apathy converts reduced cooldown directly into resistance. On most cookies cooldown is a tempo stat. On Mystic Flour it's a tempo stat and a defensive stat at the same time. You're double-dipping every time you roll it.
ATK is not the lever here. Her healing scales off her own ATK to a degree, so attack isn't worthless, but it's a distant secondary to the cooldown engine that runs the entire kit. Build the frequency first and let everything else fall in behind it.
The standard Mystic Flour topping build

5x cooldown toppings (the Swift Chocolate set). That's the backbone, and it isn't close.
The standard:
- Toppings: 5x Swift Chocolate (cooldown)
- Beascuit: a cooldown-priority beascuit
- Tart: a cooldown tart
- Magic Candy: equipped and leveled
There's a legitimate flexible variant — a cooldown-and-ATK split, or a small slice of damage-resist toppings — for players who want her healing numbers a touch higher or want a bit more raw bulk on top of what her kit already gives her. It's a real option, not a trap. But it's the situational pick. For the general case, full cooldown wins because it feeds the one engine her whole kit is built on, and because cooldown on this specific cookie is buying you DMG Resist for free through the Lantern of Apathy. If you only build her one way, build her full cooldown.
If you're new to how topping sets and substats interact, the toppings guide covers the fundamentals this build assumes.
Substat priorities without the fake numbers
Substats are where most of a build's quality lives, and they're also where the CRK community most loves to invent exact percentages nobody can actually verify. I'm not going to hand you a fake "you need exactly 16.8% cooldown" target. Here's the honest version.
Priority order on your substats:
- Cooldown — the priority, on as many toppings as you can manage. This is the stat that runs the entire kit: shield uptime, healing frequency, and her own DMG Resist all key off it. Roll for it first and don't apologize.
- DMG Resist — your secondary. She's a defensive anchor your team leans on, so keeping her standing matters, and resist stacks cleanly with the resistance her cooldown is already generating.
- ATK or HP — a useful rider where you missed cooldown and resist. Her healing scales partly off ATK, and HP raises the value of the shield she throws on allies, so either is a fine third stat.
The practical rule: roll for cooldown first, back it with DMG Resist, and don't chase a perfect set. Cooldown has diminishing returns once her shield is refreshing on a tight loop — past a certain point you're shaving milliseconds off an already-short timer, and that effort is better spent building your next cookie. Hit "the shield is basically always up" and stop.
Beascuit pick — cooldown over everything

The beascuit slot follows the same logic as the toppings: prioritize cooldown. It's another place to push her shield and heal frequency, which is the lever that scales her whole value — and again, it doubles as DMG Resist through her passive.
Stat priority on the beascuit: Cooldown > DMG Resist > ATK or HP. Cooldown for the engine, resistance to keep the anchor alive, and a touch of ATK or HP underneath to firm up the healing and the shield. A high-quality cooldown beascuit — the kind you'd pull from a premium beascuit pool — is the ceiling here, but any beascuit you can stack cooldown on does the core job.
Don't bring an ATK-priority beascuit to this build. It looks like "more healing" and it's actually a slower shield, fewer Lantern procs, and less self-resist — which on this specific cookie is strictly worse. The beascuit is a cooldown slot first.
Tart and treasure picks
Two routes, matched to your topping build:
Cooldown tart (Swift Chocolate tart). This is the pairing for the standard cooldown build. It stacks with your topping cooldown to keep the Cocoon of Futility refreshing as fast as possible, which is exactly what her kit wants. This is the default.
ATK or HP tart. Only for the flexible variant, if you've deliberately leaned a couple of slots toward bigger heal numbers or more bulk. Don't mix it into a full cooldown set without a reason — pick a lane and commit to it.
For treasures, the through-line matches the rest of her build: anything that reduces cooldown at battle start or speeds her rotation does more for her than a flat stat treasure, because it gets the shield up sooner and keeps her DMG Resist climbing. Lead with cooldown-and-tempo treasures, and a damage-reduction treasure pulls double duty on a cookie whose job is to keep the team alive. The treasures guide covers the current best-in-slot options and how they stack.
Magic Candy for Mystic Flour
Magic Candy is where a Beast cookie goes from "good" to "why won't this team die," and Mystic Flour is no exception. Her Magic Candy deepens the kit that's already her whole identity — stronger shields, more healing, and a sturdier defensive floor — and because that kit runs on cooldown, every upgrade compounds with everything else you've stacked.
Leveling priority is the usual: get it equipped and leveled to a functional baseline before you call the build done, then push it higher if she's a main anchor in your serious Arena or high-tier PvE teams. Because her value is constant uptime rather than one big moment, every level of Magic Candy is reinforcing a cookie that's contributing on every single beat of the fight — which pays off cleanly. For where she should sit in your overall Soul Essence spending, the Magic Candy priority guide has the framework. A pulled Beast generally sits near the front of that line.
Team comps and where she fits

Mystic Flour is a protect-the-carry cookie. Her unstrippable shield and constant healing are wasted if your team has nothing worth protecting, so you build around a damage core that wants to live long enough to do its job:
- A glass-cannon carry to shield: her whole pitch is keeping a fragile, high-ceiling damage dealer alive. A Magic nuker like Dark Enchantress from the DPS tier list is the textbook beneficiary — the Cocoon of Futility means a stun or a burst that would normally delete a backline carry just... doesn't.
- A front line to absorb the opening: she sits in the rear, so a real tank from the tank tier list — Hollyberry or a taunt tank — keeps the enemy off her and your carry while the shield and Lantern do their work.
- A flex slot — buffer, debuffer, or a second damage source: her kit doesn't buff ATK the way a dedicated support does, so pairing her with an actual amplifier raises the team's ceiling without stepping on her job. The healer slot is hers; spend the flex on damage or utility.
She slots into the kind of shells the Kingdom Arena meta team and the Guild Battle teams guide lay out — a durable front, an amplifier, a carry, and Mystic Flour in the rear making sure none of them die. Keep her in the rear. She's a Healing cookie; up front she eats hits meant for a tank and the shield engine stalls. Worth knowing for long fights: even when she goes down, her Lantern of Apathy keeps healing, so she contributes past the point most healers stop.
Common Mystic Flour build mistakes
In rough order of how often they show up:
-
Building her full ATK because she's a Beast. Rarity isn't a role. She's a Healing cookie whose kit runs on cooldown, not attack. Stacking ATK gives you a slower shield, fewer heals, and less self-resist — strictly worse on this cookie. Cooldown first.
-
An ATK-priority beascuit on the cooldown build. Same mistake, different slot. The beascuit is a cooldown slot first; cooldown is what scales her whole kit, and it's secretly DMG Resist too.
-
Mixing a damage tart into a cooldown set without a reason. Pick a lane. The standard build wants the cooldown tart; only the deliberate flexible variant wants ATK or HP.
-
Chasing perfect cooldown rolls forever. Cooldown has diminishing returns once the shield is basically always up. Hit "constant uptime" and go build your next cookie instead of rerolling for a fraction of a second.
-
Running her with no front line. She sits in the rear and she's not unkillable on her own — the enemy reaching the back row interrupts her engine. A tank up front is the fix, not rebuilding her for bulk.
-
Pairing her with a team that doesn't need a shield. Her value is protecting a carry that wants to survive. On a pure speed-clear where nothing dies anyway, her slot is better spent on more damage. Bring her when survival is actually the question.
Quick Action Checklist
- Equip 5x Swift Chocolate (cooldown) toppings as the standard build; a cooldown-and-ATK split is the niche flexible option
- Prioritize Cooldown substats, then DMG Resist, then ATK or HP — and don't reroll forever
- Remember cooldown doubles as DMG Resist on her through the Lantern of Apathy
- Run a cooldown-priority beascuit (Cooldown > DMG Resist > ATK/HP), not an ATK one
- Pair a cooldown tart with the standard build; only use a damage tart for the deliberate flexible variant
- Lead with cooldown-and-tempo and damage-reduction treasures
- Equip and level Magic Candy; push it higher if she's a main anchor
- Keep her in the rear, never front
- Build the team around a carry worth shielding: a real tank, an amplifier, and a glass-cannon DPS like Dark Enchantress
Frequently Asked Questions
Keep Reading
Related Guides
Caramel Arrow Cookie Toppings Build and Full Guide (2026)
Caramel Arrow is the only Ranged cookie in the entire game whose position is prioritized to the Front — a fact that changes how you build her more than any tier list ever will. Here's the full 2026 sheet: toppings, substats, Sacred Vow resonants, Magic Candy, soulstones, and the mistakes that waste her.

Moonlight Cookie Toppings Build and Crystal Jam Guide
Moonlight Cookie has been putting entire Arena teams to sleep since January 2023, and her 2024 Crystal Jam quietly turned her into one of the best-scaling Legendaries in the game. Here's the build sheet — including the beascuit interaction that literally converts Cooldown into DMG Resist Bypass.

Financier Cookie Toppings Build — The F2P Guardian, Geared Right
Financier Cookie is the Epic protector who out-values half the Legendary supports — but only if you build her Cooldown-first. Here's the toppings setup that keeps her Light's Shield up.
Wildberry Cookie Toppings Build — The Wall That Punches Back
Wildberry Cookie is the OG F2P bruiser: the more you hit him, the harder his final blow lands. Here's the HP-and-DMG-Resist build that turns him into a wall that hits back.

CRK Tier List May 2026 — PvE & PvP Rankings (Post-Timeline of Fate)
Timekeeper rewrote the Arena rulebook, Ash Salt is bullying World Exploration, and Eternal Sugar finally dropped a tier. Here is the May 2026 CRK tier list, sorted for PvE, PvP, and Guild Battle, with the F2P investment picks that actually matter.

CRK Toppings Guide (2026) — Every Set + Reroll Strategy
Most players lose more power to bad sub-stats than to missing the right Cookies. Here is every topping type, the sub-stat thresholds that matter, the best set for each role, and the reroll math that tells you when "good enough" actually wins.