Crimson Desert Bosses Guide: Every Showcased Fight Explained
Crimson Desert bosses are hand-built set pieces, not health bars. Here is how the four marquee fights work and the one combat read that carries you through all of them.
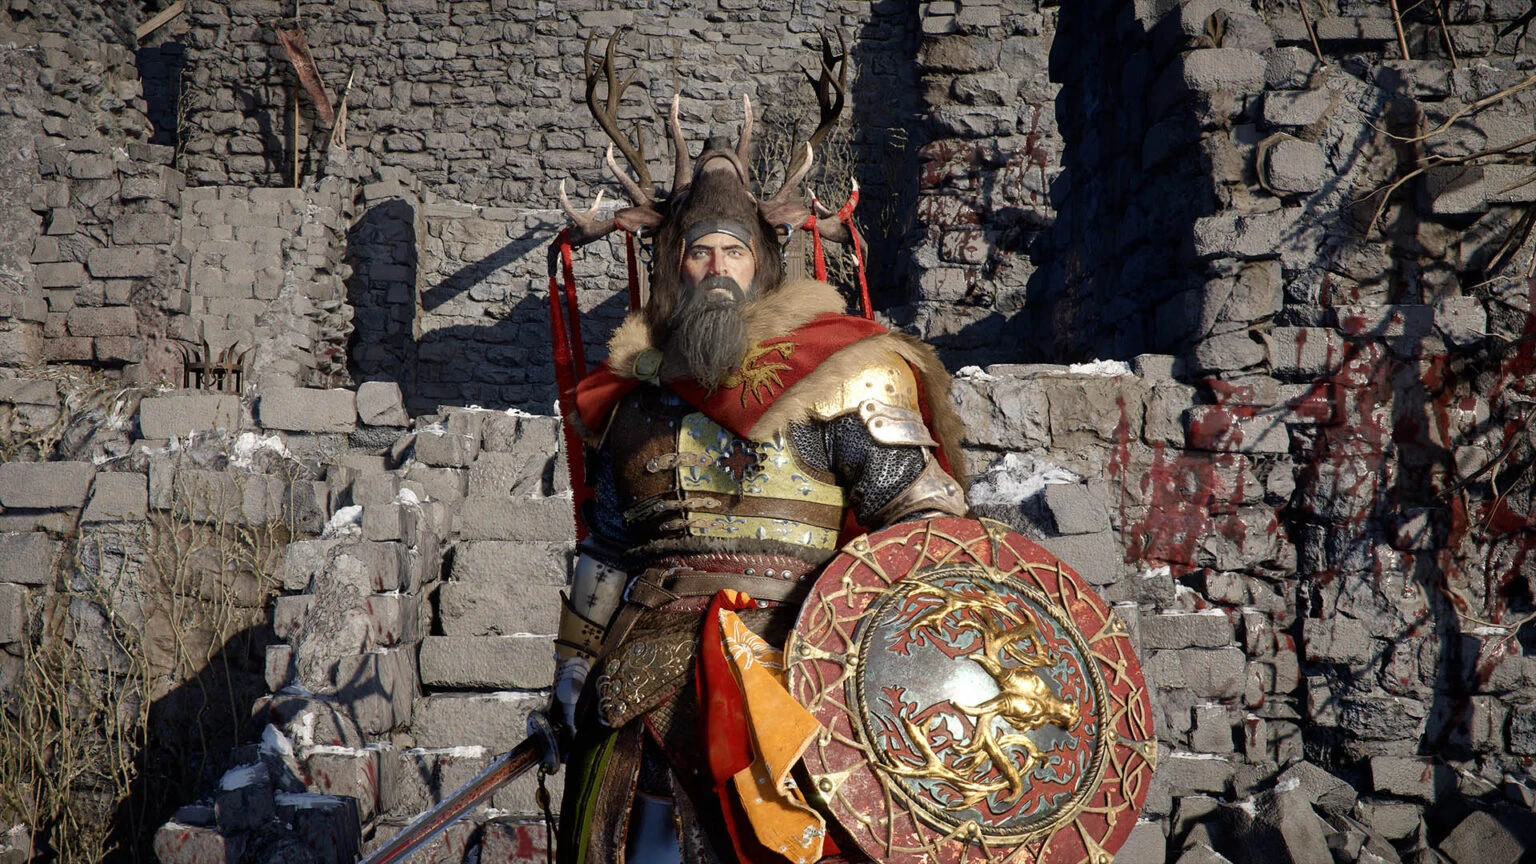
Crimson Desert bosses are set pieces, not health bars
The first thing you notice about a Crimson Desert boss is that the game stops treating it like an enemy and starts treating it like a scene. Pearl Abyss builds these fights by hand — cinematic entrances, arenas designed around one specific creature, mechanics that exist nowhere else and never come back. Hands-on previewers kept circling the same phrase: set pieces. You are not grinding a bar down. You are surviving a performance that happens to be trying to kill you.
That is also why bosses are the best argument for the combat system. Everything the combat guide drills into you — read the glow, parry for resources, never guard a red attack — exists so these fights land. A trash mob forgives sloppy inputs. A boss does not.
This guide covers the marquee bosses Pearl Abyss has shown off in the most detail, what makes each one tick, and the through-line that makes all of them beatable. No invented movesets, no "trust me" phases — just the fights the studio has actually put on screen and what they demand from you.
What every boss fight has in common
Before the individual fights, the pattern they share, because if you internalise this you are already most of the way there.
Boss attacks come in two flavours and you have to sort them on sight. Ordinary strikes can be parried — time the guard, catch the green flash, and you refund Stamina and Spirit while stacking the boss's stagger meter. Red-glowing attacks cannot be parried at all; those get a Perfect Dodge or they get to hit you. That single read is the skill test, and bosses are where it stops being optional.
The economy underneath it is the one from every other fight: parries are your resource engine, stagger is your damage window. You are not out-damaging a boss health bar in the open. You farm defensive reads until the boss staggers, then dump your most expensive combo into the stun. Bosses are also the most reliable source of Abyss Cores in the game, so every one you clear pays directly into your build.
With that framing, the individual fights.
White Horn: the snowbound beast you climb
White Horn was one of the earliest bosses Pearl Abyss showed, and it is still the cleanest introduction to how a Crimson Desert monster fight works. It is a folkloric snow creature — a horned, shaggy thing out of a fireside story — and the encounter is deliberately readable. Previewers described it as one of the easier boss fights, which is exactly why it makes a good teacher.
The moveset is a dodging drill. White Horn charges, throws out several area attacks, and triggers weather events that rain damaging ice across the arena. None of it is subtle. What makes the fight memorable is the traversal wrinkle: you can climb onto the beast's back to deal damage directly, turning a defensive slog into a scramble. The fight also unfolds across multiple distinct phases, each one adding to the pattern rather than replacing it.

Treat it as an exam on movement. If you can read White Horn's tells and pick your damage windows, you have the fundamentals the harder bosses assume you already own.
Staglord: the fallen king who fights like you
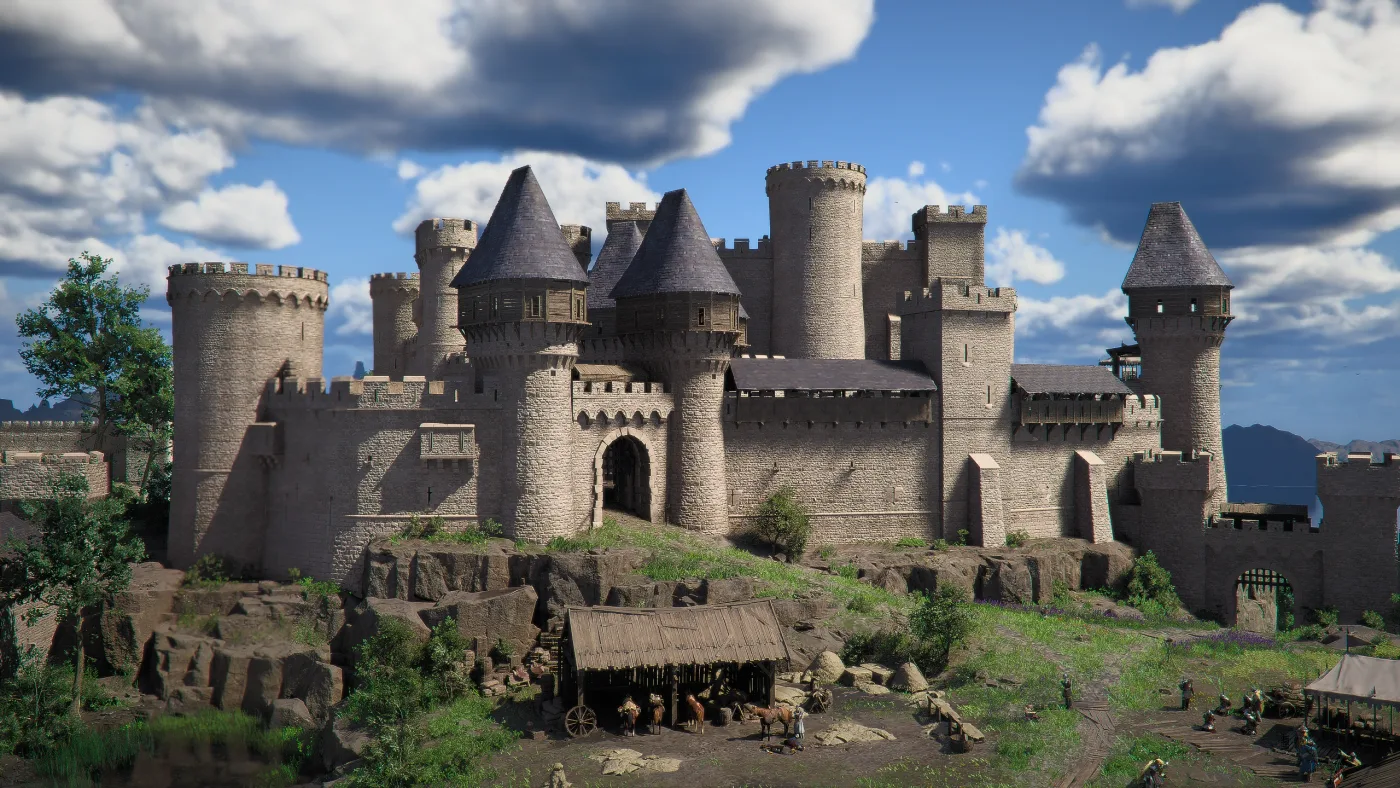
Staglord is the fight people remember. A fallen king in ornate, Celtic-styled armour, holed up in a ruined mountain fortress, wielding a sword and shield — and crucially, fighting the way Kliff fights. This is the mirror match. A short scripted sequence kicks the encounter off, and then it is a straight duel between two sword-and-shield combatants of roughly matched ability.
Because Staglord fights like you, the encounter rewards your defensive kit hardest. Blocking works but bleeds chip damage and eats big chunks when he connects; parrying and countering is the real answer, and the payoff is the post-parry counterattack window. He also has at least one unblockable attack in the kit — the red-glow rule applies, so do not sit on guard and hope. The read previewers landed on was to settle into a consistent rhythm rather than improvise: learn his tells, commit to a rotation, punish the parries.
If any fight in the game is the pure expression of "Crimson Desert combat is closer to a fighting game than a Souls-like," it is this one.
Reed Devil: the blur in the wheat
The Reed Devil — "the devil of the reed fields" — is a mandatory boss that haunts the reed and wheat fields of Frozen Soul Mountain, a stretch of the world worth reading up on in the Pywel exploration guide. It is small, fast, and built entirely around swordsmanship — specifically iaijutsu, the quick-draw style where the whole exchange is decided in the half-second of the draw.
This is the anti-turtle fight. The Reed Devil retreats into the tall reeds between exchanges, uses clones and distractions to scramble your targeting, and chips you down with rapid strikes — death by a thousand cuts rather than one big swing. Playing it patient and defensive is how you lose; the reeds and the clones punish hesitation. The read from hands-on play was the opposite of Staglord: close the distance, stay aggressive, and deny it the space to reset. It also summons wicker totems mid-fight that you have to destroy, so it is not a pure duel — there is an arena to manage.
Queen Stoneback Crab: the boss that is a puzzle
And then there is the one that barely qualifies as a boss fight in the traditional sense. The Queen Stoneback Crab first appears as an ordinary boulder studded with valuable gems. It only wakes up when one of Kliff's allies goes to mine it — and once it does, you cannot just hit it.
The Queen cannot be struck directly. The fight is a mechanics puzzle: break the formations guarding its weak points, damage the exposed areas, mount the creature, destroy its gems to reach the vitals, and finish with a specific combo to break the chimney-like structure on its back. Previewers singled it out as the encounter that rewards finesse and reading the mechanics over raw combat skill. It is the clearest signal that Pearl Abyss did not want every boss to be a stat check — some of them are riddles wearing a health bar.
Kailok the Hornsplitter and the wider roster
The four above are the fights the studio has shown in the most detail, but they are not the whole list. Crimson Desert's boss roster runs deep — hulking horned brutes like Kailok the Hornsplitter, armoured humanoids, and creatures that sit somewhere between the two.

The honest note here: for much of the roster, the only responsible thing to say right now is that the fights exist and follow the same rules as the ones above. Rather than invent movesets, the useful takeaway is structural — every Crimson Desert boss is hand-built, every one leans on the parry, red-attack and stagger loop, and every one drops gear and cores worth going back for. Learn the four marquee fights and you have the toolkit for the rest.
How to prep for any boss
The pre-fight checklist that travels across all of them:
Arrive with full Stamina. Bosses punish an empty bar instantly — no dodge, no counter, no block that holds. If you grappled or sprinted into the arena, let it refill before you commit. The exploration guide goes deeper on why Stamina is your real speed limit.
Socket for the fight you are walking into. Because swapping Abyss Cores is free, there is no reason to face a boss on a loadout built for trash mobs. Reconfigure for the build the fight demands and go in.
Cook first. Camp buffs to HP, Spirit and Stamina are free stat lines and they stack with everything else. Bring them.
Know your two reads cold. Parry the ordinary attacks, Perfect Dodge the red ones. If you drill only one thing before a boss, drill that — the combat guide breaks the timing down.
Quick Action Checklist
- Sort every boss attack on sight: parry ordinary strikes, Perfect Dodge red-glowing ones.
- Farm parries to force a stagger, then dump your biggest combo in the stun window.
- White Horn: read the charges and ice, climb its back for direct damage. Treat it as a fundamentals check.
- Staglord: play it as a mirror duel. Parry, counter, settle into a rotation, respect the unblockable.
- Reed Devil: stay aggressive, close the distance, destroy the wicker totems, do not turtle in the reeds.
- Queen Stoneback Crab: do not attack it directly. Break its guards, mount it, destroy the gems, finish the combo.
- Arrive with a full Stamina bar every time.
- Re-socket your Abyss Cores for the fight before you start — swapping is free.
- Cook camp buffs for HP, Spirit and Stamina beforehand.
- Every boss drops cores and gear, so clearing them pays straight into your build.
Frequently Asked Questions
What are the main bosses in Crimson Desert?
How do you beat White Horn in Crimson Desert?
What is the best strategy against Staglord?
How do you fight the Reed Devil in Crimson Desert?
How do you defeat the Queen Stoneback Crab?
What is the general strategy for Crimson Desert bosses?
Keep Reading
Related Guides
Crimson Desert Boss Rematch: Reminisce vs Resonate
Beat a boss once and its Memory Fragment lets you fight it again, as any of the three characters, in one of two modes. Here is how Rematch works, why it pays nothing, and what 1.07.00 and 1.13.00 moved.
Crimson Desert Golden Star Boss Fight Guide
Golden Star is the Chapter 11 boss that hands you Blackstar, and no guide on this site has ever explained how to beat it. Here is the arena, the four attacks, the stagger loop that wins the fight, and an honest account of what update 2.00.00 changed about it — because every walkthrough of this fight, including ours, predates that patch.
Crimson Desert Achievements: All 34, Rarity and Missables
Five of Crimson Desert's 34 achievements come from the story and camp. The other 29 each ask for a whole family of Challenges. Here is every one with its Steam unlock rate, the Sealed Abyss Artifact rule, and the missables list rechecked against Pearl Abyss's patch notes.
Crimson Desert Re-Blockade: How to Stop Forts Being Retaken
Enemies back on a fort you cleared weeks ago is not a bug. It is Re-blockade, switched on by default since May. Here is how the setting, Protection and the 1.10.00 stages actually work.

Crimson Desert Combat Guide: Parry, Counter, Watch & Learn
Crimson Desert is not a Souls game wearing a bigger map. It is closer to a fighting game, and the players bouncing off it are all making the same three mistakes.
Crimson Desert Contribution Guide: All 5 Regional Shops
Three sibling posts on this site name-drop "Contribution" in passing. None of them explain what it is, how to earn it, or why one of its five shops does not open until the literal last chapter of the game.