Elden Ring Early Game Route: A Smarter First 10 Hours
Most first playthroughs stall at Margit because the player walked straight there. Here is the Limgrave and Weeping Peninsula route that gets you flasks, spirit summons, upgrade materials and a real weapon first — with the numbers behind why it works.

Margit has 4,174 HP and gives you 12,000 runes. That ratio is the entire early game of Elden Ring in two numbers: he is a wall, and he is also the single largest rune payout available to a character who probably has fewer than 8,000 runes banked in total.
The reason so many first playthroughs die on that wall is not skill. It is that the game very deliberately points a glowing gold trail at Stormhill and most people follow it in a straight line, arriving at Margit around level 20 with four flask charges, no Spirit Ashes, and a +2 weapon. Margit is beatable in that state. He is not pleasant in that state.
The alternative is not grinding. It is routing. Limgrave and the Weeping Peninsula are stuffed with permanent, non-farmable power upgrades that take two or three hours to collect. Here is the order I would run them in.
The gate is a suggestion
Elden Ring's opening is unusually honest about being optional. The golden guidance line is a suggestion, the Tree Sentinel outside the Church of Elleh is a "come back later" sign in the shape of a mounted knight, and there is no penalty for spending your first four hours going east instead of north.
Worth internalizing: almost nothing in the early game is missable, but almost everything is cheaper in the right order. Torrent before you explore makes every trip three times faster. Spirit Ashes before you fight field bosses makes those field bosses beatable. Flask upgrades before Margit make Margit stop being a wall.
Hour one, the Limgrave opening
From the Stranded Graveyard, come up the lift and take the First Step Site of Grace. Then, in this order:
- Church of Elleh, north of First Step. Kalé the merchant sells the Crafting Kit and a Telescope, and there is a Smithing Table here. Take the Site of Grace. There is a Smithing Stone 1 lying around and a Golden Rune 2.
- Gatefront Ruins, up the road to the northwest. Take the Site of Grace. The underground cellar holds a chest with the Whetstone Knife and Ash of War: Storm Stomp. The Whetstone Knife is what lets you apply Ashes of War and affinities at a Site of Grace at all — without it the entire infusion system is switched off for you.
- Agheel Lake North, southeast. Another grace, and a fast-travel anchor for the central map.
Everything after this is negotiable, but do not skip Gatefront.
Torrent and the Spirit Calling Bell
You get Torrent from Melina, and there are exactly two ways to trigger it: rest at either the Gatefront Ruins or Agheel Lake North Site of Grace, or touch three different Sites of Grace anywhere and then rest at any additional one. Since the route above hits both named graces in the first twenty minutes, you will have Torrent almost immediately. Good.
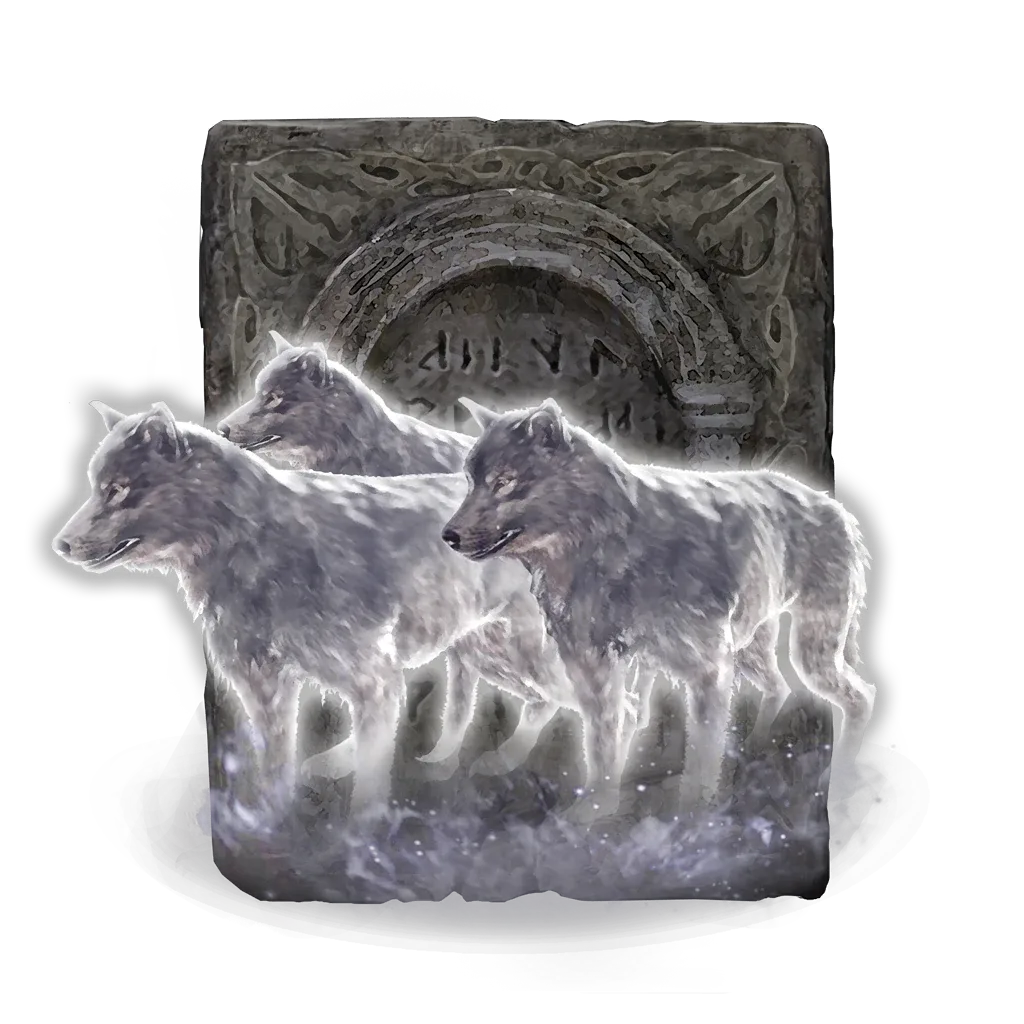
The moment you have the Spectral Steed Whistle, go back to the Church of Elleh at night. Renna is sitting on the ruined wall. Talk to her and she hands you the Spirit Calling Bell and the Lone Wolf Ashes for free. If it is daytime, rest at the grace and pass time until it is not.
The Lone Wolf Ashes cost 55 FP and summon three wolves. Unglamorous, and genuinely excellent this early — they stagger low-poise enemies constantly and split aggro on bosses that only track one target. They upgrade with Grave Gloveworts and stay relevant well past Limgrave.
If you miss Renna — she stops appearing once you meet Ranni at Ranni's Rise — the Twin Maiden Husks sell the bell for 1,000 runes and the ashes for 400.
One scheduling note that trips people up: the Roundtable Hold does not unlock on a timer. You get Melina's invitation by resting at a Site of Grace in Liurnia of the Lakes or Caelid, or by defeating Margit. So on this route the Hold typically opens right after Margit dies, which is also when Smithing Master Hewg and the Twin Maiden Husks become available.
The Weeping Peninsula is not optional
Cross the bridge south of Agheel Lake. The Weeping Peninsula is scaled to roughly the same difficulty as central Limgrave, it is completely skippable, and skipping it is the single biggest self-inflicted wound in a first playthrough.
What is down there:
- Church of Pilgrimage — a Sacred Tear, which permanently increases how much every Flask of Crimson Tears sip heals.
- A Golden Seed on the path toward Castle Morne.
- Castle Morne itself, which is a full legacy-lite dungeon with real loot and the Grafted Blade Greatsword at the end of it.
- Tombsward Catacombs and Impaler's Catacombs, which are short, hold Spirit Ash upgrade materials, and teach you the catacomb layouts you will see for the rest of the game.
- A large amount of open-field runes at a difficulty you can actually handle.
Two to three hours down here typically takes a character from level 20 into the 30s with better flasks — a completely different creature to the one that walks up to Margit at 20.
Weapons worth the detour
Three specific pickups punch far above their level requirement.
Bloodhound's Fang. Dropped by Bloodhound Knight Darriwil in the Forlorn Hound Evergaol in southern Limgrave. Blaidd the Half-Wolf points you here as part of his questline and can be summoned into the Evergaol, which makes it dramatically easier. It is a curved greatsword with 141 base physical attack power at +0, D Strength and C Dexterity scaling, and 55 Blood Loss buildup. It requires 18 Strength and 17 Dexterity — do not swing it under those numbers, because unmet requirements cost a flat 40% damage penalty on the relevant scaling. It takes Somber Smithing Stones, so it caps at +10 and gains 8% of its base scaling per level: fast and cheap to max.
Fringefolk Hero's Grave. Back at the Stranded Graveyard where you started, behind a fog gate sealed by two Stonesword Keys. Nasty for its position — Merciless Chariots patrol the walkways and there are two Grafted Scions inside — but it holds the Erdtree's Favor talisman, which raises maximum HP, stamina, and Equip Load at once, and the Ulcerated Tree Spirit drops both a Golden Seed and the Banished Knight Oleg Ashes. Come back once you have wolves and a real weapon.
The Meteorite Staff, for sorcerers only, and it is a stunt. It sits in a broken tower at the Street of Sages Ruins in Caelid, reachable early via the teleport chest in the Dragon-Burnt Ruins. S-rank Intelligence scaling, a Strength requirement of 6, and no upgrade path — meaning 138 sorcery scaling at the minimum 18 Intelligence regardless of your smithing situation, plus 30% to gravity sorceries. For an Astrologer or Prisoner, it is the largest early power spike available.
Flasks are your actual power level
The Flask of Crimson Tears starts at 4 charges and caps at 14. That is not a small range, and the entire difference is made of Golden Seeds (more charges) and Sacred Tears (more healing per charge).
Golden Seeds you can reach before Stormveil:
- Near Stormhill Shack, on the road beyond Stormgate.
- Inside Stormhill Shack itself, once Roderika has moved on to the Roundtable Hold.
- By the entrance to Fort Haight, in eastern Limgrave.
- Dropped by Kenneth Haight, the NPC standing on the ruin near Mistwood.
- Dropped by the Ulcerated Tree Spirit in Fringefolk Hero's Grave.
- In the Weeping Peninsula, near the path to Castle Morne.
Sacred Tears sit on church altars. In the Limgrave region: the Third Church of Marika in the east, Callu Baptismal Church near Mistwood, and the Church of Pilgrimage in the Weeping Peninsula.
All permanent, none farmable, and collectively worth more than ten levels. Rest at a grace to spend them.
Margit is the difficulty check
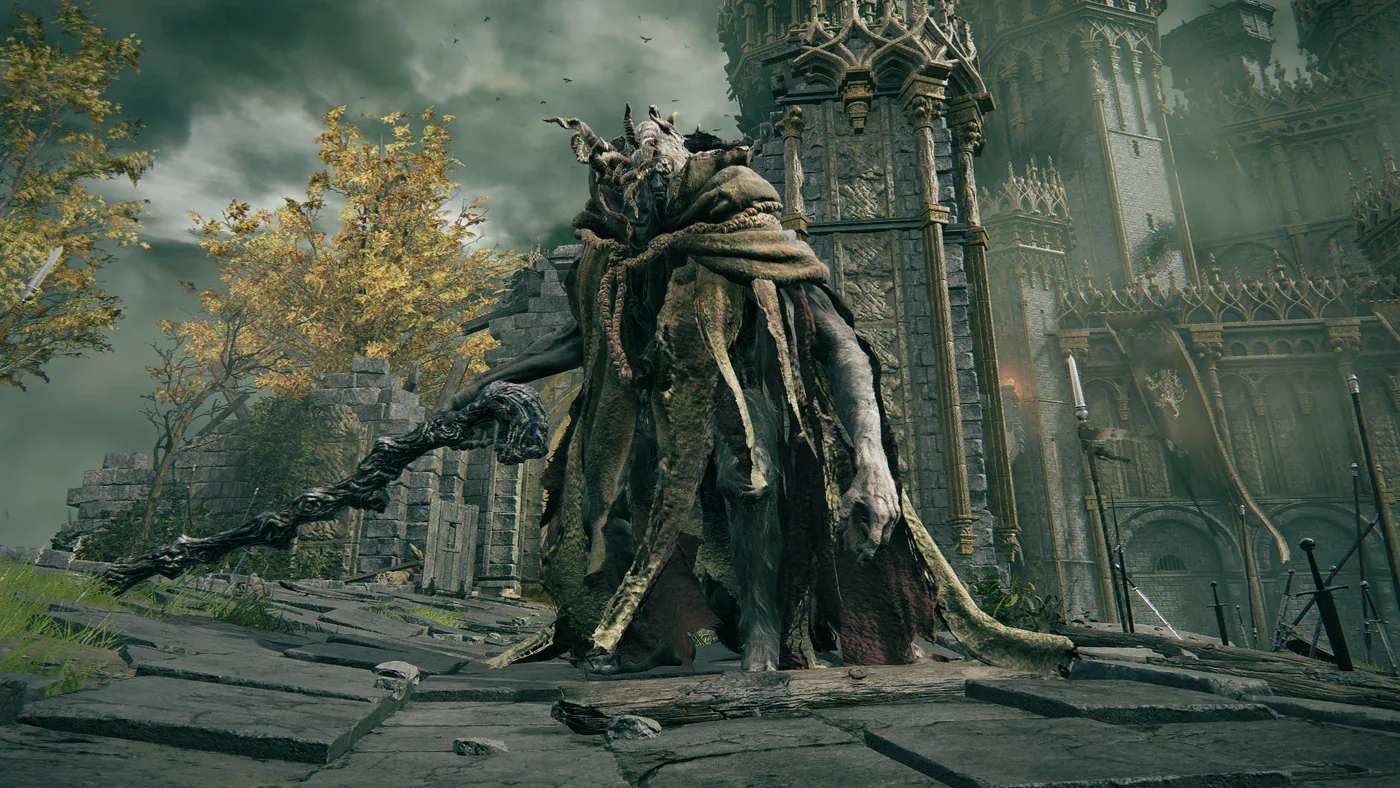
Margit, the Fell Omen guards the road into Stormveil. In this encounter he has 4,174 HP, drops 12,000 runes and the Talisman Pouch — a permanent extra talisman slot, which is a serious upgrade in its own right.
What you need to know about the fight:
- He is not a damage race, he is a patience test. Almost his entire moveset is built around delayed timings designed to bait early rolls. Watch the wind-up, then roll late. If you are rolling and getting hit, you are rolling too early, not too slow.
- His holy dagger tosses are a feint. Run laterally to avoid them rather than rolling — they exist to bait a dodge so the follow-up gap-closer lands.
- Phase two starts at 60% HP, announced by a hammer sweep into a jumping attack that leaves a shockwave on impact. He summons holy weapons and his combos get longer.
- Bring Sorcerer Rogier. His summon sign is available outside the fog gate. Between Rogier and the Lone Wolf Ashes, you have two aggro sponges.
- Margit's Shackle exists. Buy it from Patches in Murkwater Cave and use it to lock him in place twice per fight, once per phase. It is not subtle and it works.
If Margit still feels impossible after all of the above, the honest answer is Vigor. Whatever origin you started as, at 15 Vigor you have 522 HP and his charged overhead removes roughly a third of it. At 30 Vigor you have 994 and the same swing is survivable twice over.
Stormveil Castle and Godrick
Past Margit, Gatekeeper Gostoc offers you two ways in: the main gate, or a hidden path around the outer wall. Take the side path. The main gate courtyard has a ballista battery that will delete you on sight, and the side route lets you approach the castle in a manageable order. Gostoc, for the record, is looting your corpse every time you die and is not your friend.
Inside, grab the Iron Whetblade — on a corpse in an armory off the main hall with the Grafted Scion, behind an Imp Statue that costs one Stonesword Key. It unlocks Heavy, Keen, and Quality infusions, which for most melee builds is a bigger damage jump than the next ten levels. Two more Golden Seeds are in the castle: one near the Secluded Cell grace, one from the castle's own Ulcerated Tree Spirit.
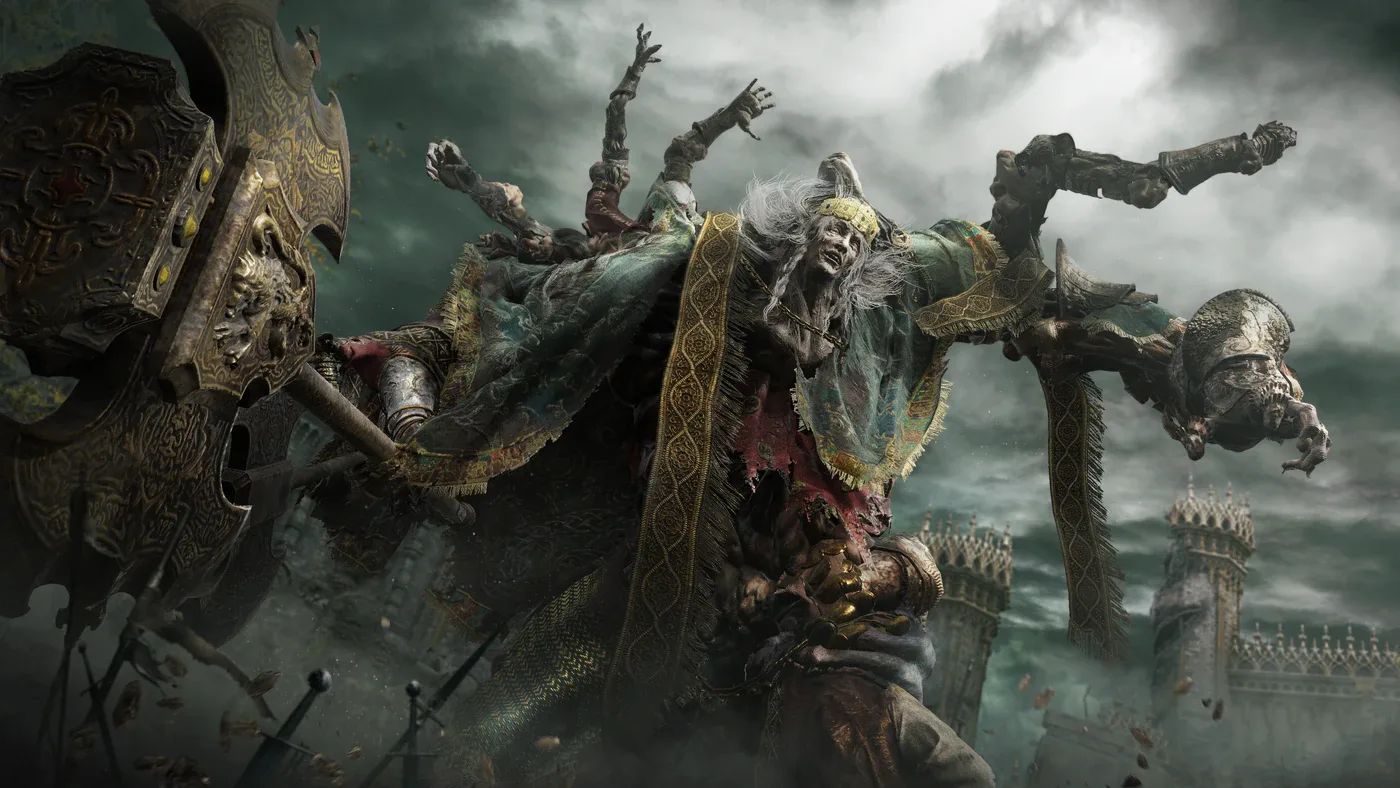
Godrick the Grafted has 6,080 HP, 105 defense, 105 stance, and drops 20,000 runes, the Remembrance of the Grafted, and Godrick's Great Rune. Useful specifics:
- He cannot be parried, but he is fully vulnerable to a critical attack once his stance breaks. With 105 stance, jump attacks and charged heavy attacks break him meaningfully faster than a normal combo string.
- His resistances are lopsided. He takes full damage from all four physical types, 20% reduced magic, fire, and lightning, and 40% reduced holy. If you have a physical-damage weapon, just use it. If you are a Faith build, this is the one boss where your holy damage is actively the wrong tool.
- Phase two triggers around 60% HP when he stops to sever his own arm and graft on the Grafted Dragon — standing near him during that animation deals damage, so back off. Phase two adds fire damage, a sweeping flame jet, and a grab.
- Nepheli Loux can be summoned if you speak to her inside Stormveil first. Her sign is outside the arena. She hits hard and holds aggro well.
Kill him and you have a Great Rune, the Roundtable Hold, Hewg, unlimited early smithing stones once you find the bell bearings, and a genuinely open world. The hard part of Elden Ring is over. The good part is just starting.
Quick Action Checklist
- Take First Step, then Church of Elleh, then Gatefront Ruins — and open the cellar chest for the Whetstone Knife.
- Rest at Gatefront Ruins or Agheel Lake North to get Torrent from Melina.
- Return to the Church of Elleh at night for the free Spirit Calling Bell and Lone Wolf Ashes.
- Do the Weeping Peninsula before Margit. It is the same difficulty band and roughly doubles your rune income.
- Collect at least four Golden Seeds and two Sacred Tears before the Margit fight.
- Get Vigor to 30 before you conclude a boss is overtuned.
- Beat Bloodhound Knight Darriwil with Blaidd summoned for the Bloodhound's Fang — but only equip it at 18 Strength and 17 Dexterity.
- At Stormveil, take Gostoc's side path, not the main gate, and spend one Stonesword Key on the Iron Whetblade.
- Against Godrick, use physical damage, break his stance with jump attacks, and back off when he severs his arm at 60%.
Frequently Asked Questions
Where should I go first in Elden Ring?
What level should I be for Margit in Elden Ring?
How do I get Spirit Ashes early in Elden Ring?
Should I do the Weeping Peninsula before Stormveil Castle?
What damage type is best against Godrick the Grafted?
Keep Reading
Related Guides
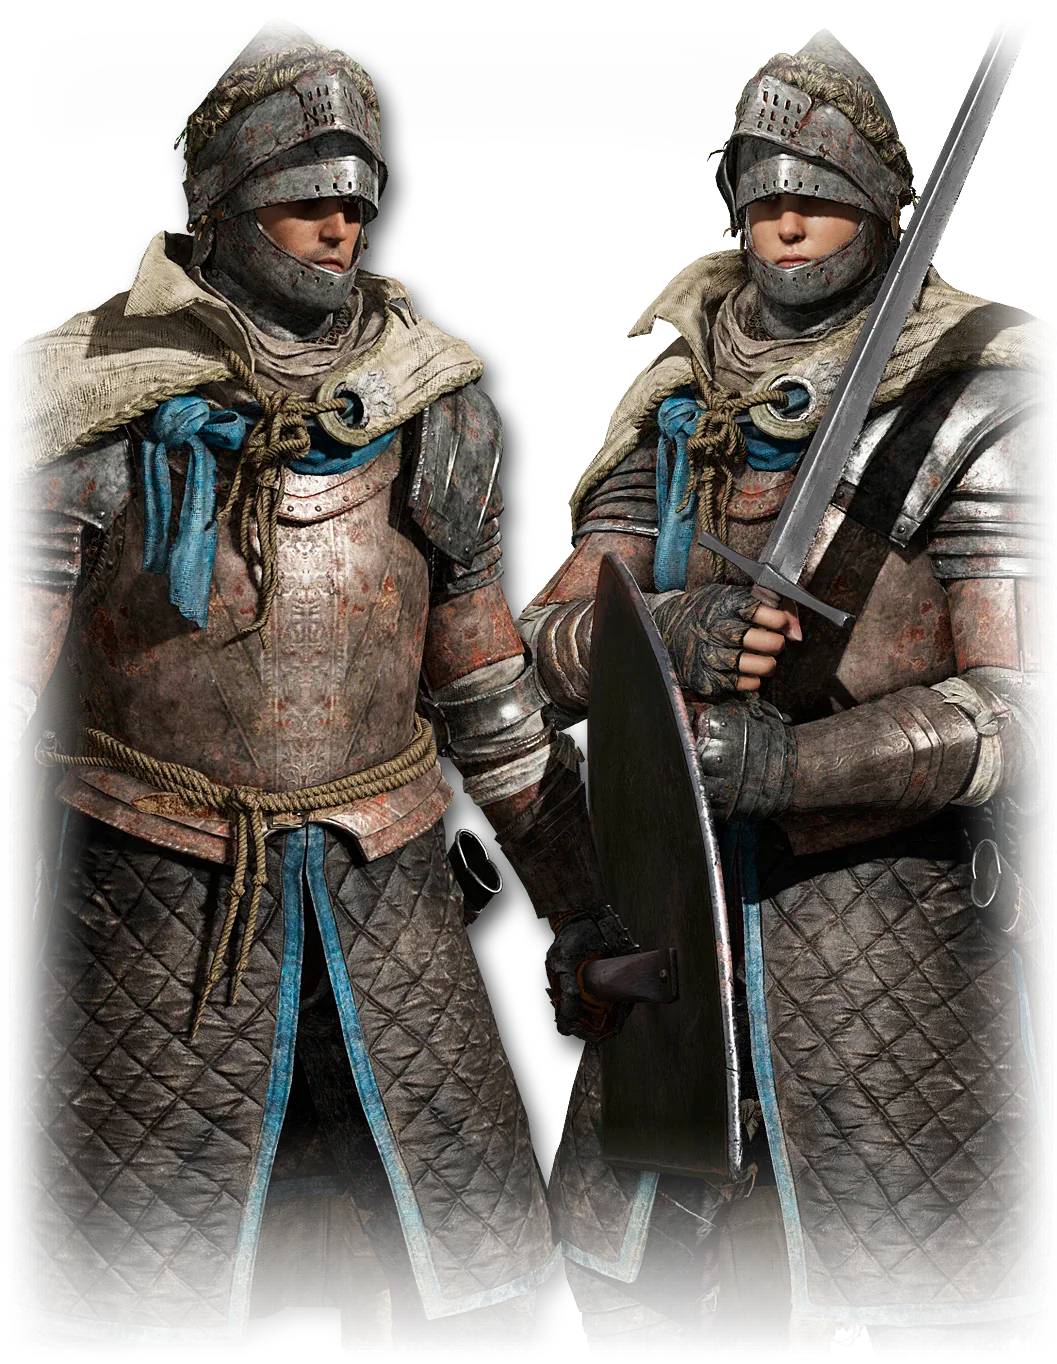
Best Elden Ring Starting Class: All 10 Origins Ranked
Every Elden Ring origin has exactly the same number of attribute points for its level — the only thing you are really choosing is where those points sit and what gear you get for free. Here is what that actually means for your first twenty hours.
Elden Ring Dragon Communion: Every Spell and Heart Cost
The base game has 23 Dragon Hearts and its 13 Dragon Communion spells cost 20, but six of those hearts sit behind Ranni's questline. Here are all three altars, all 16 spells, every base-game heart, and the arithmetic for spending them.

Elden Ring Memory Stones: All 8 Locations and Max Slots
Every character starts with two memory slots, and Comet Azur alone needs three. Here are all eight Memory Stones, the tortoise puzzles and missable gesture that guard them, the talisman that takes you to twelve, and the spells that cost more than one slot.

Elden Ring Respec Guide: All 27 Larval Tear Locations
Every Rebirth at Rennala costs one Larval Tear, and a Journey only holds 27 of them. Here is where all 18 base-game tears and all nine Shadow of the Erdtree tears are, what the Rebirth menu will and will not let you change, and why eight of the eighteen wait behind Starscourge Radahn.
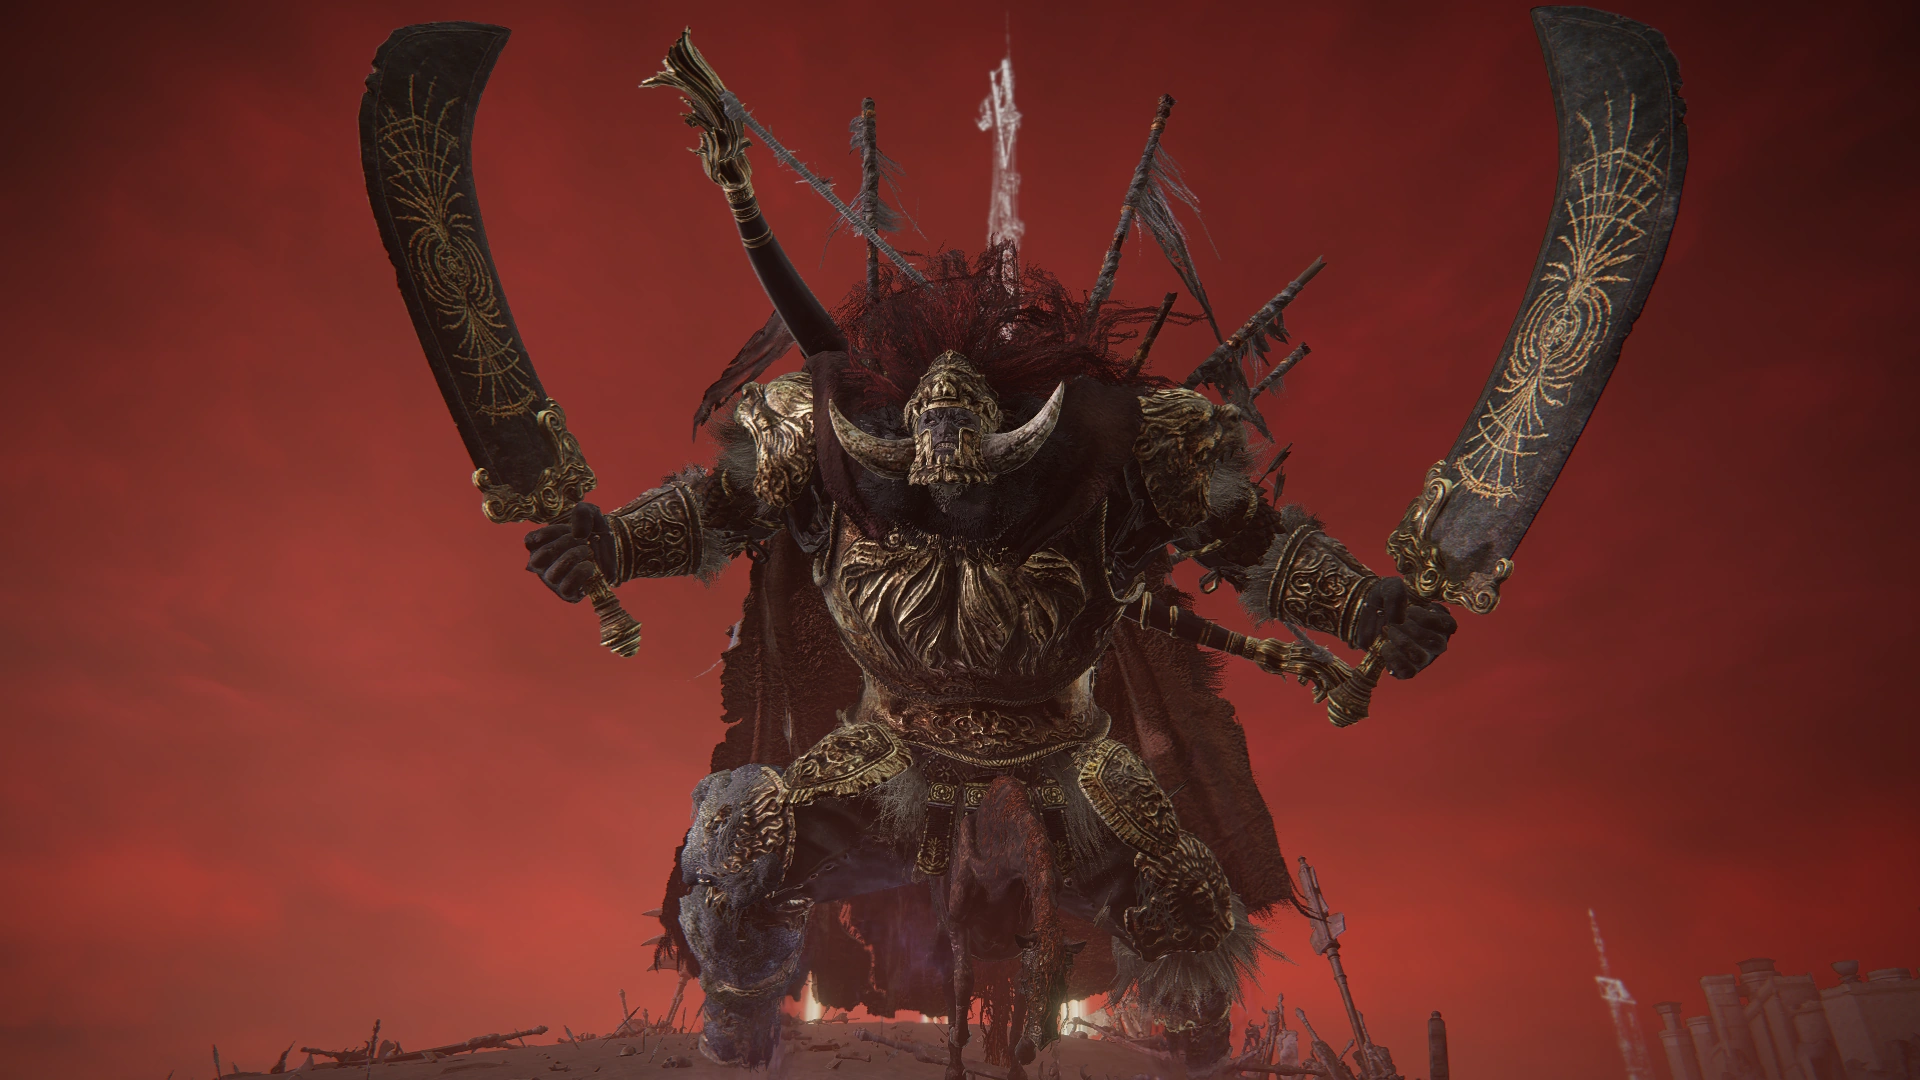
How to Beat Radahn in Elden Ring: Full Boss Guide
FromSoftware nerfed Starscourge Radahn by accident in his very first patch, then had to ship a fix just to undo it. Here is his full verified combat profile, the Radahn Festival mechanic nobody explains, and the DLC fight wearing his name that plays nothing like it.
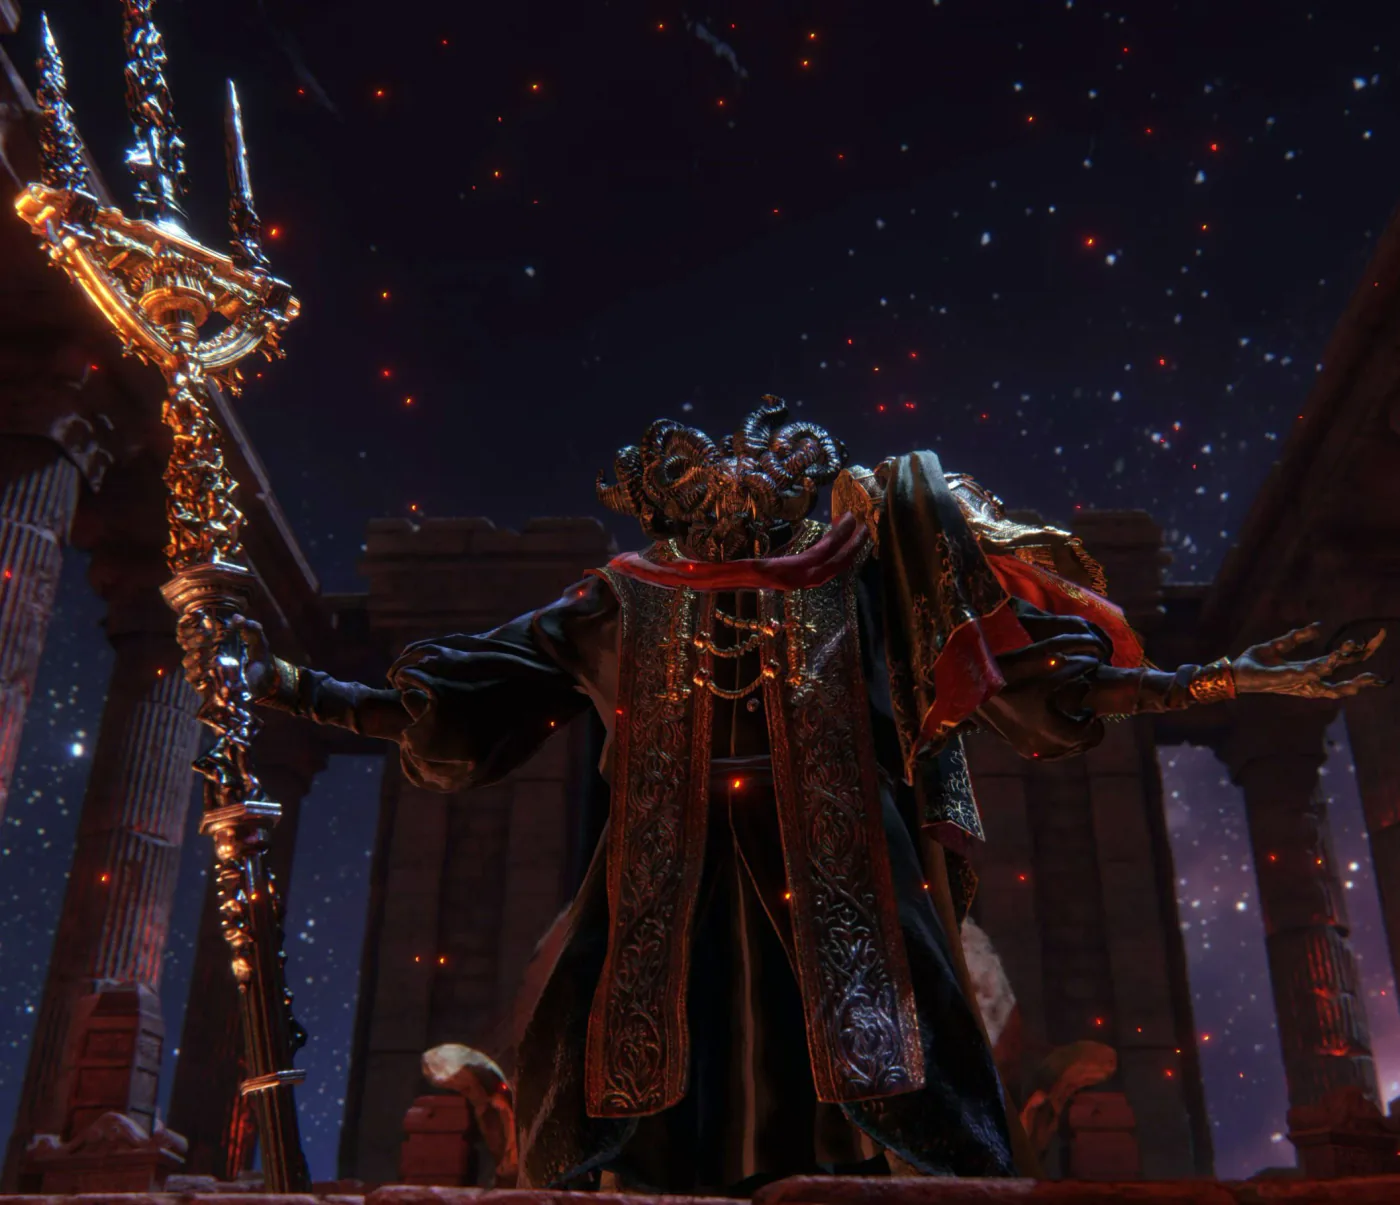
How to Beat Mohg, Lord of Blood in Elden Ring: Full Guide
A White Mask Varré questline reward can teleport you to Mohg, Lord of Blood's fog gate straight out of Liurnia of the Lakes, hours before the game's normal pacing puts a late-game shardbearer in front of you. Here is his full verified moveset, why his own resistance data rules out the fire and frost builds his aesthetic suggests, the item built specifically to survive his Bloodboon Ritual, and the DLC access rule that still trips people up after he's already dead.