How to Beat Maliketh, the Black Blade in Elden Ring
Maliketh's death turns Leyndell to ash and takes the Bolt of Gransax, two armor sets and a Tarnished Pack invasion with it. Here is what to finish first, what he resists, both movesets with counters, how Destined Death eats your max HP, and where the Blasphemous Claw comes from.
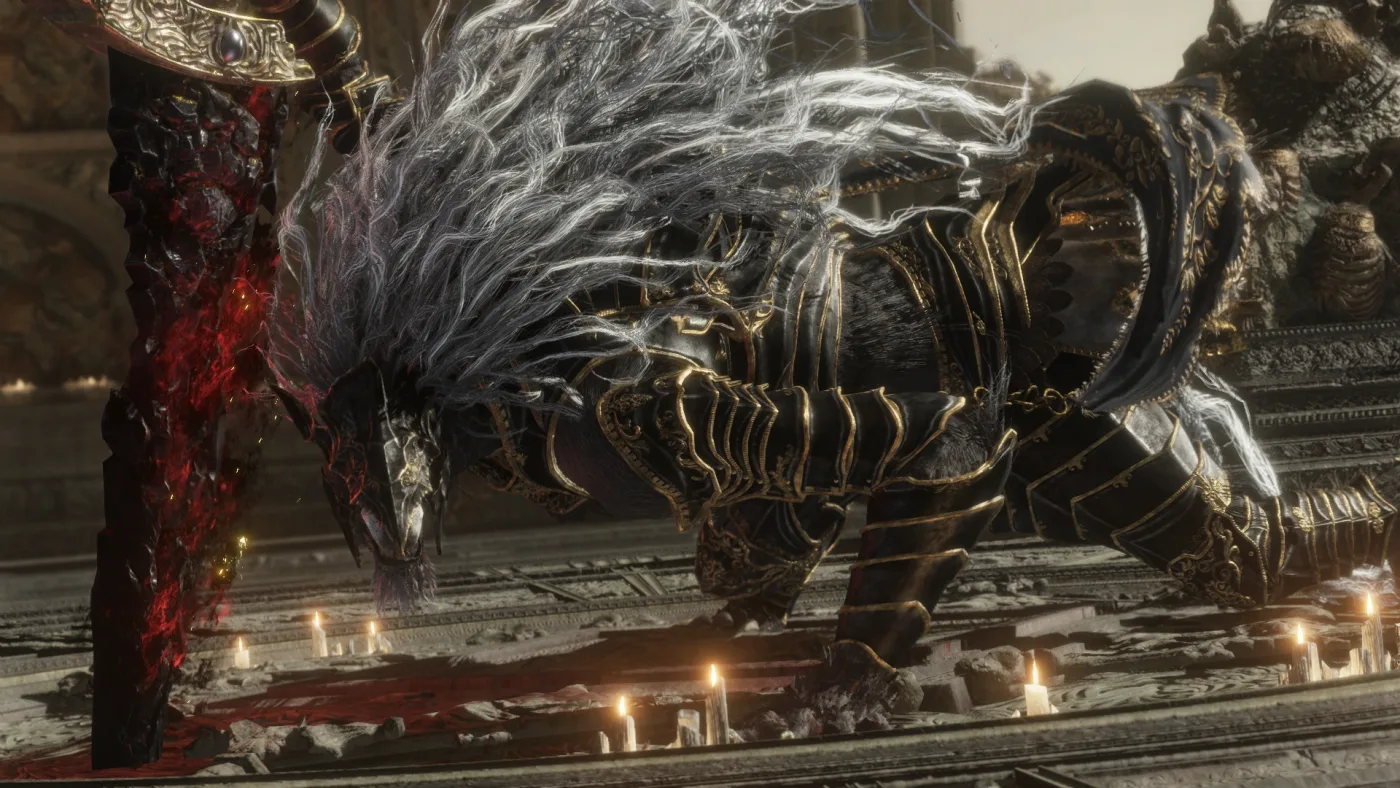
Kill Maliketh and you lose a city. The moment the Black Blade goes down, Leyndell, Royal Capital is swapped for its ash-buried twin, and Fextralife's Ashen Capital page itemises the bill: no Royal Capital until New Game Plus, no Bolt of Gransax if it is still sitting on its spear, no Duelist Set, no Guardian Garb (Full Bloom). Patch 1.17 added one more line to that list, the Tarnished Pack's Noble Broken Mask invasion.
So this guide starts with what to finish before the fog gate, then gets to the fight: 10,620 HP across two phases, a debuff that eats your maximum HP, a boss your hits cannot flinch, and a parry tool you only get if Rykard is already dead. Where Maliketh sits in the run is in the boss order guide. This is how to beat him.
Before the fog gate: what his death deletes
Two late-game moments change the world, and they are easy to blur together.
The first is the Forge of the Giants. Accept Melina's offer to burn the Erdtree and you wake up in Crumbling Farum Azula. Fextralife's Forge page says the Roundtable Hold burns, cosmetically, from then on, and that arriving in Farum Azula can lock you out of the Brother Corhyn and Goldmask questline and Nepheli Loux's questline if they have not progressed far enough. The endings guide covers why Goldmask matters.
The second is Maliketh's death, and it is the expensive one. The same Fextralife page separates the two: the ash over Leyndell and the embers across the map arrive only after Maliketh is defeated. Its Farum Azula walkthrough tells you to collect anything you want from Leyndell before the fight, so the capital is still a fast travel away while he lives.
| Item or area | After Maliketh dies | Source |
|---|---|---|
| Leyndell, Royal Capital | Gone until New Game Plus | Fextralife, Ashen Capital |
| Bolt of Gransax | Gone if not collected, and with it the Legendary Armaments achievement for that playthrough | Fextralife, Ashen Capital |
| Duelist Set | Unobtainable: Duelists do not appear in the Ashen Capital | Fextralife, Ashen Capital |
| Guardian Garb (Full Bloom) | Unobtainable: Full Bloom Guardians do not appear either | Fextralife, Ashen Capital |
| Noble Broken Mask invasion (Golden Order Flail, Golden Order Set) | Will not occur | Patch 1.17 notes; Fextralife, Noble Broken Mask |
| Golden Order Principia, Erdtree Bow, Celestial Dew | Still obtainable around the Erdtree Sanctuary | Fextralife, Ashen Capital |
| Subterranean Shunning-Grounds | Unchanged, reached through a manhole that is now open | Fextralife; Fandom, Ashen Capital |
| Gurranq's Deathroot trades | Unaffected | Fandom, Gurranq |
| Blasphemous Claw | Still dropped by Bernahl | Fextralife, Blasphemous Claw |
Check the Bolt of Gransax first. Fextralife puts it on the giant spear lodged in a building, reached on foot down from the Erdtree Sanctuary grace once the golden shade of Godfrey in the Royal Capital is dead; it also lists jump routes that reach the spear earlier. The Noble Broken Mask trigger, casting Law of Regression at the Radagon statue, is walked through in our Tarnished Pack locations guide.
Getting to him
The nearest grace is Beside the Great Bridge. Fextralife's route heads west, then south up the stairs and up the ramp, where a Draconic Tree Sentinel intercepts you before the gates, and on through the door into the arena. Both wikis list the Godskin Duo, earlier in Farum Azula, as a fight you cannot skip on the way.
Spirit Ashes and multiplayer are both allowed, per Fextralife. If stance breaking is part of your plan, bring an Ash: the stance-break guide explains why a co-op phantom cuts your stance damage and a Spirit Ash does not.
The arena is a wide circle with an open drop around the rim, per Fandom, and a ring of pillars in the middle that Maliketh climbs. Fextralife says those pillars also block his Black Blade projectiles, which makes them your healing cover. Its fight overview opens by telling you to walk forward the moment you enter rather than fight on the short bridge.
Combat profile
| Stat | Value |
|---|---|
| HP | 10,620, one bar; phase two starts at half |
| Defense | 120 |
| Stance | 80 |
| Hitstun | None from your hits |
| Parryable | With the Blasphemous Claw, against specific phase-two attacks |
| Damage dealt | Phase one: Standard, Slash, Pierce. Phase two: Standard, Pierce, Holy |
| Runes | 220,000 |
| Drop | Remembrance of the Black Blade |
HP and runes match on Fandom and Fextralife. Defense, stance, parry and damage types come from Fextralife's combat data, and the stance of 80 is the figure in the stance-break guide. The hitstun row is from Fextralife's Poise page, which uses Maliketh as its example of a special effect that sets every damage level to no stagger.
Two things follow from that table.
One bar means phase one counts. Fandom puts the transformation at half health, so the Beast Clergyman is 5,310 HP of the fight, not a warm-up. Fextralife adds that stance buildup carries over into phase two as well.
No hitstun means no trading. A light attack will not knock him out of a swing. Your staggers come from a stance break or a Blasphemous Claw parry, and nothing else on this page.
What actually hurts him
Fextralife's negation numbers, with the raw damage of each type it takes to empty the 10,620 HP bar:
| Damage type | Negation | Damage needed | Versus raw HP |
|---|---|---|---|
| Standard, Slash, Strike, Pierce | 35% | 16,338 | +54% |
| Magic, Fire, Lightning | 40% | 17,700 | +67% |
| Holy | 80% | 53,100 | +400% |
That table models negation only, not defense or motion values, so read it as a ranking rather than a damage forecast.
The chart is flat until the last row. Physical beats the three elements by five points of negation, which works out to about 8% less raw damage needed, so bring whatever your build already does well. Holy is the exception. At 80%, a holy build is fighting a boss with five times its HP bar, and Fextralife lists holy among the things he is strong against. If your Faith character's damage is golden, swap to a fire or physical option for this one fight.
Status buildup to the first proc, and after each later proc:
| Status | First proc | Later procs |
|---|---|---|
| Poison, Scarlet Rot | 351 | 449, 739, 1,196 |
| Hemorrhage, Frostbite | 574 | 864, 1,321 |
| Sleep | 2,277 | 2,277 |
| Madness | Immune |
Rot and poison have the lowest bar, 351 against 574 for bleed and frost. Fextralife's tip for incantation users is to open with Ekzykes's Decay while the Clergyman is still closing the distance, as long as he does not start with a full sprint. What a frost proc does is in the status effects guide. Sleep is not worth building for: at 2,277, it is the other entry on Fextralife's "strong against" list.
Phase 1: the Beast Clergyman
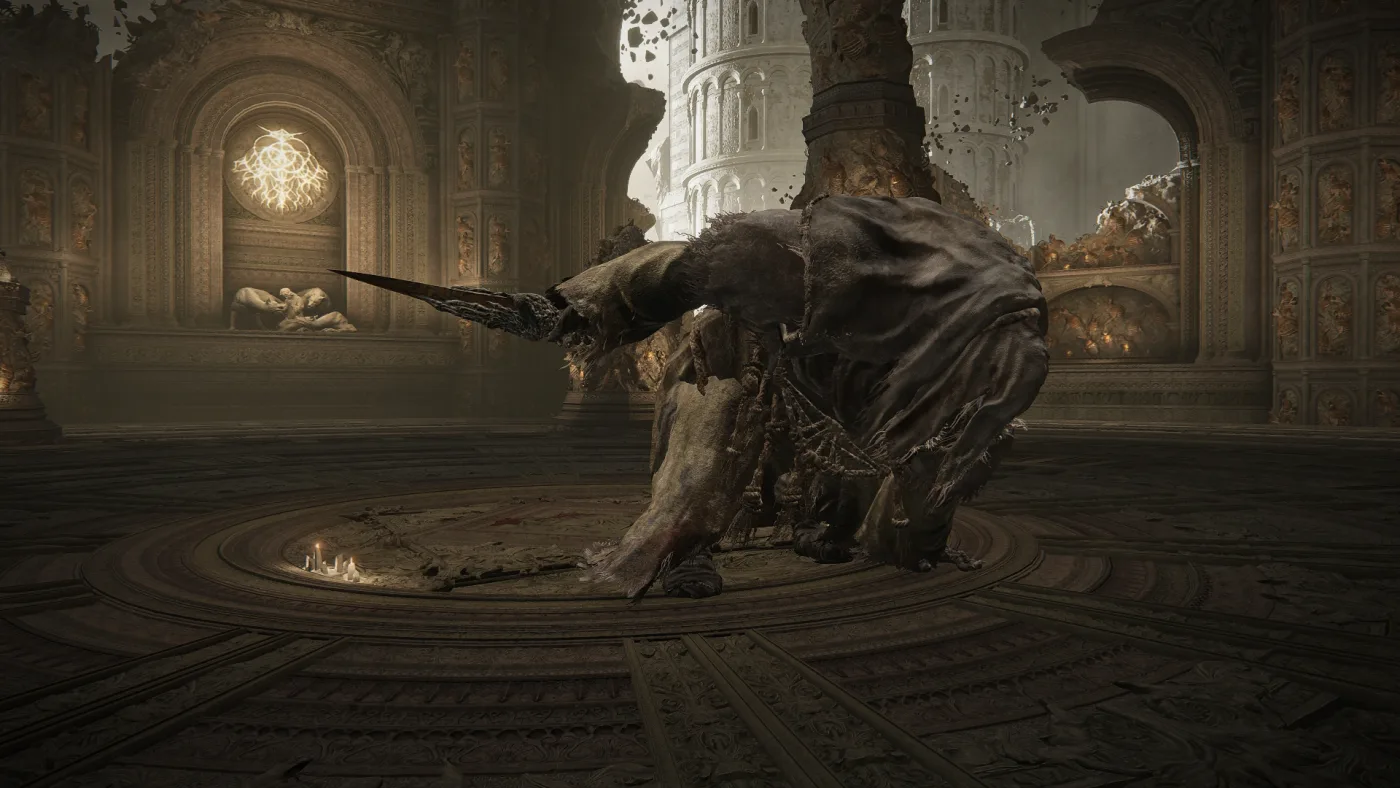
You may have already watched phase one from the other side. Fandom's moveset for the Beast Clergyman includes Bestial Sling, Beast Claw, Stone of Gurranq and Gurranq's Beast Claw, and those are four of the incantations Gurranq hands out in the Bestial Sanctum, for your second, fifth, sixth and eighth Deathroots. The blade in his hand is a Cinquedea.
Fextralife's attack list, trimmed to the moves worth learning, with its counters:
| Attack | What it does | Counter |
|---|---|---|
| Side-to-side swipe | Fast swings to either side, directly in front of him | Roll into him or away |
| Forward ground stab | Short lunge that stabs the ground | Roll to the side, preferably right |
| Bestial Sling | A spray of thrown rocks, also cast while circling you or straight after a stab | Roll a beat before the rocks arrive; after the stab version, roll to your left |
| Beast Claw | Slams a hand into the ground; shockwaves run at you as he pulls it out | Roll forward into his blind spot, not sideways |
| Gurranq's Beast Claw | The same shockwaves, sent out in a circle | Roll forward into him, or jump the ground wave |
| Stone of Gurranq | One boulder thrown in a straight line | Roll forward or to the side |
| Ground Rupture | Both hands into the floor; slabs of rock rise and crash down | Watch for dust columns and stand where there are none |
| Quick slash | One slash, then a backflip away | Block with a good shield, or roll |
| Sword drag | Stabs the blade in and drags it right to left | Stay on his left hip |
Bestial Sling is the one to learn. Fextralife says the tell is his claw held across his chest, and the rocks come out fast enough to interrupt a cast. His low horizontal swings can be jumped for a counterattack. A shield stops the dagger, but Fextralife notes his incantations still chip through 100% physical guard.
Use phase one to set up phase two. Fextralife's plan is to build stance on the Clergyman with heavy attacks and push him past half health with his stance bar close to breaking, so Maliketh breaks after one or two heavies once the cutscene ends. Its notes also say it does not take much to force the transition. Casters get a version of the same trick: if he does not open with a full sprint, Fextralife says there is time to set up a big spell such as Comet Azur and push him straight into phase two.
Phase 2: Maliketh and Destined Death
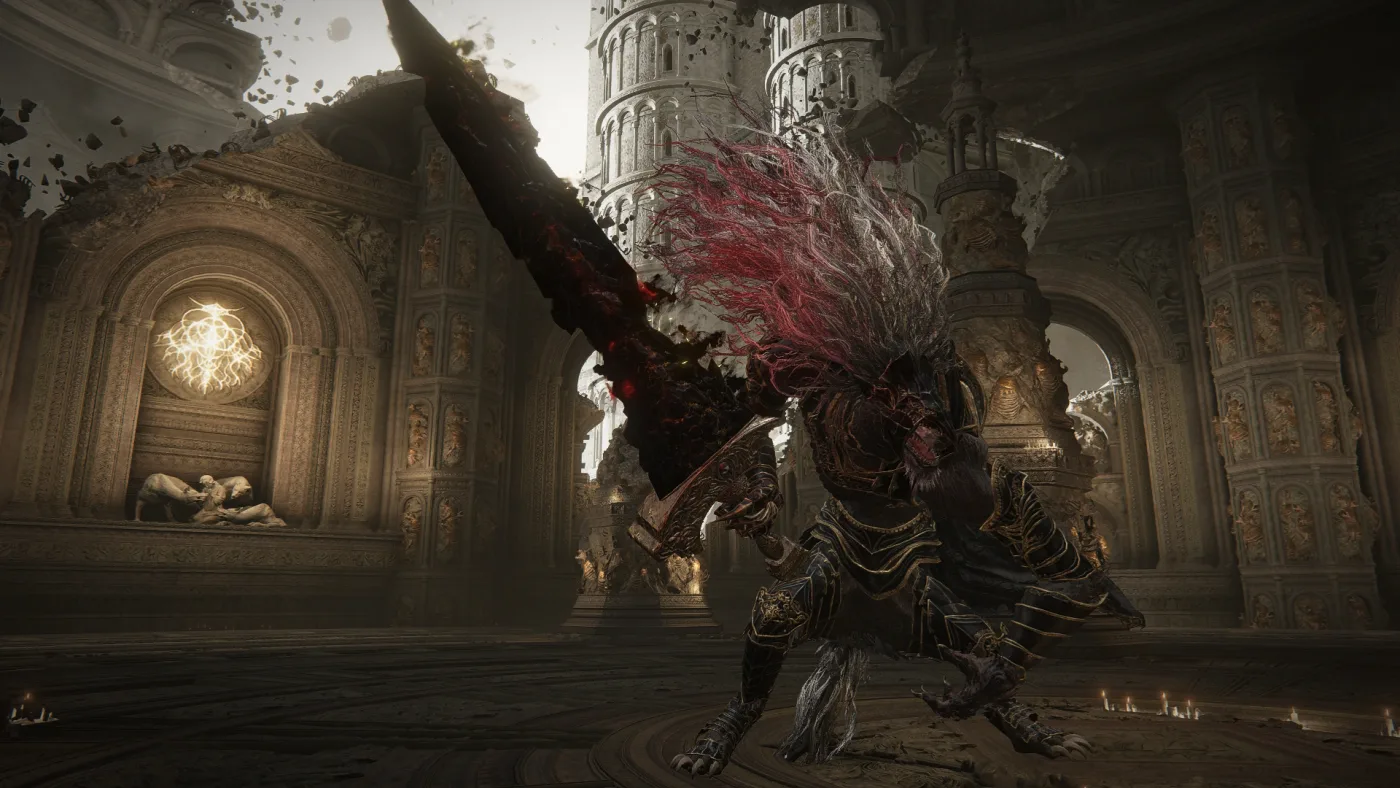
At half health a cutscene plays, he draws the Black Blade, and the fight becomes about one debuff. Fandom's boss page says all of his phase-two attacks cause health loss over time and a temporary cut to your maximum HP; Fextralife's page pins it on his sword attacks. That is Destined Death:
- Maximum HP drops by 10%, per Fandom's status page, so your flasks cannot heal into that slice while it lasts.
- HP drains on top of the hit. Fextralife warns the damage over time can finish you if a sword combo has already left you low.
- It wears off. Fextralife says the max-HP debuff lasts 10 to 15 seconds.
Fextralife offers two answers. The first is the Crimsonburst Crystal Tear, which it says offsets the drain: 7 HP a second for three minutes, 1,260 HP in all, dropped by the Erdtree Avatar under the Weeping Peninsula's Minor Erdtree. The Wondrous Physick guide covers what goes in the other slot. The second is the pillars. Put one between you and him with the camera unlocked and, per Fextralife, his AI paces around it looking for a line of sight, which buys time for the debuff to expire. It works best solo.
Phase two also adds holy to his damage, so holy negation pays here. The Radagon guide has the talisman-and-buff stack and how it multiplies.
| Attack | What it does | Counter (Fextralife) |
|---|---|---|
| Flip and slash | Phase two's opener: a flip at you with a low sweep, sometimes followed by a swipe or slam | Hold forward as the cutscene ends and you finish behind him |
| Piledriver | Leaps, lands on his sword, then an explosion | Dodge the slam and roll away. From about two rolls out he switches to two overhead sweeps and a flurry, which you can roll through and punish |
| Black Blade | Backflips and slashes two or three blade projectiles at you. Two usually means a Piledriver next; three means he charges into a double spin | Wait half a second and count the blades. The finish can be parried with the Claw on his descent |
| Quick Black Blade | A flip with one projectile | Roll or block |
| Roar | Knocks you back, no damage | Shield up, or time a roll |
| Destined Death | Slashes the floor, then an overhead slam that leaves his back open | Roll right for the swipe, roll behind him for the slam, then wait a beat for the follow-up |
| Destined Death follow-up | Circles the blade twice and stabs the ground, filling the space in front of him with slashes | Stay close and get behind him before the stab |
| Double spin | Two spins in place | Roll twice, one roll per swing |
The rule underneath the table is position. Fextralife calls him most dangerous at a distance, says his frontal cones miss if you are at his feet or behind him, and says to wait out his airborne attacks before you swing.
The Blasphemous Claw
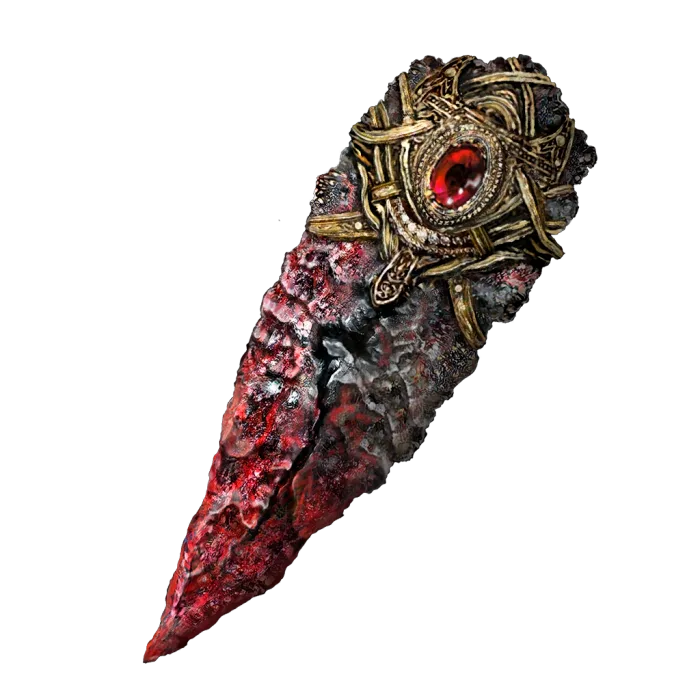
The Claw is a reusable tool that costs no FP, and its description says what it is for: deflecting the power of the Black Blade. Fandom files it with Margit's Shackle, Mohg's Shackle and the Purifying Crystal Tear as items that exist to make one very hard boss more manageable.
Getting it. Recusant Bernahl drops it when he invades you in Crumbling Farum Azula. Both wikis tie the invasion to Rykard, Lord of Blasphemy being dead and Bernahl having left the Volcano Manor, which Fandom says he does once you exhaust his dialogue there after Rykard's death. Fextralife adds that if you never talk to him, he never leaves and never invades. The invasion comes north of the Great Bridge, by the tower holding the Old Lord's Talisman chest, and he also drops the Devourer's Scepter and his Beast Champion armor. What that talisman does is in the talismans guide.
Using it. The parry windows are in phase two, and the cue is his sword glowing gold:
- The end of Black Blade, both the slash and the dive. Fextralife says the stun lasts longer after the dive.
- The double spin after he lands on his sword. Fandom lists it, and Fextralife calls the window much smaller.
A white glow is not a cue. Fextralife's Claw page says it comes before his projectiles, and that those do not appear to be parryable. One tip on Fextralife's boss page calls the parry cue a white aura, but the same page's melee notes and Fandom both say gold, and Fextralife's Claw page says yellow, so watch for gold.
What a parry buys. Per Fextralife, he is stunned for a few seconds, covering his eyes and swinging slowly, takes about 200 damage from the Claw, and has his damage resistance lowered by around 20% while the stun lasts. Stay under him and hit him. Fextralife also warns that a late parry can still let the hit through, and that this happens more often in co-op.
Patch 1.17's "improved parry performance" line sits under the Parry skill. No patch note mentions the Claw.
Gurranq, and what you do not lose
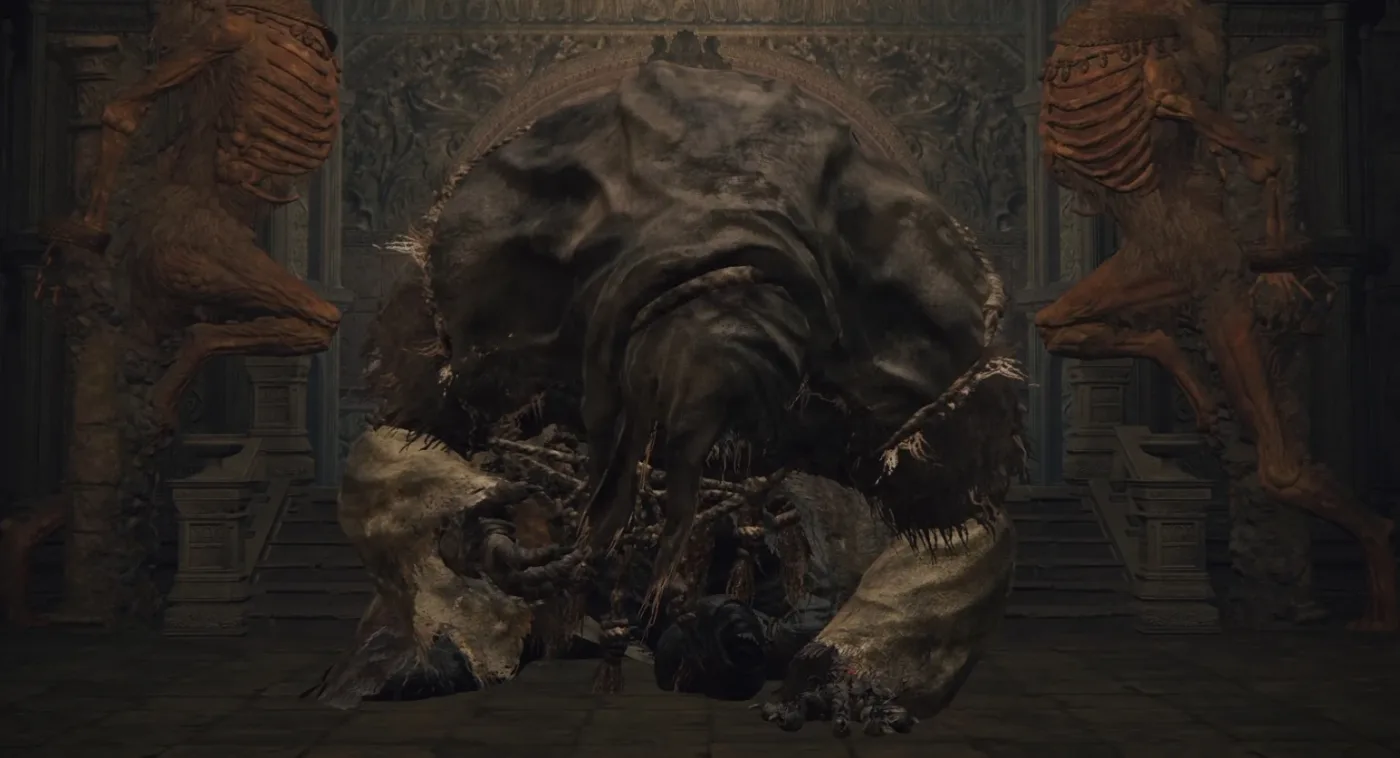
If you have been feeding Deathroot to Gurranq, you are about to meet him again. Fandom's Gurranq page settles the worry: fighting Maliketh before you finish the questline does not affect it, Gurranq stays in the Bestial Sanctum after Maliketh is dead, and killing Gurranq does not change the Maliketh fight. The ninth Deathroot still gets you the Ancient Dragon Smithing Stone. Finish the questline before the fight and Maliketh's lines change; both wikis record the alternate dialogue.
What patches have changed
Nothing that names him. Fextralife's compiled patch notes from 1.02 to 1.17, Fandom's game-version pages from 1.01 on and Bandai Namco's own 1.17 notes have no entry for Maliketh, the Beast Clergyman or the Blasphemous Claw. The one version note that does name him is Fandom's page for 1.00, the launch build, which records that his Destined Death attacks used unique purple particles; none of the later patch notes mentions that change.
The patches did touch his rewards. 1.04 cut the stamina cost and recovery time of the Black Blade incantation. 1.07 adjusted it in both directions, trimming stamina cost and recovery again but lowering its attack power, stamina damage and poise damage, and the same patch sped up the Destined Death skill on Maliketh's Black Blade and extended its max-HP debuff.
After the kill
Maliketh pays 220,000 runes and the Remembrance of the Black Blade, which Finger Reader Enia trades for Maliketh's Black Blade or the Black Blade incantation. The Remembrance rewards guide has both stat lines. Fextralife says you are teleported to the Leyndell, Capital of Ash grace, and you can fast travel back to Beside the Great Bridge to touch the Maliketh, the Black Blade grace in the arena.
The Ashen Capital has loot of its own, including Erdtree's Favor +2 (see the talismans guide) and Goldmask's Mending Rune of Perfect Order (see the endings guide). Its bosses are Sir Gideon Ofnir and Godfrey, First Elden Lord, and past them wait Radagon and the Elden Beast.
On New Game Plus he barely moves at first: Fextralife's table puts him at 10,631 HP and 440,000 runes on Journey 2. The New Game Plus guide explains how the rest of the world scales.
Quick Action Checklist
- Clear Leyndell first. Pick up the Bolt of Gransax and anything else you want from the Royal Capital; it is gone until New Game Plus once he dies.
- Trigger Noble Broken Mask before the fight if you own the Tarnished Pack.
- Kill Rykard and exhaust Bernahl's dialogue at the Volcano Manor, then let Bernahl invade north of the Great Bridge for the Blasphemous Claw.
- Leave holy at home. He negates 80% of it; physical sits at 35% and the three elements at 40%.
- Build stance in phase one. His HP bar and his stance buildup both carry across the transformation.
- Do not trade hits. Your attacks cannot stagger him. Stance breaks and Claw parries can.
- Claw on gold, not white: the finish of Black Blade, and the double spin after he lands on his sword.
- Mix a Crimsonburst Crystal Tear to offset Destined Death's drain, and use the pillars to let the max-HP cut wear off.
- Stay close. He is most dangerous at range, and his frontal attacks miss at his feet.
- Keep feeding Gurranq. Killing Maliketh does not end that questline.
Frequently Asked Questions
Is Maliketh optional in Elden Ring?
What do you lose after beating Maliketh in Elden Ring?
How do you get the Blasphemous Claw in Elden Ring?
What is Maliketh weak to in Elden Ring?
Can you parry Maliketh in Elden Ring?
Does killing Maliketh end Gurranq's questline in Elden Ring?
Keep Reading
- Mythras blog
- Elden Ring coverage hub
- Elden Ring boss order guide
- Elden Ring Tarnished Pack weapon and armor locations
- Elden Ring endings guide
- Elden Ring stance break guide
- Elden Ring status effects guide
- Elden Ring Wondrous Physick guide
- Elden Ring Radagon and Elden Beast boss guide
- Elden Ring talismans guide
- Elden Ring Remembrance rewards guide
- Elden Ring New Game Plus guide
- Maliketh, the Black Blade — Elden Ring Wiki (Fextralife)
- Maliketh, the Black Blade — Elden Ring Wiki (Fandom)
- Leyndell, Ashen Capital — Elden Ring Wiki (Fextralife)
- Leyndell, Ashen Capital — Elden Ring Wiki (Fandom)
- Forge of the Giants — Elden Ring Wiki (Fextralife)
- Crumbling Farum Azula — Elden Ring Wiki (Fextralife)
- Bolt of Gransax — Elden Ring Wiki (Fextralife)
- Noble Broken Mask — Elden Ring Wiki (Fextralife)
- Godskin Duo — Elden Ring Wiki (Fextralife)
- Godskin Duo — Elden Ring Wiki (Fandom)
- Poise — Elden Ring Wiki (Fextralife)
- Destined Death (status effect) — Elden Ring Wiki (Fandom)
- Crimsonburst Crystal Tear — Elden Ring Wiki (Fextralife)
- Blasphemous Claw — Elden Ring Wiki (Fextralife)
- Blasphemous Claw — Elden Ring Wiki (Fandom)
- Bernahl — Elden Ring Wiki (Fextralife)
- Bernahl — Elden Ring Wiki (Fandom)
- Gurranq, Beast Clergyman — Elden Ring Wiki (Fandom)
- Remembrance of the Black Blade — Elden Ring Wiki (Fandom)
- Patch Notes (1.02 to 1.17) — Elden Ring Wiki (Fextralife)
- ELDEN RING — Patch Notes Version 1.17 (Bandai Namco Europe)
- Game Version 1.00 — Elden Ring Wiki (Fandom)
Related Guides
How to Beat Radagon and the Elden Beast in Elden Ring
Elden Ring's final boss is two resistance charts behind one fog gate, with no Site of Grace between them. Radagon has no fire negation at all; the Elden Beast blocks 40% of it and every status buildup. Here is what each half resists, the one damage type that works on both, the holy-defense stack they both punish you for skipping, and what the patches actually changed.
How to Beat Radahn in Elden Ring: Full Boss Guide
FromSoftware nerfed Starscourge Radahn by accident in his very first patch, then had to ship a fix just to undo it. Here is his full verified combat profile, the Radahn Festival mechanic nobody explains, and the DLC fight wearing his name that plays nothing like it.
How to Beat Mohg, Lord of Blood in Elden Ring: Full Guide
A White Mask Varré questline reward can teleport you to Mohg, Lord of Blood's fog gate straight out of Liurnia of the Lakes, hours before the game's normal pacing puts a late-game shardbearer in front of you. Here is his full verified moveset, why his own resistance data rules out the fire and frost builds his aesthetic suggests, the item built specifically to survive his Bloodboon Ritual, and the DLC access rule that still trips people up after he's already dead.
How to Beat Malenia in Elden Ring: Full Boss Guide
Bandai Namco's own anniversary infographic counted 329 million attempts against Malenia, Blade of Miquella in one year — more than any other boss the infographic broke out. The reason isn't her health bar, it's the mechanic layered on top of it: she heals off almost everything she lands. Here is her full moveset, phase by phase, the resistances that actually work, a verified damage-reduction stack, and what patches have and have not changed about the fight.
Best Elden Ring Starting Class: All 10 Origins Ranked
Every Elden Ring origin has exactly the same number of attribute points for its level — the only thing you are really choosing is where those points sit and what gear you get for free. Here is what that actually means for your first twenty hours.
Elden Ring Spirit Ashes Guide: The Summons Worth Upgrading
You get ten grades of glovewort and about forty summons to spend them on, and most of that list is filler. Here is what each tier of spirit ash actually does for you, why Mimic Tear behaves the way it does, and which ones deserve a +10.