Elden Ring Status Effects Guide: Bleed, Frostbite, Scarlet Rot and More
Status effects are the fastest damage in Elden Ring and the game explains almost none of the math. Here is what each proc actually does, why bleed and frostbite outclass poison, and the four hidden stats deciding whether you survive a swamp.

Malenia has roughly thirty-three thousand HP on your first meeting her. A single bleed proc against her strips off a flat chunk plus fifteen percent of that pool — call it five thousand damage in one tick, more than most weapons do in three or four full combos. That is the entire reason status effects are the most efficient damage in Elden Ring, and it is also the reason the game refuses to explain how any of them work.
So let me. Every status in the game runs on the same two-part engine, and once you see the engine you understand why bleed and frostbite are build-defining while poison is a footnote.
The two numbers that run every status
Every status effect has a buildup meter and a proc. Your hits add points to a hidden meter on the target. When the meter fills, the status "procs" — it triggers its effect — the meter empties, and it starts filling again from zero.
Two things about that meter people constantly get wrong:
- It decays. If you stop applying buildup, the meter drains back down over a few seconds. Poke a boss once with a bleed weapon, wander off to heal, and you may come back to a meter that has fallen halfway. Status effects reward committed aggression, not chip damage.
- The bar refills to the same threshold every time. There is no "resistance ramp" for most enemies within a fight — the second proc costs the same buildup as the first. That is why fast-hitting bleed weapons can proc, proc, and proc again in a single stagger window.
Whether your hit lands 30 buildup or 66 depends on the weapon, the Ash of War, and any status-boosting talismans. Whether the enemy needs 90 or 900 to proc depends on their hidden resistance to that specific status. Two invisible numbers, and the whole system falls out of them.
The offensive four
Four statuses do the offensive heavy lifting: Hemorrhage, Frostbite, Scarlet Rot and Poison. They are not remotely equal.
Hemorrhage (bleed): the percentage hammer
When a bleed meter fills, the target takes instant damage equal to a flat value plus a percentage of their maximum HP — the wiki lists it as 100 + 15%, or 200 + 15% depending on the source. That percentage is the whole story. Against trash mobs, 15% of a small health bar is nothing special. Against a boss sitting on tens of thousands of HP, 15% is a catastrophe you inflict in a single tick.
Bleed scales with your Arcane stat and rewards fast, multi-hit movesets — dual katanas, the Nagakiba with a Blood affinity, Reduvia's thrown blood blades, the infamous Rivers of Blood and its L2. Pair any of them with Ash of War: Seppuku, and you push the buildup so hard that some enemies proc twice inside one opening.
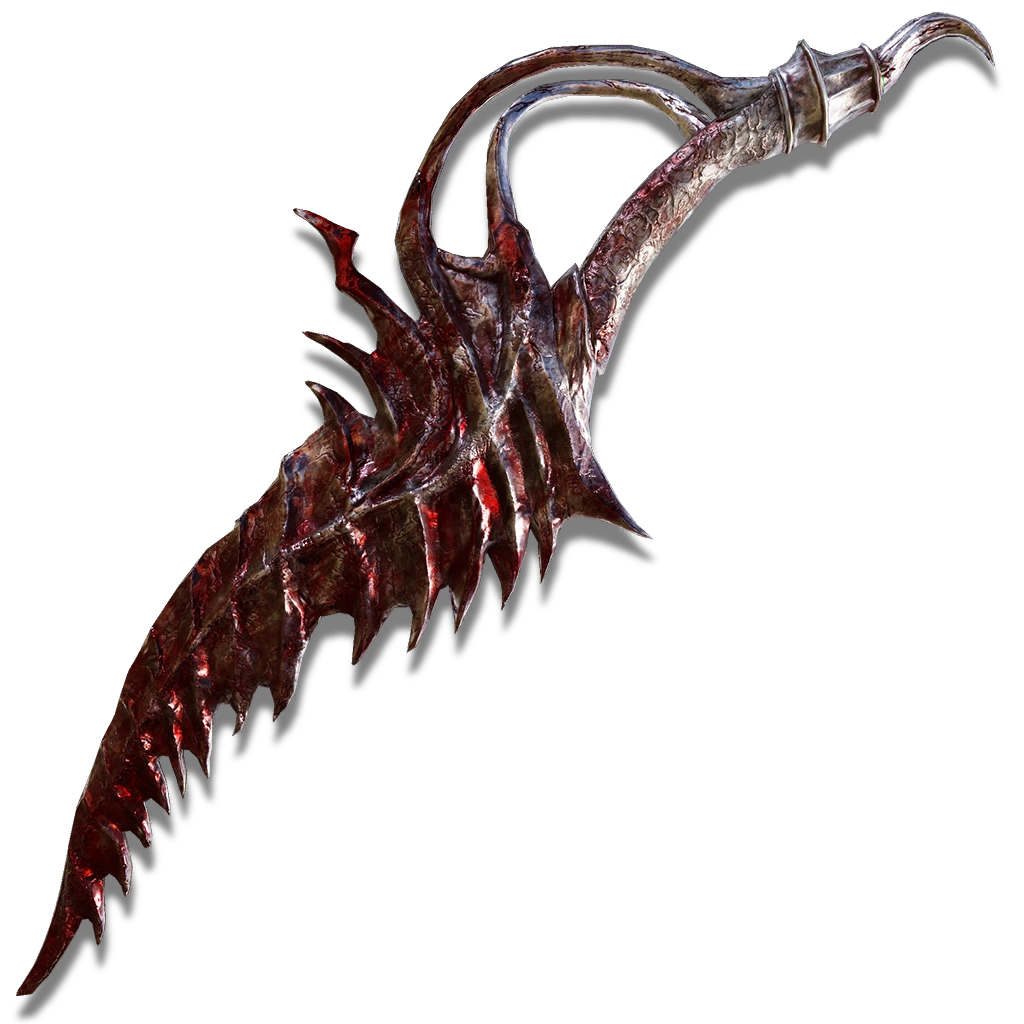
The catch is that bleed damage is a flat percentage, not a scaling percentage of the hit — so once an enemy is nearly dead, the proc is worth less than just hitting them. Bleed is a burst tool for the top of a health bar, not a finisher.
Frostbite: the damage amplifier
Frostbite is the most misunderstood status in the game because people evaluate the proc and stop there. The proc itself is small: 30 + 10% of max HP in one hit. That is not why you run frost.
You run frost for the debuff attached to it. A frostbite proc also applies a 20% damage negation penalty to all sources and slows the target's stamina recovery, and that debuff lasts 30 seconds. Twenty percent more damage from every source — your weapon, your spells, your co-op partner, your Mimic Tear — for half a minute is a bigger contribution than the proc damage will ever be. Frost is a party buff you apply with a hatchet.
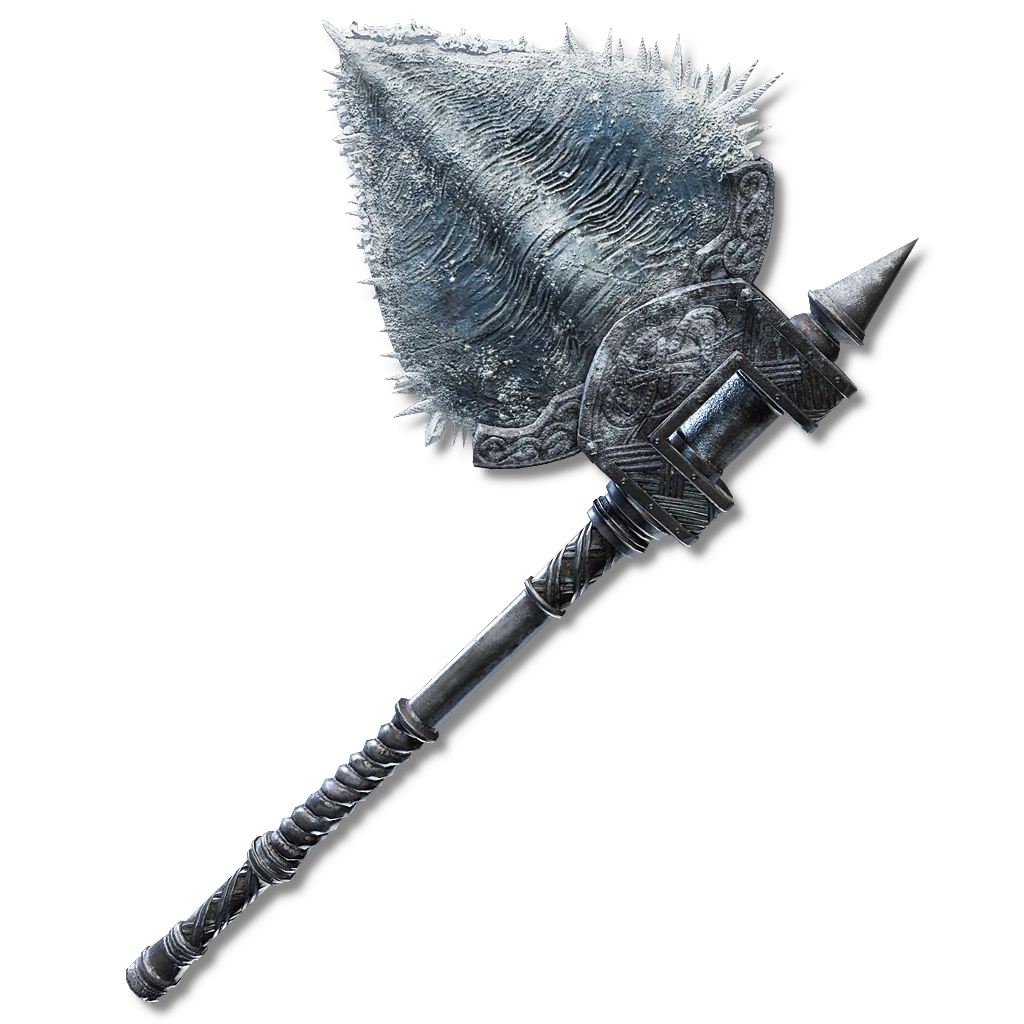
The clean combo is frost first, then bleed. Proc frostbite, and every subsequent bleed hit — and the bleed proc's own follow-up — lands into a target taking 20% extra. The Icerind Hatchet's Hoarfrost Stomp exists specifically to open fights this way.
Scarlet Rot: the boss-killer
Rot does not hit once. It ticks. When Scarlet Rot procs it applies considerable damage-over-time — the exact rate and duration vary by source, but it is dramatically stronger than poison, and against a large health pool that stacked DoT can outdamage anything else you own. This is the status that lets an underleveled character cheese bosses: build the meter, proc the rot, and back off while the enemy loses a chunk of its bar to nothing.
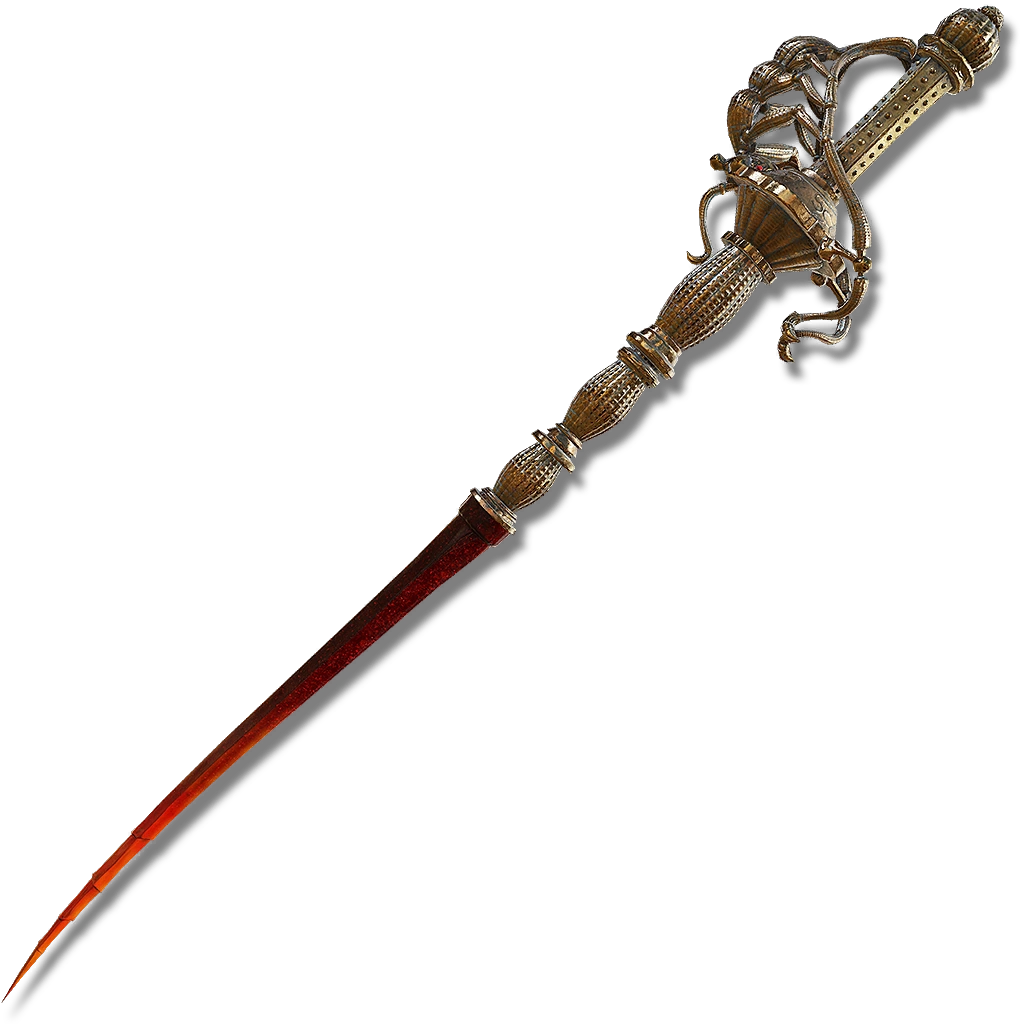
The Antspur Rapier builds rot on every poke, the Rotten Breath incantation coats an area, and Rotten Winged Sword Insignia stacks attack power as the fight drags on. Rot is a patience weapon: slower to set up than bleed, but it keeps working while you dodge.
Poison: the one you can mostly ignore
Poison uses the same DoT mechanic as rot at a fraction of the potency. The damage is low, the duration middling, and by the time it has ticked for anything meaningful you could have bled or rotted the target twice over. Poison's real value is Arcane-adjacent build synergy — Mohgwyn's Sacred Spear and a handful of talismans reward inflicting it — and the fact that poison and rot are on the same resistance stat, so a poison proc can sometimes prime an enemy for faster rot. As a standalone win condition, it is the weakest of the four.
Sleep and Madness: the niche two
Sleep and Madness were the "new" statuses at launch and they stayed situational.
Sleep doesn't damage — it disables. A slept enemy loses balance or drops unconscious, and crucially the hit that wakes them lands amplified, so sleep functions as a setup for a big critical opening. St. Trina's weapons and the Sword of Night and Flame-adjacent tools push it. It is excellent against a specific list of enemies and useless against the many bosses immune to it.
Madness only builds on players and a narrow set of humanoid NPCs — most bosses are flat immune. When it procs it briefly stuns the victim and deals 100 + 15% of max HP plus a chunk of FP (30 + 10%). That FP drain is why the Frenzied Flame's own status hurts casters most. In PvP and against the handful of susceptible NPCs it is real; in the main campaign it is a curiosity.
Death Blight: the instant kill
Death Blight — often called Deathblight — is the scariest bar in the game and the one you will almost never inflict yourself. When the meter fills, the victim dies instantly. No percentage, no DoT, just death. It shows up in places like the Deeproot Depths and around Those Who Live in Death, and against you it ignores your health bar entirely, which is exactly why it feels so unfair the first time a fanged imp statue's mist fills that purple meter to full.
The four stats that keep you alive
Everything above is offense. The defensive half of the system is four resistance stats the game buries in a sub-menu, each governing exactly two statuses:
| Resistance | Blocks | Raised by |
|---|---|---|
| Immunity | Poison, Scarlet Rot | Vigor |
| Robustness | Hemorrhage, Frostbite | Endurance |
| Focus | Sleep, Madness | Mind |
| Vitality | Death Blight | (gear and consumables) |
These are buildup resistances, not immunities — they raise how much of a meter an enemy has to fill before your status procs on you. Higher Robustness doesn't stop bleed; it just means the swamp guardian needs more hits to open your vein.
The practical takeaways: leveling Vigor and Endurance passively hardens you against the four statuses you meet most (the rot swamps, the bleed-heavy enemies, the frost mobs), which is one more reason Vigor is never a wasted level. When you know a zone's theme — the Lake of Rot is Immunity, Caelid is Immunity, the frost caves are Robustness — the Flask of Wondrous Physick with the right crystal tear, plus consumables like Preserving Boluses (bleed/frost) and Neutralizing Boluses (poison/rot), turns a lethal area into an annoyance. Match the cure to the swamp before you walk in, not while you are dying in it.
Mistakes that get people killed
- Chip-poking a status meter. Buildup decays. If you can't commit enough hits to proc before the meter drains, you are doing zero status damage. Go all-in or don't bother.
- Running poison and expecting rot numbers. They share a stat and a DoT mechanic, but poison's damage is a fraction of rot's. If you want the DoT win condition, build rot.
- Judging frost by its proc. The 30 + 10% hit is the least important thing frostbite does. The 20% damage amplification is the point.
- Ignoring Robustness before a bleed zone. Enemies bleed you too. A little Endurance and a Preserving Bolus in the pouch is the difference between a scary swamp and a lethal one.
- Trying to status a statue of a boss that's immune. Many late bosses resist or hard-ignore specific statuses. If the meter isn't appearing, stop feeding it and just deal damage.
Quick Action Checklist
- Lead with frost, follow with bleed. Proc frostbite for the 20% damage-up, then let bleed hits land into the debuff window.
- Save rot for big health bars. Its stacked DoT is your best tool against high-HP bosses you can kite.
- Treat poison as build synergy, not a plan. Only run it if a talisman or weapon specifically pays you for it.
- Level Vigor and Endurance for passive Immunity and Robustness — the statuses you'll eat most come off those two stats.
- Pre-load the right bolus. Preserving Boluses for bleed and frost, Neutralizing for poison and rot. Match the swamp before you enter it.
- Commit or skip. Buildup decays, so half-hearted status pressure is wasted damage.
Frequently Asked Questions
What does bleed (Hemorrhage) do in Elden Ring?
Is Frostbite worth using in Elden Ring?
How strong is Scarlet Rot compared to Poison?
What are the four status resistance stats in Elden Ring?
What is Death Blight in Elden Ring?
Does status buildup go away if I stop attacking?
Why is Madness useless against most bosses?
Keep Reading
Related Guides

How to Beat Malenia in Elden Ring: Full Boss Guide
Bandai Namco's own anniversary infographic counted 329 million attempts against Malenia, Blade of Miquella in one year — more than any other boss the infographic broke out. The reason isn't her health bar, it's the mechanic layered on top of it: she heals off almost everything she lands. Here is her full moveset, phase by phase, the resistances that actually work, a verified damage-reduction stack, and what patches have and have not changed about the fight.

How to Beat Radagon and the Elden Beast in Elden Ring
Elden Ring's final boss is two resistance charts behind one fog gate, with no Site of Grace between them. Radagon has no fire negation at all; the Elden Beast blocks 40% of it and every status buildup. Here is what each half resists, the one damage type that works on both, the holy-defense stack they both punish you for skipping, and what the patches actually changed.

How to Beat Radahn in Elden Ring: Full Boss Guide
FromSoftware nerfed Starscourge Radahn by accident in his very first patch, then had to ship a fix just to undo it. Here is his full verified combat profile, the Radahn Festival mechanic nobody explains, and the DLC fight wearing his name that plays nothing like it.

How to Beat Mohg, Lord of Blood in Elden Ring: Full Guide
A White Mask Varré questline reward can teleport you to Mohg, Lord of Blood's fog gate straight out of Liurnia of the Lakes, hours before the game's normal pacing puts a late-game shardbearer in front of you. Here is his full verified moveset, why his own resistance data rules out the fire and frost builds his aesthetic suggests, the item built specifically to survive his Bloodboon Ritual, and the DLC access rule that still trips people up after he's already dead.

Best Elden Ring Starting Class: All 10 Origins Ranked
Every Elden Ring origin has exactly the same number of attribute points for its level — the only thing you are really choosing is where those points sit and what gear you get for free. Here is what that actually means for your first twenty hours.

Elden Ring Spirit Ashes Guide: The Summons Worth Upgrading
You get ten grades of glovewort and about forty summons to spend them on, and most of that list is filler. Here is what each tier of spirit ash actually does for you, why Mimic Tear behaves the way it does, and which ones deserve a +10.