How to Beat Mohg, Lord of Blood in Elden Ring: Full Guide
A White Mask Varré questline reward can teleport you to Mohg, Lord of Blood's fog gate straight out of Liurnia of the Lakes, hours before the game's normal pacing puts a late-game shardbearer in front of you. Here is his full verified moveset, why his own resistance data rules out the fire and frost builds his aesthetic suggests, the item built specifically to survive his Bloodboon Ritual, and the DLC access rule that still trips people up after he's already dead.
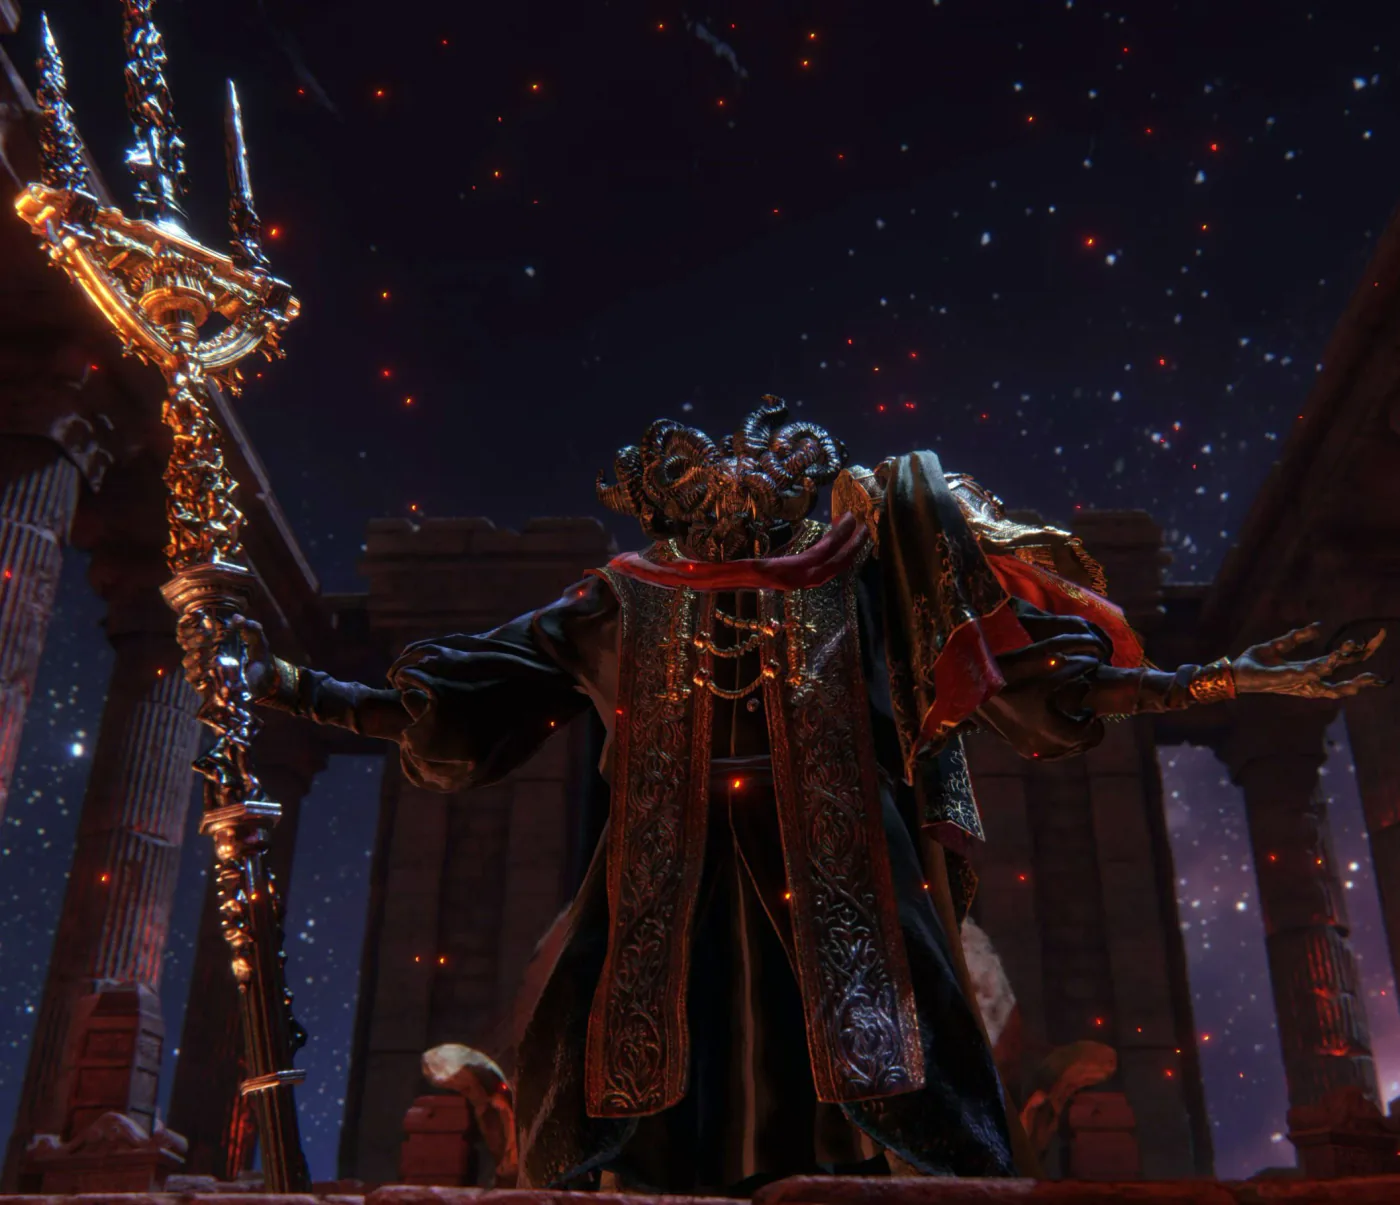
Mohg, Lord of Blood is a strange kind of famous — not for being the hardest fight in the game, but for ambushing players who did nothing wrong. A completionist questline hands you a shortcut straight to his fog gate hours before the game expects you there, and if you walk through it without checking a wiki first, you are fighting a late-game shardbearer at an early-game level with no warning.
Here is what he actually does, why the standard "frost and holy work on everything" instinct fails against him specifically, the one item built to survive his signature attack, and the access rule — verified against the director's own words, not a fan theory — that decides whether beating him actually gets you into the DLC.
Two fights, one name — this guide is about Lord of Blood
There are two bosses named Mohg, and it's easy to mix them up.
Mohg, the Omen is a projection fought in the Subterranean Shunning-Grounds beneath Leyndell, inside the Cathedral of the Forsaken. He has 14,000 HP, drops the Bloodflame Talons Ash of War and 100,000 runes, and defeating him is a checkpoint on the Frenzied Flame Proscription questline, not a shardbearer fight. The Dung Eater is available as a summon here if you have freed him. Mohg's Shackle — covered below — works on this version too.
Mohg, Lord of Blood is the real fight, at the top of the Mohgwyn Dynasty Mausoleum in Mohgwyn Palace. This is the shardbearer, the one with a Great Rune, and the one that gates the DLC. Everything from here on is about this fight.
Getting there, and the shortcut a questline hands you early
Mohgwyn Palace has two entrances.
The conventional route is a sending gate on the western edge of the Consecrated Snowfield — a late-game area, reached after most of the map is already open. This is where the game's normal pacing puts the fight.
The second route is worth knowing about in advance: White Mask Varré's questline hands out a teleport straight to the boss's front door, hours before that pacing intends. Soak the Lord of Blood's Favor and give it to Varré, and he rewards you with a Bloody Finger; speak to him again and you get the Pureblood Knight's Medal, obtained at Rose Church in Liurnia of the Lakes — one of the earliest regions in the game. Using the medal teleports you directly to the Dynasty Mausoleum Entrance grace, at will, for the rest of the run. Liurnia is a first-third-of-the-game area. This fight is not.
Nothing stops you from using the medal the moment you get it. If you do, you are standing at the fog gate of a demigod shardbearer with a build sized for Liurnia, not Mohgwyn Palace. That is a deliberate sequence break for players who want it, and an accident for everyone else. If Varré just handed you a medal that "teleports you to Mohgwyn Palace" and you do not recognize that name yet, that is your sign to shelve it and come back later.
Combat profile: HP, defense, stance, and the trap in his own damage type
| Stat | Value |
|---|---|
| HP | 18,389 |
| Defense | 122 |
| Stance (poise) | 110 |
| Parryable | No |
| Damage dealt | Standard, Pierce, Fire |
| Inflicts | Hemorrhage |
| Rune reward | 420,000 |
| Drops | Mohg's Great Rune, Remembrance of the Blood Lord |
Two things worth flagging before the moveset. First, unlike Malenia — whose health is two separate pools of 18,473 and 14,778 across her two phases — Mohg's 18,389 HP is one bar. There is no fresh phase 2 pool. What phase 2 gives him instead is a mid-fight heal back into that same bar, covered below.
Second: Mohg deals Fire damage and coats his arena in bloodflame — and he is 80% resistant to Fire himself, per his own combat data, his highest negation by a wide margin. If your first instinct on seeing a fire-and-blood boss is "he must be weak to fire," that instinct is backwards here. Keep reading before you rebuild your loadout around it.
What actually hurts him
Mohg's negation and resistance numbers, straight from his own combat data:
| Damage type | Negation |
|---|---|
| Standard, Slash, Strike, Pierce | 10% each |
| Magic | 40% |
| Lightning | 40% |
| Holy | 40% |
| Fire | 80% (his highest — do not bring fire) |
Lower negation means more damage gets through, so the four physical types at 10% are where his real weakness sits, and his own data tags Standard, Slash, Strike, Pierce and Hemorrhage explicitly as what he's "weak to." Magic, Lightning and Holy all land in the same mediocre 40% band — none of them stand out the way Fire's 80% resistance does in the wrong direction.
Status buildup resistance (the amount you need to deal to trigger a first proc):
| Status | Buildup to first proc |
|---|---|
| Hemorrhage | 290 |
| Poison | 653 |
| Scarlet Rot | 653 |
| Frostbite | 653 |
| Sleep | 1,406 |
| Madness | Immune |
This is the table that separates this fight from Malenia's. Her guide correctly lists frostbite as one of her weaknesses. Mohg's frostbite threshold is the same 653 as poison and rot — nothing special — while his hemorrhage threshold is 290, well under half of everything else on the list. A bleed weapon is doing real, fast work here in a way frost simply is not. Carrying over "frost always works" from one boss guide to the next is exactly the kind of assumption that gets punished fight to fight in this game; check the table, don't carry the habit.
There's a second layer to hemorrhage in this specific fight, and it cuts both ways: Mohg's own combat data states that whichever side — him or you — suffers blood loss gets a 15% damage buff for 20 seconds (the buff doesn't apply if the bleed proc happens on a critical hit). Landing bleed on him is good. Getting bled by him also makes his next hit worse. Bring Speckled Hardtear if that trade starts running against you — more on tear choices below.
Phase 1: the count to three
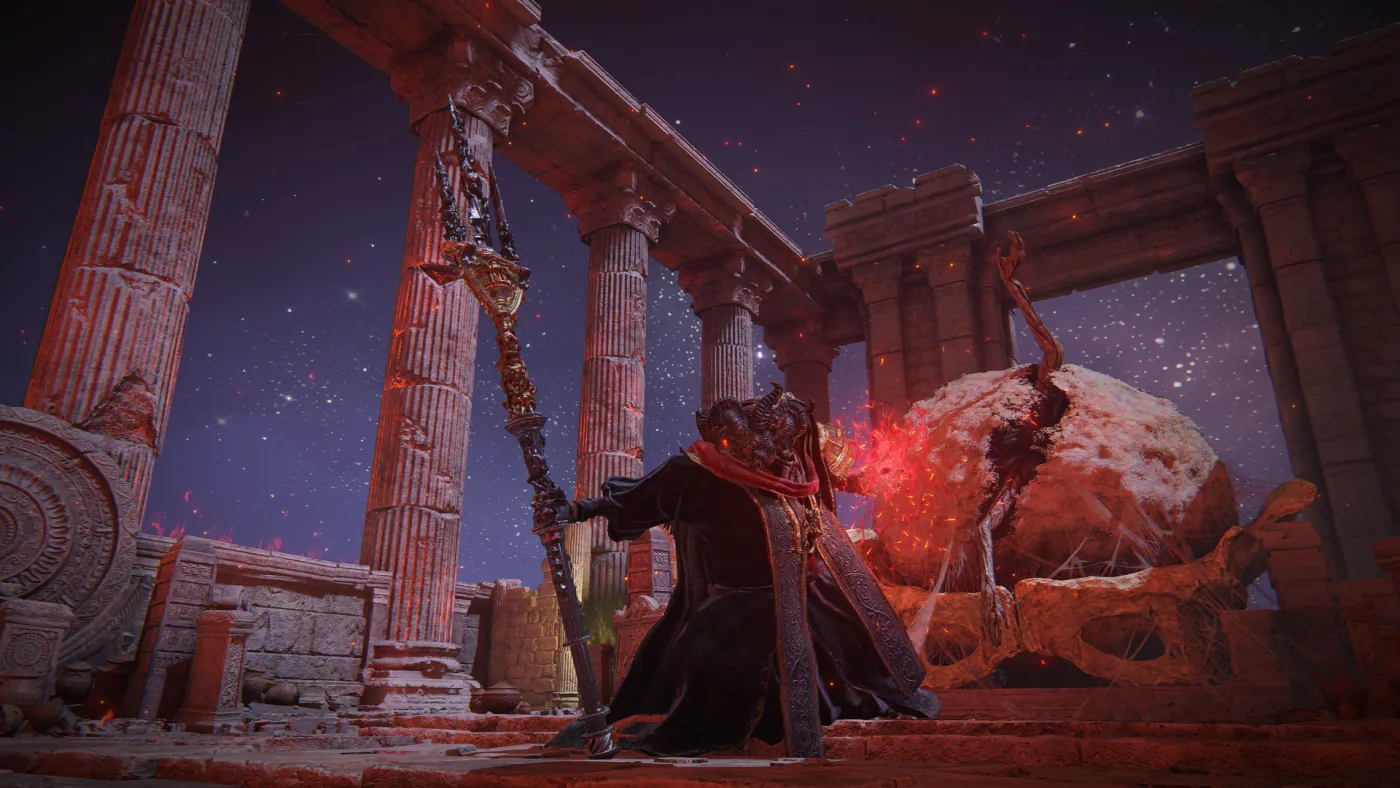
Phase 1's moveset, straight from Mohg's own listed attack data:
| Attack | What it does |
|---|---|
| Trident Swing | Wide horizontal swing, left or right, sometimes chained twice |
| Bloodboon | Reaches skyward and showers blood that ignites on landing |
| Bloodboon Throw | Throws a burst of blood in an arc or straight line, ignites on impact |
| Trident Smash | Slams the trident into the ground in front of him |
| Bloodflame Talons | Slashes the air, leaving a red streak that detonates a beat later |
| Explosion | Thrusts a hand forward, triggering an explosion at range |
| Trident Thrust | Stabs the ground and pulls back quickly |
Most of phase 1's physical attacks are slow and telegraphed — his trident swings and thrusts give fast weapons room to land a hit and dodge the follow-up, while slower weapons should wait for him to finish a full combo before swinging. Bloodflame Talons is worth calling out specifically: it's a slash followed by a delayed detonation, and the safe read is to roll away right as the burst goes off, not on the initial slash.
Underneath that moveset, Mohg is quietly running a separate mechanic: as his HP drops through set thresholds during phase 1, he holds his trident skyward and chants — "Tres," then "Duo," then "Unus" — placing a red ring around you each time. That's Latin for three, two, one, and it's a countdown you feel before you understand what it's counting down to. Each time he applies one of these Blood Curse stacks, he follows it by swinging his trident to his right — so staying on his left during that swing is both how you avoid the hit and how you get a free window to punish.
Bloodboon Ritual: the transition that heals him back
When Mohg's health reaches 50%, the third Blood Curse stack ("Unus") locks in and he immediately starts the Bloodboon Ritual: three trident thrusts into the air, chanting "Nihil" with each one, and each thrust drains a large chunk of your HP as bleed damage while healing him. By the time all three land, Fextralife's own breakdown of the fight puts the total healing at roughly 25% of his max health — not an official published figure, but a consistent read of the animation from a source that has run the fight closely. Either way, this single transition is worth a meaningful fraction of the health bar you just spent phase 1 removing.
There is one item built specifically to blunt this: the Purifying Crystal Tear, dropped by the NPC invader Eleonora, Violet Bloody Finger during Yura's questline. Mixed into your Flask of Wondrous Physick, it shields you from the bleed damage of all three thrusts — it does not stop Mohg from healing, but it turns what can be a near-death hit into a survivable one. The timing matters: drink it before he starts the countdown, not during the ritual itself, because the ritual's own damage can interrupt your Physick animation if you're still drinking when it lands. The full rundown of what else goes in that second tear slot is in the Wondrous Physick guide.
Once the ritual ends, the transformation completes: wings, a bloodflame-wreathed trident, and an expanded moveset. That's phase 2.
Phase 2: wings, and bloodflame on every attack
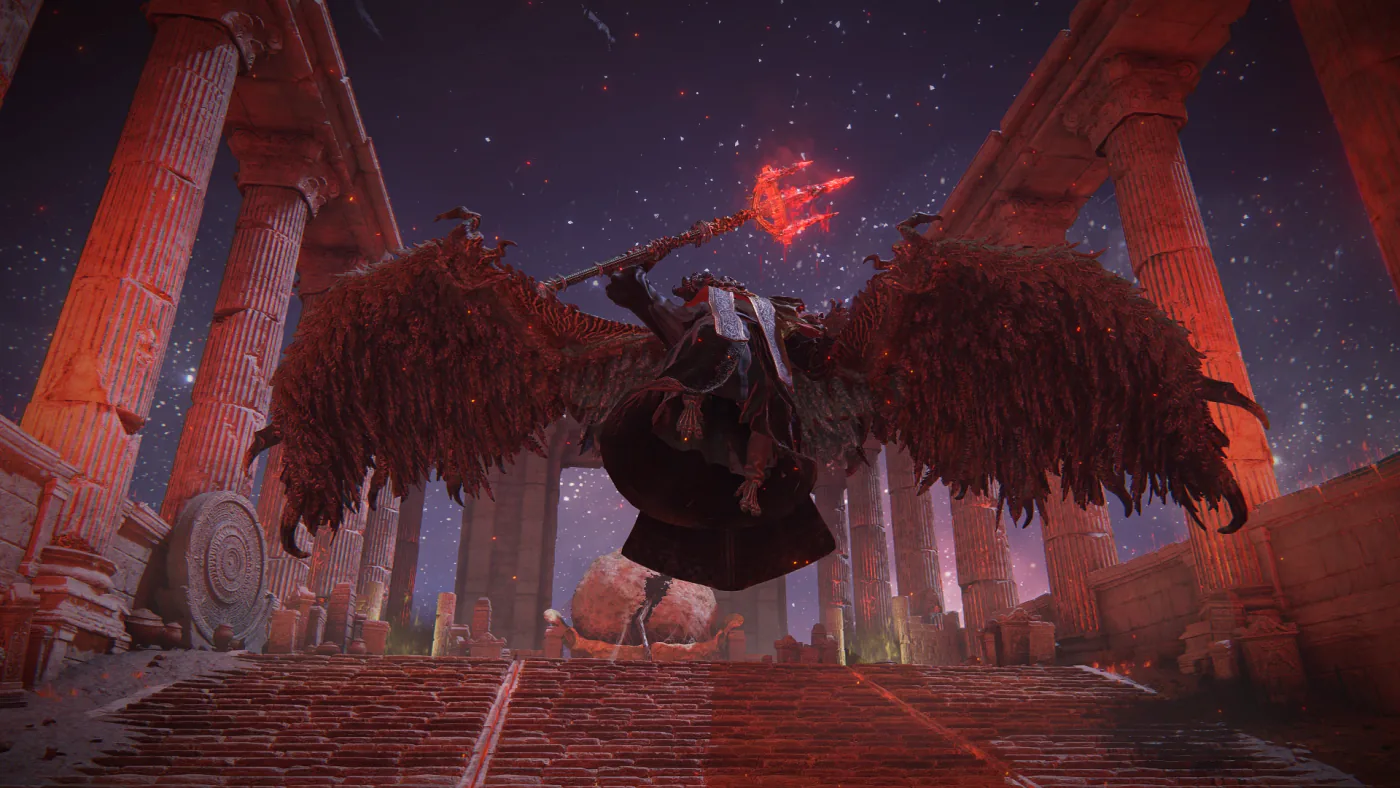
Phase 2 keeps every phase 1 attack — now spraying bloodflame wherever the trident lands, adding hemorrhage buildup to hits that were previously clean — and adds four new ones built around his wings:
| Attack | What it does |
|---|---|
| Bloodflame Charge | Charges forward, leaving a line of bloodflame behind him |
| Bloodflame Jump | Leaps and slams his spear down, causing a bloodflame explosion on landing |
| Bloodflame Swing | Wide trident arc that leaves a trail of bloodflame |
| Flying Bloodboon Throw | Flies up, throws bloodflame down, then dives in with a follow-up slash |
Two practical notes worth more than the move list. Bloodflame Jump specifically adjusts its landing point to catch a roll, so strafing to the side reads as more reliable here than rolling through it. And counterintuitively, staying close to Mohg is often safer than backing off: his bloodflame pools tend not to land directly under him, so pressing in keeps you out of more fire than retreating does. You will still accrue bleed buildup over the course of the phase regardless — watch your hemorrhage meter and disengage to let a proc trigger away from him rather than mid-exchange, where the stagger can eat the next hit.
This is also the phase where equip load stops being a background stat. Bloodflame and blood loss chip through HP fast enough that staying under the fat-roll breakpoint for full dodge distance is worth more here than it is in most fights in the game.
Tools built specifically for this fight
Three items exist because of this specific boss, and none of them are guesswork:
| Item | What it does | Where |
|---|---|---|
| Mohg's Shackle | Briefly binds Mohg, usable twice per fight | Subterranean Shunning-Grounds, bottom of the large pipe room (imp ambush) |
| Purifying Crystal Tear | Shields against the Bloodboon Ritual's bleed drain | Dropped by Eleonora, Violet Bloody Finger (Yura's questline) |
| Lord of Blood's Exultation | +20% attack power for 20 seconds when blood loss triggers on you or a nearby enemy | Dropped by Esgar, Priest of Blood, Leyndell Catacombs |
Mohg's Shackle is worth understanding precisely so you don't waste it: it only works during phase 1, it cannot interrupt the Bloodboon Ritual countdown itself, and it does nothing at all in phase 2. Used correctly, it buys two clean burst windows before the 50% transition, not an emergency button for later.
Lord of Blood's Exultation deserves a specific read because of how it's worded: the attack-power buff triggers off blood loss on either side, not just the ones you cause. Against a boss whose entire kit is built to bleed you, that means the talisman gets more useful the longer the fight drags on you, not just when you're the one landing hemorrhage. The general rundown of what else competes for a talisman slot is in the talismans guide.
One real constraint worth being honest about: the Flask of Wondrous Physick has exactly two tear slots. If Purifying Crystal Tear is one of them — and for a first attempt, it should be — the second is a genuine choice between Speckled Hardtear (clears active status and raises all resistances, which matters against phase 2's bleed pressure) and a flat damage-reduction tear like Opaline Hardtear. Unlike a fight with a free third reduction layer, here you're trading one general-purpose slot away for the ritual counter, not stacking all three.
He can't be parried — stance-break works differently here
This is a real, checkable difference from most shardbearer fights: Mohg's own combat data lists him as not parryable, full stop. Malenia can be parried and needs three consecutive parries to trigger a stance break. That route doesn't exist against Mohg at all.
His stance value is 110 — on the higher end of the game's boss cluster, per the stance-break guide — which means getting him staggered for a critical hit here comes entirely from raw poise damage: heavy weapons, guard counters, and jump attacks, landed during the same combo-ending openings that let you get safe hits in phase 1. There is no shortcut through parry timing to fall back on.
What beating him actually unlocks
Mohg is optional in the base game — nothing about the credits requires him — but Shadow of the Erdtree changes that. Per the wiki's own "Accessing the Expansion" note, corroborated by director Hidetaka Miyazaki's own words in a Famitsu interview quoted on the same page: you need both Mohg, Lord of Blood and Starscourge Radahn dead before the DLC will open. It isn't Mohg alone, and it isn't a "beat either one" choice — both.
Convenient part: the entry point is right where you're standing. Once Mohg falls, the Cocoon of the Empyrean grace appears in his own arena, and — provided Radahn is already down too — interacting with Miquella's withered hand there is what actually drops you into the Land of Shadow. If you still need Radahn, that's the only other stop before you can come back here and go through.
The kill itself pays 420,000 runes and drops Mohg's Great Rune and the Remembrance of the Blood Lord. Worth knowing before you get excited about the Great Rune specifically: per the Great Runes guide, it only does anything for co-op players summoning bleed-friendly phantoms — solo, it's close to dead weight. The Remembrance trades for Mohgwyn's Sacred Spear or the Bloodboon incantation; full stat lines for both are in the Remembrance rewards guide.
Quick Action Checklist
- His HP is one bar, not two. Phase 2 doesn't reset the pool — the Bloodboon Ritual heals roughly a quarter of it back mid-fight instead.
- Don't bring fire. 80% negation, his highest resistance, despite being a fire-and-blood boss himself.
- Bleed is the real answer. His hemorrhage buildup threshold (290) is under half of poison, rot or frost (653 each) — and unlike Malenia, frost isn't a listed weakness here.
- Watch for "Tres, Duo, Unus." Each chant swings his trident right — stay on his left and get a free hit in.
- Drink Purifying Crystal Tear before the countdown finishes, not during the ritual — its own damage can interrupt you mid-drink.
- Mohg's Shackle only works in phase 1, twice max, and can't touch the ritual itself.
- He cannot be parried. Stance-break here is pure poise damage — heavy weapons, guard counters, jump attacks — not parry timing.
- The DLC needs both Mohg and Starscourge Radahn dead, not either one alone. Beat both, then interact with Miquella's withered hand at the Cocoon of the Empyrean grace in Mohg's own arena.
Frequently Asked Questions
How do you get to Mohg in Elden Ring?
Is Mohg optional in Elden Ring?
What is Mohg weak to in Elden Ring?
Can Mohg be parried in Elden Ring?
What does Mohg's Bloodboon Ritual do?
Where do you find Mohg's Shackle?
What do you need to enter Shadow of the Erdtree after beating Mohg?
Keep Reading
- Mythras blog
- Elden Ring coverage hub
- Elden Ring Malenia boss guide
- Elden Ring boss order guide
- Elden Ring status effects guide
- Elden Ring stance break guide
- Elden Ring Wondrous Physick guide
- Elden Ring talismans guide
- Elden Ring Great Runes guide
- Elden Ring Remembrance rewards guide
- Elden Ring equip load guide
- Mohg, Lord of Blood — Elden Ring Wiki (Fandom)
- Mohg, Lord of Blood — Elden Ring Wiki (Fextralife)
- Mohg's Shackle — Elden Ring Wiki (Fandom)
- Pureblood Knight's Medal — Elden Ring Wiki (Fandom)
- Mohgwyn Palace — Elden Ring Wiki (Fandom)
- Lord of Blood's Exultation — Elden Ring Wiki (Fandom)
- Elden Ring: Shadow of the Erdtree — Accessing the Expansion (Fandom, cites Famitsu/Miyazaki interview)
Related Guides
How to Beat Radagon and the Elden Beast in Elden Ring
Elden Ring's final boss is two resistance charts behind one fog gate, with no Site of Grace between them. Radagon has no fire negation at all; the Elden Beast blocks 40% of it and every status buildup. Here is what each half resists, the one damage type that works on both, the holy-defense stack they both punish you for skipping, and what the patches actually changed.
How to Beat Radahn in Elden Ring: Full Boss Guide
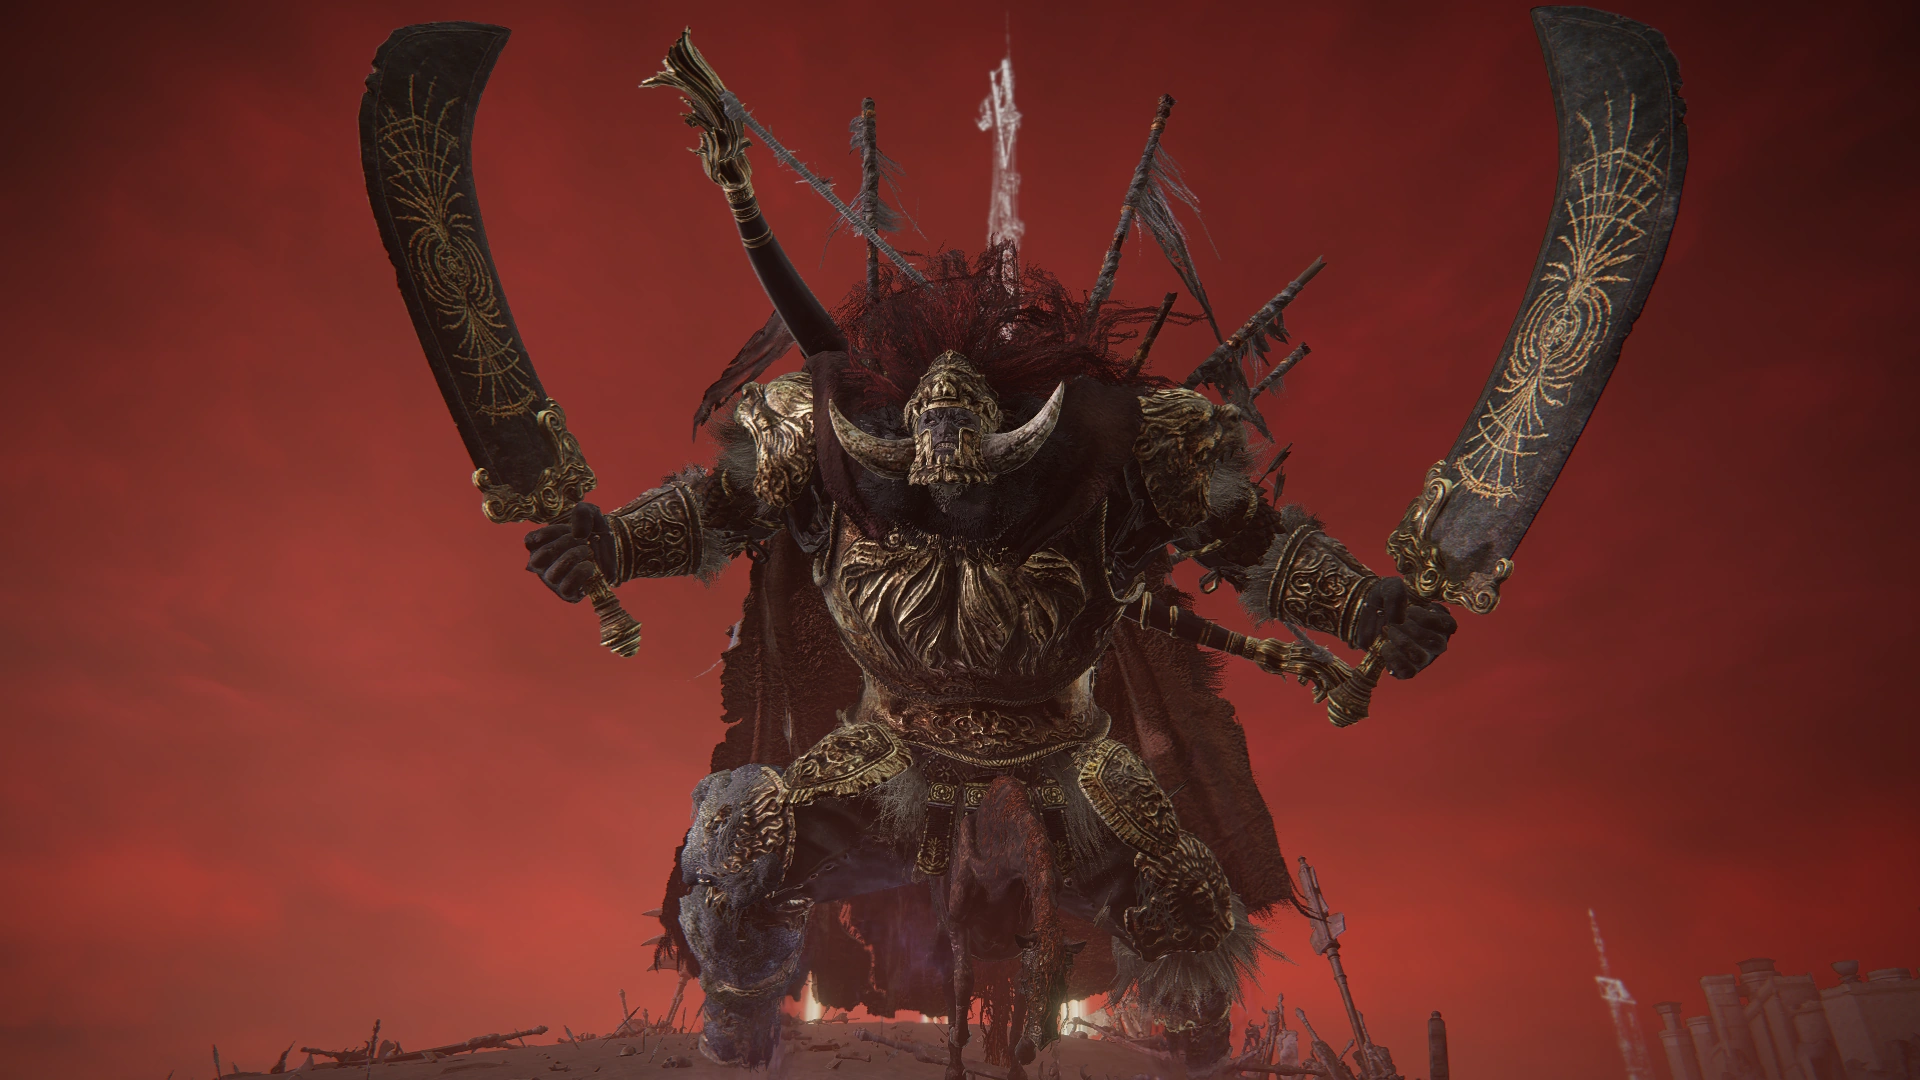
FromSoftware nerfed Starscourge Radahn by accident in his very first patch, then had to ship a fix just to undo it. Here is his full verified combat profile, the Radahn Festival mechanic nobody explains, and the DLC fight wearing his name that plays nothing like it.
How to Beat Malenia in Elden Ring: Full Boss Guide
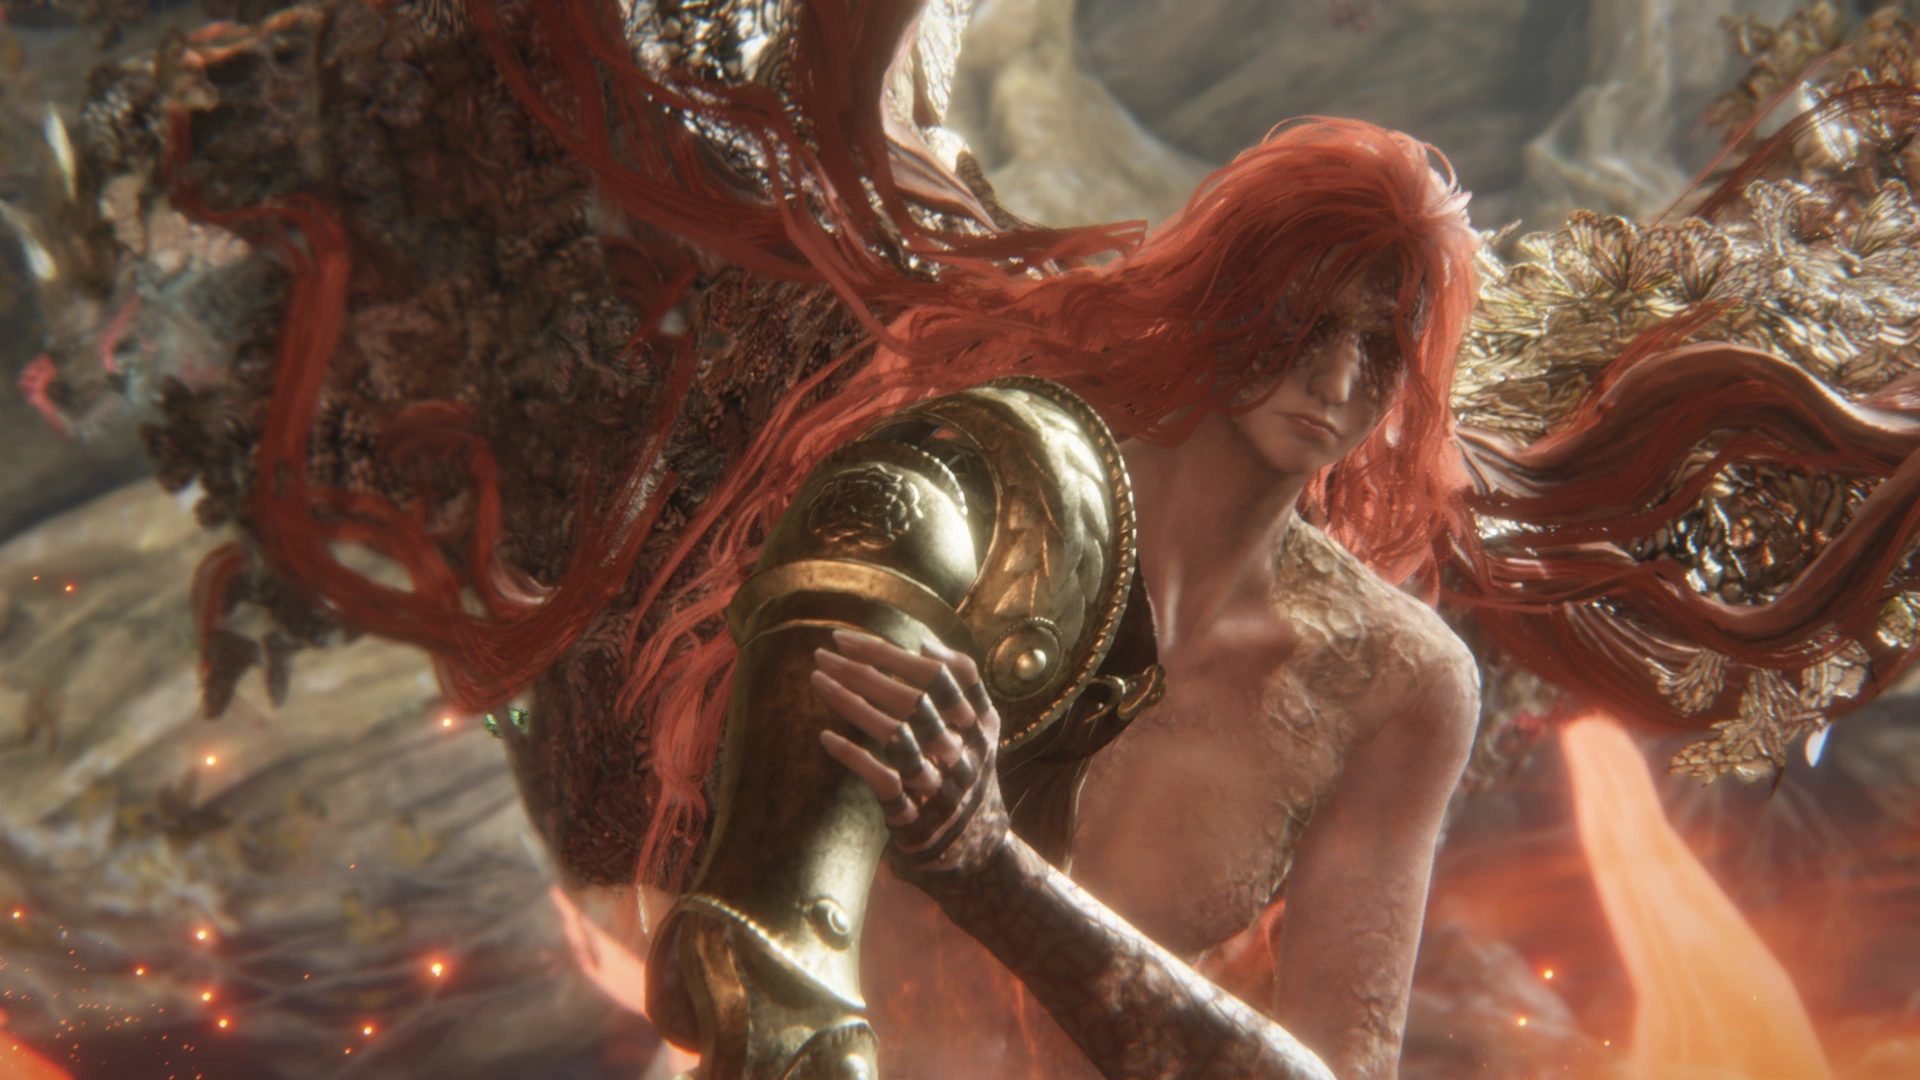
Bandai Namco's own anniversary infographic counted 329 million attempts against Malenia, Blade of Miquella in one year — more than any other boss the infographic broke out. The reason isn't her health bar, it's the mechanic layered on top of it: she heals off almost everything she lands. Here is her full moveset, phase by phase, the resistances that actually work, a verified damage-reduction stack, and what patches have and have not changed about the fight.
Elden Ring Spirit Ashes Guide: The Summons Worth Upgrading
You get ten grades of glovewort and about forty summons to spend them on, and most of that list is filler. Here is what each tier of spirit ash actually does for you, why Mimic Tear behaves the way it does, and which ones deserve a +10.
Best Elden Ring Starting Class: All 10 Origins Ranked
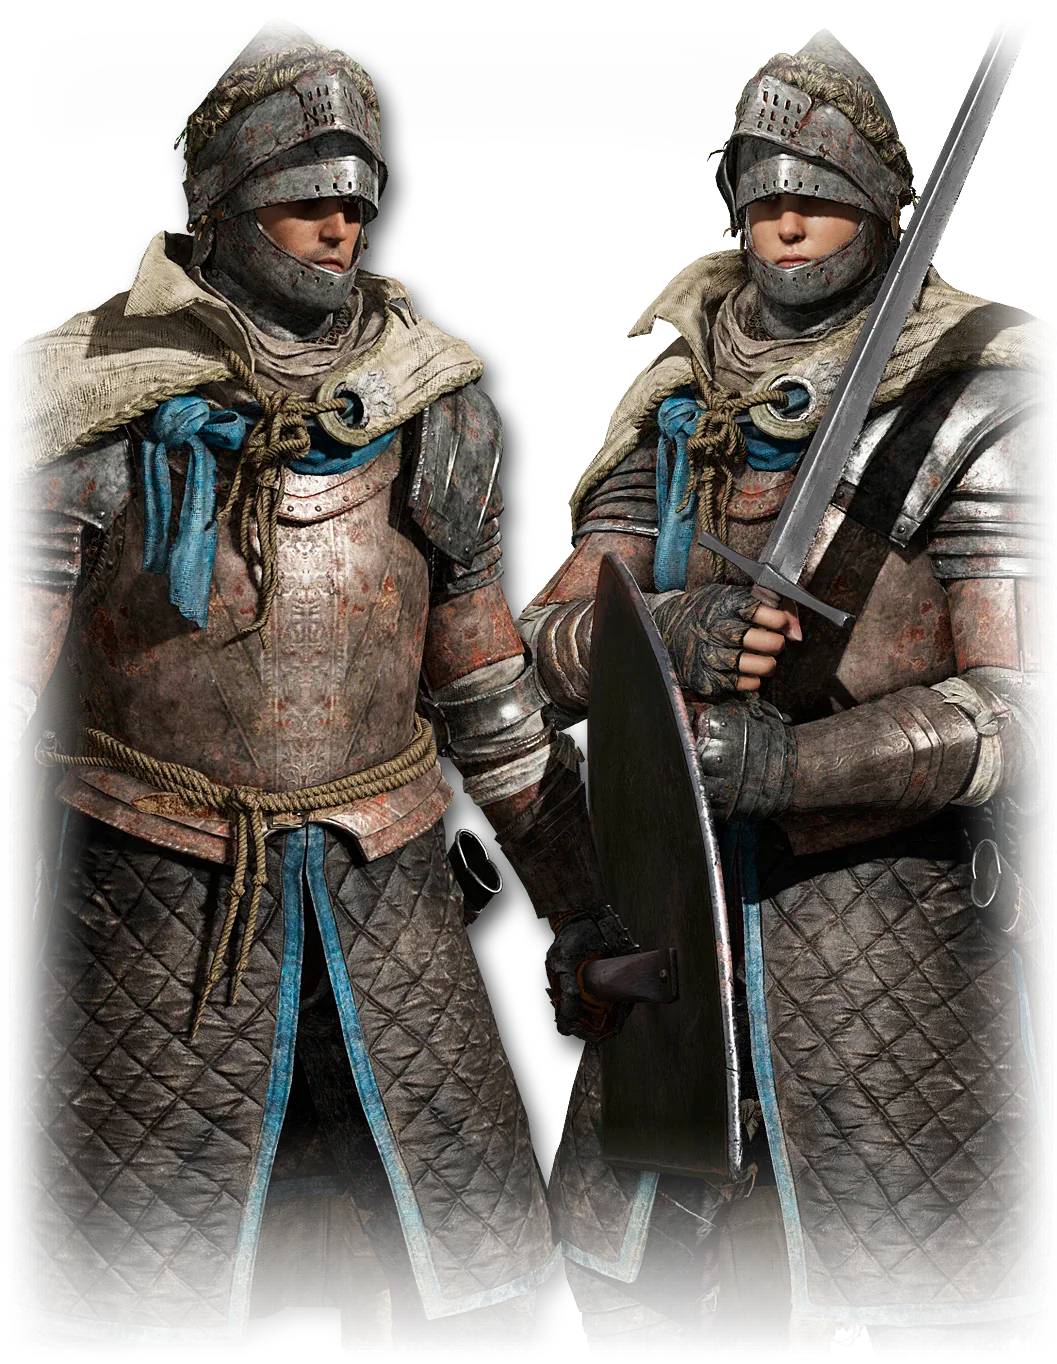
Every Elden Ring origin has exactly the same number of attribute points for its level — the only thing you are really choosing is where those points sit and what gear you get for free. Here is what that actually means for your first twenty hours.

Elden Ring Status Effects Guide: Bleed, Frostbite, Scarlet Rot and More
Status effects are the fastest damage in Elden Ring and the game explains almost none of the math. Here is what each proc actually does, why bleed and frostbite outclass poison, and the four hidden stats deciding whether you survive a swamp.