Fortnite Building Basics: The Fundamentals
Building is the wall between you and everyone who beats you in Build mode. Here's the actual fundamentals — the four pieces, the box, the ramp rush, the 90 — and the drills that turn fumbling into reflex.

Building is the wall between you and everyone who beats you in Build mode — and it's usually a literal wall, slapped down a quarter-second before you pulled the trigger. If you've ever wondered how the player who was clearly out of position just teleported to high ground and started raining shots on you, the answer is building. It's not aim. It's not luck. It's a second skill stacked on top of shooting, and it's the entire reason Fortnite plays differently from every other shooter.
The good news: the fundamentals are a short list. There are four build pieces, a handful of patterns made from those four pieces, and editing. Pros chain these at superhuman speed, but the patterns themselves are simple, and you can have the core ones in your hands within a few focused sessions. This guide is the from-zero version — no jargon you don't need, just the pieces, the patterns, and the drills that turn fumbling into reflex.
Why building is the skill gap
In Build mode, every gunfight is simultaneously a building fight. Building does three things that decide who wins:
- It creates instant cover. A wall thrown between you and an enemy blocks their shots and resets the engagement on your terms.
- It takes high ground. Whoever is above has the firing angle and the positioning advantage. Ramps are how you get there.
- It controls space. Boxing yourself in to heal, walling off a rotation, building a tower to hold an area — construction is how you dictate where a fight happens.
This is exactly why beginners should learn the game in Zero Build first (we cover that in the Fortnite beginner's guide). But once you've decided you want the full skill ceiling, building is non-negotiable. A great shot who can't build loses to an average shot who can. That's the game.
The four pieces and what they do

Everything you'll ever build is made from four pieces, each costing materials (wood, stone, or metal) that you harvest with your pickaxe. Memorize these — they're the alphabet.
| Piece | What it does | When you reach for it |
|---|---|---|
| Wall | Vertical panel of cover | Block incoming shots; the most-spammed piece in the game |
| Ramp (Stair) | Angled climb | Gain height, push uphill, take high ground |
| Floor | Horizontal platform | Bridge gaps, build the ceiling of a box, cross terrain |
| Cone (Roof) | Pyramid-shaped piece | Cap a box, protect from above, make tight protective angles |
A quick word on materials. Wood builds fastest and is your default in active fights — it goes up instantly but has low health when fresh. Stone (brick) is the all-rounder. Metal has the highest max health but takes the longest to reach full strength, so it's for fortified defenses, not panic walls. As a new builder, harvest wood constantly and build with it almost exclusively. You want a stockpile of at least a few hundred wood before any fight you can see coming.
Fix your keybinds first
Before you build anything, fix your controls — this single change matters more than any technique. On controller, switch to Builder Pro, which maps each build piece to its own face button or trigger so you don't cycle through them. On PC, the default keybinds (Q for wall, etc.) are fine, but most players who get fast rebind the four pieces to mouse buttons and keys near WASD (common setups put wall, ramp, floor, and cone on Q, mouse side buttons, F, C, or similar) so you never lift your fingers off movement — our best Fortnite keybinds guide lays out a full setup.
The principle is the same on every platform: each build piece needs a dedicated, one-press input. If you're scrolling a wheel or tapping the same button repeatedly to find the ramp, you've already lost. The whole game of building is speed, and speed comes from never having to think about which input does what.
Rebinding feels horrible for the first hour and then becomes invisible. Push through the awkward stage. Every pro and every decent player has dedicated build keys, because the alternative — fumbling for the right piece while someone shoots you — is unwinnable.
The box: your most important build
The single most useful thing you can build is a box — four walls around you, capped with a cone or floor. It's instant cover on all sides, and it's what you throw up the moment you take damage with no nearby cover. Learn this before anything fancy:
- Place a wall in front of you (toward the threat).
- Turn and place walls on your remaining three sides.
- Cap the top with a cone or floor so no one drops in or shoots down on you.
A clean box takes well under a second once it's muscle memory, and it buys you the time to heal, reposition, or plan your next move. Beginners who learn nothing else but "box up when you get shot" survive dramatically more fights, because the alternative is eating damage in the open while you panic.
The natural follow-up to boxing is editing your own wall to open a window or door, take a shot, and close it again — but that's the next skill. First, get the box itself automatic.
The ramp rush and taking high ground
High ground wins fights, and ramps are how you get it. The ramp rush is the basic offensive pattern: you build a ramp, run up it, build another, and keep climbing toward or over an opponent to get above them.
The catch is that a bare ramp is fragile — one shot breaks it and you fall. So the real pattern is wall-then-ramp: place a wall facing the enemy, then place a ramp behind it. The wall eats the shots while the ramp gives you the climb. Stack a few of these and you've got a protected staircase to high ground instead of a flimsy slide that collapses under fire.
When you reach the top, you cap it. Get above your opponent, place a floor and a cone over your head, and now you're shooting down at a protected angle while they're exposed. That's the whole point of the rush — not the climb itself, but the dominant position it ends in.
The 90: the build that wins fights

The 90 (or "90s") is the fastest way to gain vertical height in a small footprint, and it's the build that separates players who survive Build endgames from players who don't. It's a tight spiral: wall, ramp, turn 90 degrees, wall, ramp, turn 90 degrees, repeat — corkscrewing straight up while staying boxed in.
The motion is the hard part, because you're rotating your camera 90 degrees and placing two pieces each rotation, fast, without falling off your own structure. It feels impossible at first and then, with reps, becomes one fluid motion. Here's the loop:
- Place a wall facing out, place a ramp on the floor.
- Jump onto the ramp, turn 90 degrees.
- Place a new wall and floor, step up.
- Repeat, spiraling upward.
You don't need to do these at tournament speed. You need to do them cleanly and without falling. A slow, clean 90 that gets you to high ground beats a fast 90 that drops you to your death every time. Speed is the last thing you train, after the motion is correct.
Editing: the other half of building
Editing is reshaping a piece you've already placed — turning a wall into a doorway, a window, or a half-wall, then confirming it. It's how you take shots from inside your box without exposing your whole body, how you push through an opponent's builds, and how you create surprise angles.
The basic edit loop: enter edit mode on a piece, select the tiles you want to remove (a single bottom-middle tile makes a door; a center tile makes a window), confirm, take your shot, then reset the piece back to solid. The skill is doing it fast enough that you're only exposed for a fraction of a second.
A few editing fundamentals for beginners:
- Bind "reset edit" / confirm to something comfortable. You'll use it constantly.
- Practice the door and window edits first. They're the two you'll use in 90% of fights.
- Always reset your edit closed after shooting. An open edit you forgot about is a free angle for your opponent.
Editing is genuinely the deepest part of building and you don't need to be good at it to win games — but the door-and-window basics pay off immediately, so learn those two and leave the fancy edits for later.
Drills that build muscle memory
You do not get good at building by playing matches. You get good by drilling, then taking the muscle memory into matches. The reps live in Creative mode, where you have unlimited materials and no one shooting you.
- Free-build practice. Load a Creative map with infinite mats and just build boxes, ramp rushes, and 90s on repeat until your hands stop thinking about it. Ten minutes a day beats one long session a week.
- Edit courses. Search Creative for "edit course" maps that throw timed edit prompts at you. They're the gym for the editing half of building.
- Build-fight maps and 1v1 arenas. Once your solo builds are clean, these put your building under pressure against another player. This is where you find out which patterns hold up when someone's actually shooting.
- Warm up before real matches. Five minutes of build and edit drills before you queue. Cold hands build slow.
The honest timeline: clean boxes and ramp rushes in a few days of drilling, passable 90s in a couple of weeks, and "actually fast under pressure" over months. That's normal. Everyone who builds well grinded Creative to get there.
Quick Action Checklist
The shortest path from non-builder to functional builder:
- Switch to Builder Pro (controller) or rebind the four pieces to keys near WASD (PC)
- Make sure each build piece has a dedicated one-press input — no cycling
- Harvest wood constantly; carry a few hundred mats into any fight you see coming
- Learn to box up instantly the moment you take damage
- Drill the wall-then-ramp rush for protected high ground
- Practice the 90 slow and clean before you ever try it fast
- Learn the door and window edits first; reset every edit closed after shooting
- Put your reps in Creative mode — free build, edit courses, 1v1 maps
- Warm up five minutes before queueing into real matches
Frequently Asked Questions
What are the four building pieces in Fortnite?
What is the best controller keybind setup for building?
How do I box up in Fortnite?
What is a 90 in Fortnite?
How do I practice building in Fortnite?
How long does it take to get good at building in Fortnite?
Keep Reading
Related Guides
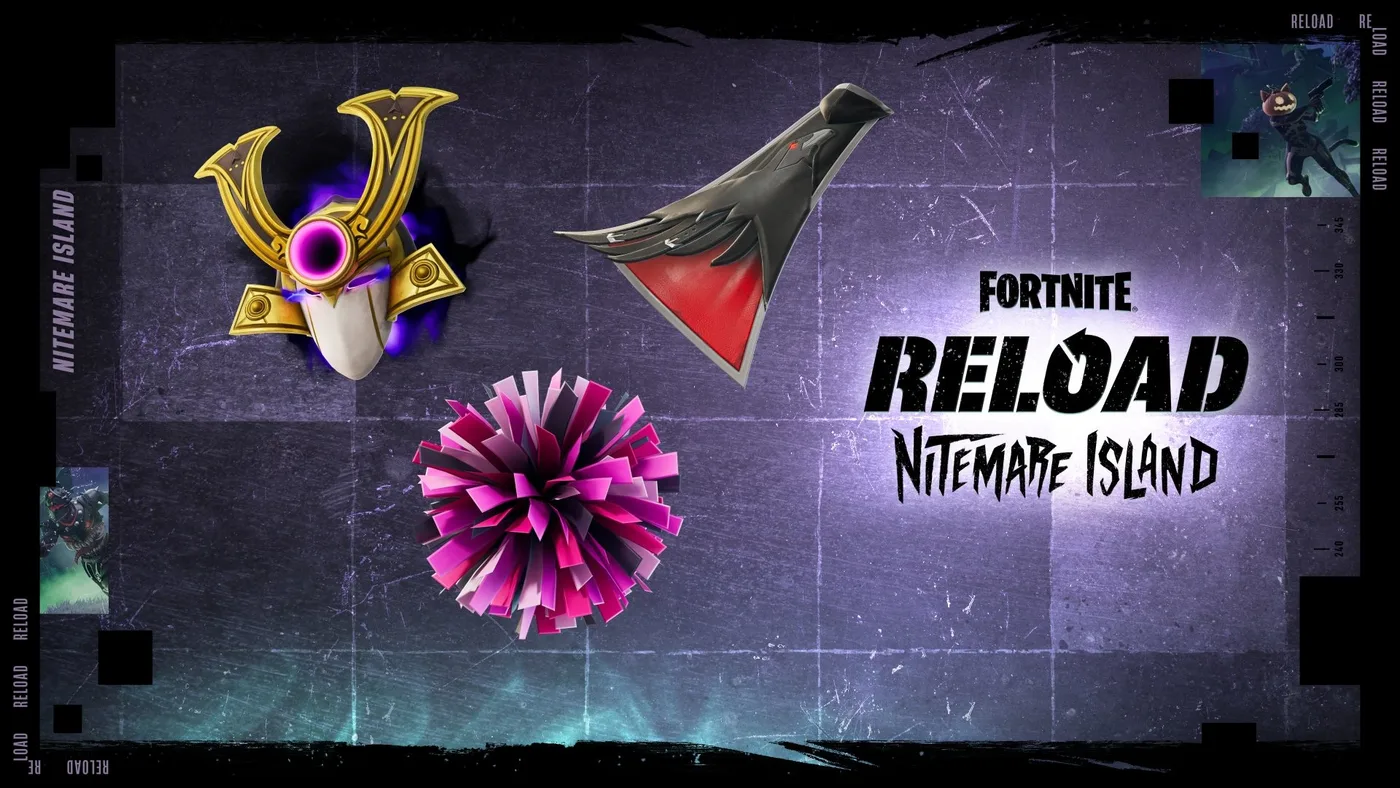
Fortnite Reload Nitemare Island: Map, Loot and Rewards
Nitemare Island came back to Reload on October 8 with something the 2025 version never had: a match modifier that hands you a rival and pays out a Kado Thorne Exotic when you drop them. Here is the map, the three-map rotation it sits in, the loot you can only find there, and what the new Ranked and Map Mastery tracks pay.

Fortnite Blitz Royale Guide: How the 5-Minute Mode Works
Blitz Royale was meant to close on July 15, 2025. Fifteen months later it has its own dev team, a $1,000,000 mobile tournament and a victory emote you can only earn inside it. Here is how a match actually runs: the kit everyone lands with, what Blitz Levels pay out, where the gold loot is, how fast the storm kills, and what Epic has and has not changed this season.

Fortnite Kingdom Hearts Skins: Price, Keyblade and More
Our Chapter 7 Season 4 weapons post named the Kingdom Key and Rebecca's Guns as arrivals Epic had announced but not shipped — 'neither is in the pool yet,' it said, three weeks ago. Update v42.20 shipped both, plus a four-skin Kingdom Hearts bundle tied for the most expensive in the game's history, four new Sprites, and six new Match Overrides. Here's what actually landed, what it costs, and what Epic still hasn't published.
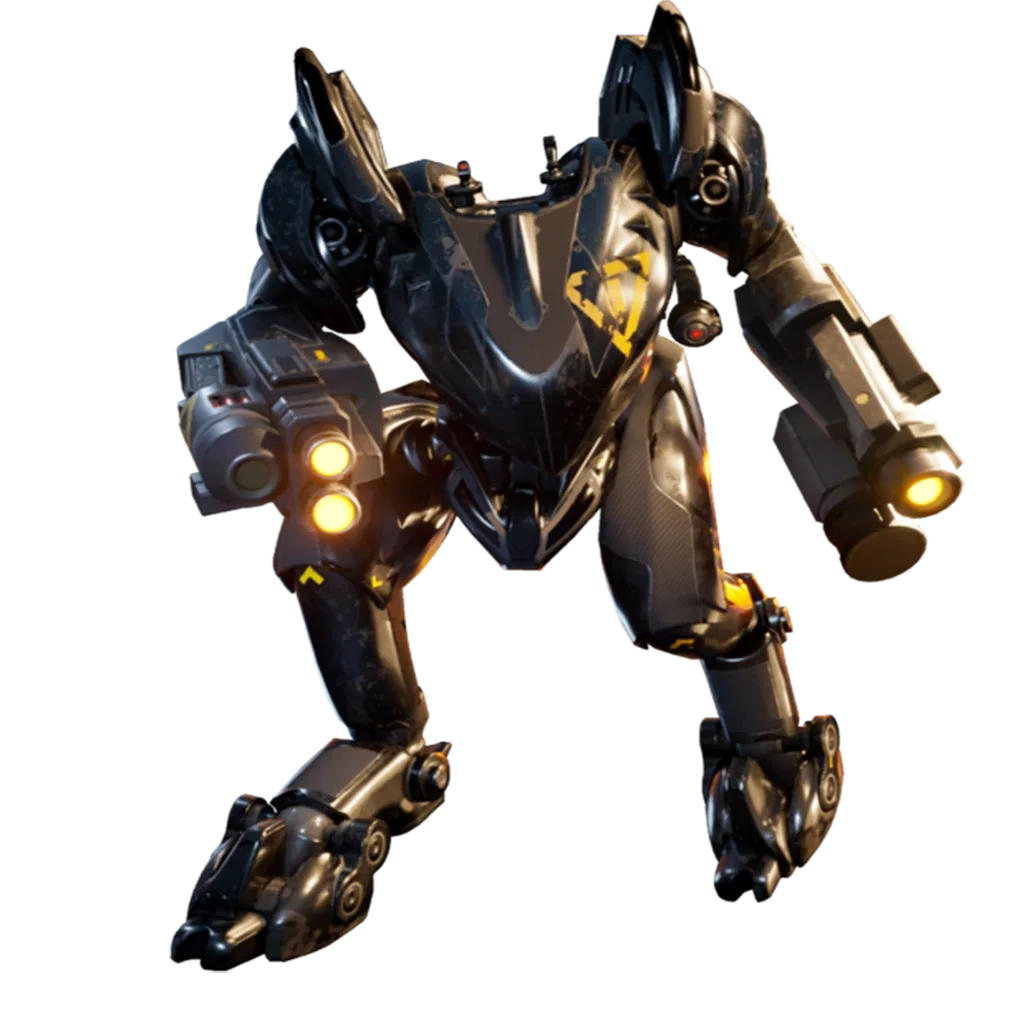
Fortnite OG Season X: The BRUTE and Rift Zones Return
Our OG mode guide explains how the permanent playlist works in general. It doesn't tell you what's live right now, because that changes every season — and on September 3, the tenth one brought back a two-person mech, a fully automatic sniper, and three Rift Zones with rules of their own.
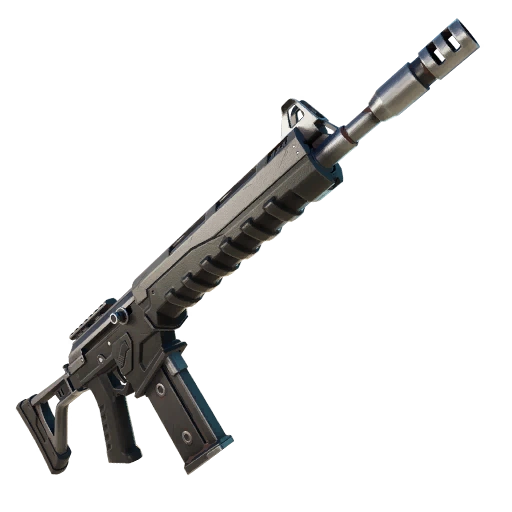
Fortnite Weapon Tier List: How to Rank Any Loot Pool
Any Fortnite tier list is stale the second a patch drops. So instead of memorizing this season's gun names, learn how to rank weapons by class and role — the framework that's S-tier in every season.

Best Fortnite Settings for PC & Console
Half your settings menu is noise; a handful of options decide whether you can see, aim, and build. Here's what to change on PC and console, why, and the one number nobody else can pick for you.