Best Fortnite Settings for PC & Console
Half your settings menu is noise; a handful of options decide whether you can see, aim, and build. Here's what to change on PC and console, why, and the one number nobody else can pick for you.

Half of Fortnite's settings menu is noise, and the other half quietly decides whether you can see enemies, aim at them, and build before they kill you. New players spend hours fiddling with cosmetic toggles that don't touch their win rate and never change the four or five options that actually do. This guide cuts straight to the ones that matter, tells you what to set them to and why, and is honest about the one number — sensitivity — that nobody on the internet can pick for you.
A standing warning before the numbers: Fortnite patches its settings menu and rendering options regularly, so exact menu labels and a few specific values shift between updates. The values below are sound starting points as of the current patch, but the principles — maximize frames, kill visual clutter, find your own sensitivity — are what carry across every season. Treat the numbers as a starting line you tune from, not gospel.
Which settings actually matter
Every setting in Fortnite serves one of three goals: frame rate (how smoothly and responsively the game runs), visibility (how easily you can spot and track enemies), and control (how precisely your aim and builds translate from your hands to the screen). That's it. If a setting doesn't move one of those three needles, ignore it.
The priority order, regardless of platform:
- Get the highest stable frame rate your hardware allows. More frames means lower input lag and smoother tracking. This is the single biggest mechanical advantage available.
- Maximize visibility. Strip out the visual noise that hides enemies — shadows, heavy effects, dark corners.
- Dial in sensitivity and multipliers so aim and building feel consistent and repeatable.
- Set comfortable keybinds so every action is a clean, dedicated input.
Get those four right and you've extracted essentially all the competitive value the settings menu has to offer. Everything else is taste.
PC graphics: chase frames, not looks
On PC, the goal is maximum frames and maximum enemy visibility — not pretty screenshots. Competitive players run the game looking comparatively flat and plain because flat and plain is readable. Here's the standard competitive-leaning setup:
| Setting | Recommended | Why |
|---|---|---|
| Frame Rate Limit | As high as your monitor/GPU sustains (e.g. 144/240+) | Lower input lag, smoother tracking — the biggest single edge |
| Rendering Mode | Performance Mode (if available) | Strips visual fidelity for a large FPS gain on most hardware |
| Shadows | Off | A meaningful chunk of frames back on many GPUs, and enemies stop hiding in dark areas |
| Textures | Low | More performance; the game still reads fine |
| Effects | Low | Reduces visual clutter that obscures enemies in fights |
| Post Processing | Low | Cleaner, flatter image that's easier to parse |
| View Distance | Epic/Far | One of the few worth keeping high — see threats sooner |
Turning shadows off is the closest thing to a free competitive cheat the game offers. You gain frames and visibility at once, because enemies no longer blend into shaded terrain. Nearly every serious player runs shadows off, and it's the first toggle you should flip.
The frame-rate target depends on your monitor: there's no point pushing 240 FPS into a 60 Hz panel. Match your frame cap to your refresh rate, and if you have a high-refresh monitor (144 Hz, 240 Hz), getting frames up to it is worth dropping every visual setting to low — our Fortnite performance guide digs deeper into squeezing out high FPS. Smoothness beats beauty in a shooter, full stop.
Console settings: performance mode first
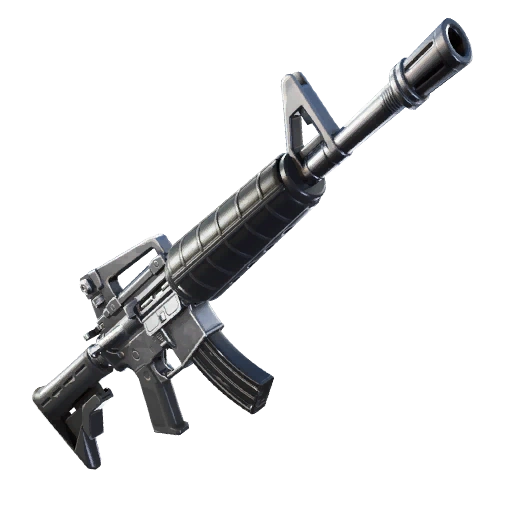
Console players don't have granular graphics sliders, but you have the one switch that matters most: the framerate mode. Modern consoles offer a high-FPS / Performance mode (commonly a 120 FPS mode on current-gen hardware) versus a fidelity mode that prioritizes resolution.
- Pick Performance / 120 FPS mode, always. The smoother input and faster reactions beat the prettier picture in every competitive scenario. If your display supports 120 Hz, enable it on both the console and the TV/monitor.
- Let the console handle display settings. Most resolution and display options are auto-managed once you select Performance mode — you don't need to micromanage them.
- Turn on any visibility aids the console version exposes. If there are options that reduce visual clutter or improve enemy contrast, use them.
Console is simpler precisely because there's less to fiddle with. Flip to Performance mode, confirm your TV is running at the higher refresh, and you've captured the lion's share of the available advantage.
Sensitivity: the number only you can set
Here's the honest part most "best settings" lists won't tell you: there is no correct sensitivity, and anyone who hands you an exact number is guessing for you. Sensitivity is personal — it depends on your mousepad size, your DPI, your grip, your monitor distance, and your muscle memory. Copying a pro's exact sens usually makes you worse, because it's tuned to their hands and their setup.
What you can use is a sane starting range and a tuning method.
- PC mouse: A common starting point is a moderate DPI (many players sit somewhere around 400–800) with a low-to-moderate in-game sensitivity on each axis. Exact percentages shift as Epic rescales the menu, so treat any number as a starting line, not a target.
- The 180 test: Place your crosshair on a fixed point. Swipe your mouse across your mousepad, one edge to the other. You want that swipe to turn you roughly 180 degrees. If a full swipe turns you less than a 180, you're too low; if you spin past it, you're too high. Adjust until one comfortable swipe ≈ a half-turn.
- Controller: A moderate look sensitivity is a reasonable starting band for tracking fast opponents without overshooting — fast enough to whip onto a target, slow enough that you don't sail past it.
- Change one thing at a time, then commit. The worst thing you can do is keep tweaking sens every session — your muscle memory never gets a chance to form. Find a value that feels controllable, then leave it alone for weeks.
The goal isn't a "fast" or "slow" sens. It's a consistent one your hands learn so well that aiming stops being a conscious act. That only happens if you stop fiddling and let it settle.
Build and edit multipliers
Building and editing have their own sensitivity multipliers, layered on top of your base sens, and they're where most players leave free speed on the table. The principle: you want building and editing faster than your aim sensitivity, because construction is a speed race in a way that aiming isn't.
- Build Mode Multiplier: Set well above 1.0 so you place pieces and turn quickly while building. Most players run it comfortably faster than their aim sensitivity.
- Edit Mode Multiplier: Set even higher — fast editing is one of the highest-skill, highest-impact actions in Build mode, so push this one above your build multiplier.
- Why higher: When you're building a 90 or rushing for high ground, you're rotating your view 90 degrees repeatedly, fast. A slow build/edit sens caps how quickly you can corkscrew upward, and in Build mode that's the difference between taking high ground and dying below it.
If you're new to building, start near the lower end of those ranges so your edits don't fly past where you want them, and creep the multipliers up as your hands get faster. Our Fortnite building basics guide covers the patterns these multipliers are tuned to serve.
Keybinds and controller layout
The keybind rule is the same one that governs building: every action gets a clean, dedicated input you never have to hunt for.
- Controller — use Builder Pro. It maps each build piece to its own button/trigger so you place exactly what you want with one press. It's the standard competitive preset and it's not close — our Fortnite controller settings guide covers the aim-assist and sensitivity layer that goes with it.
- PC — bind the four build pieces near WASD. Wall, ramp, floor, and cone on keys and mouse buttons your fingers reach without leaving movement (Q, mouse side buttons, F, C, and similar). The default binds work, but moving them closer to your hand removes the reach — see our best Fortnite keybinds guide for a full layout.
- Bind edit and reset to comfortable, fast keys. You edit constantly; a comfortable edit/confirm bind pays off every fight.
- Mash-build / turbo build on. Make sure you can hold a button to place pieces continuously rather than tapping for each one.
The test for any keybind: in a real fight, can you execute the action without thinking about which input does it? If you're ever hunting for a key, that bind is in the wrong place.
Audio and visibility tweaks
Sound is information, and a couple of audio settings turn it into a real advantage — our Fortnite audio settings guide goes deep on hearing every footstep:
- Use headphones, always. Stereo separation tells you which direction footsteps, chests, and gunfire come from. Speakers throw that away.
- Turn on the Visualize Sound Effects option if it exists in your version — it shows on-screen indicators for footsteps and gunfire direction, which is a genuine edge and a great training aid for learning to read audio.
- Lower music, keep effects loud. You want to clearly hear footsteps and reloads over the background track.
On the visual side, beyond shadows-off: pick a clear crosshair/reticle setting you can see against any background, and keep your view distance high so threats render in early. The whole visibility game is making enemies easy to see and yourself easy to control — every toggle bends toward one of those.
Quick Action Checklist
The settings that actually move your win rate:
- Cap FPS at your monitor/TV's refresh and push hardware to hit it
- Performance / 120 FPS mode on (console) or Performance rendering (PC)
- Shadows OFF — frames and visibility in one toggle
- Textures, Effects, Post Processing LOW; View Distance high
- Find your own sensitivity with the 180 test — start from a moderate DPI and a low-to-moderate in-game value
- Stop tweaking sens once it feels controllable; let muscle memory form
- Build/Edit multipliers well above 1.0 — faster than your aim sens, with edit faster than build
- Builder Pro (controller) or build keys near WASD (PC); turbo build on
- Headphones + loud effects + low music; enable Visualize Sound Effects
Frequently Asked Questions
What are the best Fortnite settings for FPS?
What sensitivity should I use in Fortnite?
Should I turn shadows off in Fortnite?
What is the best build and edit sensitivity in Fortnite?
What are the best controller settings for Fortnite?
Why do recommended Fortnite settings keep changing?
Do I need a 240Hz monitor to play Fortnite well?
Keep Reading
Related Guides
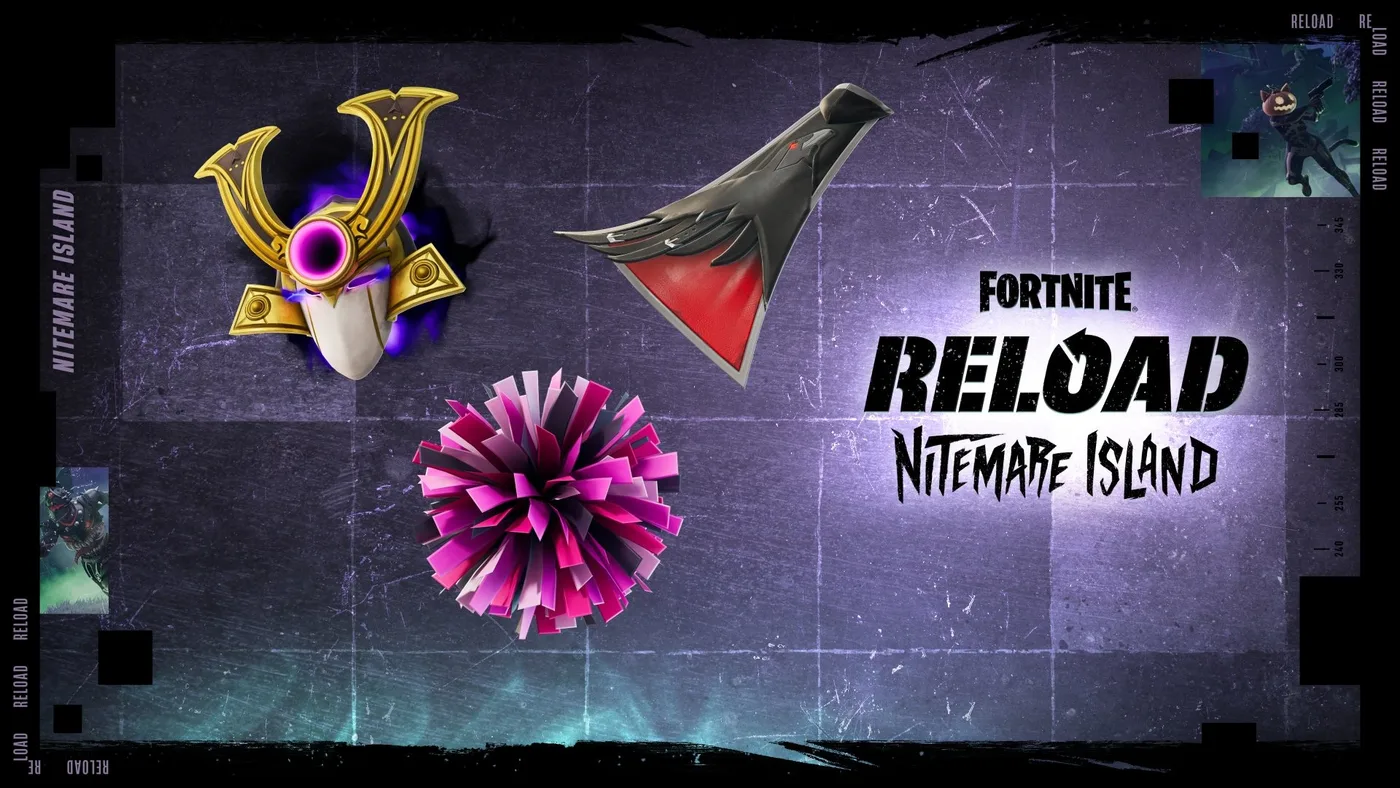
Fortnite Reload Nitemare Island: Map, Loot and Rewards
Nitemare Island came back to Reload on October 8 with something the 2025 version never had: a match modifier that hands you a rival and pays out a Kado Thorne Exotic when you drop them. Here is the map, the three-map rotation it sits in, the loot you can only find there, and what the new Ranked and Map Mastery tracks pay.

Fortnitemares 2026: New Overrides, Weapons and Dates
Fortnitemares 2026 went live with update v42.30 on October 1 and runs until November 1. Here is what is live now (five bosses, the Bonerattler SMG, six new Match Overrides), what Epic has dated for later in October, and what changed without a line in the patch notes: two replaced POIs and four Overrides switched off.

Fortnite Blitz Royale Guide: How the 5-Minute Mode Works
Blitz Royale was meant to close on July 15, 2025. Fifteen months later it has its own dev team, a $1,000,000 mobile tournament and a victory emote you can only earn inside it. Here is how a match actually runs: the kit everyone lands with, what Blitz Levels pay out, where the gold loot is, how fast the storm kills, and what Epic has and has not changed this season.
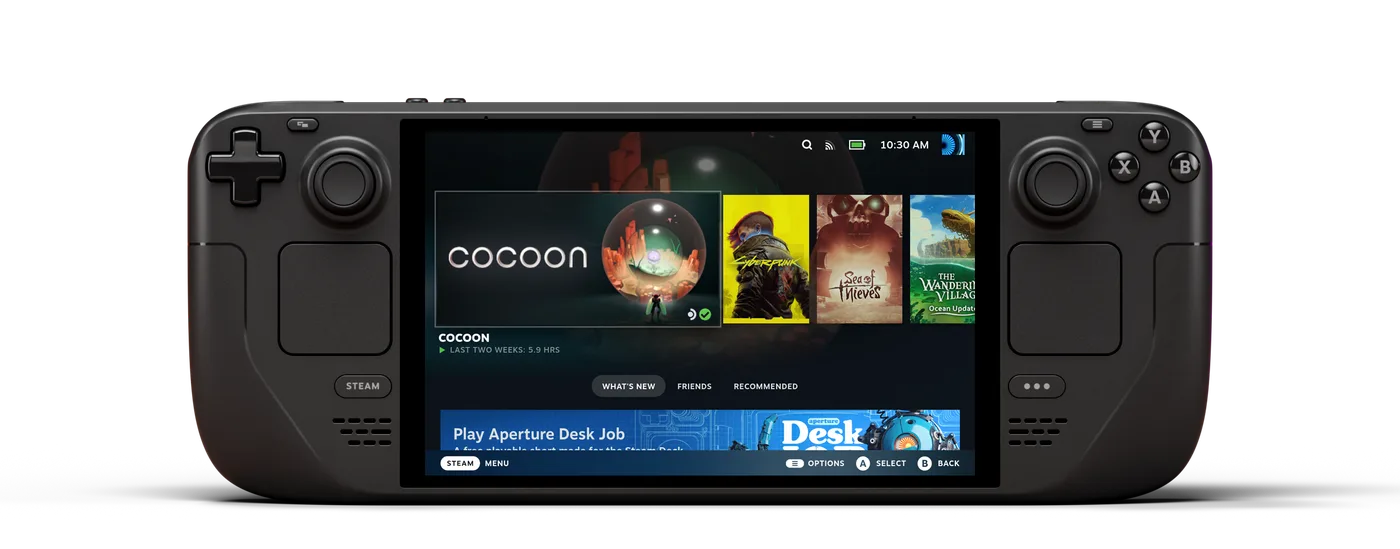
Can You Play Fortnite on Steam Deck?
Our mobile guide covers where Fortnite installs on a phone. It says nothing about the handheld a lot of those same readers also own, because a Steam Deck isn't a phone and Epic doesn't treat it like one. The short version: it's Epic's call, not a hardware limit, and the fix depends on which handheld is actually in your hands.
Fortnite Weapon Tier List: How to Rank Any Loot Pool
Any Fortnite tier list is stale the second a patch drops. So instead of memorizing this season's gun names, learn how to rank weapons by class and role — the framework that's S-tier in every season.

Fortnite Beginner's Guide: Modes, Basics & First Wins
Everyone dies in their first dozen Fortnite matches. The trick is dying for reasons you understand. Here's the mode to start in, the loop that wins games, and the habits that turn 30th place into a top five.