Best Fortnite Landing Spots: How to Drop for the Win
Your landing spot decides more of your match than your aim does. Here is how to read the bus, judge a drop spot by loot density and contest, and pick a landing that wins games instead of ending them in the first 90 seconds.
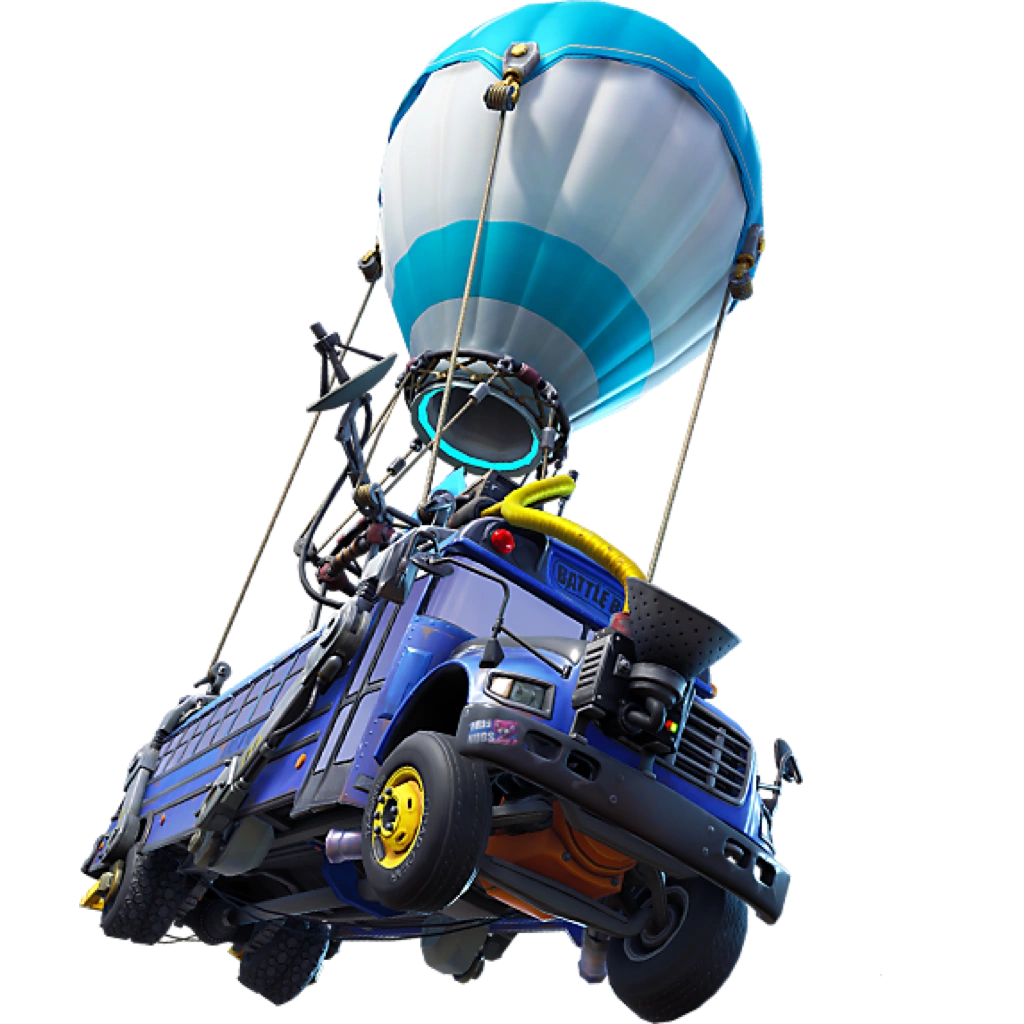
Your landing spot decides more of your Fortnite match than your aim does. It sets how much loot you start with, how many people are shooting at you in the first thirty seconds, and how far you have to travel to stay ahead of the storm. A good drop hands you a clean early game and a real shot at the win. A bad drop ends your match before you've fired a bullet — usually face-down on the floor of a named location next to four other corpses, all of you having landed on the same gun.
Here's the part that trips people up: the "best" landing spot isn't a place on the map. It's a decision you make based on the bus path, the storm, and what kind of game you're trying to have. The specific named locations rotate every season, so chasing a list of POI names is a fool's errand — the spot that was perfect last chapter might not exist this one. What doesn't change is how you evaluate a drop. Learn the framework and you'll pick a great spot on any map, in any season, on the fly.
Your landing decides the match
Think about what a landing actually commits you to. You're choosing your starting loot, your starting neighbors, and your starting distance from the next safe zone — all at once, in the three seconds before you jump. Get all three right and you're geared, alive, and well-positioned while a third of the lobby is already dead. Get them wrong and you're scrambling.
The biggest beginner mistake is treating the landing as a loot decision only. "More chests is better" feels obvious, so new players pile into the densest loot location on the map — and so does everyone else, because they read the same logic. Now the richest spot is also the deadliest, and your "good loot" plan is actually a coin-flip brawl where the prize is the privilege of surviving to loot. Loot density is one input. Contest is the input that kills you.
The three things that make a spot good
Every landing spot is graded on three axes. The best spot for you depends on which you weight hardest.
| Factor | What it means | Why it matters |
|---|---|---|
| Loot density | How many chests, ammo boxes, and floor spawns are packed in | Determines how geared you are when the first fight comes |
| Contest level | How many other players typically drop there | High contest means early fights; low contest means a calm start |
| Rotation/centrality | How far you are from likely safe zones | An edge spot can mean a long, dangerous run to the circle |
- Loot density is the obvious one. Named locations and dense building clusters have the most chests. But raw loot only helps if you live long enough to use it.
- Contest level is the one beginners underweight and good players obsess over. A medium-loot spot with nobody contesting it beats a max-loot spot with six other players every single time. You can't shoot a chest with a gun you haven't found yet.
- Rotation is the sleeper. A loot-stuffed corner of the map sounds great until the first circle pulls to the far side and you're sprinting across open ground while the storm chews your heels. Centrality buys you flexible, safe rotations.
The cheat code most beginners miss: unnamed locations. Small clusters of buildings, gas stations, lone houses, underground bunkers — the spots without a label on the map. They carry a surprising amount of loot and almost nobody drops there, because players' eyes go straight to the named POIs. Low contest plus decent loot is the sweet spot, and it lives in the map's blank space.
How to read the bus and glide
The Battle Bus flies a random straight line across the island each match, and you can see the path on your map before you drop. Reading it is half the landing skill.
- Check the path the moment the bus loads. Your reachable spots are a band on either side of the line. Anything far off the path costs you precious glide time and may be unreachable.
- Pick your spot relative to the path, not in a vacuum. A great location the bus barely clips is a worse choice than a good location directly under you.
- Jump at the right moment. Skydive immediately to reach distant spots; wait to jump for spots near the end of the path. You can also dive steeply (aim straight down) to drop fast, or angle forward to glide farther.
- Beeline to a roof or chest. Land directly on a building with a chest if you can — being the first one armed at your spot is everything.
The skill of "fast dropping" — diving steeply to hit the ground before contesting players — is worth practicing. The first person to a weapon usually wins the landing fight, and that's frequently decided by who dove faster, not who aimed better.
Hot drops vs edge drops
There are two landing philosophies, and they suit different goals.
Hot drops are the high-traffic, high-loot named locations where a chunk of the lobby lands together. You'll get into fights within seconds. The upside: if you win the chaos, you come out fully kitted with kills, and you get tons of combat reps fast. The downside: you die in the first minute a lot. Hot dropping is how aggressive players and skilled builders train and farm eliminations — it is not how you maximize your win rate while learning.
Edge drops are the quiet, low-contest spots on the map's perimeter or in its unnamed gaps. You loot uncontested, hit the ground running with full health and shield, and pick your fights on your terms. The downside is the longer rotation to the circle and fewer early kills. For new and improving players, and for anyone chasing placement over highlights, edge dropping is the higher-win-rate choice by a wide margin.
The honest recommendation: edge drop while you're learning and whenever you care about winning; hot drop when you specifically want fight reps. Treat them as two different training tools, not "casual" versus "real."
How to find the best spot this season
Because POIs rotate every season, the move is to learn the current map fast rather than memorize a list that expires. Whatever chapter and season you're reading this in, the live map will have its own fresh set of points of interest in rotation — but the method is identical:
- Use an interactive map. Community map tools (like Fortnite.GG) overlay chest locations, named POIs, and loot density on the live map. Five minutes studying one before you play is worth more than any static list.
- Scout in your first few matches. Land at a few different unnamed spots and note which ones reliably give you a weapon-plus-shield start uncontested. Build a short personal shortlist of two or three drop spots.
- Re-scout when the map changes. Each new season, your shortlist resets. Spend a session re-finding your quiet, loot-decent spots.
- Watch where the bus path bends your options. Your best spot also depends on the path that match, so keep two or three options so you're never forced into a bad drop.
Don't anchor to specific location names from any guide, including this one — anything we'd name as the current best spot could be vaulted, reworked, or swallowed by the storm next patch. Frame your knowledge as "I know how to find a quiet, loot-decent spot near the bus path," and you're set for every season.
Landing checklist for the first 90 seconds
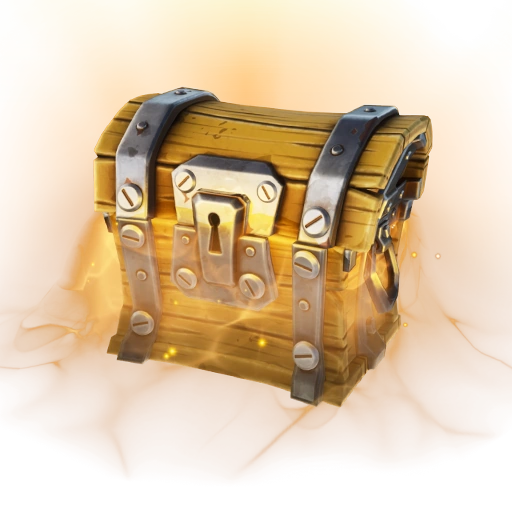
The window from touchdown to roughly 90 seconds in is where landings are won or lost. Execute this sequence:
- Land on loot, not next to it. Aim your glide to touch down on a roof or directly on a chest. Seconds matter.
- Weapon first, instantly. Grab any gun before anything else, then upgrade toward a balanced kit as you loot — our Fortnite weapon tier list covers how to rank what you find. An unarmed player at a contested spot is a free elimination.
- Clear your immediate area. If someone contested your spot, deal with them now while you both have weak loot — fighting later when they're geared is worse.
- Shield up. Once the area's safe, drink shields and grab heals, and start building toward a full loadout priority. Now you're a real threat.
- Open the map and pick your rotation. Where's the first circle? Start thinking about your path out before the storm forces it.
Nail this and you're geared, healthy, and moving with purpose while a chunk of the lobby is already eliminated. From here, the survival fundamentals take over — and our Fortnite beginner's guide covers how to play the storm and the endgame from this strong starting position.
Quick Action Checklist
Your landing routine, every match:
- Grade spots on loot density, contest level, and rotation — not loot alone
- Favor unnamed locations for the low-contest, decent-loot sweet spot
- Read the bus path before you jump; pick spots relative to it
- Edge drop for win rate and while learning; hot drop only for fight reps
- Fast-dive to beat contesting players to the first weapon
- Land on a chest or roof, not beside it
- Loot order: weapon, clear the area, shields, heals
- Use an interactive map each season to find quiet, loot-decent spots
- Keep a shortlist of two or three drops so a bad bus path never forces a bad landing
Frequently Asked Questions
Where is the best place to land in Fortnite?
Should I hot drop or land somewhere quiet?
What makes a good landing spot in Fortnite?
How do I read the Battle Bus path?
Why do the best landing spots keep changing?
What should I do in the first 90 seconds after landing?
Keep Reading
Related Guides
Fortnite Reload Nitemare Island: Map, Loot and Rewards
Nitemare Island came back to Reload on October 8 with something the 2025 version never had: a match modifier that hands you a rival and pays out a Kado Thorne Exotic when you drop them. Here is the map, the three-map rotation it sits in, the loot you can only find there, and what the new Ranked and Map Mastery tracks pay.

Fortnite Blitz Royale Guide: How the 5-Minute Mode Works
Blitz Royale was meant to close on July 15, 2025. Fifteen months later it has its own dev team, a $1,000,000 mobile tournament and a victory emote you can only earn inside it. Here is how a match actually runs: the kit everyone lands with, what Blitz Levels pay out, where the gold loot is, how fast the storm kills, and what Epic has and has not changed this season.

Fortnite Kingdom Hearts Skins: Price, Keyblade and More
Our Chapter 7 Season 4 weapons post named the Kingdom Key and Rebecca's Guns as arrivals Epic had announced but not shipped — 'neither is in the pool yet,' it said, three weeks ago. Update v42.20 shipped both, plus a four-skin Kingdom Hearts bundle tied for the most expensive in the game's history, four new Sprites, and six new Match Overrides. Here's what actually landed, what it costs, and what Epic still hasn't published.
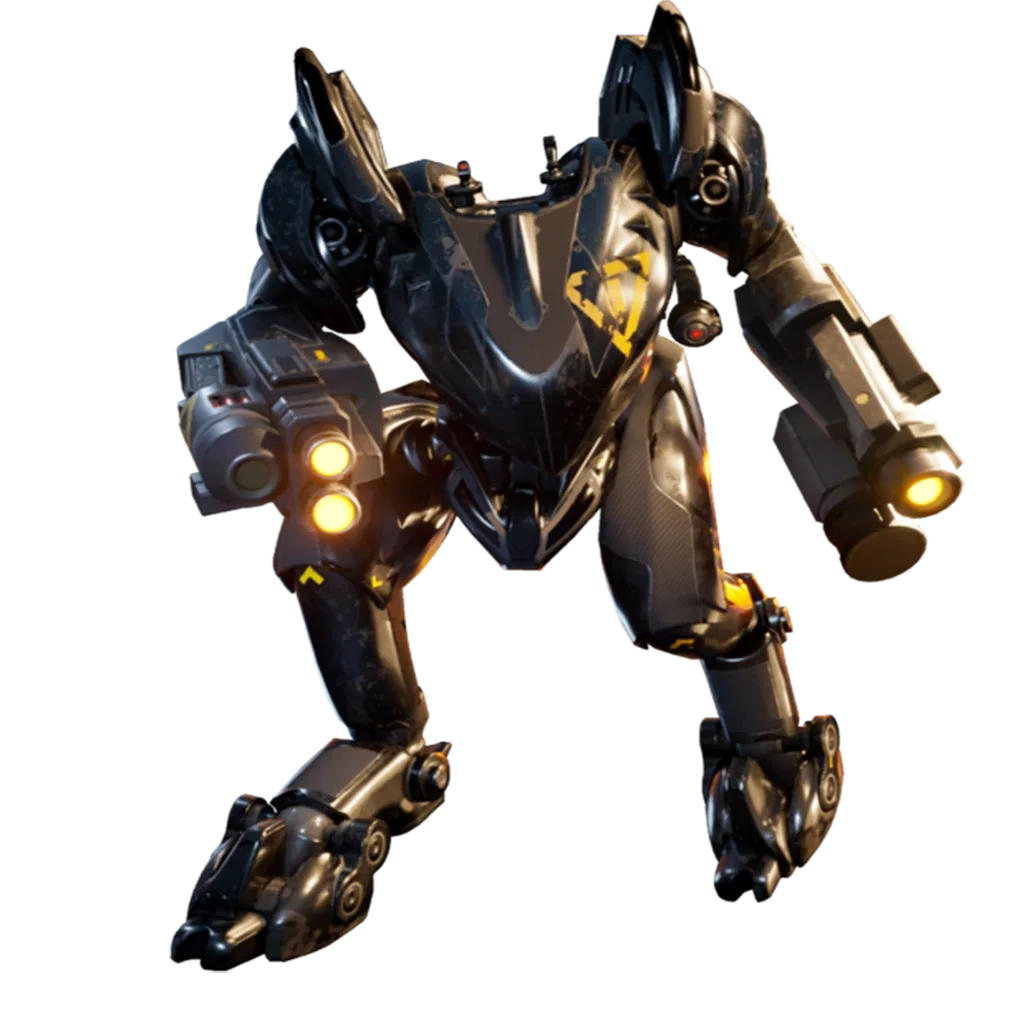
Fortnite OG Season X: The BRUTE and Rift Zones Return
Our OG mode guide explains how the permanent playlist works in general. It doesn't tell you what's live right now, because that changes every season — and on September 3, the tenth one brought back a two-person mech, a fully automatic sniper, and three Rift Zones with rules of their own.
Fortnite Weapon Tier List: How to Rank Any Loot Pool
Any Fortnite tier list is stale the second a patch drops. So instead of memorizing this season's gun names, learn how to rank weapons by class and role — the framework that's S-tier in every season.

Best Fortnite Settings for PC & Console
Half your settings menu is noise; a handful of options decide whether you can see, aim, and build. Here's what to change on PC and console, why, and the one number nobody else can pick for you.