Half-Life 2 Enemies Guide: How to Kill Everything in City 17
Half-Life 2 barely names its monsters, let alone tells you how to fight them. Here is the full bestiary, from the pumpkin-sized headcrab to the walking artillery of a strider, and the single fastest way to put each one down.
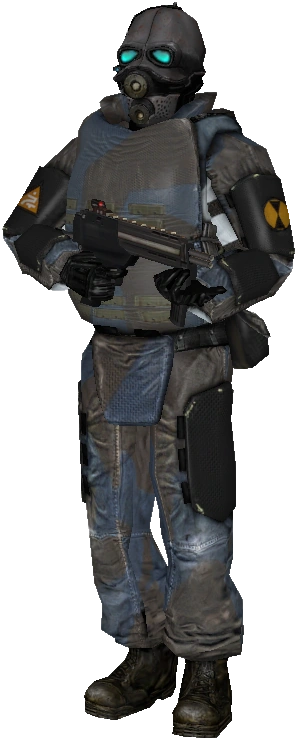
Half-Life 2 introduces most of its monsters the same way it introduces everything else: by throwing one at your face and letting you sort it out. There is no bestiary screen, no scan tool, no codex entry that pops up the first time a fast zombie vaults a fence at you. The game assumes that if a thing is trying to kill you, you will figure out how to kill it back before it finishes the job.
That works right up until it doesn't. Poison zombies, antlion guards, and gunships all punish the "shoot it until it dies" reflex, because for each of them the fast answer is something other than dumping your primary magazine. This guide is the bestiary the game never gives you. Every major enemy, what it actually does, and the single most efficient way to put it down.
What every Half-Life 2 fight is actually testing
Before the roll call, one principle that ties the whole roster together: Half-Life 2 fights are almost always a question about the room, not the reticle. The Source engine's physics simulation is the combat system, so half the enemies here have a "correct" answer that costs zero ammo, whether that is a thrown propane tank, a caught sawblade, or a mine punted back where it came from.
The other thing the roster tests is target priority. City 17 rarely sends one enemy type at a time. It sends a poison headcrab tucked behind two Combine soldiers, or manhacks flushing you out of cover into a gunship's sightline. Knowing which threat kills you fastest is more useful than knowing which one has the most health. If you are still learning the fundamentals, the Half-Life 2 beginner's guide covers the health-versus-suit-energy system that decides how much punishment you can eat while you sort priorities out.
Headcrabs: the pumpkin with legs
Headcrabs are the franchise mascot for a reason. They are roughly the size of a pumpkin, they walk on four spidery legs, and they can leap up to three meters in any direction to latch onto your head. That leap is the whole threat. On the ground a headcrab is nothing; mid-air, lunging at your face, it is annoying enough to make you flinch and waste a shot.
Standard headcrabs
The common variety is a crowbar problem, full stop. One swing, no ammo spent. If a group is scuttling toward you, back up so they have to leap, and swat them out of the air. A useful free-damage fact for lean moments: three punts from the gravity gun's primary fire will kill any headcrab, which matters when you are dry on bullets in Ravenholm.
Fast headcrabs
Fast headcrabs are slimmer, longer-legged, and, as the name promises, they close distance at a sprint and skitter erratically while doing it. The pistol is your friend here because it is precise, but honestly the smartest play is to not let them reach melee range at all. Do not try to crowbar a fast headcrab charging across open ground; you will whiff and take the latch.
Poison headcrabs
The dark, bulky, red-jointed poison headcrab is the most dangerous crab in the game and the one you kill first, every time. Its bite drops your health to a single point before it slowly regenerates. The hit itself will not kill you, but being at one health when a soldier rounds the corner absolutely will. Treat any poison headcrab as the highest-priority target on screen, a habit the beginner's guide walks through in detail alongside the rest of the early-game survival rules.
Zombies: what the headcrab leaves behind
Every zombie in Half-Life 2 is a headcrab that won. The crab pierces a human host's skull, hijacks the nervous system, and the resulting mutation depends entirely on which crab did the piercing. That is why the zombie types map one-to-one onto the headcrab types, and why the fastest kill changes with each.
Standard zombies and Zombines
Standard zombies are slow shamblers created by a common headcrab. They telegraph everything and die to a shotgun blast, a few crowbar hits, or better yet a caught sawblade. Ravenholm is stuffed with them, and the intended answer is environmental, which the gravity gun guide breaks down encounter by encounter. One wrinkle: even a decapitated zombie torso keeps crawling, so do not assume "no headcrab on top" means dead.
A nastier cousin is the Zombine, the portmanteau Alyx coins for a headcrab that latched onto an Overwatch soldier. Zombines are tougher than a civilian zombie and will occasionally yank the pin on a grenade and shamble toward you with it live. If one starts groaning and clutching its chest, back off or gravity-gun it away, because that blast is meant for you.
Fast zombies
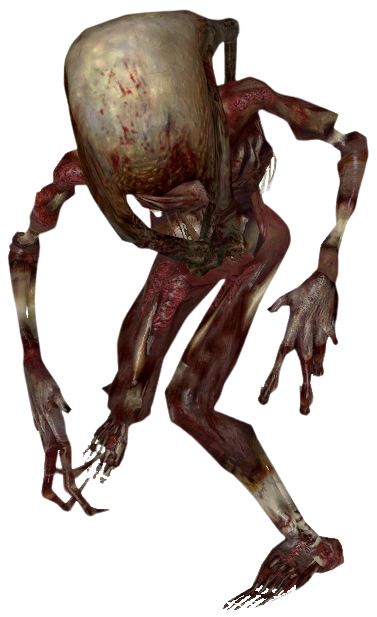
Fast zombies are the jump-scare of the roster. Stripped down to muscle and skeleton, they run on all fours like a chimpanzee, climb walls, leap across gaps, and wail the entire time so you hear them before you see them. Do not fight a fast zombie at range with a slow weapon; it will juke you and pounce. The shotgun's close-range spread is ideal, and like standard zombies their torso can keep coming after the legs are gone. Rooftops and scaffolding in Ravenholm are their favorite ambush lanes, so pre-aim upward.
Poison zombies
The bloated poison zombie is slow, but it is a delivery system, not a brawler. It carries three live poison headcrabs on its back and hurls them at you with genuine accuracy, and those crabs are the one-hit-to-one-health threat from earlier. A thrown poison headcrab does not reattach to the zombie, so the encounter is really about the crabs, not the host. Kill the thrown headcrabs first, then finish the lumbering zombie at your leisure. A shotgun blast ends it, but never turn your back while those crabs are still on the floor.
The Combine Overwatch soldier, read by eye color
Overwatch Soldiers, what citizens simply call Combine soldiers, are transhuman infantry: humans put through a conversion process of memory replacement and physical modification. They are the backbone of every mid-to-late fight, and the game color-codes their variants if you know to look.
- Blue eyes, blue-grey camo: the standard soldier, carrying the pulse rifle or SMG. Competent, and the reason cover-camping fails: they flank, suppress, and lob grenades to flush you out.
- Red eyes, dark brown armor: the shotgunner, wearing the Elite emblem. Devastating up close, fragile at range. Do not let them corner you.
- Yellow eyes, dark blue armor: the Nova Prospekt garrison, encountered inside the prison.
The habit that wins soldier fights is not better aim, it is better positioning. Keep moving between cover, and scan the room for a heavy physics prop before you commit; a punted propane tank or barrel ends a soldier instantly and costs no ammo. Later you meet the white-armored Overwatch Elites who carry the pulse rifle and its dark-energy orb, a weapon that disintegrates organic targets in one hit. The weapons guide covers how to steal that energy orb and turn it back on them.
Manhacks: the flying razor problem
Manhacks are gyroscopic drones with three razor blades spinning at high speed, and they exist to force you out of spaces the Combine cannot safely enter, like vents and tight rooms. They rarely come alone. Their blades shred wood but not metal or concrete, and they have almost no self-preservation, so they will careen off walls chasing you into a corner.
The pistol picks them off, but the elegant answer is the gravity gun. Catch a manhack in secondary fire and you are holding a chainsaw you can sweep through zombies and soldiers; punt it into a nearby wall and it shatters. The gravity gun guide has the full manhack-catch technique, including why you want a wall that is close rather than far. Their cousin the City Scanner is mostly a nuisance camera, though the later Claw Scanner can drop hostile packages, so shoot them down when they are convenient and ignore them when they are not.
Antlions: the enemy you fight, then command
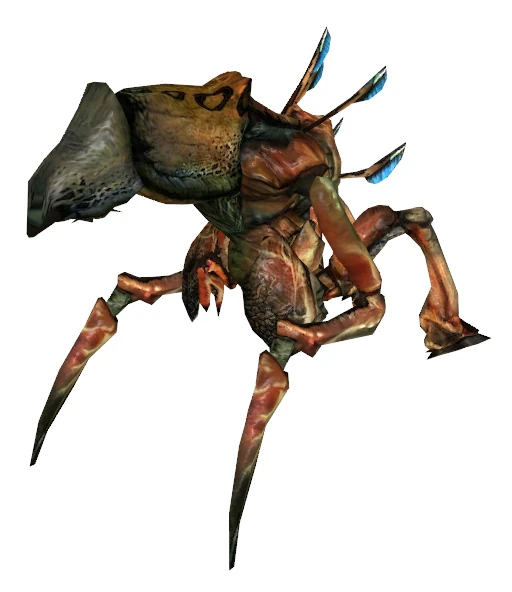
Antlions are blind, insectoid, and social; they navigate by pheromones and ground vibrations rather than sight. That last detail is a mechanic, not trivia. On the coast around Highway 17 and Sandtraps, stepping on open sand sends vibrations that summon a swarm, which is the entire point of the "don't touch the sand" section, hop between rocks and debris to stay silent.
The twist is that antlions flip from enemy to ally. Once you acquire bugbait, the pheropod harvested from an antlion nest, you can throw it to sic the swarm on Combine forces or direct them at a target. From Nova Prospekt onward, a pouch of antlions is one of your strongest tools; lob bugbait at a soldier squad and let the bugs do the work.
The Antlion Guard
The Antlion Guard is the boss-tier version: nearly nine feet tall, armored in dark red carapace, and it attacks by charging with its head as a battering ram or swinging that head upward to launch you. Sidestepping the charge is the whole fight. Bait it into rushing past you, then punish while it recovers. When one dies in the coastal chapters it drops the bugbait pheropod, so a Guard is frequently a gatekeeper handing you the key to command the swarm you just fought.
Synths in the sky: gunships and choppers
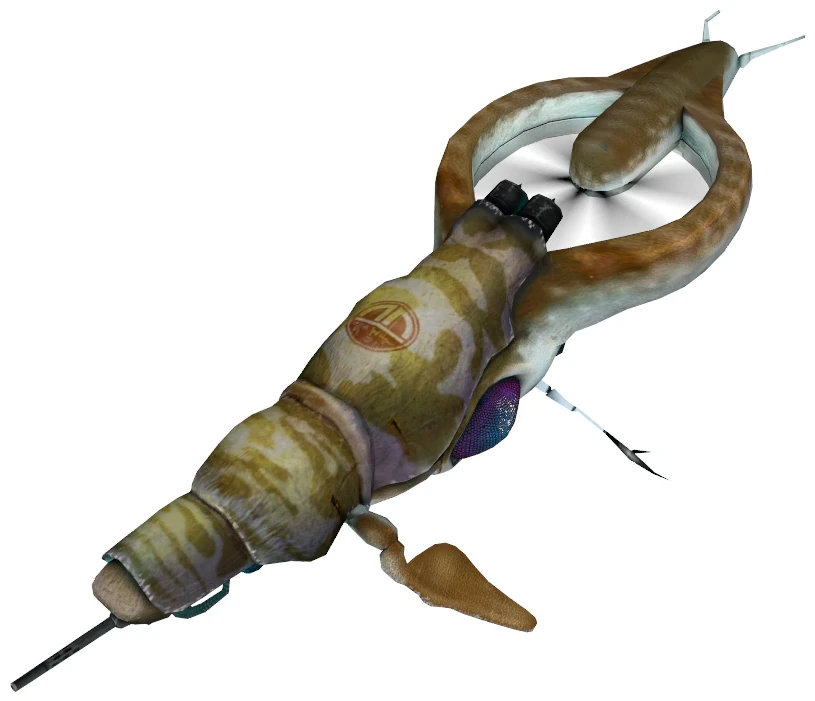
Two aircraft define the airspace, and both are RPG problems.
The Hunter-Chopper is a human attack helicopter re-engineered by the Combine, with a pulse gun up front and a bay that drops floating mines behind it. In Water Hazard, the clean answer costs no rockets at all: catch its dropped mines with the gravity gun and punt them straight back into the rotor. Later encounters want the rocket launcher.
The Combine Gunship is a synth built like an aquatic animal, packing a pulse cannon and a ventral warp cannon, and it is fast and evasive. This is the rocket launcher's headline job: the RPG fires laser-guided rockets, and a gunship will try to shoot each one out of the air, so you steer the rocket in wide arcs behind cover and around obstacles until it connects. Three or so guided hits bring one down. Never try to out-DPS a gunship with bullets; you cannot.
Striders: the walking artillery
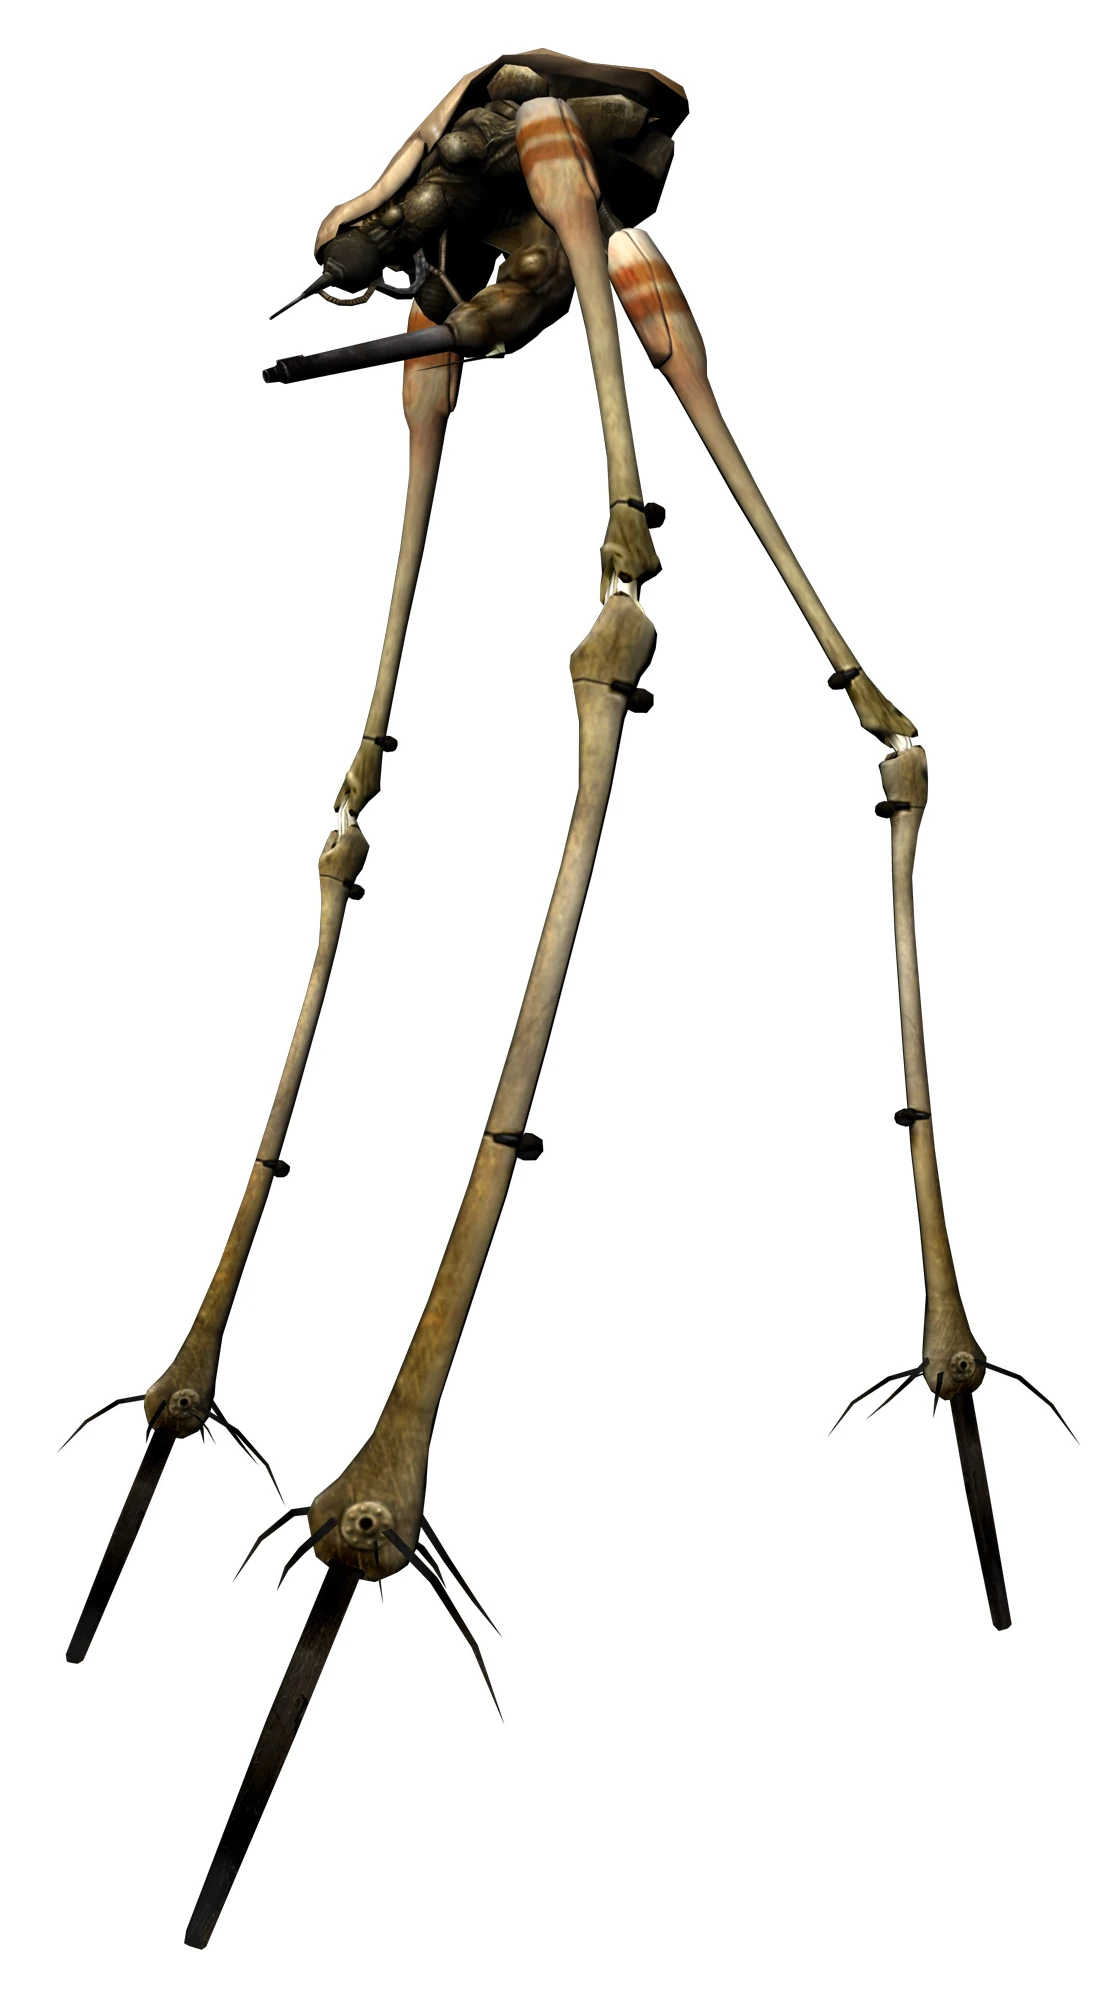
The Strider is the Combine's heavy ground assault unit: a three-legged synth towering over the street, armed with a rapid-fire pulse cannon on its head and a warp cannon slung under its belly. In the City 17 uprising chapters they are the thing that turns a rebel push into a rout. They are also, mechanically, another rocket delivery problem.
Striders soak an enormous amount of damage, so the rifle-and-pistol approach is a waste of a magazine. The rocket launcher is the tool, and the real challenge is the exposure: you have to break cover long enough to guide a rocket in while the strider and its escorting soldiers hammer your position. Fire, duck, reload, repeat, and let the rebel squads you are leading soak aggro while you line up shots. Every strider you drop in "Follow Freeman!" is several rockets and a lot of patience.
The Half-Life 2 threat priority list
When a room throws a mixed crowd at you, kill in roughly this order:
- Poison headcrabs and thrown crabs — the one-to-one-health threat trumps everything.
- Gunships and choppers — if one is in the sky, it dictates the whole fight; deal with it or find hard cover.
- Zombines with live grenades — a ticking blast in the crowd.
- Shotgunner soldiers — red-eyed, close-range, and lethal if they reach you.
- Standard soldiers and fast zombies — dangerous but manageable with movement and the shotgun.
- Manhacks, standard headcrabs, standard zombies — clean up once the real threats are down.
Quick Action Checklist
- Crowbar standard headcrabs; never waste bullets on them.
- Shoot poison headcrabs first, always, before anything else in the room.
- Use the shotgun's spread for fast zombies at close range, and pre-aim rooftops in Ravenholm.
- Kill a poison zombie's thrown headcrabs before the zombie itself.
- Read Combine soldiers by eye color: red-eyed shotgunners are the priority.
- Catch manhacks with the gravity gun and use them as a melee saw, or punt them into a close wall.
- Hop between rocks on antlion beaches; open sand summons the swarm.
- Save bugbait to command antlions against Combine squads from Nova Prospekt on.
- Sidestep the Antlion Guard's charge, then punish, and grab the bugbait it drops.
- Every gunship, chopper, and strider is a guided-rocket problem; steer the RPG around their intercepts and never try to out-shoot them with bullets.
Frequently Asked Questions
How do you kill a strider in Half-Life 2?
What is a gunship weak to in Half-Life 2?
Why do poison headcrabs drop your health to one?
What is a Zombine in Half-Life 2?
How do you deal with antlions in Half-Life 2?
What are the different Combine soldier types in Half-Life 2?
How do you beat the Antlion Guard?
Keep Reading
Related Guides
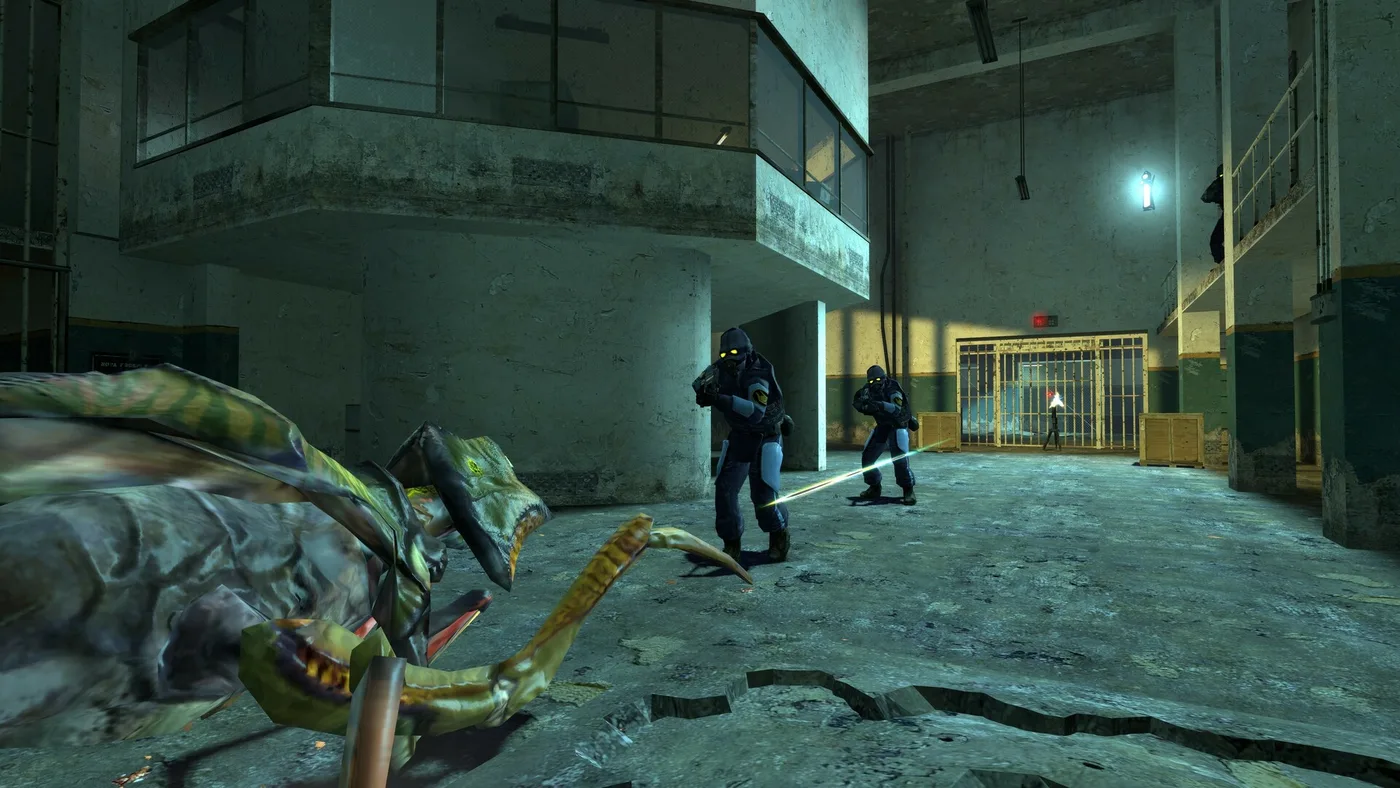
Half-Life 2 Difficulty: What Easy, Normal and Hard Change
The menu says Hard makes enemies very tough. The code says the Combine soldier has the same 50 health on every setting, and the thing that got weaker is you. Here is exactly what each Half-Life 2 difficulty changes, and the handful of things it cannot touch.
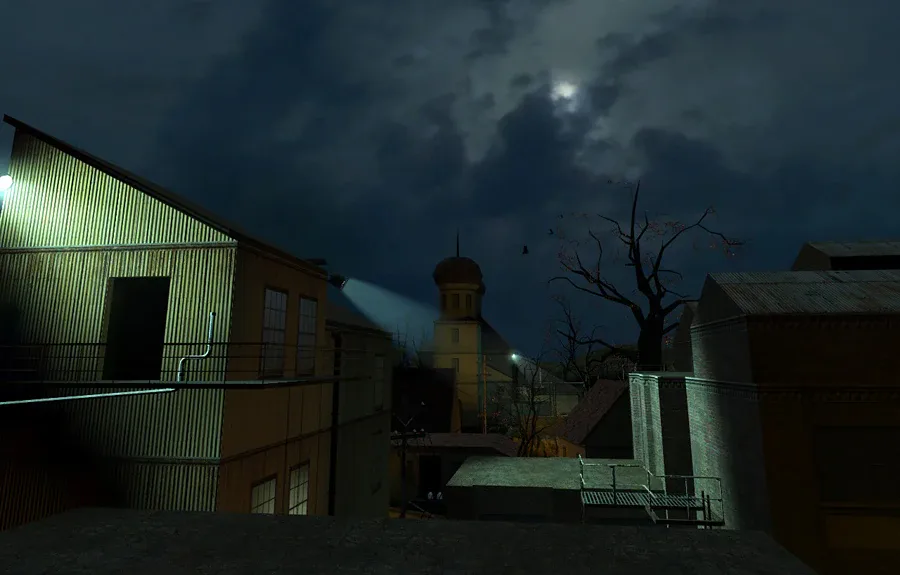
Half-Life 2 Ravenholm Guide: Survive the Trap Town Without a Shotgun
Ravenholm is where first playthroughs die. You walk into Chapter 6 with a crowbar, a pistol, an SMG that sprays, and no shotgun, into a town packed with zombies. The game is not being unfair. It is telling you to stop shooting and start using the town against itself.
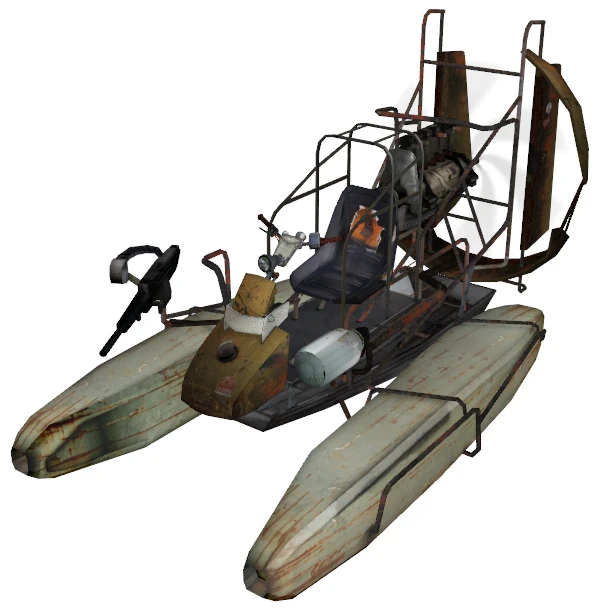
Half-Life 2 Vehicle Chapters Guide: Airboat, Buggy, and Every Fight in Between
Water Hazard and Highway 17 are the chapters most people say they skip on replays. Almost all of that is because players drive them like a shooter. Here is how the airboat gun, the Tau Cannon, and the vehicles themselves actually work.
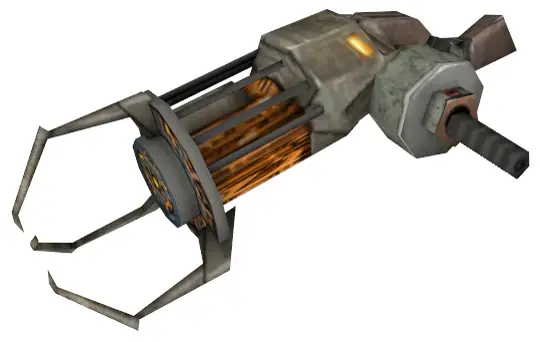
Half-Life 2 Gravity Gun Guide: Every Trick It Can Do
Most players finish Half-Life 2 using the gravity gun to stack crates and clear debris. It also one-shots Combine soldiers, disarms hopper mines, turns manhacks into a chainsaw, and flips antlion guards onto their weak side. Here is the full toolkit.
Half-Life 2 Beginner's Guide: Start Strong in City 17
Half-Life 2 never stops to explain itself, which is why new players stall in Ravenholm with no shotgun ammo and no idea the gravity gun was the answer. Here is the chapter map, the systems the game hides, and the mistakes that waste your first playthrough.
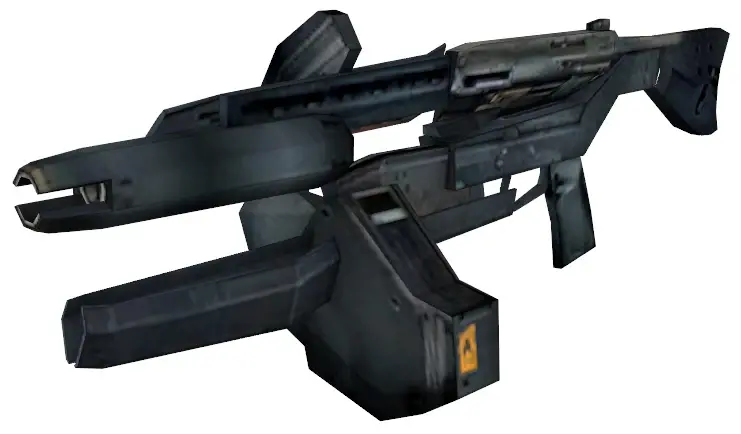
Half-Life 2 Weapons Guide: Damage Numbers That Matter
The Half-Life 2 SMG does four damage a bullet. The crossbow does one hundred. That gap explains almost everything about how the game wants you to fight, and most players never see the numbers.