Half-Life 2 Weapons Guide: Damage Numbers That Matter
The Half-Life 2 SMG does four damage a bullet. The crossbow does one hundred. That gap explains almost everything about how the game wants you to fight, and most players never see the numbers.
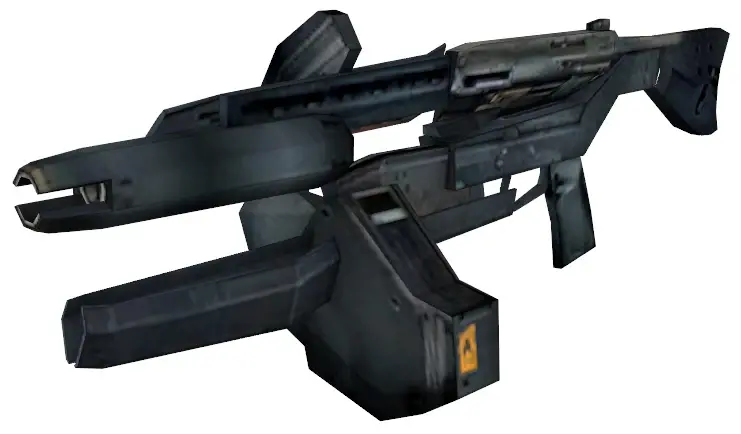
Here is a number that reframes the whole game: the MP7 submachine gun in Half-Life 2 deals four damage per bullet. The Resistance crossbow deals one hundred, and kills any human-sized enemy outright.
That is a factor of twenty-five between two weapons you carry simultaneously. Half-Life 2 never shows you a single one of these figures. It has no stat screen, no damage readout, no comparison chart. It just hands you eight guns and a physics cannon and trusts you to work out the pecking order by feel.
Most players work out roughly half of it. They learn the shotgun is good up close and the crossbow is good far away. What they miss is how weak the automatic weapons genuinely are, how absurd the pulse rifle's secondary fire is, and how often the correct answer is to put the guns away entirely and throw a barrel.
Every number below is from the Half-Life wiki's weapon data for the Half-Life 2 base game. Deathmatch and Episode values differ and are noted where relevant.
How damage actually works in Half-Life 2
Three principles explain the arsenal.
First, ammo economy is the real balancing lever. The crossbow does 100 damage but you can only carry ten bolts. The SMG does 4 damage but you can carry 225 rounds. Half-Life 2's difficulty is almost never about whether you can kill the thing in front of you. It is about whether you will still have ammunition for the thing after it.
Second, your carry capacity is small. Maximum reserves are tight across the board: 150 pistol rounds, 225 SMG rounds, 3 rockets, 3 energy balls. You are always closer to empty than you think.
Third, the gravity gun has no ammo cost at all. Every fight you win by throwing a barrel is a fight that cost you nothing. That is not a cute alternative playstyle, it is the intended resource strategy, and it is why the gravity gun sits in the ranking at the end of this guide where it does.
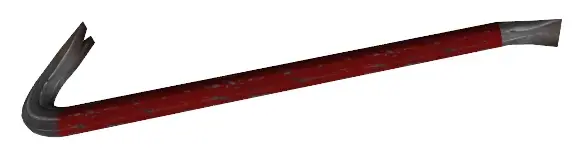
Crowbar
Damage: 10. Ammo: unlimited.
Gordon's signature tool, received in Chapter 2. Ten damage per swing in Half-Life 2, up from five in the original Half-Life. In Half-Life 2 Deathmatch it hits for 25, which is why it is a genuinely viable multiplayer weapon and only a situational single-player one.
Its job in the campaign is not really combat. It is the free answer to standard headcrabs, and more importantly it is how you open the world: wooden crates, pallets, boarded windows, and vents. Half-Life 2 hides a meaningful share of its health and ammo inside breakables. Players who complain about scarcity are usually players who walked past three crates.
Use it on: lone standard headcrabs, crates, boards. Never use it on: anything holding a gun.
USP Match 9mm pistol
Damage: 5. Magazine: 18. Max reserve: 150. Fire rate: about 600 RPM tapping, about 120 RPM holding.
A Heckler & Koch USP Match, used by Civil Protection and picked up in Chapter 3. Low recoil, low-to-medium spread.
That fire rate split is the detail worth internalizing. Tapping the trigger fires roughly five times faster than holding it down. Holding the button caps you around 120 RPM. So the pistol rewards deliberate, rapid clicking rather than holding the button and hoping. Most players do the opposite and conclude the pistol is useless.
At 5 damage a shot it is never going to win an even fight, but it is accurate, and 150 reserve rounds is the largest ammo pool you get for a precision weapon. Use it for manhacks, distant unarmored targets, shooting explosive barrels from safety, and popping headcrabs before they close.
MP7 submachine gun
Damage: 4. Magazine: 45. Max reserve: 225 rounds plus 3 grenades. Fire rate: 800 RPM, grenade launcher 60 RPM.
A Heckler & Koch MP7 firing 4.6x30mm, gas-operated with a short-stroke piston. The wiki rates its accuracy as poor, spread as medium to high, and range as short to medium. That is an honest assessment.
Four damage per round at 800 RPM means the MP7 empties a 45-round magazine in a little over three seconds for about 180 potential damage, most of which misses at range. It is a panic button for close encounters, not a primary.
The grenade launcher is the reason to keep it. Secondary fire launches a grenade round, you carry three, and they cycle at 60 RPM. They are excellent against grouped enemies and armored targets, and a genuinely large fraction of players finish the campaign having fired zero of them. Check your grenade count right now.
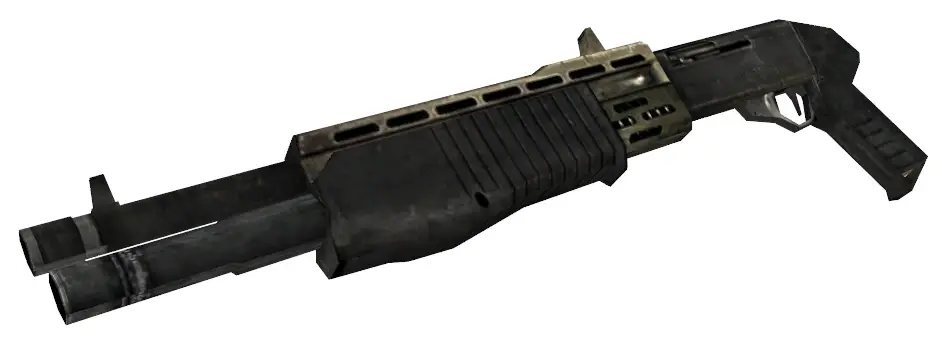
SPAS-12 shotgun
Damage: 8 per pellet, 56 total on primary fire, 84 total on secondary fire.
A Franchi SPAS-12, first found in Ravenholm in Chapter 6. Primary fire delivers seven pellets for 56 damage. Secondary fire is a double blast that lands 84 damage at the cost of a longer recovery.
The timing of when you get it matters enormously. You do not have a shotgun for the first five chapters, which is exactly why Ravenholm's early stretch is meant to be solved with the gravity gun. Once you have it, the SPAS-12 becomes your default close-range weapon for the remainder of the campaign.
Discipline note on secondary fire: 84 versus 56 damage is a 50% increase, but the recovery leaves you exposed. Use the double blast on something you are confident it kills, like a fast zombie or a soldier already damaged. Against a group, single blasts and footwork beat greedy doubles.
Colt Python, the .357 magnum
Damage: 40.
A Colt Python revolver, and the highest per-shot damage of any conventional firearm in the game at 40 points. The third-person and HD models are actually a Colt Anaconda, a detail Half-Life obsessives enjoy.
Forty damage means it two-shots most human-sized enemies. The catch is ammunition: .357 rounds are among the scarcest pickups in Half-Life 2, and the revolver has a slow rate of fire and a small cylinder.
The mistake nearly everyone makes here is hoarding. Players save .357 rounds for a final boss that does not exist in the form they are imagining. Spend them. A Combine soldier you kill in two shots now is worth more than eight rounds you carry into the credits.
Overwatch Standard Issue Pulse Rifle
Damage: 8 per pulse shot. Magazine: 30 pulse plugs. Max ammo: 90 pulses, 60 in reserve and 30 loaded. Fire rate: 600 RPM. Secondary: energy ball, 1000 damage, 3 carried, 60 RPM.
The OSIPR is the Combine's standard-issue assault rifle, and it is the best conventional weapon in the game on both modes.
Primary fire does 8 damage at 600 RPM. That is double the SMG's per-bullet damage at a lower fire rate, with far better handling. Once you can reliably find pulse ammo, which happens from the Nova Prospekt chapters onward, the pulse rifle should displace the MP7 as your automatic weapon permanently.
Secondary fire is the real prize. The energy ball deals 1000 damage and is instant death to any human-sized enemy. It ricochets off surfaces, so it can clear a corridor or bounce around a corner into a group. You carry only three at a time, they fire at 60 RPM, and spent balls can sometimes be recovered from the environment where they come to rest.
Treat energy balls like a limited-use special: they are for Combine Elites, tight groups, and anything you cannot afford to trade with.
Resistance crossbow
Damage: 100, instant death to human-sized enemies. Magazine: 1. Max reserve: 10. Fire rate: 31 RPM.
Rebel-built, firing superheated rebar. One hundred damage, high accuracy, no spread whatsoever, but a noticeable projectile drop over distance and a slow travel speed compared to bullets. The wiki rates it best overall for long range, and it is a manual single-shot reload every time.
Two things make it special. It pins enemies to walls, which is cosmetically great and practically confirms the kill. And it is silent enough and precise enough to take out distant snipers and Combine on rooftops before a firefight ever starts.
The 31 RPM fire rate means you get roughly one shot every two seconds. This is a weapon for opening engagements on your terms, not for responding to one. Ten bolts is a tight budget, so make each one a target that would otherwise cost you twenty pulse rounds.
Resistance RPG
Damage: 100 when fired by the player, 50 when fired by an NPC. Magazine: 1. Max ammo: 3 rockets. Fire rate: up to 34 RPM.
A laser-guided rocket launcher, handed to you by Odessa Cubbage on Highway 17. The guidance is the whole design: after firing, the rocket steers toward wherever your laser is pointed, so you can curve a shot around obstacles and lead a moving target.
It exists for gunships and striders. Both are scripted to require multiple guided hits, and gunships specifically will shoot down rockets that fly straight at them, which is why the steering matters. Lead them wide and come in from an angle.
With only three rockets in reserve, the RPG is never a general-purpose weapon. If you are firing it at infantry you have made a mistake you will regret two chapters later.
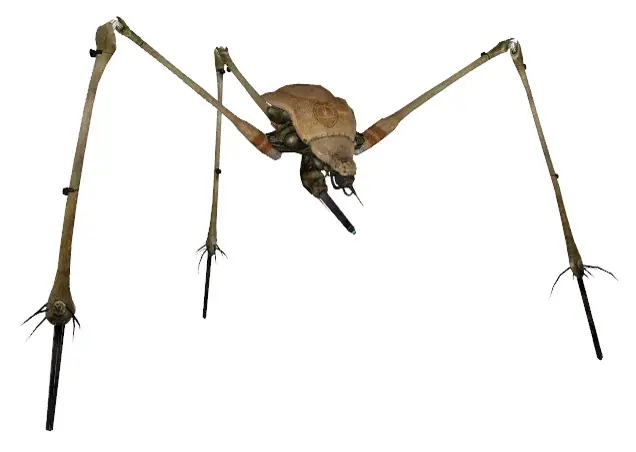
Pheropods and the antlion swarm
Damage: none directly. Ammo: infinite.
Also called bugbait, pheropods are antlion glandular sacs you acquire in Sandtraps. They deal no damage themselves. Primary fire throws a pod, at roughly 37 RPM, and any antlions under your control swarm whatever it lands on. Secondary fire squeezes the pod, at up to 100 squeezes per minute, which recalls the swarm to your position.
The important part is that ammunition is infinite, which makes the antlions functionally a free damage source for the chapters where you have them. Throw a pod at a Combine squad and let the swarm handle a fight that would otherwise cost you a magazine of pulse ammo. Squeeze to bring them back before you round a corner into something you want to handle yourself.
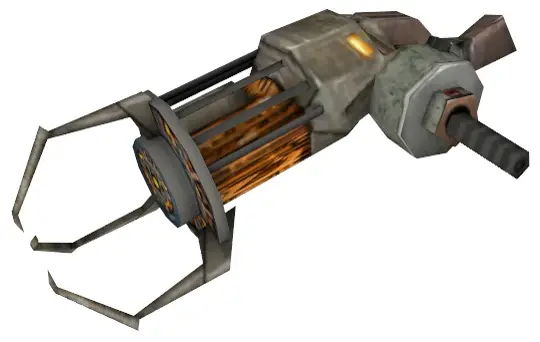
The gravity gun as a damage weapon
The Zero Point Energy Field Manipulator has no fixed damage value, because its damage is the mass of whatever you punt. Fired at roughly 120 RPM, limited only by how fast you grab a new object.
Where it lands on a weapons list: heavy props like metal barrels and propane tanks can kill an Overwatch soldier in a single hit. That is better than any conventional weapon in the game except an energy ball or a crossbow bolt, and unlike those it costs you nothing. Light props like plastic crates and wooden pallets do almost no damage, so the skill is prop selection.
It cannot affect most organic matter, though three primary-fire punts will kill any headcrab, and antlions flip onto their vulnerable undersides when hit. From Chapter 12 onward the supercharged version can punt Overwatch soldiers directly for an instant kill.
For a full breakdown of its interactions, including the manhack chainsaw trick and hopper mine harvesting, see the dedicated gravity gun guide.
The practical loadout ranking
Ranked by what actually wins fights across a full playthrough, weighting ammo economy alongside raw damage.
- Gravity gun — zero ammo cost, one-shots soldiers with the right prop, solves puzzles too.
- Overwatch Standard Issue Pulse Rifle — best conventional automatic at 8 damage per shot, plus 1000-damage energy balls.
- SPAS-12 shotgun — 56 or 84 damage on demand, and shells are reasonably common.
- Resistance crossbow — 100 damage and silent openings, held back only by 10 reserve bolts.
- Colt Python .357 — 40 damage a shot, limited purely by scarce ammunition.
- Resistance RPG — mandatory for gunships and striders, useless elsewhere with 3 rockets.
- Pheropods — no direct damage but infinite, and free antlion damage is still damage.
- MP7 submachine gun — 4 damage and poor accuracy, carried mainly for its 3 grenades.
- USP Match pistol — 5 damage, but accurate with a 150-round pool for precision work.
- Crowbar — free, and mostly a tool for opening crates rather than a weapon.
Quick Action Checklist
- Tap the pistol trigger instead of holding it; tapping fires roughly five times faster.
- Fire your three MP7 grenades instead of finishing the campaign with them.
- Swap the MP7 for the pulse rifle permanently once pulse ammo becomes common.
- Save energy balls for Combine Elites and tight groups; you only carry three.
- Use shotgun secondary fire on confirmed kills, not into crowds.
- Spend .357 rounds as you find them; there is no boss worth hoarding for.
- Open engagements with the crossbow on snipers and rooftop Combine.
- Reserve all three rockets for gunships and striders, and steer them in at an angle.
- Throw pheropods at Combine squads while you have antlions; the ammo is infinite.
- Before any firefight, check the room for a metal barrel or propane tank first.
- Break every wooden crate and pallet you pass to keep reserves topped up.
Frequently Asked Questions
What is the strongest weapon in Half-Life 2?
How much damage does the Half-Life 2 shotgun do?
Is the SMG worth using in Half-Life 2?
How many energy balls can you carry in Half-Life 2?
How much damage does the crossbow do in Half-Life 2?
What is the RPG used for in Half-Life 2?
Keep Reading
Related Guides
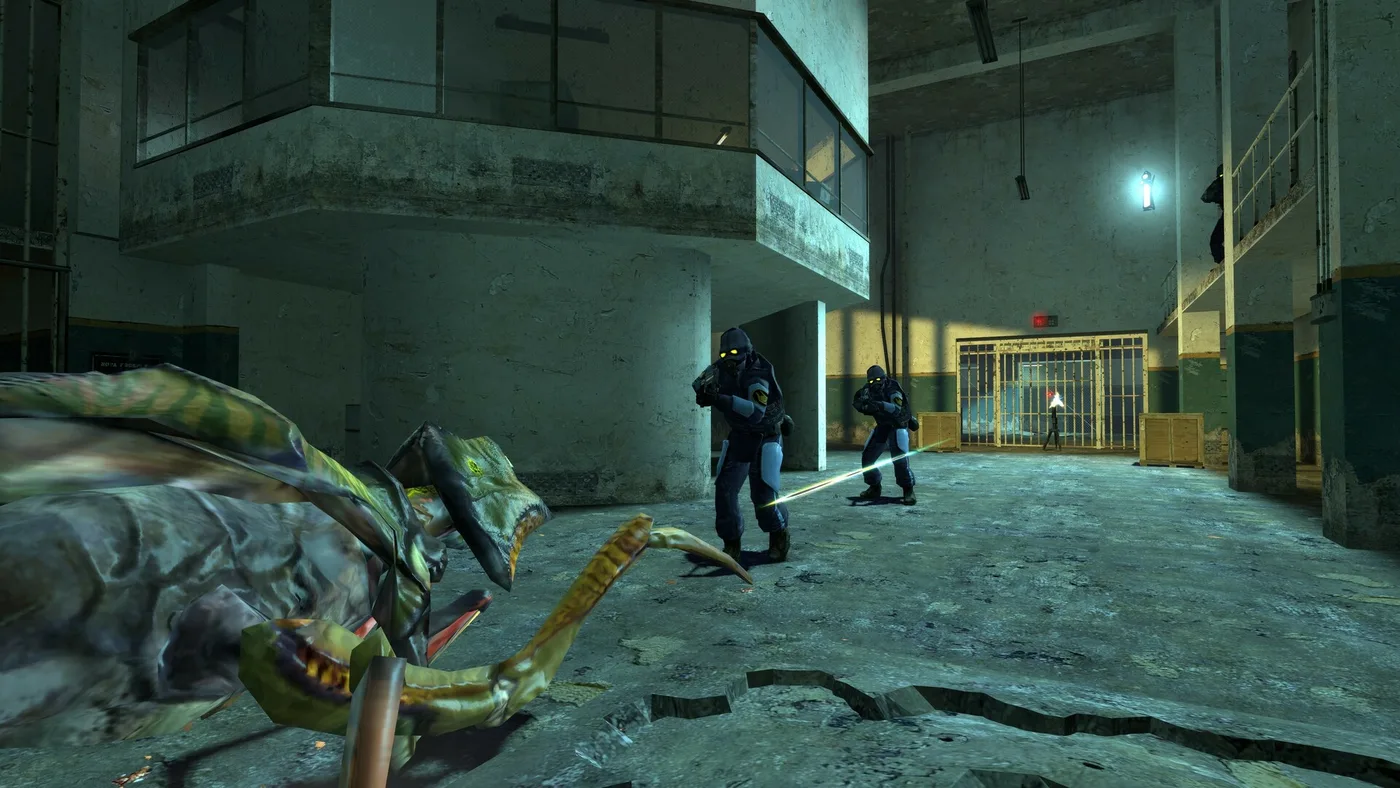
Half-Life 2 Difficulty: What Easy, Normal and Hard Change
The menu says Hard makes enemies very tough. The code says the Combine soldier has the same 50 health on every setting, and the thing that got weaker is you. Here is exactly what each Half-Life 2 difficulty changes, and the handful of things it cannot touch.
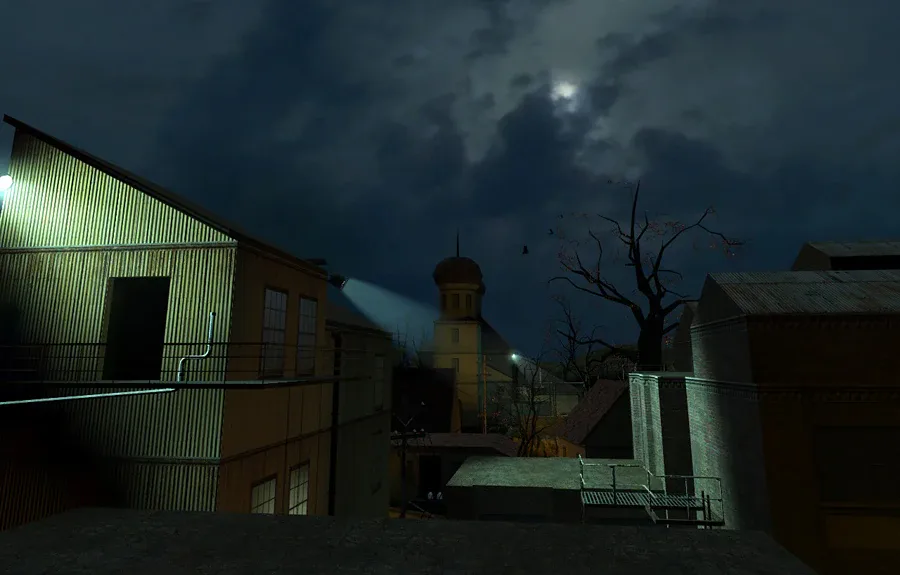
Half-Life 2 Ravenholm Guide: Survive the Trap Town Without a Shotgun
Ravenholm is where first playthroughs die. You walk into Chapter 6 with a crowbar, a pistol, an SMG that sprays, and no shotgun, into a town packed with zombies. The game is not being unfair. It is telling you to stop shooting and start using the town against itself.
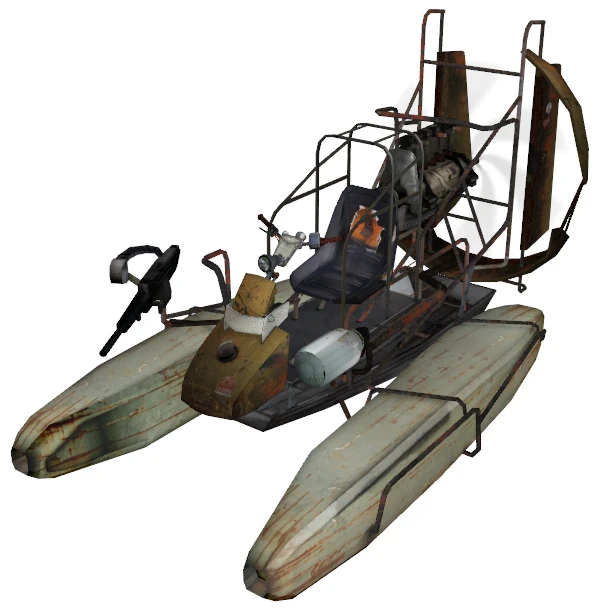
Half-Life 2 Vehicle Chapters Guide: Airboat, Buggy, and Every Fight in Between
Water Hazard and Highway 17 are the chapters most people say they skip on replays. Almost all of that is because players drive them like a shooter. Here is how the airboat gun, the Tau Cannon, and the vehicles themselves actually work.
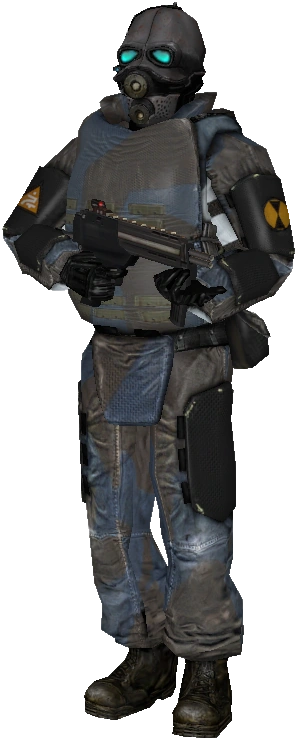
Half-Life 2 Enemies Guide: How to Kill Everything in City 17
Half-Life 2 barely names its monsters, let alone tells you how to fight them. Here is the full bestiary, from the pumpkin-sized headcrab to the walking artillery of a strider, and the single fastest way to put each one down.
Half-Life 2 Beginner's Guide: Start Strong in City 17
Half-Life 2 never stops to explain itself, which is why new players stall in Ravenholm with no shotgun ammo and no idea the gravity gun was the answer. Here is the chapter map, the systems the game hides, and the mistakes that waste your first playthrough.
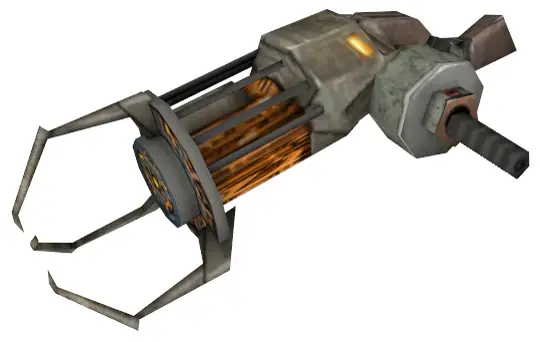
Half-Life 2 Gravity Gun Guide: Every Trick It Can Do
Most players finish Half-Life 2 using the gravity gun to stack crates and clear debris. It also one-shots Combine soldiers, disarms hopper mines, turns manhacks into a chainsaw, and flips antlion guards onto their weak side. Here is the full toolkit.