Half-Life 2 Beginner's Guide: Start Strong in City 17
Half-Life 2 never stops to explain itself, which is why new players stall in Ravenholm with no shotgun ammo and no idea the gravity gun was the answer. Here is the chapter map, the systems the game hides, and the mistakes that waste your first playthrough.
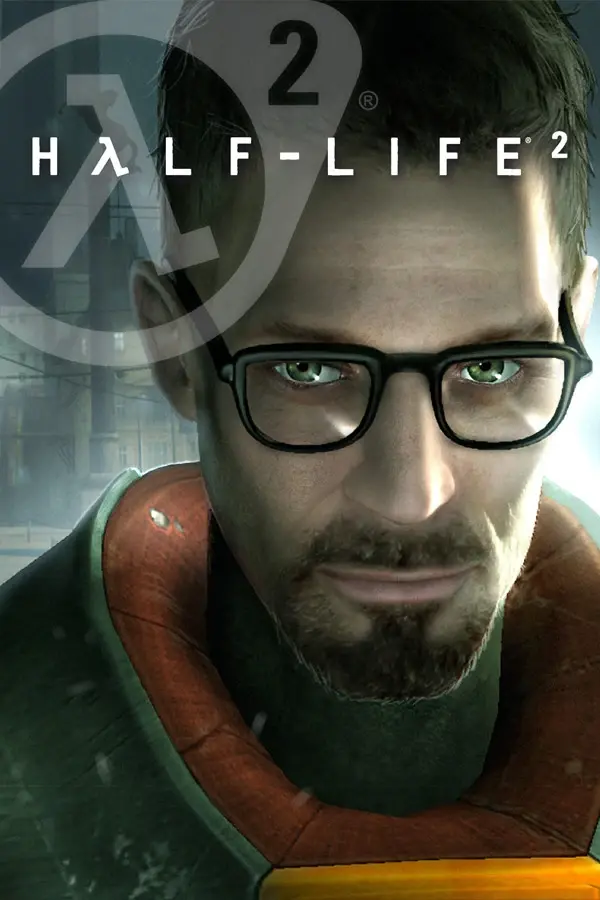
A train pulls into a station, a man in a blue suit tells you the right man in the wrong place can make all the difference, and then Half-Life 2 hands you nothing. No tutorial pop-ups. No objective marker. No weapon. You walk through a checkpoint, a Civil Protection officer knocks a can onto the floor and tells you to pick it up, and the entire design philosophy of the game is right there: it will teach you by putting you in a room, and it expects you to notice.
That approach is why Half-Life 2 still holds up more than two decades after its November 16, 2004 release, and it is also why new players stall out in specific, predictable places. They arrive in Ravenholm with twelve shotgun shells. They burn every pistol round on a Combine soldier who was going to take a single thrown propane tank. They never work out that the health bar and the suit bar are refilled by two completely different wall units.
This guide fixes that. Chapter map, hidden systems, weapon priorities, and the six mistakes that turn a tight ten-hour campaign into a frustrating one.
What Half-Life 2 actually asks of you
Half-Life 2 runs on Valve's Source engine, and Source's headline feature in 2004 was rigid-body physics. That is not set dressing. The physics simulation is the combat system, the puzzle system, and the traversal system all at once.
Concretely, that means the game is constantly asking you a question the HUD never poses: what is in this room that I can use? A sawblade on a wall. A propane tank in a corner. A radiator you can stack. A seesaw plank you can weigh down with cinder blocks. Players who treat Half-Life 2 as a shooter with a physics gimmick have a mediocre time. Players who treat every room as a physics inventory have a great one.
The second thing it asks is patience with pacing. The campaign deliberately alternates: on-foot combat, then a vehicle stretch, then a horror set piece, then a squad battle. If a chapter feels like it is not what you signed up for, it is about to change.
Start here: settings and the 20th Anniversary Update
On November 15, 2024, Valve shipped the 20th Anniversary Update. Per the Half-Life wiki, it remastered the UI, enabled Steam Workshop support, added developer commentary, fixed bugs, and added new graphics options. Critically, it also bundled Episode One and Episode Two into the base Half-Life 2 purchase. If you bought Half-Life 2 at any point, you already own both episodes now; they are not separate purchases anymore. (The separate Half-Life 2 RTX is not part of this update — it is a community-built path-traced remaster with its own playable demo.)
Three setup notes before you start:
- Turn on developer commentary for your second playthrough, not your first. The commentary nodes are excellent, but they interrupt pacing and spoil set pieces. Finish the game clean, then replay with them on.
- Play on Normal your first time. Half-Life 2 on Hard mostly reduces your damage output and increases enemy damage; it does not add encounter complexity. The physics-first lessons land better when you are not reloading a save every ninety seconds.
- Quicksave constantly. The game autosaves at chapter transitions and some mid-chapter checkpoints, but the gaps can be long. F6 is your friend, especially in vehicle chapters.
The chapter map, and how long each stretch runs
Half-Life 2 has thirteen numbered chapters plus one lettered chapter, 9a. Knowing the shape of the campaign helps enormously, because it tells you when resource scarcity is about to end.
- Point Insertion — City 17 arrival, no weapons, pure atmosphere and stealth-adjacent movement.
- "A Red Letter Day" — Kleiner's lab, teleport mishap, you get the crowbar.
- Route Kanal — canals on foot and by airboat approach, first real Civil Protection fights.
- Water Hazard — the airboat chapter proper, ending with the mounted gun and a gunship.
- Black Mesa East — safe hub, Eli and Alyx, and the gravity gun.
- "We Don't Go To Ravenholm..." — the horror chapter. Traps, zombies, Father Grigori.
- Highway 17 — the buggy chapter along the coast.
- Sandtraps — antlion beaches, the "don't touch the sand" section, and bugbait.
- Nova Prospekt — prison assault with antlions on your side. 9a. Entanglement — the second half of Nova Prospekt and the teleport jump.
- Anticitizen One — the City 17 uprising, rebel squads under your command.
- "Follow Freeman!" — street fighting, striders, squad combat at its peak.
- Our Benefactors — the Citadel, and the supercharged gravity gun.
- Dark Energy — the finale.
A first playthrough on Normal generally runs somewhere in the ten-to-thirteen-hour range depending on how much you poke at rooms. The two vehicle chapters, Water Hazard and Highway 17, are the longest single stretches.
Health and suit energy are two separate systems
This is the mechanic new players most often miss, and it costs them real runs.
Gordon wears the HEV Suit Mark V, upgraded from the Mark IV in the original Half-Life. The suit holds up to 100 energy, and that energy is what absorbs incoming damage, mostly gunfire. Your health is a separate 100-point pool underneath it.
They are refilled by different things:
- Health comes from Medical Supplies pickups and from wall-mounted Health Stations.
- Suit energy comes from Energy Cells and from wall-mounted Charging Devices.
The two wall units look different and are frequently placed next to each other. If you are standing at a charger watching a bar refill and it stops, check whether you just topped off the wrong bar. Before any door that obviously leads somewhere bad, top off both.
Your first four weapons and when to use them
You collect the early arsenal in a tight sequence, and each one has a job.
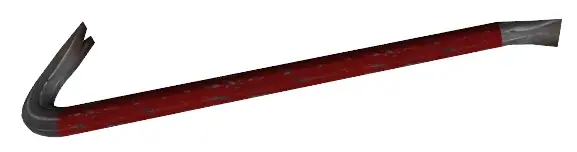
- Crowbar (Chapter 2). Ten damage a swing in Half-Life 2. It is your infinite-ammo answer to headcrabs, breakable crates, and boarded-up windows. Break every wooden crate and pallet you pass; that is where ammo and health live.
- USP Match 9mm pistol (Chapter 3). Five damage a shot, an 18-round magazine, and 150 rounds of maximum reserve. Tapping the trigger fires at roughly 600 RPM while holding it down drops to around 120 RPM, so deliberate taps are genuinely better than mashing. It is a precision tool for manhacks and unarmored targets, not a fight-winner.
- MP7 submachine gun (Chapter 3). Four damage per round, a 45-round magazine, 225 reserve, and an 800 RPM fire rate. The wiki rates its accuracy as poor with medium-to-high spread, and that is accurate to the feel: it is a short-range panic button. It also carries three grenade rounds on secondary fire, which are easy to forget and excellent against clustered enemies.
- SPAS-12 shotgun (Chapter 6, Ravenholm). Eight damage per pellet, 56 total on primary fire and 84 total on the double-barrel secondary. This is your close-quarters answer for the rest of the game.
Note the gap: you do not get the shotgun until Ravenholm. That single fact explains most early frustration, and it is why the next section matters so much.
The gravity gun changes the game at Black Mesa East
At Black Mesa East, Alyx Vance introduces you to the Zero Point Energy Field Manipulator, built by her father Eli. Everyone calls it the gravity gun.
It has two modes. Secondary fire picks an object up and holds it in front of you. Primary fire punts it forward with enormous force. It has no ammunition in the conventional sense, so its usable fire rate of roughly 120 RPM is limited only by how fast you can grab a new object.
The single most important beginner insight: the gravity gun is a real weapon, not a puzzle tool with a combat mode. Heavy items like metal barrels and propane tanks can kill an Overwatch soldier in one hit. Light items like plastic crates and wooden pallets barely scratch anything, because damage scales with the mass of what you throw. Learning to distinguish a heavy prop from a light one at a glance is the core skill of the entire game.
It also cannot affect most organic material, with a few exceptions such as wood. So you cannot simply grab a zombie and throw it. What you can do is grab the sawblade on the wall behind the zombie.
Ravenholm, the difficulty spike nobody warns you about
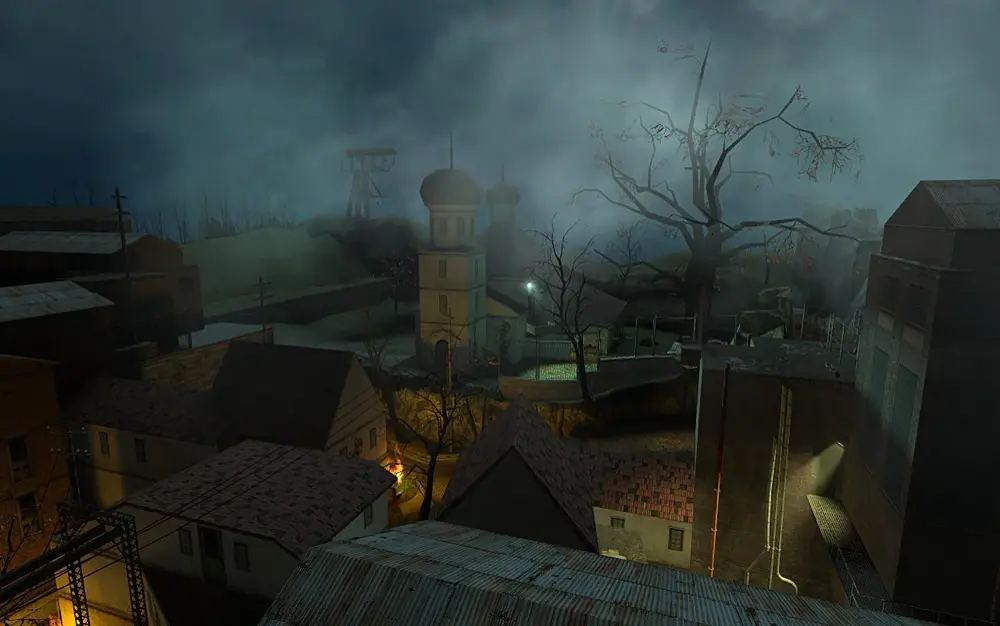
Chapter 6 is where first playthroughs go wrong. You enter a zombie-infested town, ammunition is scarce, and you have a pistol, an SMG with poor spread, and a crowbar.
The intended solution is the gravity gun. The wiki puts it plainly: the gravity gun is one of the most suitable weapons for Ravenholm before you get the shotgun, precisely because the town is stuffed with environmental props and conventional ammo is thin.
Practical Ravenholm rules:
- Sawblades are the answer. They are everywhere, they slice through zombies, and you can pick the same blade back up after it lands and reuse it indefinitely.
- Use the traps. Father Grigori's town is wired with car-crusher traps, swinging hazards, and gas. Lure zombies into them rather than trading ammo.
- Explosive barrels are devastating but risky. If an enemy shoots a barrel while you are holding it, it detonates in your hands. Punt, do not carry.
- Save your shotgun shells once you find it. You will want them for the fast zombies later in the chapter.
Enemies you need to read differently
Headcrabs and zombies
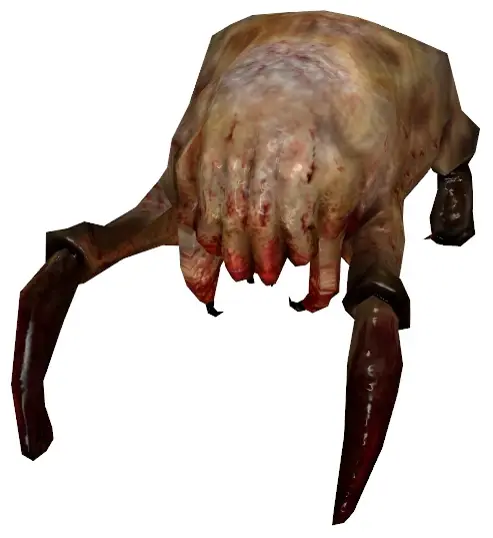
Standard headcrabs are trivial with a crowbar. The nastier variants matter more: fast headcrabs move erratically and are hard to track, and poison headcrabs produce poison zombies whose attacks drop your health to one point and then let it regenerate slowly. Poison damage does not kill you outright, but being at one health when a Combine soldier turns the corner absolutely will. Prioritize poison headcrabs above everything else in the room.
A useful gravity gun fact: three punts from primary fire will kill any headcrab. That is free damage when you are out of ammo.
Combine soldiers
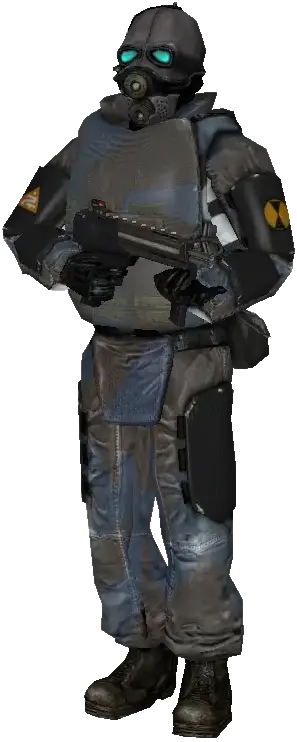
Overwatch soldiers flank, suppress, and throw grenades to flush you out of cover. They are the reason static cover camping fails in this game. Two habits fix most soldier fights: keep moving between pieces of cover, and check the room for a heavy prop before you commit to a firefight. A propane tank punted into a soldier ends him instantly and costs you nothing.
Manhacks and scanners
Flying blades that chase you. The pistol handles them precisely, but the gravity gun is better: you can catch a manhack in secondary fire and use it as a makeshift chainsaw against other enemies, or punt it into a nearby wall to destroy it. Punted over long distances they will stabilize and fly on, so hit a wall that is close.
Vehicle chapters are not shooting chapters
Water Hazard and Highway 17 hand you the airboat and the buggy respectively, and both punish players who try to fight from them like they are a mobile turret.
Treat both as driving chapters. Momentum is your defense. Combine gunships and helicopter sections in particular are about not being where you were a second ago, not about accuracy. Both vehicles eventually receive a mounted weapon, and only then should your posture change.
Also: get out and explore. Both chapters hide supply caches, health, and ammo in side buildings along the route. Blowing past them is why you arrive at the next combat section dry.
Six mistakes that stall new players
- Ignoring the gravity gun in combat. It is not a puzzle tool. It is frequently your best weapon.
- Charging the wrong wall unit. Health Stations and Charging Devices are separate. Top off both.
- Not breaking crates. Wooden crates and pallets hide the ammo and health you say you cannot find.
- Hoarding the .357 and crossbow. Saving powerful ammo for a boss that never arrives is a classic. Spend it.
- Camping in cover against Combine soldiers. They flank and grenade. Move.
- Forgetting SMG grenades. Three of them, secondary fire, and most players finish the campaign having thrown one.
Quick Action Checklist
- The 20th Anniversary Update build is the default Steam install; Episode One and Episode Two are already included.
- Play Normal difficulty first, save developer commentary for replay two.
- Quicksave before every door that looks important.
- Refill health and suit energy at their two separate wall units before big fights.
- Break every wooden crate and pallet you walk past.
- From Black Mesa East onward, scan each room for heavy props before you open fire.
- In Ravenholm, use sawblades and town traps; conserve shotgun shells for fast zombies.
- Kill poison headcrabs first, always.
- Punt manhacks into close walls, or hold one as a melee weapon.
- Drive the vehicle chapters, do not fight from them, and stop to loot side buildings.
Frequently Asked Questions
How many chapters are in Half-Life 2?
When do you get the gravity gun in Half-Life 2?
Why is Ravenholm so hard in Half-Life 2?
What is the difference between health and suit energy in Half-Life 2?
Do I need to buy Episode One and Episode Two separately?
What should a beginner do about poison headcrabs?
Keep Reading
Related Guides
Half-Life 2 Episode Achievements: All 36, and the Hard Ones
Half-Life 2's Steam page now lists 69 achievements, not 33. The 20th Anniversary Update brought in the Episodes' 36. Here is every one of them, which game each actually counts in, which ones a reload can rescue, and the runs that need planning.
Half-Life 2 G-Man Sightings: Where to Spot Him, Map by Map
Between the opening monologue and the ending, the G-Man turns up twelve more times in Half-Life 2, mostly at a distance or on a screen. Here is where each one is, by chapter and map, plus the three in Episode Two and the ones Valve cut.
Half-Life 2 on Console, Mac and Steam Deck: Every Version
Half-Life 2 has shipped on seven platforms and one arcade cabinet, and only one of those versions still gets patches from Valve. Here is every official port, what each one is missing, and the right way to play it on whatever you own.
Half-Life 2 Citadel Guide: Our Benefactors and Dark Energy
Our Benefactors and Dark Energy get summarized as "you get the blue gravity gun and blow up a reactor," which skips the part where Breen steals that gun and runs off with it, the part where Gordon is a prisoner too, and the part where the game itself refuses to confirm whether Breen dies. Here is the full run, and the confirmed-versus-unresolved line at the end.
Half-Life 2 Soundtrack: Every Track and Where It Plays
Half-Life 2 has less music in it than you think, and a surprising amount of what is there is recycled Half-Life 1. Here is the whole 43-track album mapped to the exact moment each cue fires, the seven album tracks that play nowhere in the game, and where to get it legally.
Half-Life 2 Uprising Guide: Squad Command and the Nexus
Half-Life 2 hands you a four-man rebel squad in Anticitizen One and never explains the button that commands it. Here is the squad system in full, all eleven lambda caches across the uprising, the Nexus room that can trap your save, and the exact rocket counts for every Strider and gunship.