Half-Life 2 Ravenholm Guide: Survive the Trap Town Without a Shotgun
Ravenholm is where first playthroughs die. You walk into Chapter 6 with a crowbar, a pistol, an SMG that sprays, and no shotgun, into a town packed with zombies. The game is not being unfair. It is telling you to stop shooting and start using the town against itself.
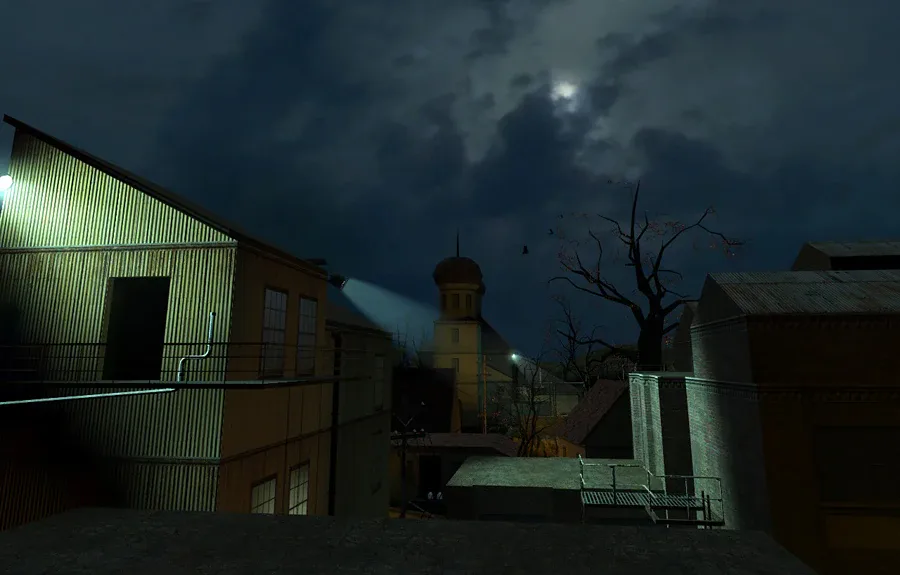
Everyone remembers where Half-Life 2 first made them sweat, and for most people it is the same place. You come out of Black Mesa East with a shiny new gravity gun, the Combine hit the lab, Alyx points you at a tunnel, and then Alyx says the line: that is the old passage to Ravenholm, we don't go there anymore. The game fades in on a boarded-up mining town at night, a zombie is already shuffling toward you, and your loadout is a crowbar, a pistol, an SMG that sprays like a garden hose, and exactly zero shotgun shells.
Chapter 6, "We Don't Go To Ravenholm...", is a difficulty wall, and it is a deliberate one. It is the level Valve built to teach you that the gravity gun is a weapon, not a physics toy. Players who fight Ravenholm like a shooter run out of ammo in the first two streets. Players who read the town as a box of tools walk out the far side with pistol rounds to spare. Here is how to be the second kind.
Why Ravenholm breaks first-time players
The math is brutal if you do not understand it. According to the Half-Life wiki, Ravenholm contains roughly 285 headcrabs across its five maps: about 181 standard, 56 fast, and 48 poison. That is before you count the zombies those crabs are already riding. Your conventional ammo does not come close to covering that, and the game knows it, which is exactly why it withholds the shotgun until Grigori hands it to you partway through.
So the wall is not a skill check on your aim. It is a check on whether you have internalized the lesson Black Mesa East and the gravity gun just tried to teach you. Ravenholm is stuffed wall-to-wall with circular saw blades, propane tanks, barrels, and Grigori's traps because the intended answer to almost every fight is "use the room," not "spend bullets." Once that clicks, the chapter flips from panic to playground.
How Ravenholm died, and why that shapes the chapter
The town's backstory is doing real design work, so it is worth a paragraph. Ravenholm was a former mining and industrial town out in the Wasteland, a short hop from Black Mesa East and the Coast. Before it fell, it was one of the Resistance's biggest refuge points, a stop on the underground railroad where people smuggled out of City 17 could reach the countryside.
Then the Combine found it. Rather than send Overwatch in on foot, they bombarded the town from range with headcrab canisters, the same Headcrab Shells you meet as an enemy tactic elsewhere. The parasites spread through the settlement and turned nearly everyone into zombies. The wiki counts at least 262 dead across the corpses and zombies you encounter. The tunnel back to Black Mesa East was sealed off with barricades and stolen Combine sentry guns to keep the infestation from reaching the lab. There was one known survivor, and that history is why the level looks the way it does: the traps you are about to borrow are one man's long, lonely war against his own dead neighbors.
The one rule: the gravity gun is your main weapon here
If you take one thing from this guide, take this: in Ravenholm the Zero Point Energy Field Manipulator is your primary weapon and the pistol is your sidearm, not the other way around.
The town is deliberately littered with circular saw blades, and they are the single best tool you have. Grab one with secondary fire, punt it with primary fire, and it will cut a standard zombie clean in half. Then, and this is the part players miss, you can walk over and pick the same blade back up off the ground and reuse it. A single saw blade can clear an entire street if you are willing to chase it down between throws. Ammo problem solved.
Everything else in the room is fair game too. Propane cylinders, paint cans, radiators, cinder blocks, barrels: heavy props do serious damage, light props mostly annoy. The skill you are building is reading a prop's weight at a glance, which is the same core skill the gravity gun guide drills for the rest of the campaign. What the gravity gun cannot grab is organic matter, so you cannot simply yank a zombie off its feet. You grab the blade behind the zombie instead.
Father Grigori and what he actually does for you
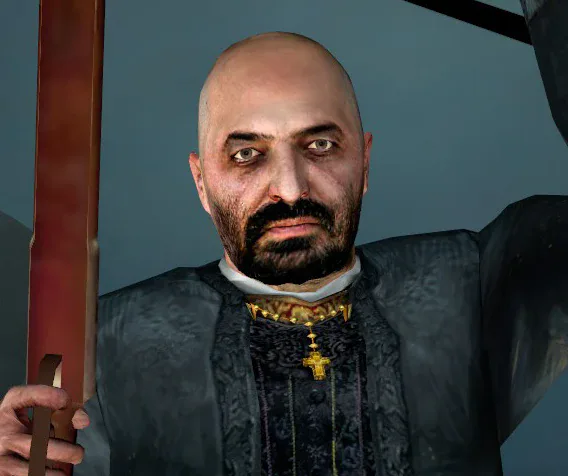
Father Grigori is the lone survivor, a self-proclaimed priest who has appointed himself shepherd to a "congregation" of the dead he now spends his days putting to rest. He is unhinged, he is genuinely warm toward Gordon, and he is the best supporting character in the game. He is also mechanically important, so read him right.
He carries Annabelle, a unique lever-action rifle chambered in .357 that holds two rounds. He almost always goes for the head, and two shots will drop most zombies, but that two-round capacity means he reloads constantly and prefers to fight from rooftops and vantage points where nothing can reach him. He is an essential NPC with 100 health that regenerates, and he is immune to poison headcrabs, so you rarely need to babysit him. If he does get swarmed he will call out for help, and if he actually dies you get a game over, so the one time you protect him is the graveyard at the end.
Grigori announces himself with cryptic biblical shouting near your first propeller trap, then makes a proper entrance standing over a pile of burning zombies. Early on he shoots a fast headcrab off your back and tells you to make free use of his traps but take care not to fall into them yourself. Take that literally. Every trap in this town kills you exactly as dead as it kills a zombie.
Grigori's four traps, and how to work each one
There are four trap types in Ravenholm. Learn to spot each one, because luring enemies into a trap costs nothing and every fight you win with a trap is ammo you keep for later.
Propeller traps
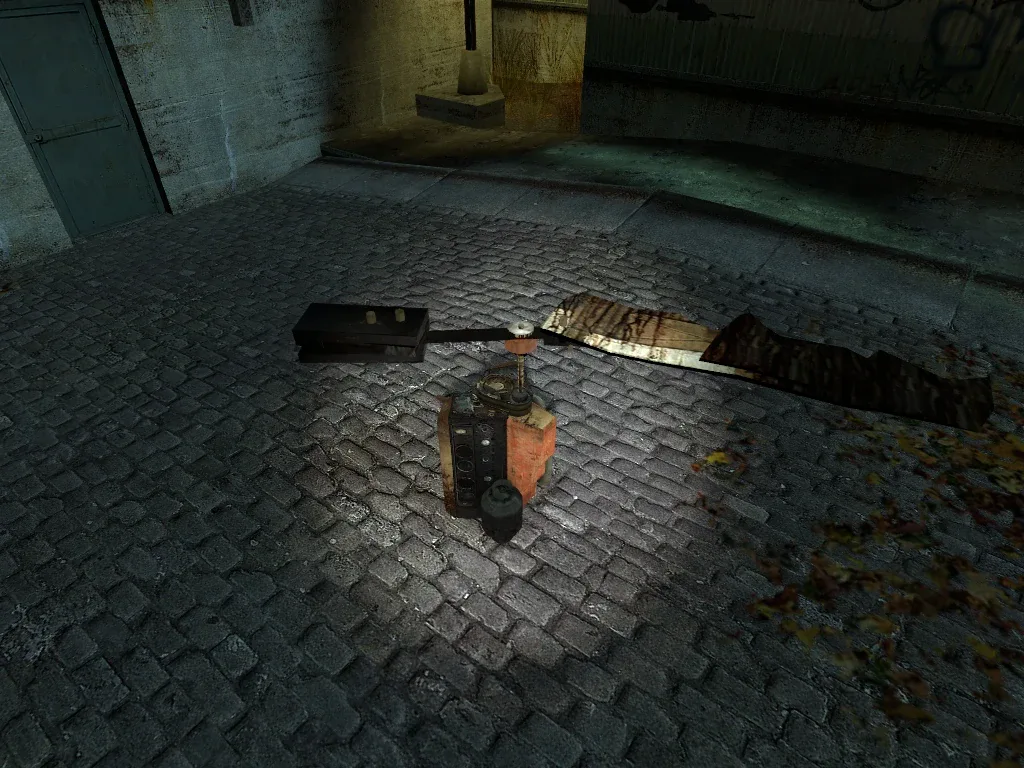
The signature Ravenholm trap: a car engine laid on its side spinning a long serrated sheet-metal blade in a waist-high arc. It dismembers any zombie that walks through it, usually cutting them in half, and it will do the same brutal damage to you if you stand up in it. Activate it by ducking under the blade and pulling the lever, then stay crouched. You do not stand back up automatically, so it is safe to sit under a spinning blade and let zombies feed themselves into it.
Watch for the "defective" propeller trap partway through the chapter. When you switch it on, the blade flies off, and suddenly zombies are coming at you from several directions with no spinning defense. Do not panic: grab the fallen blade with the gravity gun and throw it, exactly like a saw blade. That fight is a scripted lesson in improvising, and it is completely fine once you know it is coming.
Car traps
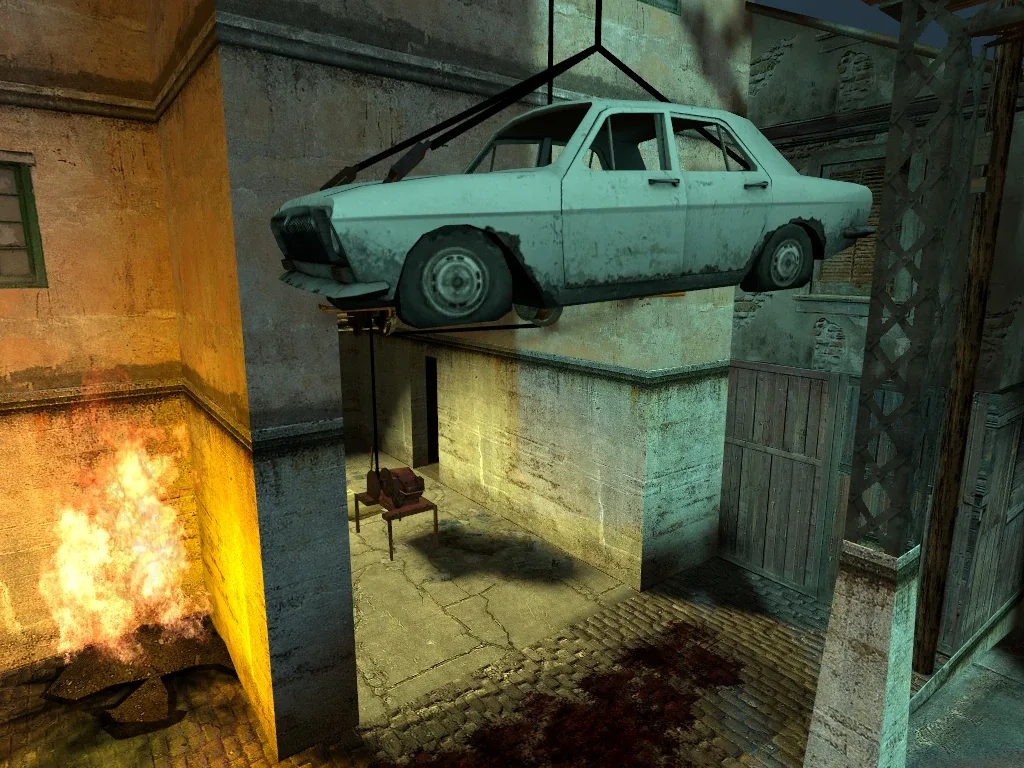
A wrecked car hangs from a rope and pulley over a lever. Pull the lever and the car slams down, crushing anything under it, then the engine hauls it back up for another drop. Lure a cluster of zombies into the shadow of the car and drop it on the whole group.
Car traps have a second job people forget: some of them double as a crude elevator. If a hanging car is blocking your path up, the same lever can lift it and open the way forward, so do not treat every trap as purely a weapon.
Propane traps
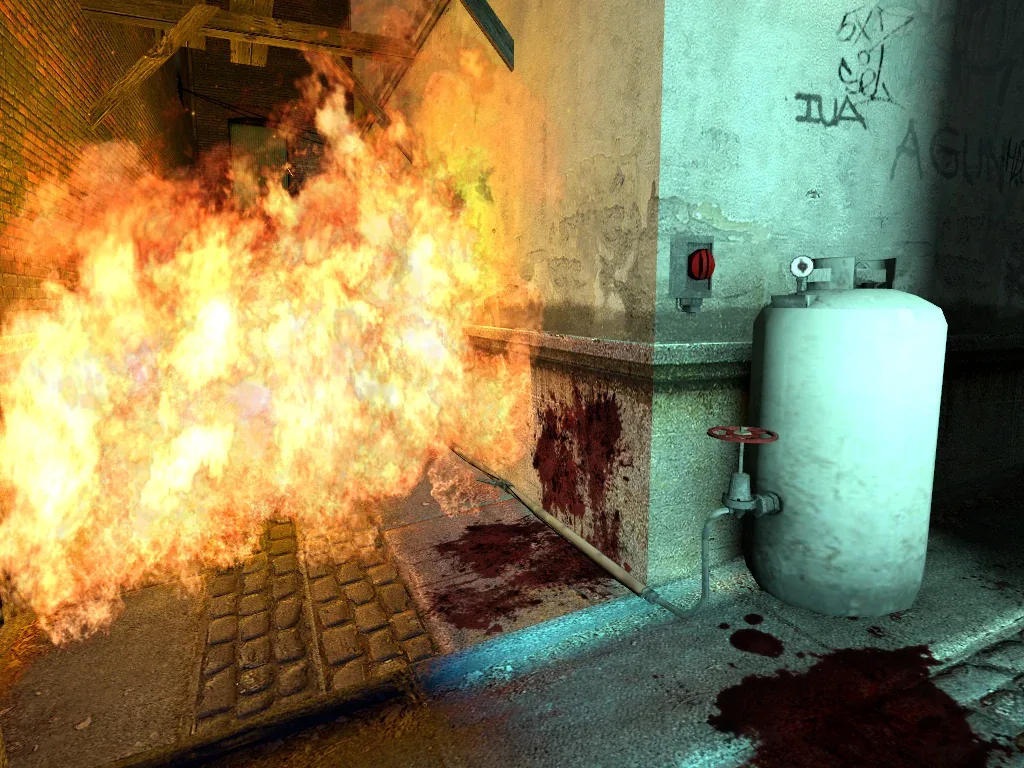
A propane cylinder with a hose runs into an area. Open the valve and gas floods the space; hit the nearby red switch, or just fire a round into the cloud, and the whole area goes up in flames. Fire is fantastic against zombies here because it does not only damage them, it slows them dramatically and can spread to others.
One catch worth respecting: a burning zombie that reaches you will set you on fire and deal real damage on contact, so light the trap and then back off rather than standing in the doorway admiring it. Turn the valve off again when you are done to stop the gas.
The electric trap
There is exactly one, and it is a wall rather than a weapon. It is wired into a fence and scaffolding near a propane trap, and touching it electrocutes you, so you cannot climb past. To get through, find the lever in the building facing it, switch the current off, then use the ladder on the fence to reach the rooftops and continue. This is the one trap you are meant to disarm rather than exploit.
The enemies you actually fight in Ravenholm
The gravity gun and traps handle standard zombies and standard headcrabs with ease. The variants are what hurt you, so prioritize by threat.
Fast zombies are the headline danger. They sprint, scramble over obstacles, and climb walls and rooftops to close distance, and they will overwhelm you and Grigori if you let a pack build up. When Grigori tells you to run for the church before the fast zombies come, he is not being dramatic. Poison zombies are the other priority: they lob poison headcrabs at you, and a poison hit drops your health to a single point before it slowly regenerates. That hit will not kill you outright, but being at one health when a fast zombie rounds the corner absolutely will, so clear poison threats first.
For the full breakdown of every zombie and headcrab variant, the Half-Life 2 enemies guide has the damage details. In Ravenholm specifically the rule is simple: standards go to traps and blades, poison and fast go to the top of your target list.
When you get the shotgun, and how to ration it
You do not start Ravenholm with a shotgun. Grigori hands you the SPAS-12 partway through the chapter, right before he warns you to make for the church because fast zombies are coming. That single fact explains most of the early scarcity: everything before the handoff is meant to be won with the gravity gun and the traps, not with firepower you do not have yet.
Once you have it, ration it. The SPAS-12 is your answer to fast zombies and any moment where a trap is not available and a swarm is already on top of you. It is not your answer to a lone standard zombie ambling across a courtyard next to a perfectly good saw blade. If you want the exact pellet and reserve numbers, the weapons guide lays out the whole arsenal, but the Ravenholm-specific instinct is to keep shells in reserve for the fast zombies in the back half of the level and near the graveyard.
The graveyard run and the escape to the mine
The last stretch is where Ravenholm changes shape. After you take a wrong turn away from the church, Grigori sends a mine cart across to bridge the gap, you fend off a short zombie assault, and the two of you finally meet on the ground. He tells you the way out runs through the graveyard to the mines.
This is the one section where Grigori is genuinely vulnerable, because he is down at ground level instead of safe on a rooftop, reloading Annabelle every two shots while zombies close in. Stay near him, prioritize anything rushing his position, and lean on the traps and saw blades scattered through the cemetery. Escort him cleanly and you finish the level on your terms.
At the far edge of the graveyard, Grigori opens the gate to the mine, tells Gordon to look to his own salvation, and breaks into that trademark laugh. Then he retreats into a mausoleum, triggers a fire trap to seal himself in with the zombies pressing behind him, and the flames swallow the frame. Whether he actually survives is left deliberately open, which is a big part of why players never forget him. For where this fits in the larger arc, the story and lore guide walks the full campaign. You step into the mine, and Ravenholm is behind you.
Two achievements worth chasing here
Ravenholm carries two Steam achievements, and both are the kind of thing to line up before you enter rather than after.
Hallowed Ground, worth 5 points, asks you to escort Grigori safely through the church cemetery. If you play the graveyard section carefully and keep the swarm off him, you get this one naturally. Zombie Chopper, worth 25 points, is the real trophy: play through Ravenholm using only the gravity gun. It sounds punishing and it is genuinely the best way to understand the chapter, because it forces you to see saw blades, barrels, and traps as your entire kit. If you have been playing Ravenholm the way this guide describes, you are most of the way there already.
Quick Action Checklist
- Treat the gravity gun as your main weapon and the pistol as backup, not the reverse.
- Grab a circular saw blade, throw it, then pick it back up and reuse it until it is lost.
- Lure zombies into traps instead of spending ammo: it is free damage every time.
- Crouch under propeller traps and stay crouched to farm zombies safely.
- Light propane traps, then back off so burning zombies do not set you on fire.
- Disarm the single electric trap at the facing lever, then take the ladder to the roofs.
- Kill poison zombies and fast zombies first; send standards to the blades and traps.
- Ration the SPAS-12 once Grigori gives it to you; save shells for fast zombies.
- Stay glued to Grigori in the graveyard, the one place he can actually die.
- For the challenge run, go gravity-gun-only for the Zombie Chopper achievement.
Frequently Asked Questions
When do you get the shotgun in Ravenholm?
Why is Ravenholm so hard in Half-Life 2?
What are the four traps in Ravenholm?
Does Father Grigori die in Half-Life 2?
What is the best weapon for Ravenholm?
How do I get the Zombie Chopper achievement?
What weapon does Father Grigori use?
How many headcrabs are in Ravenholm?
Keep Reading
Related Guides
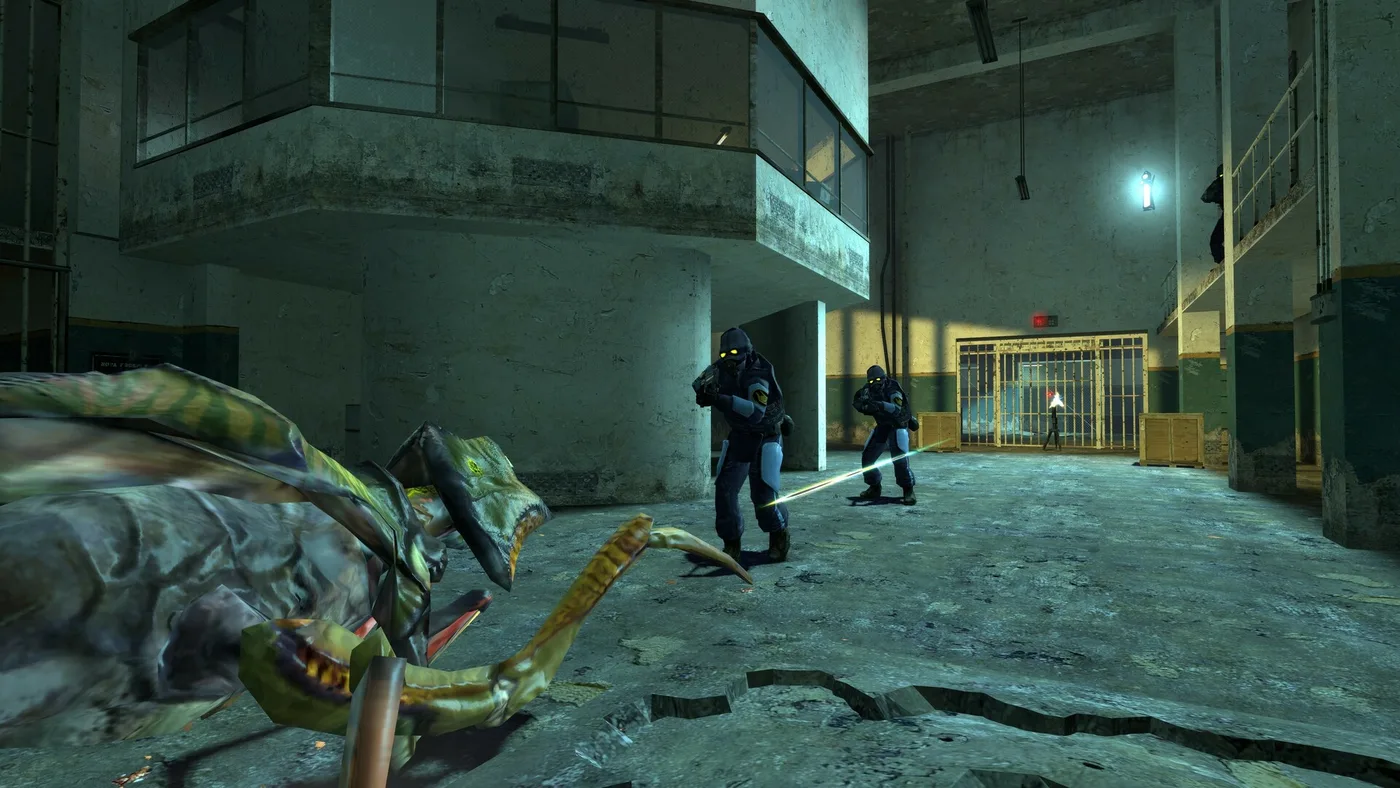
Half-Life 2 Difficulty: What Easy, Normal and Hard Change
The menu says Hard makes enemies very tough. The code says the Combine soldier has the same 50 health on every setting, and the thing that got weaker is you. Here is exactly what each Half-Life 2 difficulty changes, and the handful of things it cannot touch.
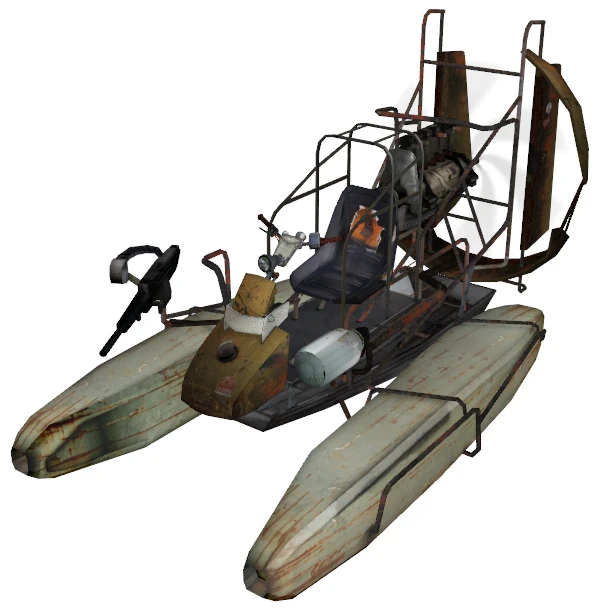
Half-Life 2 Vehicle Chapters Guide: Airboat, Buggy, and Every Fight in Between
Water Hazard and Highway 17 are the chapters most people say they skip on replays. Almost all of that is because players drive them like a shooter. Here is how the airboat gun, the Tau Cannon, and the vehicles themselves actually work.
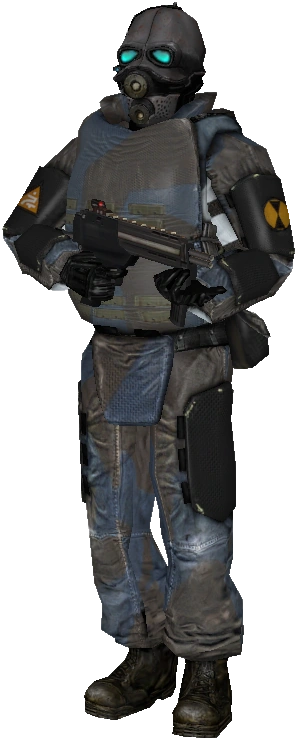
Half-Life 2 Enemies Guide: How to Kill Everything in City 17
Half-Life 2 barely names its monsters, let alone tells you how to fight them. Here is the full bestiary, from the pumpkin-sized headcrab to the walking artillery of a strider, and the single fastest way to put each one down.
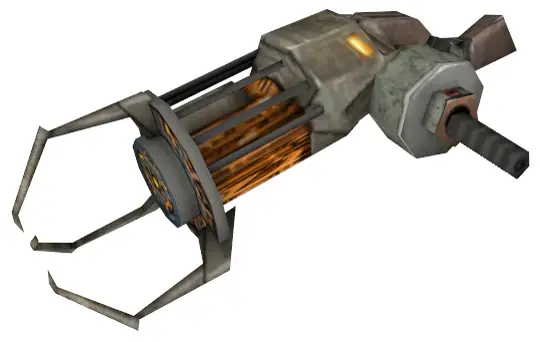
Half-Life 2 Gravity Gun Guide: Every Trick It Can Do
Most players finish Half-Life 2 using the gravity gun to stack crates and clear debris. It also one-shots Combine soldiers, disarms hopper mines, turns manhacks into a chainsaw, and flips antlion guards onto their weak side. Here is the full toolkit.
Half-Life 2 Beginner's Guide: Start Strong in City 17
Half-Life 2 never stops to explain itself, which is why new players stall in Ravenholm with no shotgun ammo and no idea the gravity gun was the answer. Here is the chapter map, the systems the game hides, and the mistakes that waste your first playthrough.
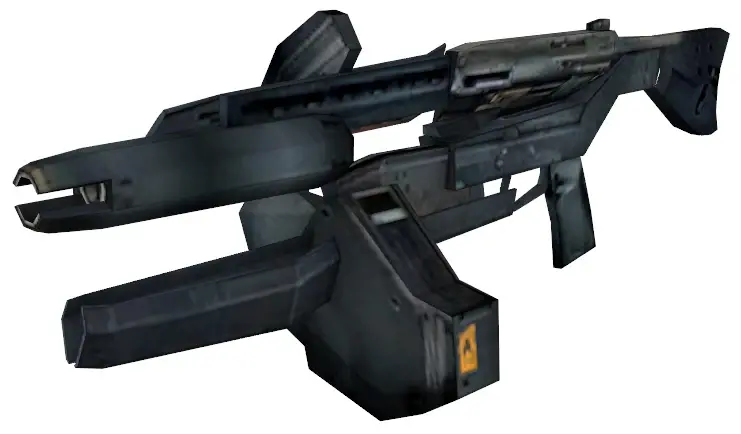
Half-Life 2 Weapons Guide: Damage Numbers That Matter
The Half-Life 2 SMG does four damage a bullet. The crossbow does one hundred. That gap explains almost everything about how the game wants you to fight, and most players never see the numbers.