Best Voltron Equipment in MTG Commander, Ranked
Voltron does not care about your board. It stacks equipment on one commander and swings for the 21 commander damage that ends a player on the spot. Here is the best Voltron gear in Commander, ranked — plus the protection that keeps your threat alive.
Voltron is the deck that scares people who do not respect it. You look across the table, see one creature and a pile of gear, and think you have time. Then the commander connects once, you take 21, and you are out — no board wipe saved you, no chump blocker mattered, because the whole plan lived on a single creature that just needed to hit you once or twice. That is Voltron, named after the giant robot assembled from smaller ones, and in Commander it is the most focused way to end a specific player fast.
The archetype ignores almost everything the format rewards. It does not build a wide board, it does not grind card advantage, it does not care about your token army. It picks one commander, straps the best equipment in the game onto it, protects it, and swings for lethal commander damage. This is a ranked list of the best Voltron equipment in Commander — the gear built for turning one creature into a 21-damage kill — every card checked against Scryfall for cost, text, and legality. This is deliberately not a general best-equipment list; it is the Voltron-specific package, sorted by what actually closes games. For the broader toolbox, our best equipment in Commander guide covers value gear like Skullclamp that this list mostly skips.
Voltron is a clock, not a board
The mental shift that makes Voltron click: you are not building a board, you are building a clock.
A normal Commander deck wins by accumulating advantage — more creatures, more cards, more mana, until the sum overwhelms the table. Voltron wins by speed. Every piece of equipment is measured by one question: does it make my commander kill a player faster or keep it alive to swing again? Gear that does neither is a trap in this deck, no matter how good it looks in a value shell.
That is why the Voltron equipment list looks different from a general one. Skullclamp is arguably the best equipment ever printed, but it draws cards off dead creatures — it does nothing for a one-creature clock, so it barely belongs here. Meanwhile Colossus Hammer, a card almost no value deck wants, is a Voltron all-star because +10/+10 is exactly the kind of raw damage that turns a two-swing kill into a one-swing kill. Evaluate every card by the clock, not by generic power. The archetype pairs naturally with the aggressive commanders in our best commanders for beginners guide, several of which are premium Voltron pilots.
The 21 commander-damage math
Here is the rule that makes the whole archetype work, and it is worth stating precisely because people misremember it. A player who is dealt 21 or more combat damage by the same commander over the course of the game loses — that is the commander-damage rule. It is 21 from one commander, tracked separately from that player's normal life total.
That number is the reason equipment beats going tall on stats alone. You do not need to kill a 40-life player with a single 40-power swing. You need to deal 21 with your commander, cumulatively, and equipment is the most mana-efficient way to stack that up. A Colossus Hammer alone makes most commanders a two-swing kill (a 2/2 commander becomes 12/12; two hits is 24, past the 21 threshold). A Sword or two turns a modest commander into a three-turn clock that also can't be blocked profitably. The math is why the archetype prizes power buffs and evasion over everything else — you are racing to 21 on one damage track, and the fastest gear wins.
One more wrinkle: commander damage only counts combat damage from that commander, so the plan is fundamentally about connecting in combat. That makes evasion and protection as important as raw power — a 20/20 that never gets through deals zero. Keep that balance in mind reading the list below. If you want the combat rules underneath all this, our combat explained guide covers the phases and damage steps.
The best Voltron equipment, ranked
Ranked on how much they advance the clock — power, evasion, and the protection that keeps your one threat swinging. Every card here is Commander-legal as of this writing.
The protection-first gear
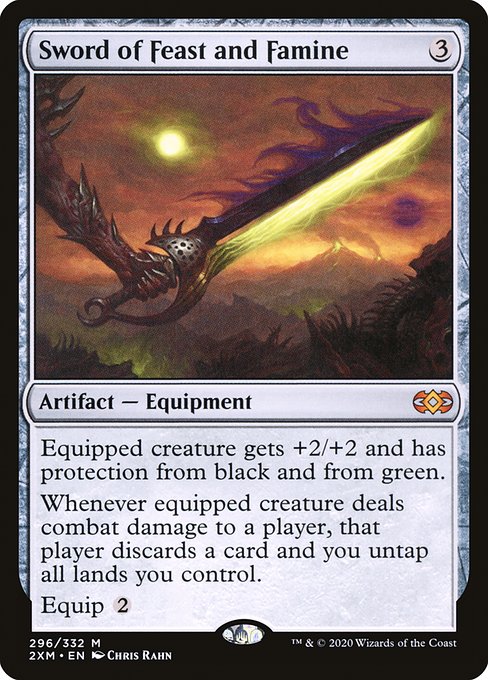
- Sword of Feast and Famine — 3 to cast, equip 2. +2/+2, protection from black and green, and on combat damage the defending player discards a card and you untap all your lands. The untap is the killer — it effectively refunds the mana you spent this turn, letting you equip, swing, and then hold up interaction or recast on the same turn. Protection from two colors dodges most removal and lets it slip past green and black blockers. The single best Voltron sword.
- Swiftfoot Boots — 2 to cast, equip 1. Grants hexproof and haste. It is not a damage piece — it is insurance. Hexproof stops targeted removal from picking off your entire game plan, and haste lets a freshly recast commander swing the turn it lands. In a deck that loses the instant its one creature dies, cheap protection is worth more than another +2/+2.
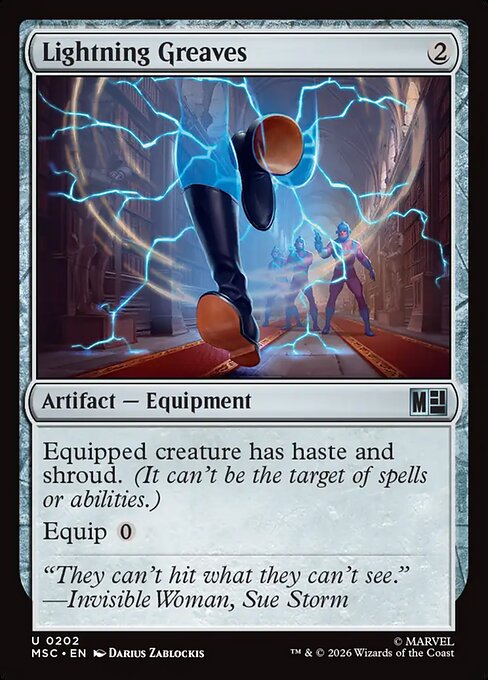
- Lightning Greaves — 2 to cast, equip 0. Haste and shroud, and the equip cost is zero, so you can move it around your board for free. Shroud is stronger than hexproof against removal but also stops you from targeting the creature — a real cost when you want to equip other gear or target your own commander. The free equip and instant protection still make it a Voltron staple, usually alongside Swiftfoot Boots rather than instead of it.
The damage multipliers
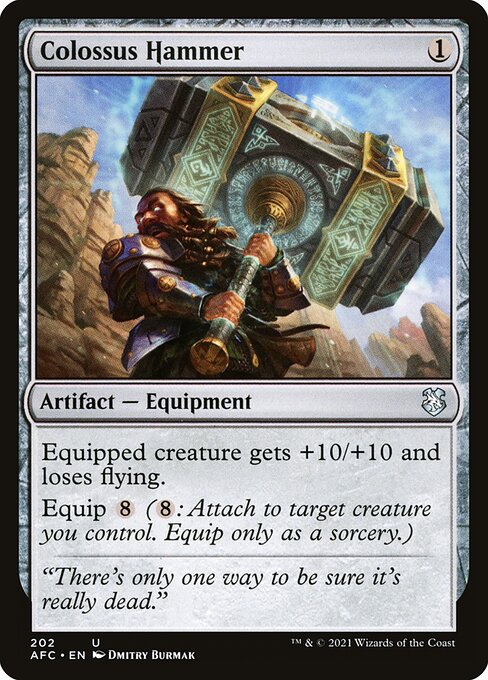
- Colossus Hammer — 1 to cast, equip 8. +10/+10, and the equipped creature loses flying. That +10/+10 is the most raw stats per mana in the game — it turns almost any commander into a two-swing, often one-swing, kill. The catch is the equip 8, so Voltron decks pair it with cost-reducers or free-attach tricks (Sigarda's Aid, Puresteel Paladin with metalcraft) to strap it on for cheap. When it lands, the game ends fast.
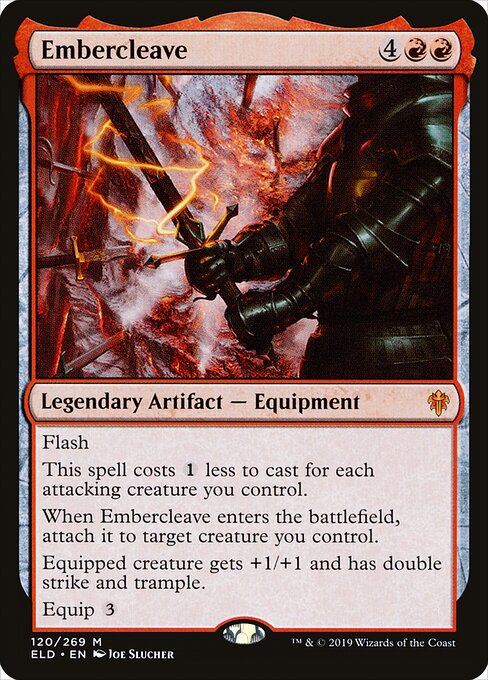
- Embercleave — 4RR to cast, equip 3. +1/+1, double strike, and trample — and its cost is reduced by 1 for each attacking creature, so it routinely flashes in for two or three mana mid-combat. Double strike doubles your commander damage in one swing, which is the single most efficient way to race to 21. Flash it in after blocks are declared and you turn a fair attack into a lethal one. A Voltron bomb.
- Loxodon Warhammer — 3 to cast, equip 3. +3/+0, trample, and lifelink. The trample pushes damage past chump blockers (commander damage still counts the trampled-over portion), and the lifelink buys you life against the race back. A classic, rock-solid Voltron piece that keeps you alive while it kills.
The supporting swords and blades
- Sword of Fire and Ice — 3 to cast, equip 2. +2/+2, protection from red and blue, and on damage deals 2 to any target and draws you a card. The card draw keeps your hand stocked in a deck that pours resources into one creature, and protection from red/blue dodges burn and counters-adjacent removal. The best all-around Sword after Feast and Famine.
- Blackblade Reforged — 2 to cast, equip 3 for a legendary (equip 7 otherwise). +1/+1 for each land you control — so in the late game it is a scaling +6/+6 or bigger on your legendary commander. The cheap legendary equip cost and land-based scaling make it a natural fit; in a deck with any ramp it is one of the largest single buffs available.
- Grafted Wargear — 3 to cast, equip 0. +3/+2 with a free equip cost — the drawback is you sacrifice the creature if the Wargear ever comes unattached. On a commander that risk is softened: if it dies you just recast from the command zone. A cheap, aggressive, free-to-move buff that fits the low-curve Voltron plan.
- Fireshrieker — 3 to cast, equip 2. Grants double strike, full stop. It is a cheaper, non-conditional way to double your commander damage than Embercleave, without the buff or trample — a clean, reliable multiplier that stacks the 21-damage clock in half the swings.
Beyond the top ten, the Voltron gear runs deep: Shadowspear (trample, lifelink, and it strips hexproof/indestructible off blockers), Batterskull (a self-contained lifelink threat with vigilance), Kaldra Compleat (a huge indestructible, first-strike, trample package with its own token), Bloodforged Battle-Axe (self-replicating on combat damage), and Sword of Hearth and Home (protection plus a blink and a ramp trigger). Match the package to your commander's colors and check current printings on Scryfall.
The two-piece kill you actually want
Voltron's dirty secret is that you rarely need the whole pile. The fastest games come from a two-piece kill: one protection piece and one big multiplier.
The cleanest example is Lightning Greaves or Swiftfoot Boots plus Colossus Hammer. The boots or greaves give haste and protection so your commander can swing the turn it lands and survive targeted removal; the Hammer makes it a 12/12-plus that ends a player in two hits. That is a turn-three or turn-four kill in a tuned list, off two cards. Add a double-striker like Embercleave or Fireshrieker and the two hits become one.
The lesson is not to jam every sword. It is to build toward a protected threat that closes, then hold up the rest. Overloading one creature with six equipment is how you get blown out — one well-timed removal spell or board wipe two-for-sixes you and the whole game plan is on the floor. Run enough protection that your threat survives the first answer, keep gear in hand to rebuild fast, and swing when the kill is actually lethal, not just big. That discipline is what separates a Voltron deck that wins from one that keeps feeding its commander into removal.
How much equipment to run
The count is higher than people expect, because your deck is mostly gear, protection, and lands.
Dedicated Voltron: 12–18 equipment, front-loaded on protection and multipliers. The deck is the commander plus a toolbox, so you run a deep equipment suite, several equip-cost reducers and free-attach enablers, and a heavy protection package (the boots, the greaves, and a few instant-speed protection spells). This is the core of the archetype.
Voltron-adjacent midrange: 8–12 equipment, plus a backup plan. Many decks run a Voltron sub-theme — a strong equipped commander as one win condition alongside a real board. Here you want the best swords and one or two multipliers, but not the whole toolbox, and you lean on protection spells over dedicated protection equipment.
Splash Voltron: 4–6 of the best. A deck that just wants a commander that hits hard runs Sword of Feast and Famine, Sword of Fire and Ice, a protection piece, and a multiplier — the auto-includes — and spends the rest of its slots on its main plan.
The through-line: Voltron rewards protection density more than raw buffs. Everyone remembers to jam the biggest swords; the players who actually win are the ones running enough hexproof, haste, and instant-speed protection that their one threat survives the removal it is guaranteed to draw. Build the clock, then armor it. For the protection spells that back up the equipment, our best protection spells guide is the companion to this list.
Quick Action Checklist
Apply this when building a Voltron equipment package:
- Sword of Feast and Famine is the best Voltron sword — the land untap refunds your turn
- Run protection first: Swiftfoot Boots and Lightning Greaves keep your one threat alive and swinging
- Colossus Hammer and Embercleave are the top damage multipliers — pair the Hammer with equip-cost reducers
- Double strike (Embercleave, Fireshrieker) is the most efficient way to race to 21 commander damage
- Remember the rule: 21 combat damage from one commander over the game ends a player
- Aim for a two-piece kill — one protection piece plus one big multiplier — not a six-equipment pile
- Don't overload one creature into an open board wipe; keep gear in hand to rebuild fast
- Run more protection than you think — hexproof and haste beat another +2/+2
Frequently Asked Questions
Keep Reading
Related Guides
Best Double Strike Cards in MTG Commander, Ranked
Double strike is the only keyword that literally doubles your damage, and it multiplies with every buff you have already committed. Here are the best double strike cards in Commander, ranked — the equipment, enchantments, instants and creatures that turn a fair attack into a dead opponent.
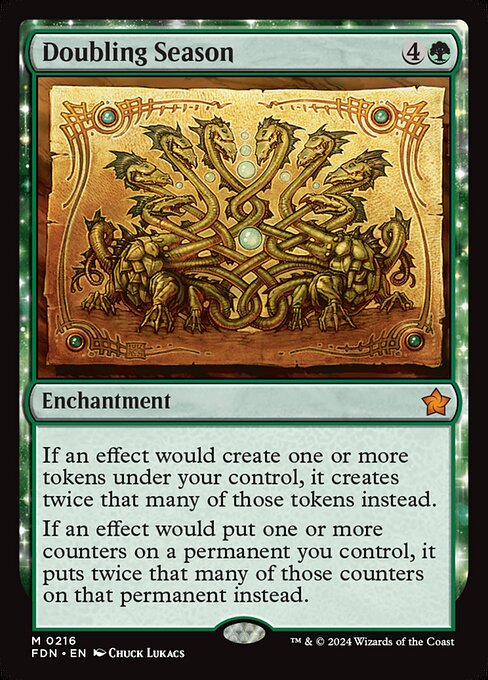
Best Token Doublers in MTG Commander, Ranked
One Doubling Season turns a five-token Secure the Wastes into ten, a single Elspesth ult into a real board, and a fragile go-wide deck into a lethal one. Here are the best token doublers in Commander, ranked — the enchantments, the creatures, and the one that triples.
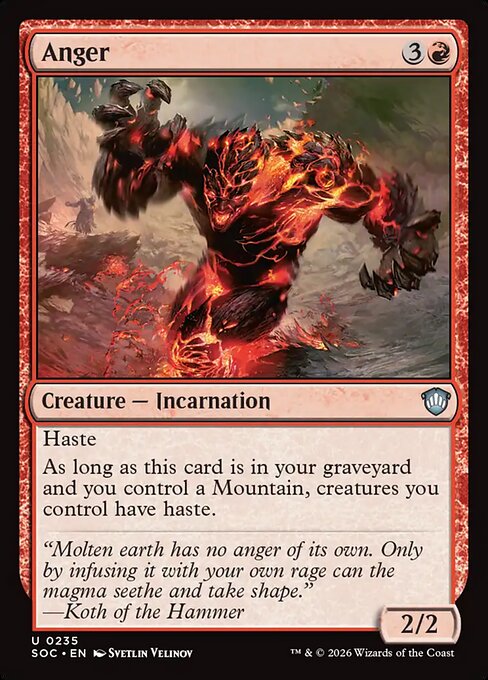
Best Haste Enablers in MTG Commander, Ranked
A 12/12 that can't attack the turn it lands is a 12/12 your opponents get a whole turn to kill. Haste enablers fix that — and the best ones give your entire board the ability, not one creature. Here are the top team-haste cards in Commander, ranked.
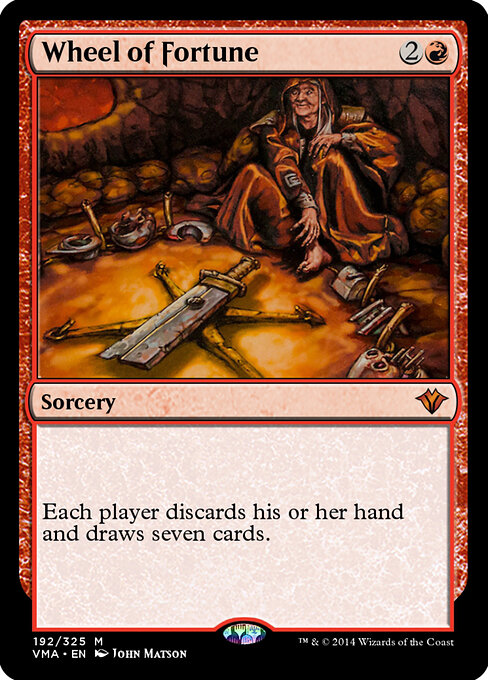
Best Wheel Effects in MTG Commander, Ranked
A wheel is the only card in Magic that hands three opponents seven fresh cards and still counts as a great play. Here are the best wheel effects, ranked — plus the payoffs that turn a symmetrical refill into a completely one-sided beating.
MTG Commander Format Guide — How to Start Playing EDH (2026)
Commander is the most-played MTG format on the planet and the easiest one for new players to start in. The rules look intimidating on paper. They are not. Here is the full beginner guide.

Best Commander Staples Every Deck Wants, Ranked
There's a short list of cards that show up in basically every Commander deck regardless of theme — the silent 25 that make the splashy 75 work. Here are the staples worth a slot in almost any list, sorted by the job they do, with the legality double-checked.