Mina the Hollower Beginner Guide: Burrow, Bones, and Sparks
Mina the Hollower is not the Souls game people keep calling it. Here is what burrowing, Bones, Sparks, and sidearms really do before you lose a dungeon run to a knockback into a pit.
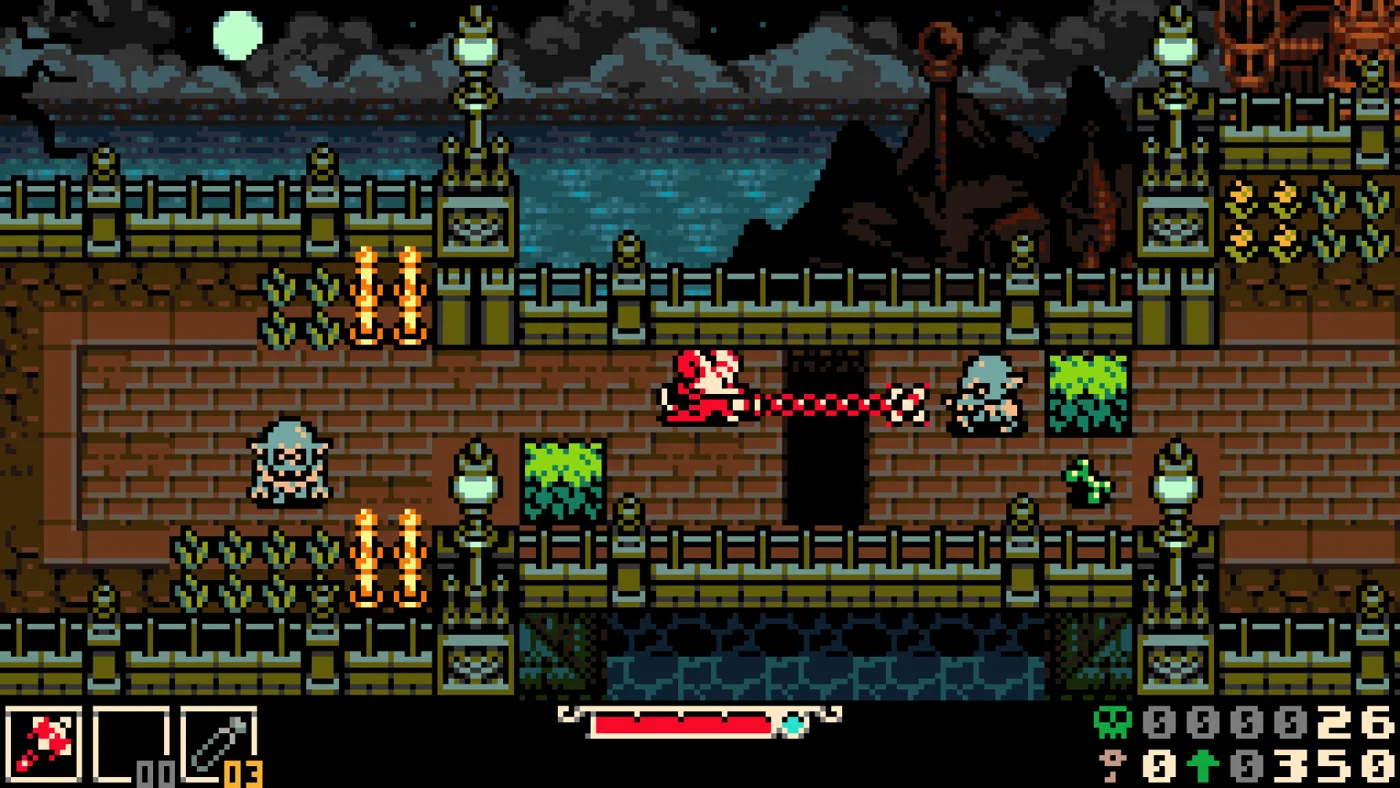
Every review of Mina the Hollower reached for the word "Soulslike," and every one of them was slightly wrong. Yes, you bank a bone-shaped currency and yes, dying can cost it. But Mina hands your levels out automatically, refills your health when you rank up, and only takes your currency if you die in a specific vulnerable state. That is a meaningfully softer contract than Dark Souls ever offered, and misreading it is the fastest way to play the first three hours badly.
Here is what actually matters before you commit to a run.
What Mina the Hollower Actually Is
Mina the Hollower is a top-down action-adventure from Yacht Club Games, the Shovel Knight studio, released in late May 2026 for Windows, macOS, Linux, Nintendo Switch, Switch 2, PlayStation 5, and Xbox Series X/S at 19.99 USD on Steam. It spent roughly six years in development after starting as a personal coding project by Alec Faulkner under the working title "Gothic," then went to Kickstarter on February 2, 2022, where it pulled 1,239,584 dollars from 21,439 backers.
That budget went somewhere specific: the art. Yacht Club committed to Game Boy Color technical constraints on purpose, with no 3D assets and a four-colors-per-tile discipline. The result reviewed extremely well. Metacritic landed at 90 on PC and Switch 2 and 91 on PS5, OpenCritic showed 98 percent of 109 critics recommending it, and it moved over 300,000 copies in three days and past 500,000 inside two weeks.
Worth flagging the one number that does not match the hype: the Steam user score sits at 89 percent Very Positive. That gap between a 90-plus critical average and an 89 percent player score is not noise, and most of it traces back to two things this guide will cover directly, knockback and the one-button control scheme.
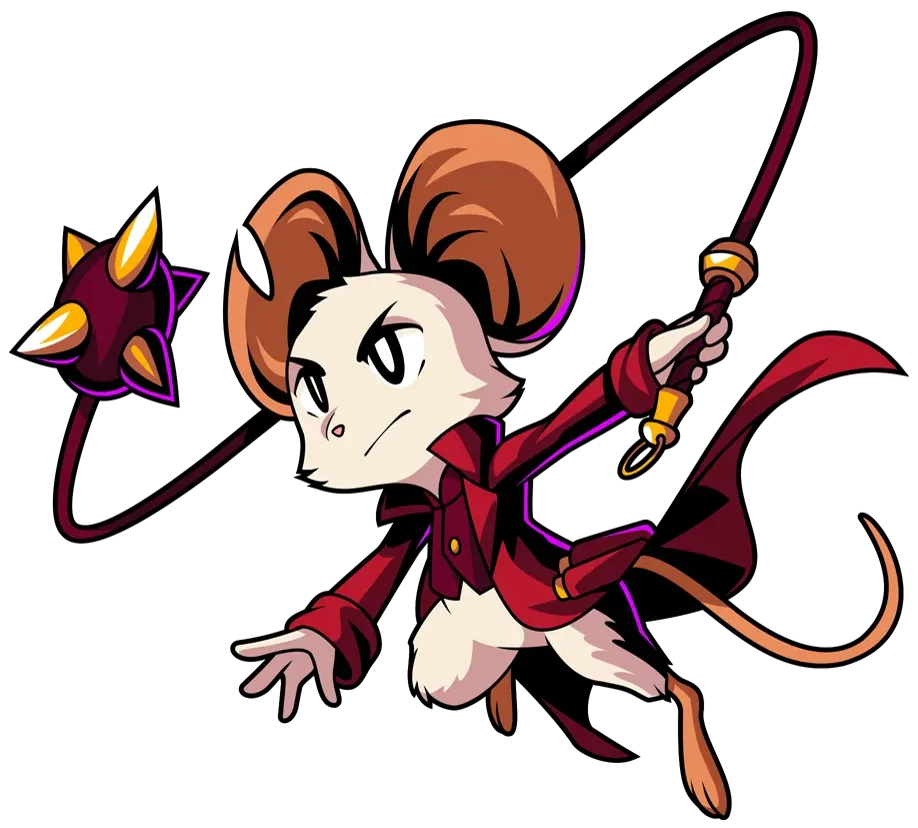
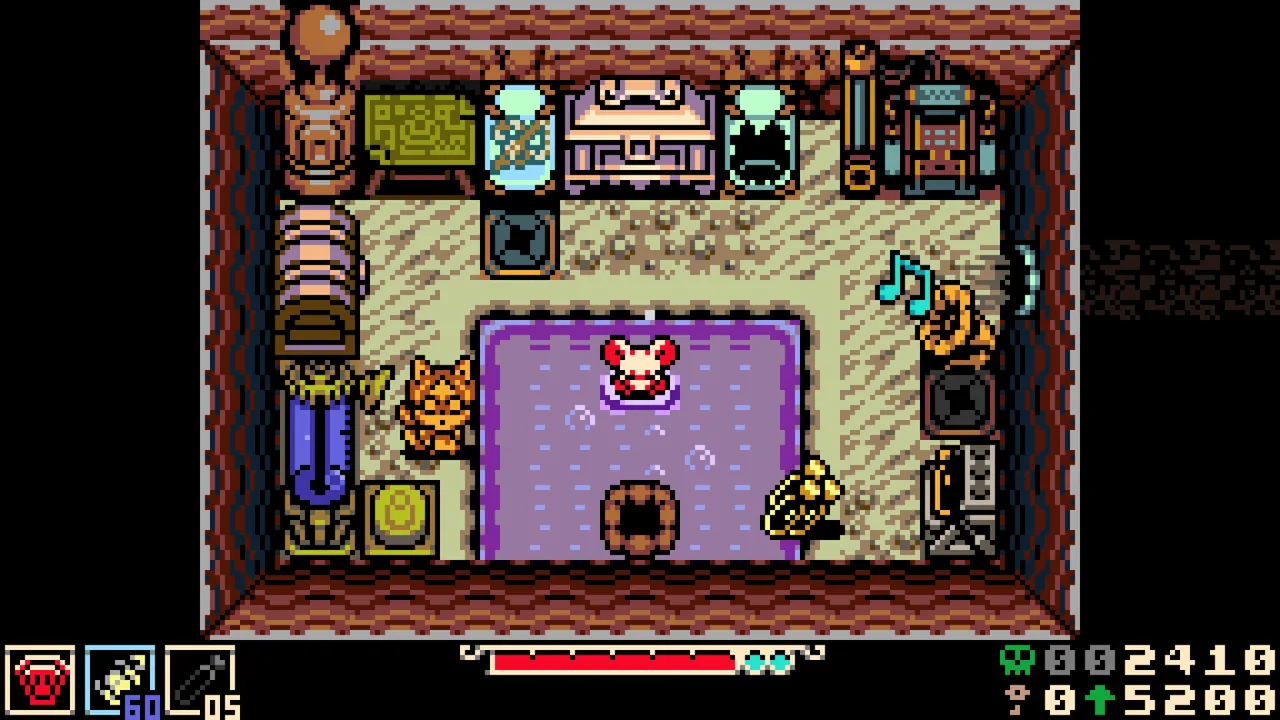
You play Mina, a mouse, across Tenebrous Isle. The island holds eleven main dungeons, each capped by a Spark Generator, with the city of Ossex sitting at the center as your hub.
Burrowing Is Your Dodge, Your Jump, and Your Escape
Hollowing, the burrow, is the whole game. Mina digs underground for a short time, moves quickly while she is down there, and is invincible during it. That is not a dodge roll with a burrow flavor. It is the dodge, full stop. There is no separate roll button, and hunting for one will get you killed.
The design decision underneath this is the one people argue about: jump, dig, and dodge all share a single contextual button. Press it standing and you jump. Hold it on landing and you burrow. Yacht Club collapsed three verbs into one input, which is exactly why critics called the movement sublime and why a recurring Steam complaint is "too many actions on one button." Same decision, two conclusions. Give it ninety minutes before you form an opinion, because the muscle memory does eventually click.
The Long Jump Nobody Reads About
This is the single most useful thing a new player can learn, and the game buries it in the manual: release the jump input while you are burrowed and Mina launches much farther than a standing jump. That is the intended tool for crossing big gaps, not the standing hop you have been mashing. You can also attack while airborne.
If you have been staring at a gap thinking it is not crossable yet and waiting for an upgrade, try burrowing into it and releasing. A large number of "I need an item for this" walls in the early game are actually just long jumps you have not learned.
Burrow Out of a Hit
Second mechanic worth drilling: while Mina is flashing from taking damage, those invulnerability frames chain straight into a burrow if you hold jump. You take the hit, you immediately go underground, you come up somewhere safer.
This matters enormously because of how the game punishes getting hit, which we will get to. Learning to reflexively burrow the instant you flash is the difference between losing one health chunk and losing three.
Enemies have the same courtesy extended to them, incidentally: when an enemy is flashing after being hit, it cannot hurt you. Aggression is rewarded. Trading hits and then continuing to press is often correct.
Bones, Boning Up, and the Spark System
Bones are the currency. They drop from enemies, bosses, challenges, and world pickups, they get spent at shops, and they can be converted into Bonestone at generators, which shops also accept.
Leveling is where the Souls comparison breaks. You do not walk to a bonfire and spend souls. Earn enough Bones and you automatically Bone Up, at which point you choose a stat to raise. The manual lists Attack, Defense, and Sidearms.
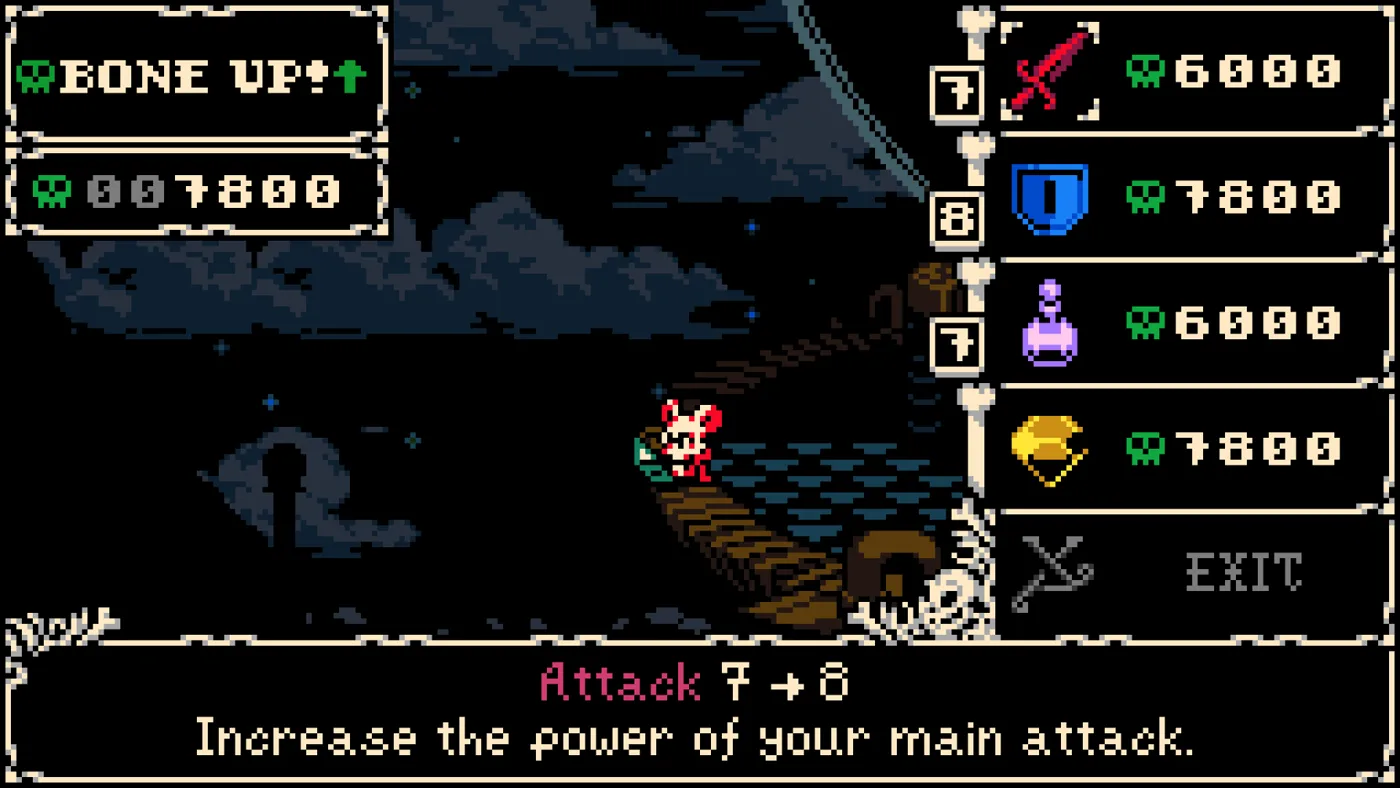
The screenshot above is a real Bone Up in progress: Attack going from 7 to 8, with the sword line priced at 6,000 Bones against a 7,800 Bone balance. Note the second half of that transaction, because it is the part new players sleep on. Boning Up also restores your health, your Joules, and your Sparks.
Read that again. Your level-up is also a full heal and a resource refill. If you are one small enemy pack away from a Bone Up and you are sitting at a sliver of health in front of a boss door, clearing that pack is a free reset. Track your Bone total like it is a healing item, because functionally it is one.
Why This Is Not a Souls Death Penalty
The death rule is conditional. You lose all your Bones only if Mina dies while Sparkless. Spark Orbs protect your Bones on death, and enemies can absorb Sparks you drop.
So the practical loop is not "never die." It is "never die empty." If you are Sparkless and carrying a large Bone balance deep in a dungeon, the correct play is to go spend it or go find Sparks, not to push one more room. That is a genuinely different risk calculation from the genre it keeps getting compared to, and it rewards players who treat Sparks as their real health bar.
Picking Your First Weapon (It Barely Matters)
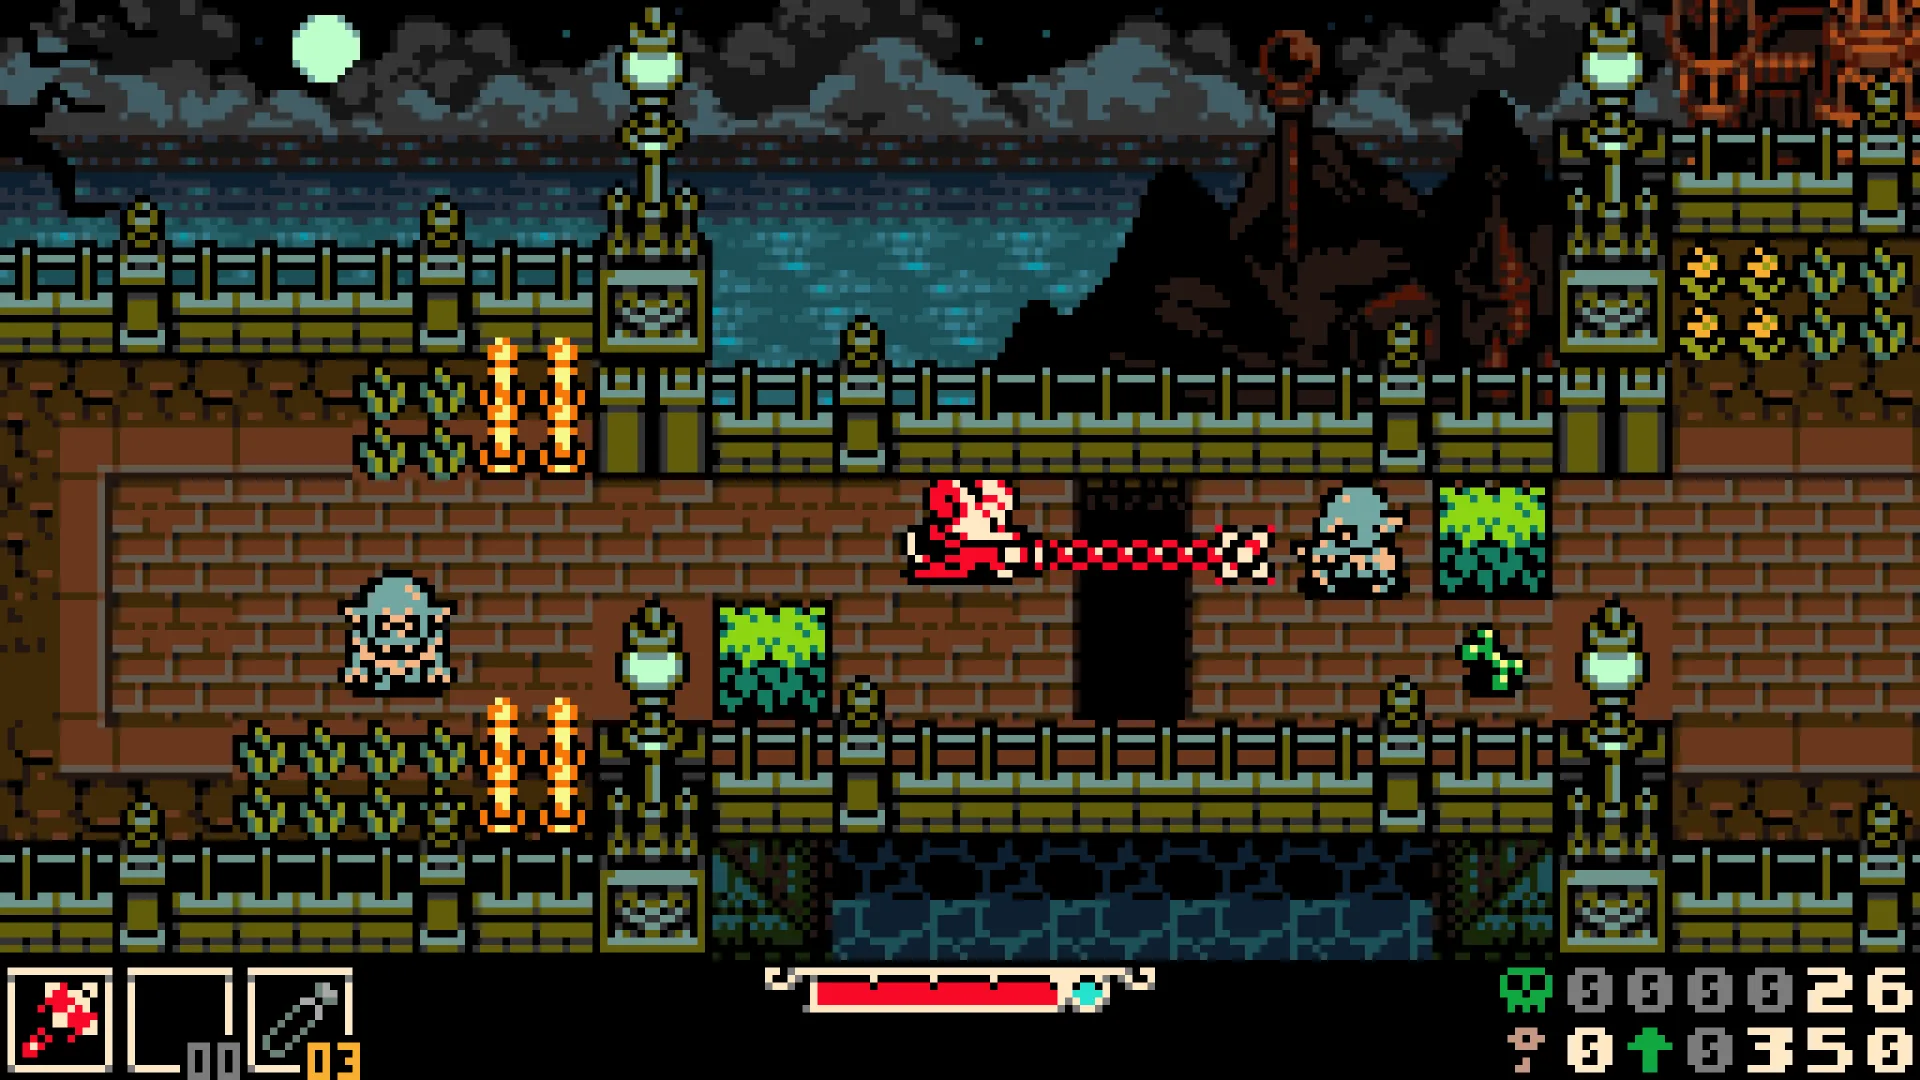
The game opens by making you choose between three weapons: the Nightstar, a crushing mace on a flexible chain; Whisper and Vesper, a pair of nimble daggers; and the Blaststrike Maul, a hammer with explosive force.
This choice feels weighty. It is not. You can test all three in the starting area with no penalty, you eventually gain access to every weapon regardless of your pick, and there are two more that unlock later, the Guardian Casket and the Battery Buster. Weapons are swapped at Weapon Chests and merchants, and only one is equipped at a time.
Pick the one that feels good and move on. If you want the full breakdown of all five including the two unlockables, we went deep on that in the Mina the Hollower weapons guide.
One thing worth knowing early: there is no universal parry in this game. Parrying exists, but it is a property of the Guardian Casket specifically, not a mechanic you have access to from the start. If you are trying to time blocks with the Nightstar, stop. Burrow instead.
Sidearms and Joules
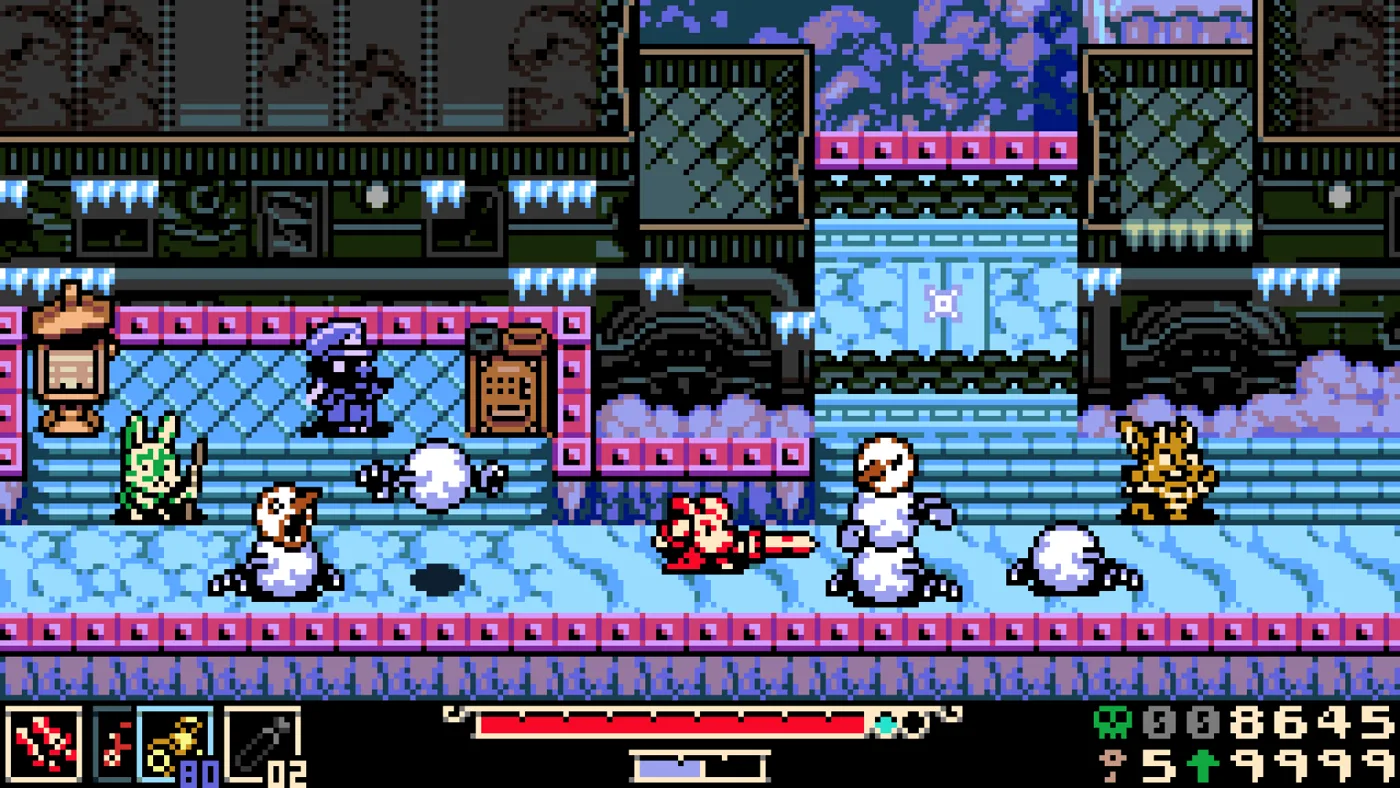
Sidearms are your secondary tools, and they do not run on cooldowns. They run on Joules, a resource you top up from Joule Jars and from breaking flowers and candles and killing enemies. Your maximum Joule capacity increases via Joule Boxes.
Two purchases reshape how you use them:
- Dual Sidearm Permit. You start with one sidearm slot. This unlocks a second.
- Sidearm Recoverer. Sidearms are lost on death by default, along with your remaining Joules. This purchase negates that entirely.
Get the Sidearm Recoverer as early as your Bone budget allows. Losing a sidearm you liked to a bad pit death is the most demoralizing thing the game does to new players, and it is a solvable problem.
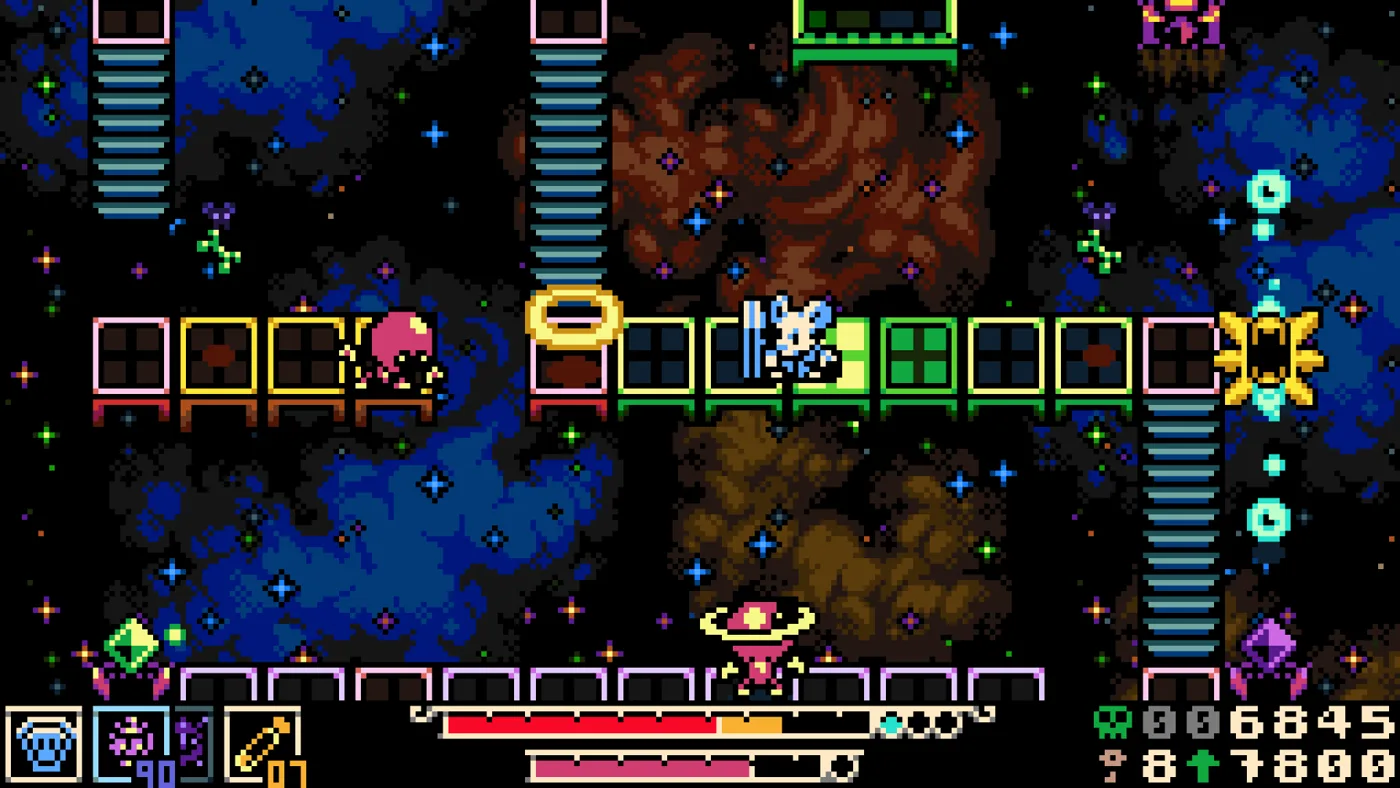
There are fourteen sidearms, and a few are worth naming now because they solve specific beginner walls. The Mist Jar is the only sidearm that heals. The Fishing Rod hooks an enemy and warps you to it. The Hollower's Rocks cost one Joule and skip across water. The Iron Steed rides across gaps. If a room looks impossible, the answer is frequently a sidearm you already own and forgot about.
Trinkets: One Slot Until You Find More
Trinkets are passive. There are sixty of them. You start with a single trinket slot and expand it with Trinket Bags found across Tenebrous Isle, and you equip them at Trinket Chests or at the moment you pick one up.
For a first playthrough the boring ones are the right ones. Lace Glove raises your Attack level by one. Twill Weave raises Defense. Smelling Salts raises your Sidearm level. A flat stat bump in your one slot beats a clever conditional effect you will forget to trigger.
Once you have two or three slots, the interesting ones open up: Keri the Wisp lets you hold jump while airborne to float and extend a fall, Spring Heels grants consecutive high jumps, Bellows Bustle gives a mid-air dash, and Deboning Wand makes enemies drop far more Bones. That last one is the farming trinket, and if you are grinding toward a Bone Up before a boss, it is the correct equip.
The Knockback Problem
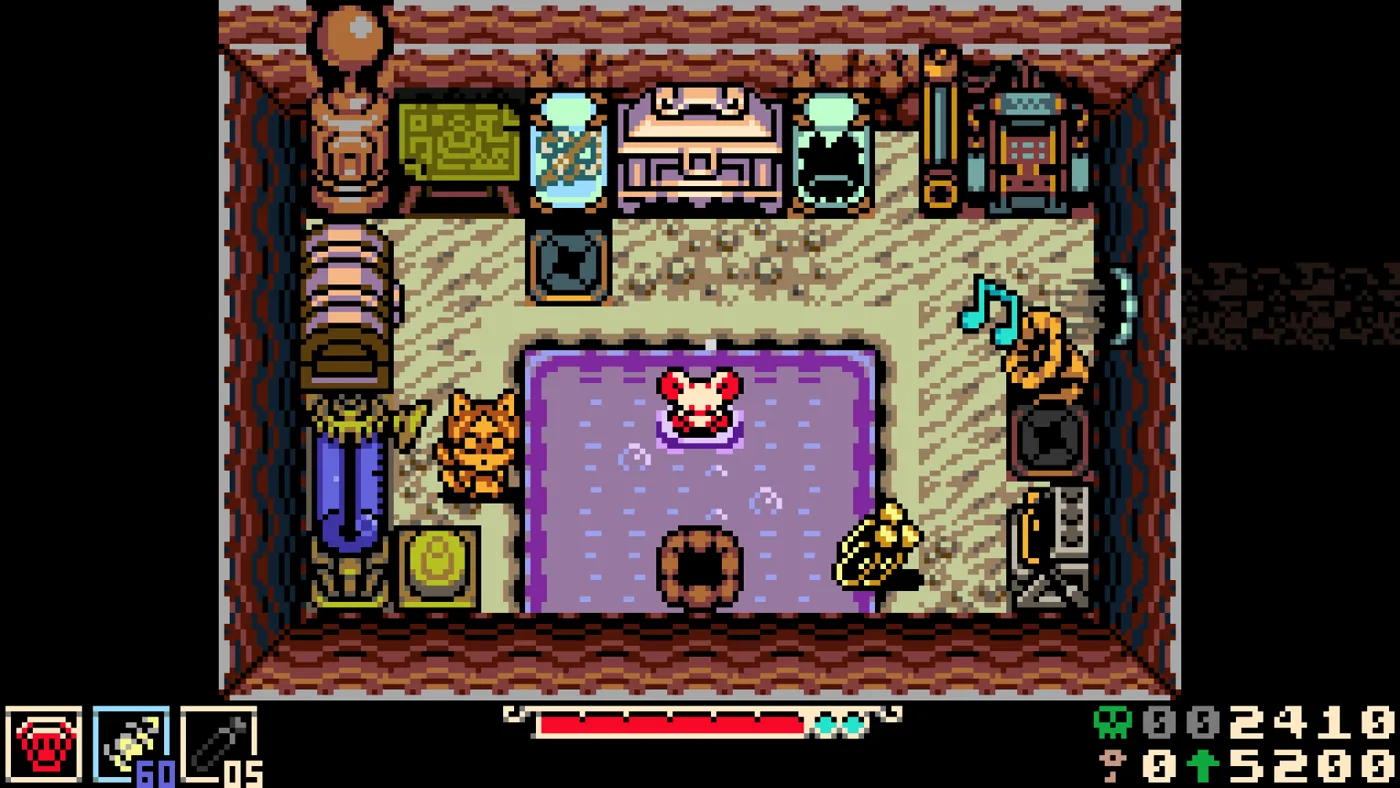
Time for the honest part. The most specific, most reproducible criticism of Mina the Hollower is that knockback on taking damage is excessive, and it is corroborated by professional reviews, not just frustrated Steam threads. You get hit, you get launched, and in a game full of pits and cramped screens, you frequently get launched into a second source of damage or straight off the map.
You cannot patch this out yourself, but you can play around it:
- Fight with your back to solid ground. Positioning relative to pits matters more here than in most top-down action games. Before you engage, notice where you will be sent if you eat a hit.
- Burrow out of the flash. As covered above, chaining the damage invulnerability into a burrow cuts off follow-up contact damage.
- Do not fight in doorways or on ledges. Pull enemies into open rooms. The screen-by-screen design means a bad arena is often one screen away from a good one.
This is not you being bad. It is the game's sharpest design edge, and knowing it exists means you stop attributing every death to reflexes.
Modifiers Are the Difficulty Slider
Mina the Hollower ships with no traditional difficulty selector. Instead it has over 200 modifiers, spanning easier, harder, weirder, and randomized. On the easier end there are options like Auto Jump, Infinite Burrow, Jump to Exit Burrow, Walk on Spikes, Walk on Pits, No Pit Damage, and More Inv Time.
Two caveats. Most modifiers are locked behind New Game Plus, so your first playthrough gets a subset rather than the full 200-plus buffet. And assist modifiers disable Feats, the internal achievement system wired to Steam, PlayStation, and Xbox achievements, so turning on the heavy assists means giving up completion on that save.
If pits are what is killing you, No Pit Damage exists and you should use it. Yacht Club shipped one of the most granular accessibility suites of the year. Using it is not cheating.
Quick Action Checklist
- Learn the burrow long jump immediately: burrow, then release jump. It crosses gaps a standing jump cannot.
- When you flash from damage, hold jump to chain the invulnerability into a burrow.
- Treat your Bone total as a healing item. Boning Up restores health, Joules, and Sparks.
- Never carry a big Bone balance while Sparkless. That is the only state where death takes everything.
- Buy the Sidearm Recoverer early so deaths stop costing you sidearms and Joules.
- Do not agonize over your starting weapon. You get all five eventually and can test the first three for free.
- Put a flat stat trinket in your single early slot. Lace Glove, Twill Weave, or Smelling Salts.
- Equip the Deboning Wand when you are deliberately farming Bones toward a Bone Up.
- Fight in open rooms, away from pit edges, because knockback is severe and will launch you.
- If pits are the wall, turn on No Pit Damage. Just know assist modifiers disable Feats.
Frequently Asked Questions
Is Mina the Hollower a Soulslike?
How does burrowing work in Mina the Hollower?
What happens when you die in Mina the Hollower?
Which starting weapon should I choose in Mina the Hollower?
Does Mina the Hollower have difficulty settings?
Keep Reading
Related Guides
Mina the Hollower Weapons Guide: All 5 Weapons Ranked
Mina the Hollower opens by asking you to pick a weapon like it is a permanent build decision. It is not. Here are all five weapons, what each actually does, and which ones carry.
Mina the Hollower Sidearms and Trinkets: Full Guide
Sidearms run on Joules, not cooldowns, and there are sixty trinkets fighting over one slot. Here is the full sidearm list, what each one actually solves, and the trinket picks that matter.
What Mina the Hollower Is Actually Made Of: Zelda, Castlevania, Bloodborne
"It's like Zelda" is the laziest thing you can say about Mina the Hollower, and it is only about a third true. Yacht Club has been unusually specific about what it stole and from where, so here is the actual recipe.
The Mina the Hollower Soundtrack: 96 Tracks, Free, and Koshiro Shows Up
Yacht Club let its composer release the entire Mina the Hollower soundtrack name-your-price on day one. It is 96 tracks, it runs on a Game Boy sound chip plus a Konami MSX cartridge, and Yuzo Koshiro wrote two of them.
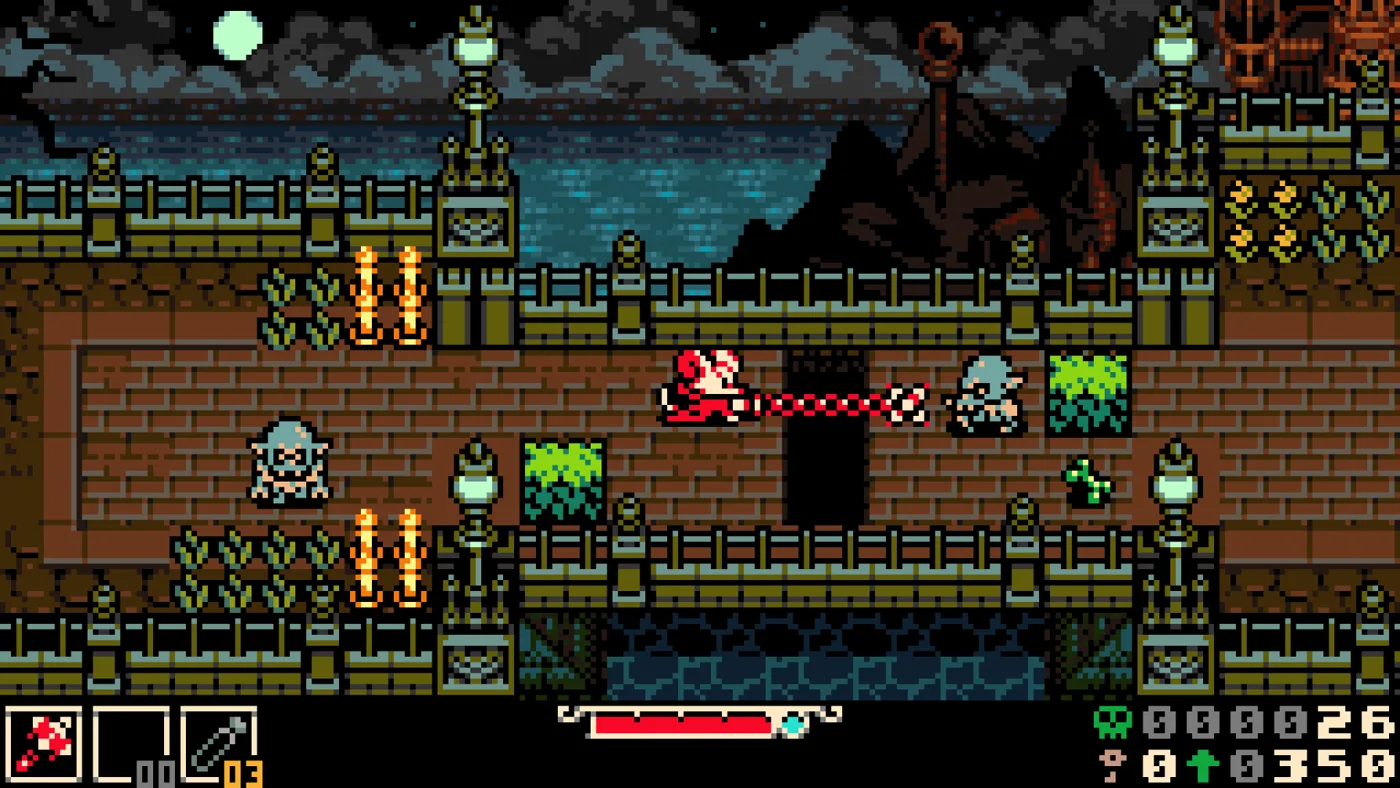
Mina the Hollower Release Date, Platforms & What's Confirmed
The Shovel Knight studio's Game Boy Color love letter is finally here. Here is the confirmed release date, every platform, and what Yacht Club has actually said about Mina the Hollower.
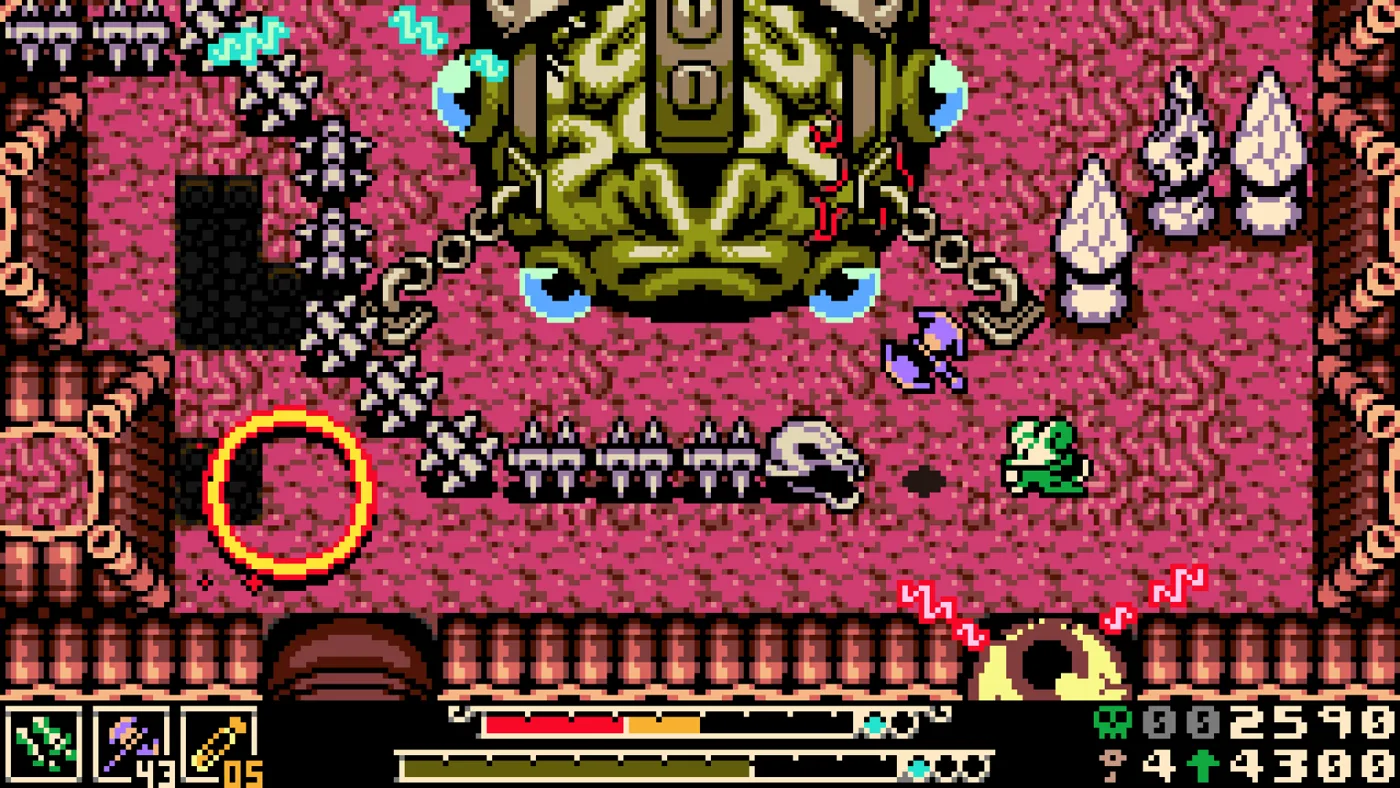
Mina the Hollower Patch Notes Explained: What 1.0.1 to 1.0.6 Changed
Yacht Club has shipped six patches for Mina the Hollower. One of them quietly nerfed your healing, several retuned boss damage, and consoles are still a version behind PC. Here is the readable version.