Mina the Hollower Sidearms and Trinkets: Full Guide
Sidearms run on Joules, not cooldowns, and there are sixty trinkets fighting over one slot. Here is the full sidearm list, what each one actually solves, and the trinket picks that matter.
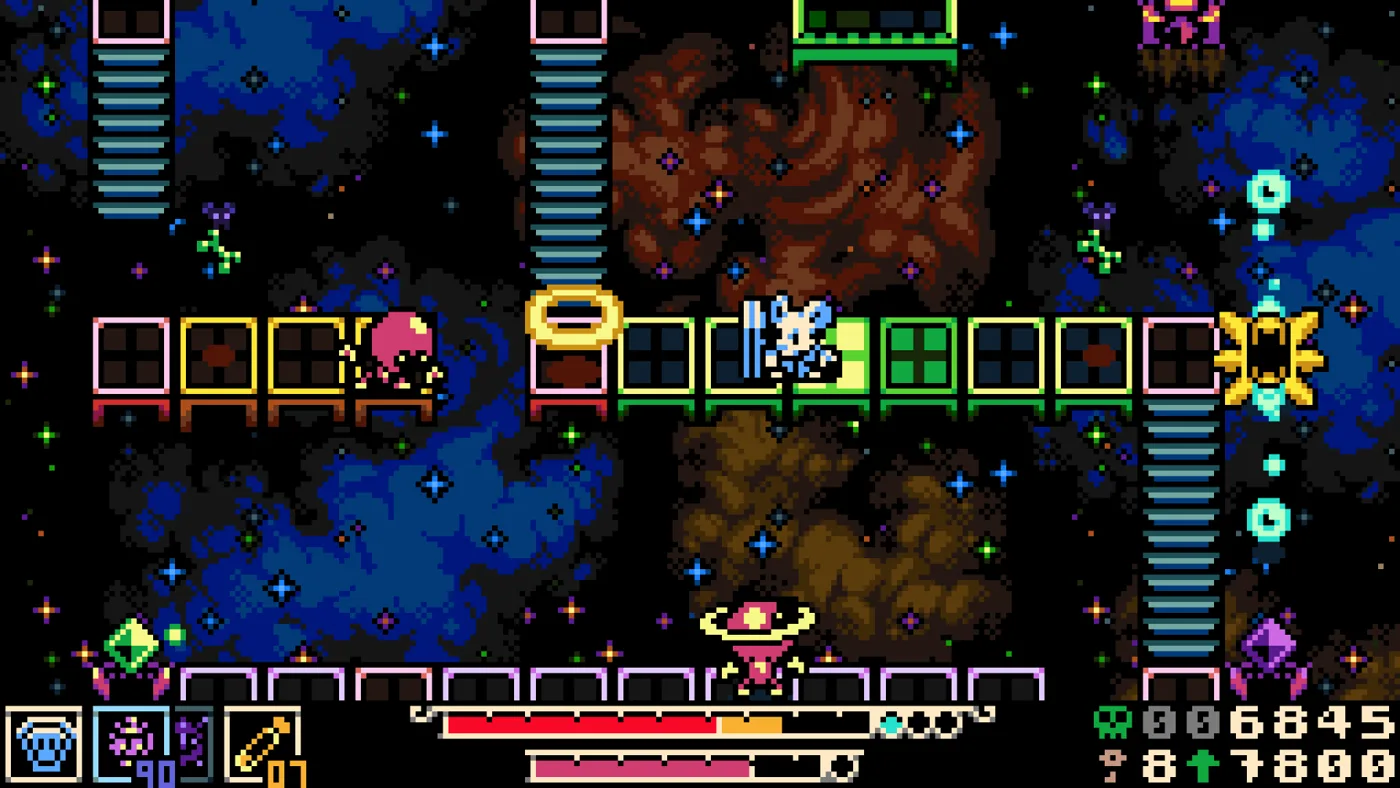
Exactly one of Mina the Hollower's fourteen sidearms heals you. That is the Mist Jar, it costs three Joules, and if nobody has told you that, you have been playing a resource management game without knowing which resource was your health.
Sidearms and trinkets are the layer where Mina the Hollower stops being a game about reflexes and starts being a game about preparation. Weapons get the marketing. This is where builds actually live.
The Resource Nobody Explains
Most action games give secondary weapons a cooldown. Mina does not. Sidearms consume Joules, a spendable pool, which means every sidearm use is a purchase rather than a wait.
That single design difference changes the whole calculus. A cooldown system asks "has enough time passed." A Joule system asks "is this the best thing I could spend three Joules on in this room." You can run dry. You can also hoard, walk into a boss with a full pool, and dump it in twenty seconds.
If you are new to the game's core loop, the Mina the Hollower beginner guide covers burrowing, Bones, and the Spark death rule first. This post assumes you have those.
How Joules Work
The economy is simple and worth memorizing:
- Joules come from Joule Jars, and from breaking flowers and candles and killing enemies. They are genuinely everywhere once you start looking.
- Joule Boxes raise your maximum capacity. These are the permanent upgrade, and they are what turn sidearms from an occasional treat into a real part of your kit.
- Death costs you your remaining Joules, along with your sidearms themselves, unless you have solved that (see below).
The habit to build: break everything. In a game where your secondary damage, your healing, and several traversal solutions all draw from one pool, walking past a candle is walking past ammunition. Yacht Club scattered Joule sources densely enough that a player who breaks scenery reflexively will basically never be dry, and a player who does not will feel like sidearms are a trap.
The Two Purchases That Change Everything
There are exactly two purchases in this system that qualify as build-defining, and both are easy to miss.
The Dual Sidearm Permit. You start with one sidearm slot. This unlocks a second. That is not a twenty percent improvement, it is the difference between "I brought a tool" and "I brought a toolkit." One slot forces you to guess what a dungeon needs. Two slots let you carry a traversal answer and a damage answer simultaneously, which is how most dungeons are actually structured.
The Sidearm Recoverer. By default, sidearms are lost on death along with remaining Joules. This purchase negates that entirely. Buy it. Buy it earlier than feels comfortable. The default rule creates a nasty feedback loop where dying makes you weaker, which makes you more likely to die, and this single purchase cuts the loop.
If you have limited Bones and are choosing, the Recoverer comes first. A second slot is worth less if the contents keep evaporating.
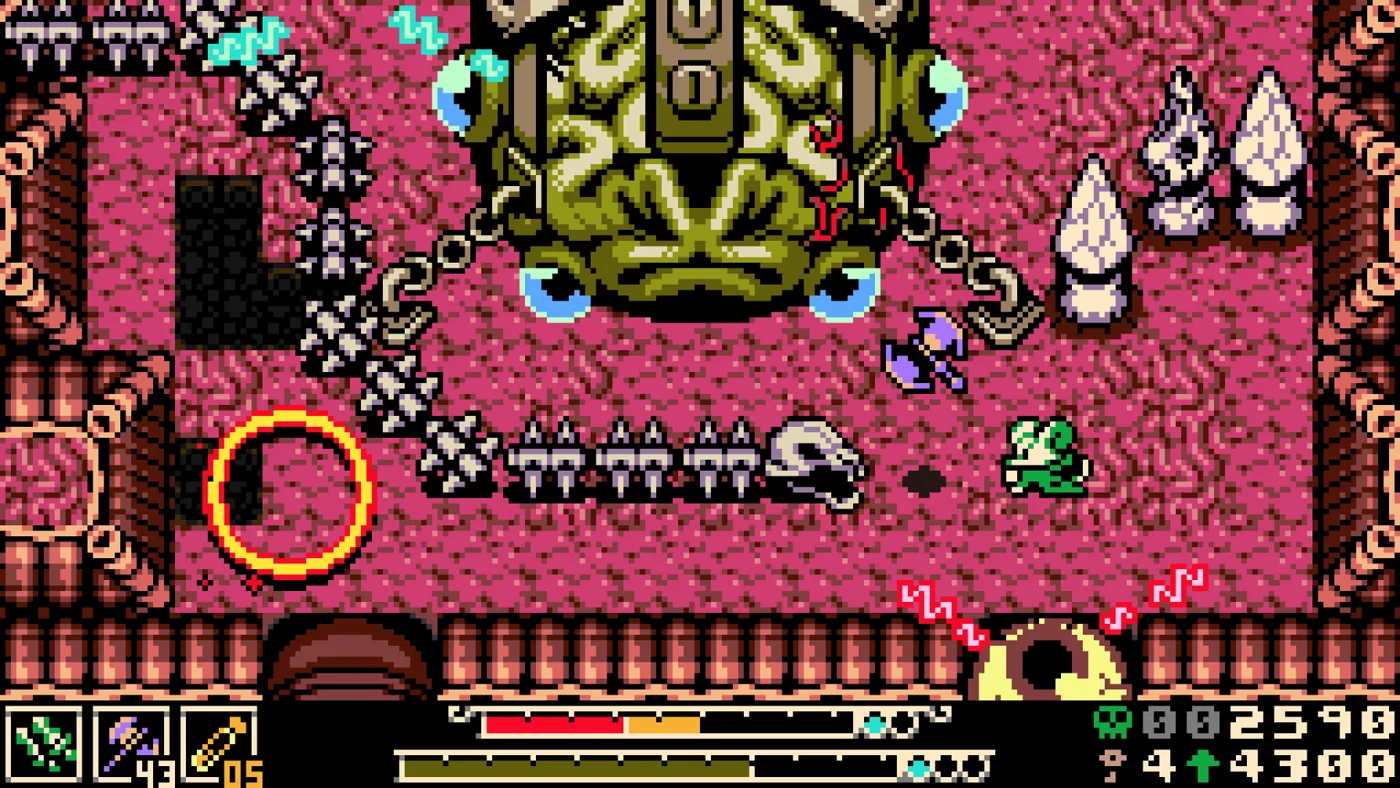
All 14 Sidearms and What They Solve
Here is the full roster with Joule costs. I have grouped them by the problem they answer rather than alphabetically, because that is how you will actually reach for them.
Traversal Sidearms
These are the ones that turn "I need an upgrade for this" into "I already have the answer."
- Hollower's Rocks (1 Joule). Skips across water. The cheapest sidearm in the game and the one most likely to be undervalued because it costs so little.
- Iron Steed (4 Joules). Rides across gaps, and its bell draws enemies. Dual purpose, since pulling enemies to a location is a positioning tool as much as a movement one.
- Fishing Rod (2 Joules). Hooks an enemy and warps you to it. Read that as a traversal tool, not just a grab. If the enemy is across a gap, so are you now.
- Recall Disc (3 Joules). Built for platforming and obstacle avoidance.
- Deflector Parasol (3 Joules). Lets you float, and deals damage on the way.
Damage Sidearms
- Beckoning Collar (3 Joules). Targets flying and elusive enemies with constant damage. This is the answer to anything that will not hold still.
- Bounding Bombs (4 Joules). Ricochets, which makes them disproportionately strong in tight spaces where the walls do the aiming for you.
- Drill Driver (4 Joules). Knocks enemies into pits and deals bonus damage to walls. The game's own knockback problem, weaponized in your favor.
- Dynamo Lantern (5 Joules). The most expensive sidearm, built for high damage against large enemies. This is your boss button.
- Gnawing Ghosts (3 Joules). Summons three ghosts that deal frenzy damage.
- Gyro Dagger (2 Joules). A boomerang with juggle potential.
- Volt Hatchet (3 Joules). A shock wave against clustered foes.
- Fog Thrower (1 Joule). Area damage that also works as a deployable trap, for one Joule. Absurd value for the price.
The Only Healing Sidearm
- Mist Jar (3 Joules). The single healing sidearm in the game, and it helps with gap-crossing as a bonus.
Because it is the only one, the Mist Jar warps every loadout decision around it. With one sidearm slot, equipping the Mist Jar means giving up all offense and traversal utility. With the Dual Sidearm Permit, you can run Mist Jar plus one situational tool, which is the most common comfortable configuration for a difficult dungeon.
This is the strongest single argument for buying the Permit. It is not really a second sidearm slot. It is the slot that lets you carry healing without giving up everything else.
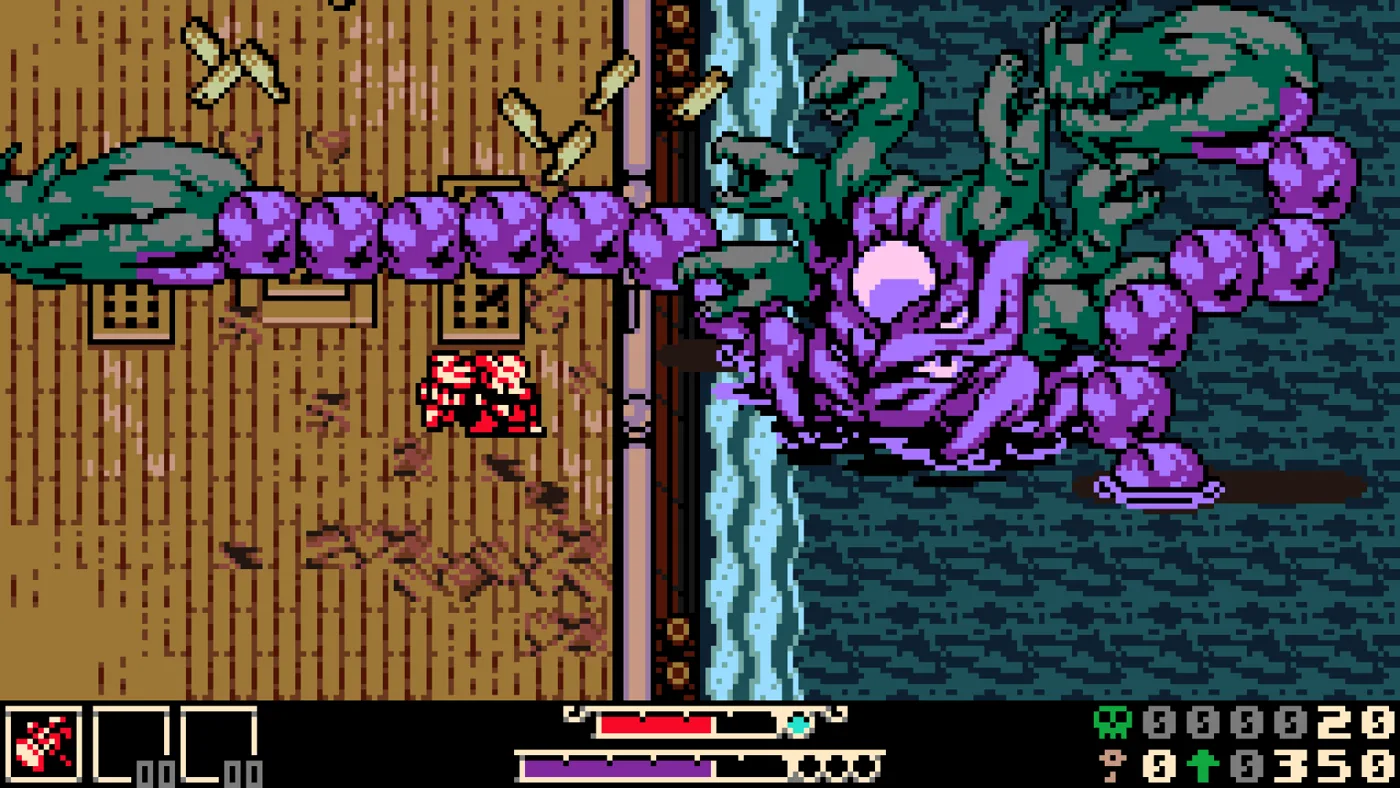
Trinkets: Sixty Passives, One Slot
There are sixty equippable trinkets in Mina the Hollower and all of them are passive. You start with one slot and expand it with Trinket Bags found across Tenebrous Isle. Trinkets are equipped at Trinket Chests or in the moment you pick one up, which means you cannot rethink a loadout from the pause menu mid-dungeon.
That constraint is the whole strategy. With one slot, you are not building a synergy, you are picking the single most reliably useful effect. With four, you can start being clever.
Stat Trinkets Are Boring and Correct
Three trinkets give flat stat levels: Lace Glove raises your Attack level by one, Twill Weave raises Defense, and Smelling Salts raises your Sidearm level.
In a single slot, one of these is almost always right. A flat level is unconditional. It applies in every room, against every enemy, without you remembering to do anything. Conditional trinkets are more fun to read about and worse to actually run when you only get one.
Smelling Salts specifically deserves more attention than it gets, because in a build that leans on the Dynamo Lantern or Beckoning Collar for boss damage, raising your Sidearm level is raising the damage of your main plan.
Movement Trinkets Change the Map
Once slots open up, movement trinkets stop being convenience and start being progression.
- Keri the Wisp. Hold jump while airborne to float and extend your fall.
- Spring Heels. Consecutive high jumps.
- Bellows Bustle. A mid-air dash.
- Bridge Weaver. Creates web platforms across gaps.
Any of these can turn a gap you wrote off into a route. If you have been keeping a mental list of "come back here later" spots, run a movement trinket and go re-check them, because a decent number were never gated behind a story item at all.
Economy and Damage Trinkets
- Deboning Wand. Enemies drop far more Bones. This is the farming trinket, and it is the correct equip any time you are deliberately grinding toward a Bone Up or a shop purchase.
- Stolenoid. Magnetizes pickups, which is quietly excellent given how much of your Joule income comes from scattered drops.
- Shock Flint. Fires projectiles while you are at full health or on plasma.
- Willow the Wisp. Grants attack-boosting wisps after you take damage.
- Bubble Ring. Rapid strikes generate shields.
- Niter Belt. Burrow explosions, which pairs directly with a playstyle built around constant burrowing.
Note the shape of Willow the Wisp and Bubble Ring: both reward the aggressive, high-contact style that the daggers encourage. If you are running Whisper and Vesper from the Mina the Hollower weapons guide, those two trinkets are doing more for you than they would for a Nightstar player sitting at range.
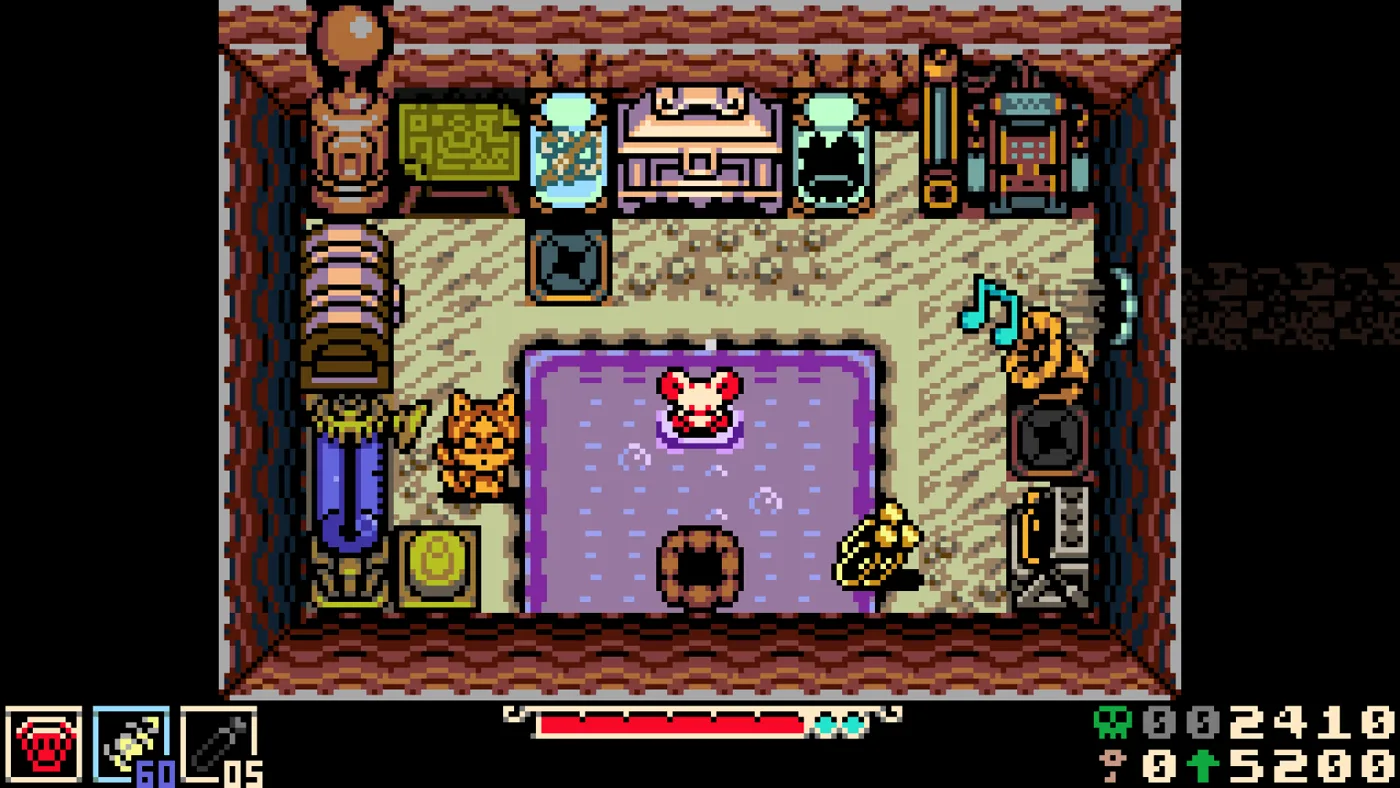
Building Around the Knockback Problem
The most consistent complaint about Mina the Hollower, echoed by players and at least one professional critic, is that knockback on taking damage is excessive and frequently launches you into a pit or a second enemy. You cannot design that away, but your loadout can blunt it.
The defensive build. Twill Weave for a flat Defense level, Mist Jar in a sidearm slot for the only healing in the game, and Bubble Ring once you have the slots so that pressing your advantage generates shields. This build accepts that you will get hit and reduces what each hit costs.
The never-touch-them build. Beckoning Collar for elusive targets, Gyro Dagger for juggling at range, and a Nightstar for its long reach. Knockback cannot launch you if the enemy never closes. This is the safest way to play cramped rooms with pit edges.
The turn-it-around build. Drill Driver knocks enemies into pits. If the level design is going to use holes as a weapon, use them back. Pair with Volt Hatchet for clustered groups and you have a kit that treats the arena hazards as your damage source.
None of these are optimal in a frame-data sense, and I want to be straight that nobody has published frame data for this game. There is no measured burrow duration and no verified invulnerability window. These are builds assembled from confirmed item properties and the game's confirmed failure modes, which is the best anyone can honestly offer right now.
Quick Action Checklist
- Buy the Sidearm Recoverer as early as your Bones allow, because losing sidearms and Joules on death creates a death spiral.
- Buy the Dual Sidearm Permit second. Its real value is letting you carry the Mist Jar without giving up your other tool.
- Remember the Mist Jar is the only healing sidearm in the game, at three Joules.
- Break every candle, flower, and pot. Joules are your ammo, your healing, and several traversal answers.
- Collect Joule Boxes on sight. Max capacity is what makes sidearms a real system instead of an occasional treat.
- In a single trinket slot, run a flat stat trinket: Lace Glove, Twill Weave, or Smelling Salts.
- Equip Deboning Wand only when you are actively farming Bones, then swap back.
- Bring Dynamo Lantern at five Joules to bosses and Beckoning Collar to anything flying or evasive.
- Use Fog Thrower and Hollower's Rocks freely. At one Joule each they are close to free.
- Re-check gaps you wrote off once you have Keri the Wisp, Spring Heels, Bellows Bustle, or Bridge Weaver.
- Remember trinkets are only swapped at Trinket Chests or on pickup, so commit before you enter a dungeon.
Frequently Asked Questions
How do sidearms work in Mina the Hollower?
Do you lose sidearms when you die in Mina the Hollower?
Which Mina the Hollower sidearm heals you?
How many trinkets are in Mina the Hollower?
What are the best trinkets in Mina the Hollower for a first playthrough?
Keep Reading
Related Guides
Mina the Hollower Beginner Guide: Burrow, Bones, and Sparks
Mina the Hollower is not the Souls game people keep calling it. Here is what burrowing, Bones, Sparks, and sidearms really do before you lose a dungeon run to a knockback into a pit.
What Mina the Hollower Is Actually Made Of: Zelda, Castlevania, Bloodborne
"It's like Zelda" is the laziest thing you can say about Mina the Hollower, and it is only about a third true. Yacht Club has been unusually specific about what it stole and from where, so here is the actual recipe.
The Mina the Hollower Soundtrack: 96 Tracks, Free, and Koshiro Shows Up
Yacht Club let its composer release the entire Mina the Hollower soundtrack name-your-price on day one. It is 96 tracks, it runs on a Game Boy sound chip plus a Konami MSX cartridge, and Yuzo Koshiro wrote two of them.
Mina the Hollower Release Date, Platforms & What's Confirmed
The Shovel Knight studio's Game Boy Color love letter is finally here. Here is the confirmed release date, every platform, and what Yacht Club has actually said about Mina the Hollower.
Mina the Hollower Patch Notes Explained: What 1.0.1 to 1.0.6 Changed
Yacht Club has shipped six patches for Mina the Hollower. One of them quietly nerfed your healing, several retuned boss damage, and consoles are still a version behind PC. Here is the readable version.
Mina the Hollower Exploration Tips: Secrets, Gaps, and Backtracking
Half the walls in Mina the Hollower are not walls. Here is how to read Tenebrous Isle, cross gaps you thought were gated, and backtrack for the secrets that actually matter.