PUBG Care Package & Airdrop Guide: What's Worth the Risk
That red smoke is a free upgrade and a trap at the same time. Here's exactly what spawns in PUBG care packages, which crate guns are worth dying for, and how to read a drop before you commit.
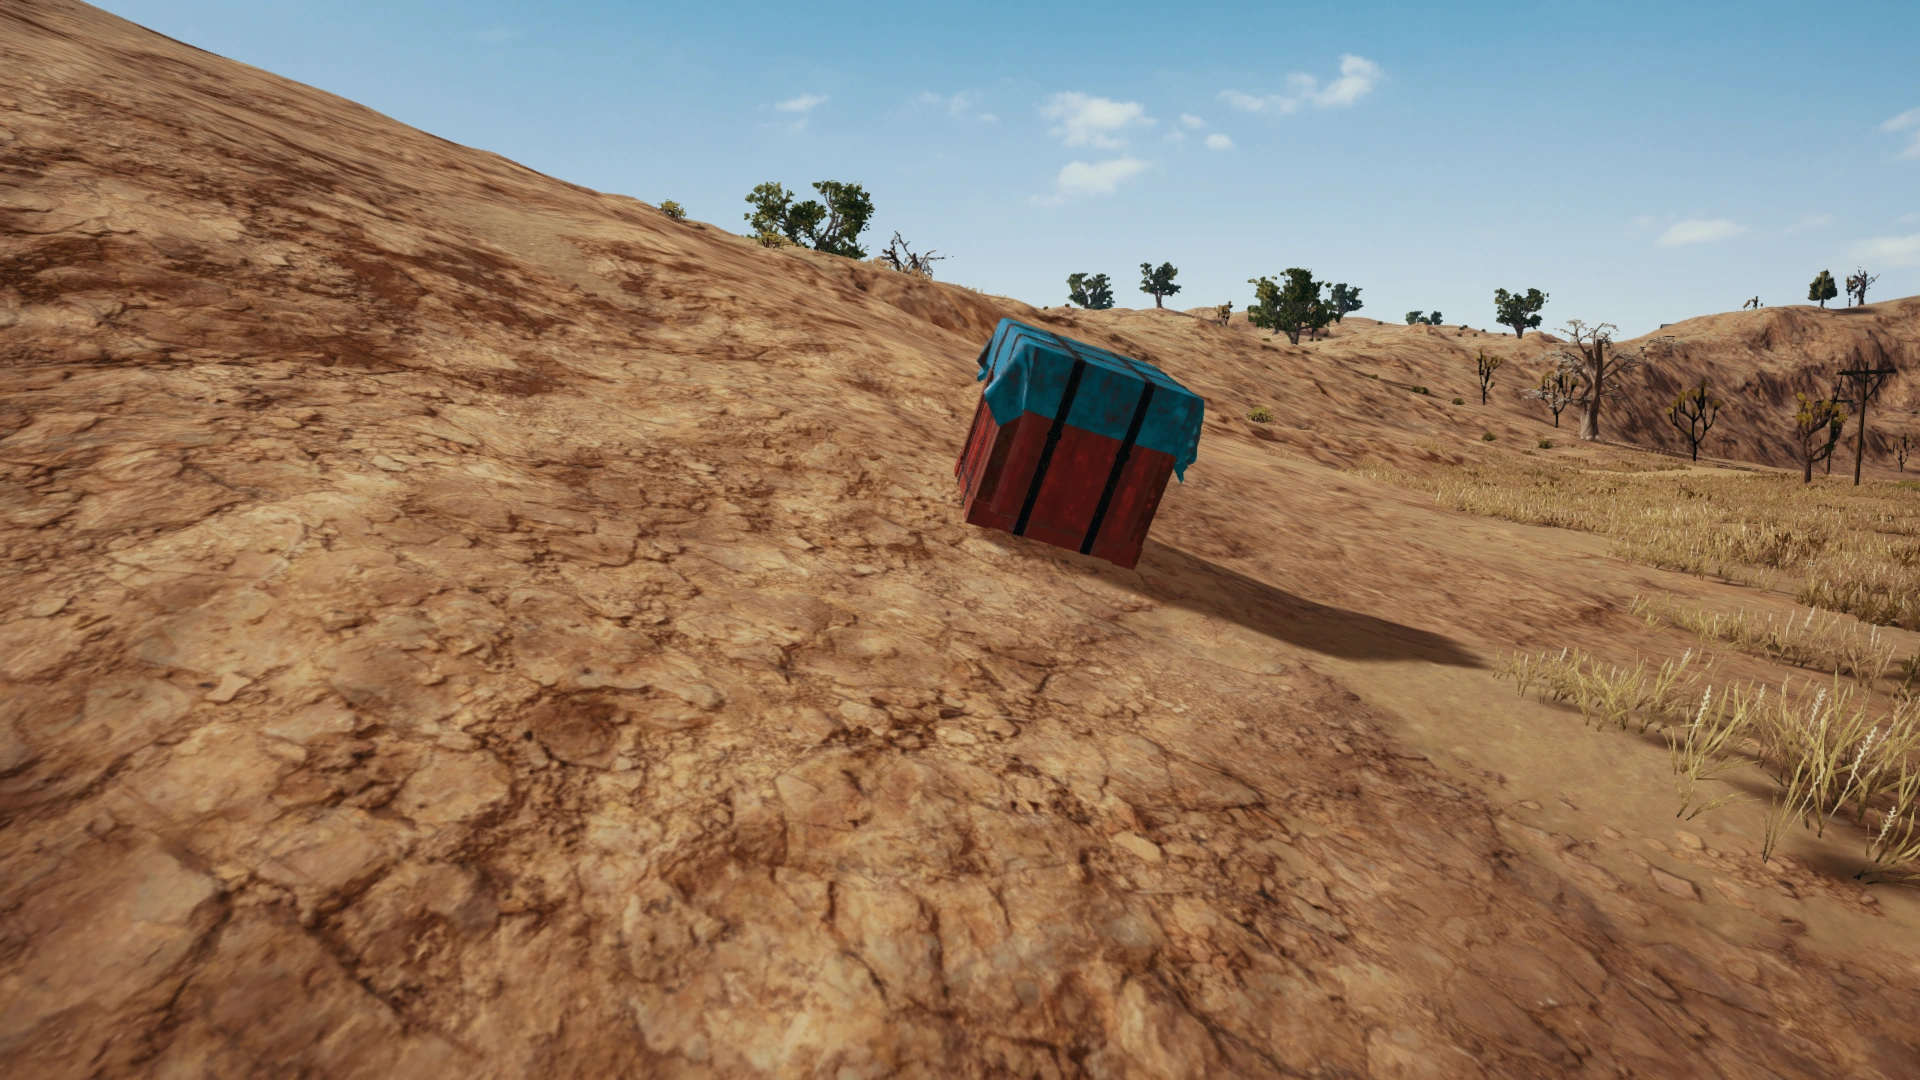
That red smoke pillar is the most honest thing in PUBG: Battlegrounds. It announces, to everyone with line of sight, that there's a pile of god-tier loot sitting in the open and a player about to expose themselves to grab it. The crate is a free upgrade and a kill-trap stapled together, and the only thing separating a clean AWM pickup from a death recap is whether you read the drop before you ran at it.
This is the full breakdown of what spawns in a care package, which crate guns are actually worth the exposure, and the decision tree for contesting versus skipping. We're talking PC and console PUBG here — the loot tables shift across patches, so treat the exact roster as "current and verified against the wiki" rather than carved in stone. The reasoning underneath doesn't change.
The red smoke decision
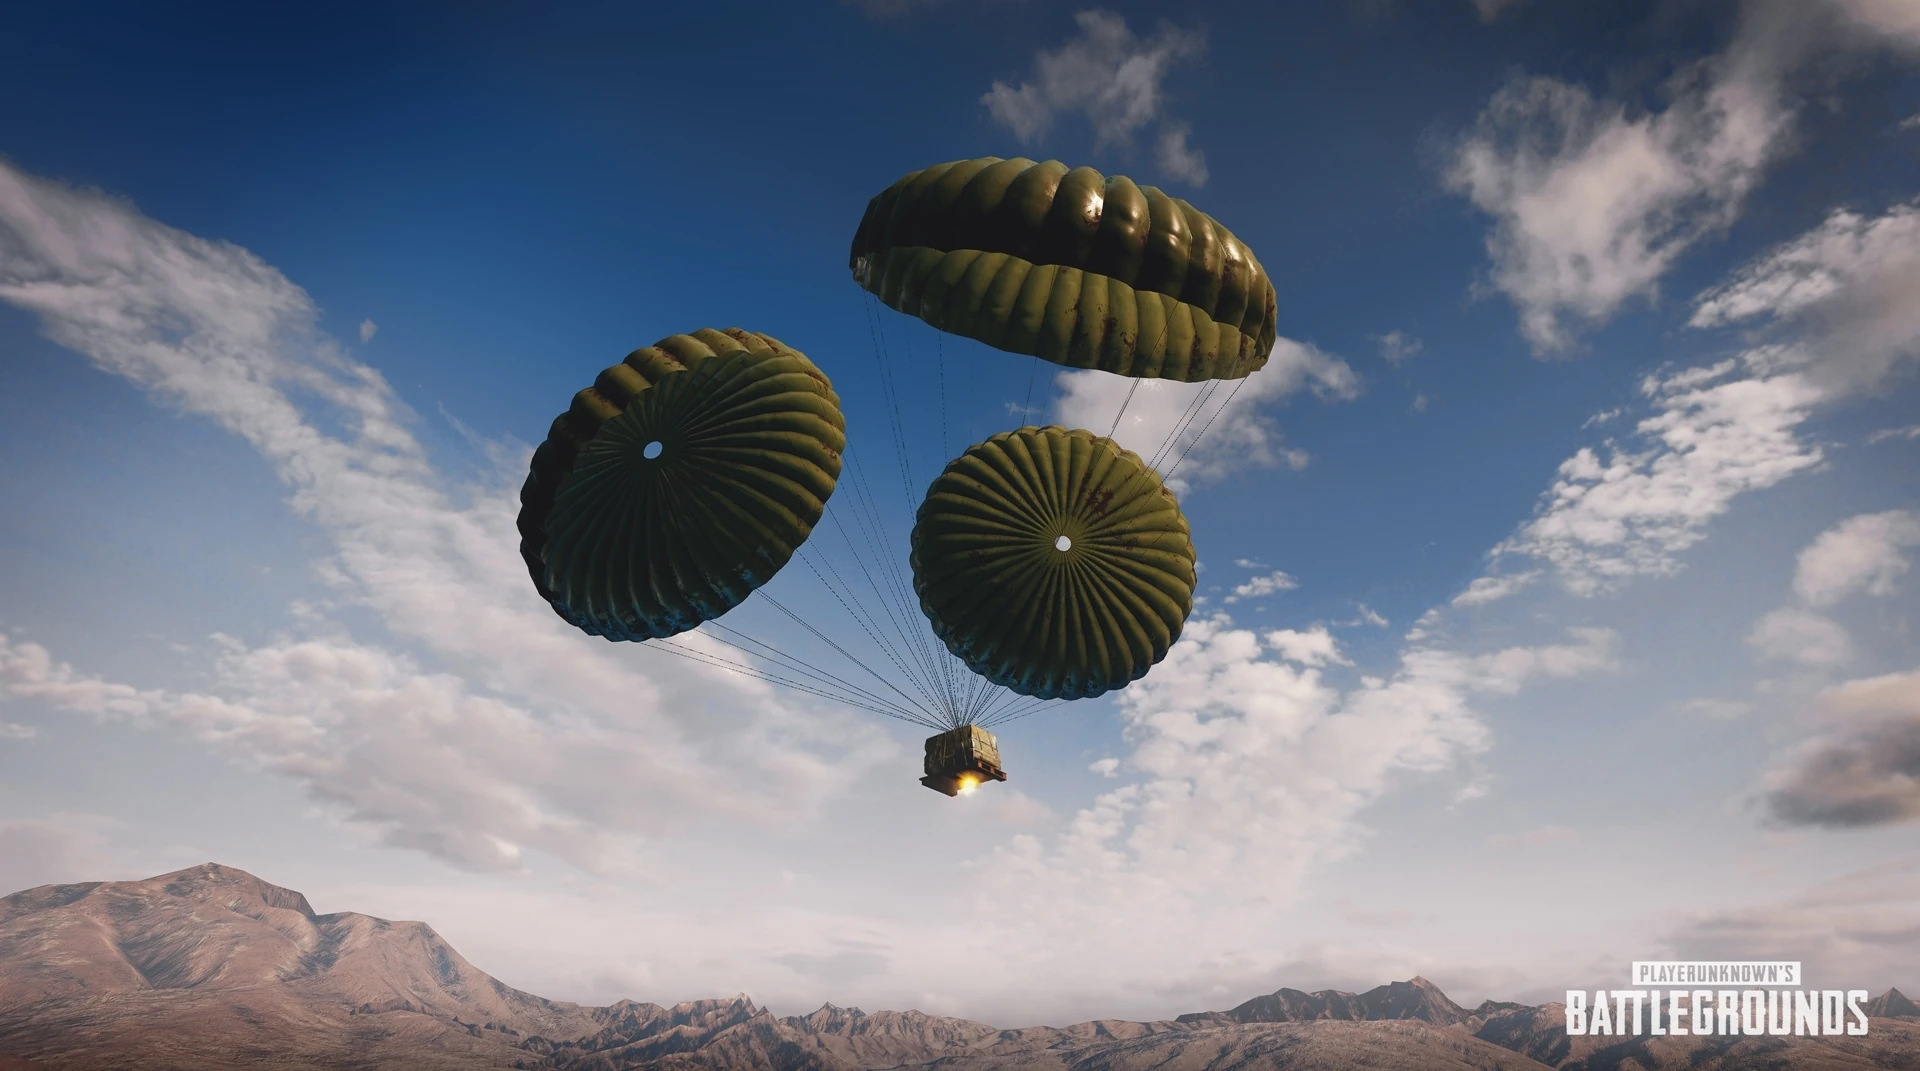
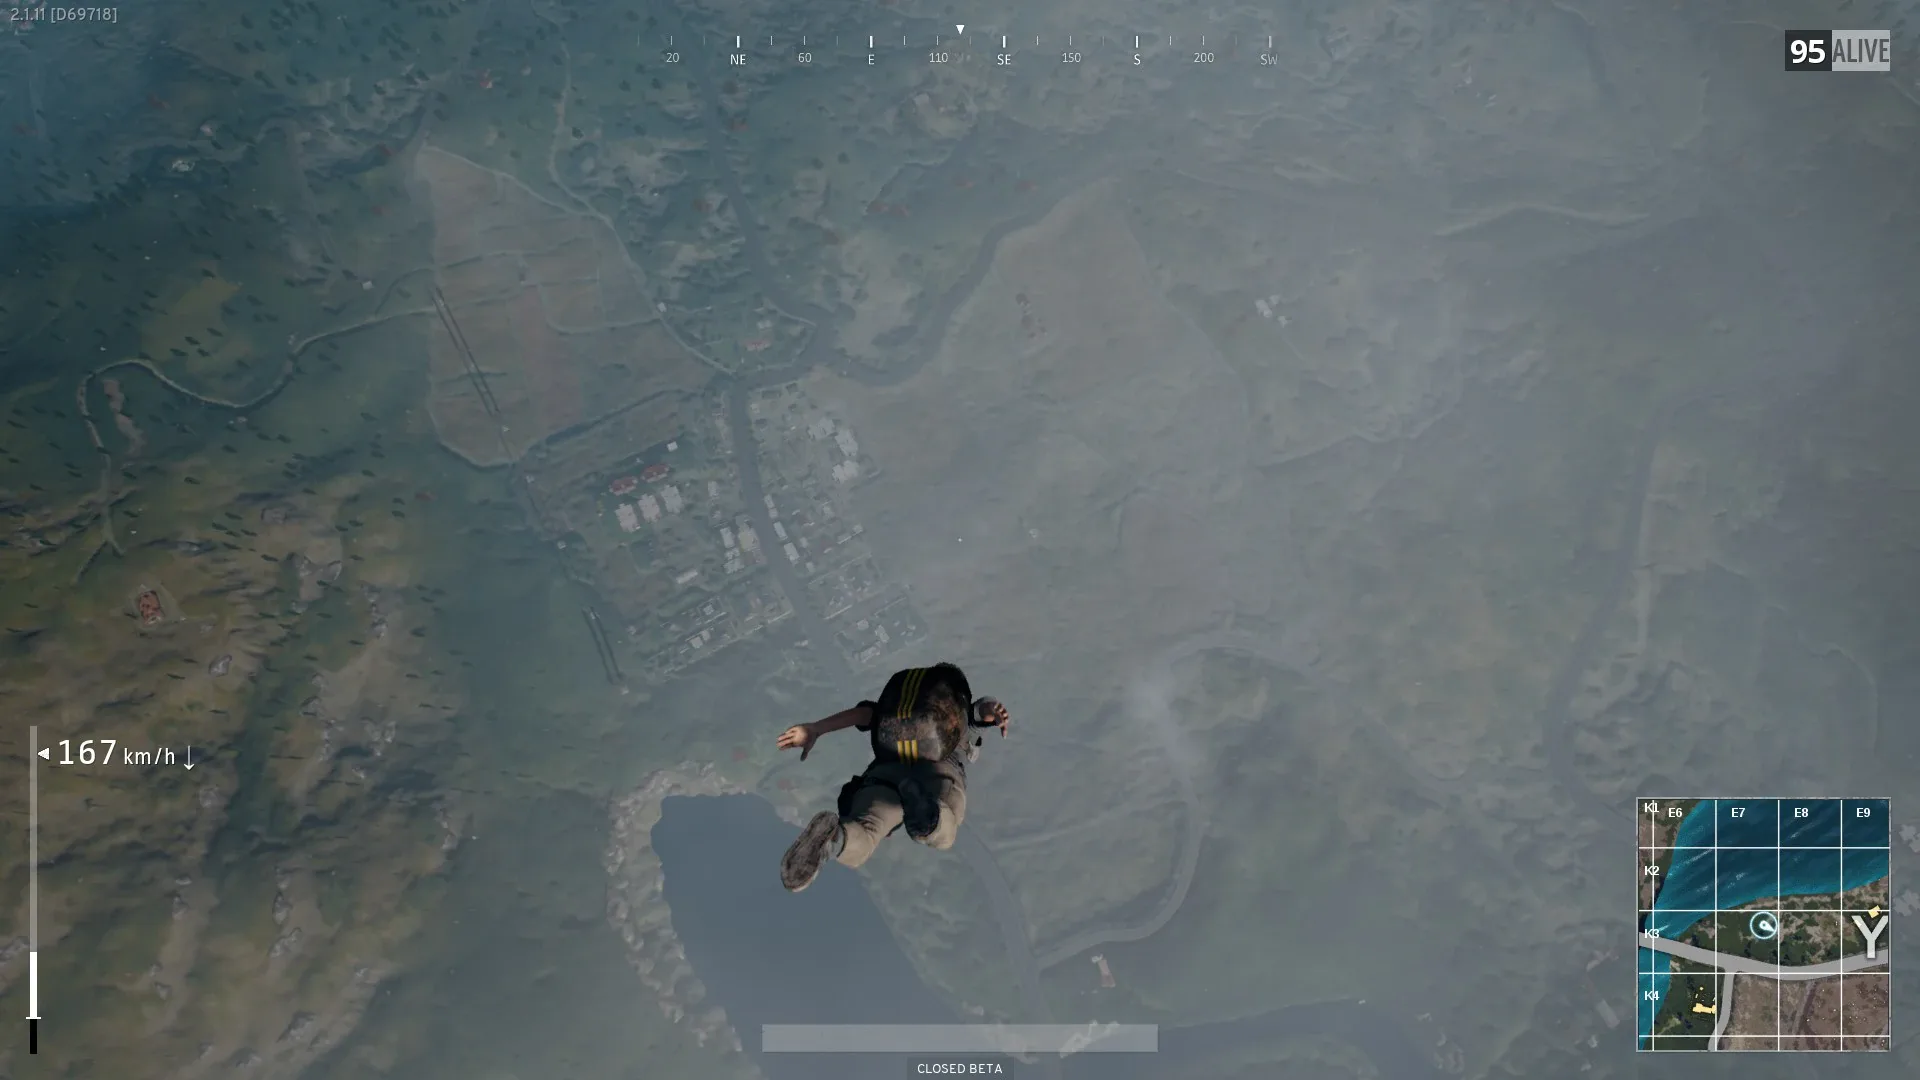
A care package is dropped from a passing C-130 at a random point on its flight path, slowed by a single white parachute, and the plane's turboprop engine is loud — you hear it well before the crate lands. When the crate hits the ground it pops red smoke, and that smoke is visible to anyone who can see the spot.
So every drop is the same gamble: the loot inside is genuinely better than anything you'll find on the ground, but walking up to it puts you in the open with a flare announcing your business. The whole skill of airdrops is deciding, in about five seconds, whether the contents are worth the seconds you'll spend exposed and the players who are watching the same smoke you are.
The mistake nearly everyone makes early is treating the crate as free. It isn't. The price is your position and your cover, and against a competent lobby that's the most expensive thing you own.
What actually spawns in a care package
A standard care package pulls from a tight pool of items you cannot find on the ground. Per the PUBG Wiki, that pool currently includes:
| Category | Items |
|---|---|
| Weapons | AWM, Mk14 EBR, OTs-14 Groza, AUG A3, M249, MG3, DBS, FAMAS, Lynx AMR |
| High scopes | 4x ACOG, 8x CQBSS, 15x PM II (lower probability on the 4x) |
| Suppressors | AR/DMR/S12K suppressor and the sniper suppressor (lower probability) |
| Clothing | Ghillie Suit (the only clothing that comes from a drop) |
| Armor | Spetsnaz Helmet (Level 3), Military Vest (Level 3), Backpack (Level 3) |
| Consumables | Adrenaline Syringe, Medical Kit |
A few honest caveats. The drop is random and occasionally cruel — it's a known PUBG quirk to pull an AWM with no scope in the box, leaving you holding the best sniper in the game with iron sights you can't use on it. The C4 and MG3 are not available in Ranked mode. And the exact weapon roster has shifted across seasons (the Kar98k, M24, VSS, and Tommy Gun all used to be crate-only and were moved to world spawn), so the list above is the present state, not a permanent one.
The crate weapons, ranked by worth-the-risk
Not every crate gun justifies the smoke. Here's how they sort by how much they actually change your game.
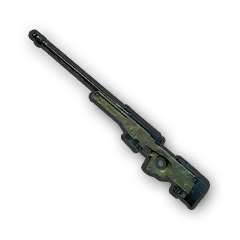
AWM — the only true must-grab. The AWM is the strongest bolt-action in the game and the only weapon that reliably one-shot headshots a Level 3 helmet. It uses dedicated .300 Magnum ammo that only comes from airdrops, so what's in the box is what you've got — manage those rounds like gold. If you have a scope to put on it and a halfway-safe approach, the AWM is worth real risk. With no scope in the box, its value craters.
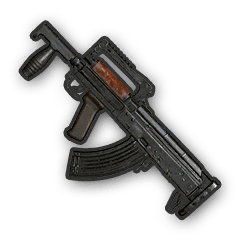
Groza — the close-mid monster. The OTs-14 Groza is a crate-only 7.62mm assault rifle with a high fire rate and tight handling. It feeds off the common 7.62 ammo you're already finding, takes a 30-round mag, and shreds inside 100m. For aggressive players it's arguably more useful than the AWM because you'll actually use it in every fight, not just the long ones.
Mk14 EBR — the hybrid powerhouse. The Mk14 is a 7.62mm DMR that can fire full-auto, which makes it a DMR and a close-range bully in one slot. It has heavy recoil and chews ammo on auto, but a controlled Mk14 covers more range bands than any other single gun in the game.
AUG A3 — the upgrade you'll forget is a crate gun. The AUG is a 5.56mm bullpup AR with high muzzle velocity, low vertical recoil, and a 30-round mag (40 extended). It's a straight-up better M416 in most hands and uses the most common ammo type in the game. Low-drama, high-value.
M249 / MG3 — the suppression LMGs. Big drum, big recoil, big ammo appetite. The M249 (5.56) and MG3 (7.62) are situational — fantastic for holding a building or laying down covering fire in squads, clumsy for solo mobility. Grab if you're playing a defensive squad role, skip if you're a lone rotator.
DBS / FAMAS / Lynx AMR — niche picks. The DBS is a double-barrel pump shotgun (devastating indoors, dead weight in the open). The FAMAS is a fast-firing 5.56 burst AR. The Lynx AMR is a heavy anti-materiel rifle. All three are fine if they're already in your hands, none are worth dying to contest.
The durable rule: a crate gun is only worth the risk if it covers a range band you're currently weak in, and the ammo and scope to run it are either in the box or already in your bag. An AWM with no scope, or a Groza when you're already kitted close-range, is a trap dressed as an upgrade.
The gear is the real prize
Here's the part veterans know and new players miss: the non-weapon contents are often more valuable than the gun. The Level 3 Spetsnaz Helmet only spawns in care packages, and a Level 3 helmet is the difference between surviving a sniper headshot and not. The Level 3 Military Vest and Level 3 Backpack are also drop-or-nothing for the top tier. The Ghillie Suit makes you genuinely hard to see prone in the right terrain.
Then there are the scopes. The 8x and 15x high-magnification scopes are care-package staples, and on maps where they don't spawn in the world, the crate is the only place to get them for your long-range setup. Pair that thinking with our loadouts and attachments guide — a crate scope can finish a build you couldn't otherwise complete.
So even if the weapon in a drop is a DBS you'll never use, the Level 3 helmet and an 8x sitting next to it might still justify the grab. Read the whole box, not just the gun.
When to contest a drop
Contest a care package when the math is on your side:
- You have cover on the approach. A treeline, a ridge, a building, a fold of terrain that lets you reach the crate without crossing open ground in front of the whole lobby.
- You're early or the drop is in your zone anyway. A crate that lands inside your current position is nearly free. One that lands where you were already rotating costs you almost nothing.
- You can watch it instead of rushing it. The strongest play is to hold an angle on the smoke and let a greedier player loot it first — then take both the crate and the kill. Be the patient one.
- You actually need what's in it. No scope on your sniper, no Level 3 helmet, a weak close-range option — these are real reasons. "It's a crate" is not.
When to skip it
Skip the drop — and this is more often than your loot-goblin brain wants to admit — when:
- It's in the open with no approach. A crate in the middle of a field with three squads alive nearby is a free kill for whoever holds the surrounding high ground. That player is not you if you run at it.
- You're already kitted. If you've got a built AR, a DMR, and a Level 2+ helmet, a marginal crate gun isn't worth trading your position for. Your setup is already winning fights.
- It's late and the circle is small. In the endgame, breaking cover to loot a crate is how you hand a third party your exact location. The endgame and final-circle game is about staying unseen, and red smoke is the opposite of that.
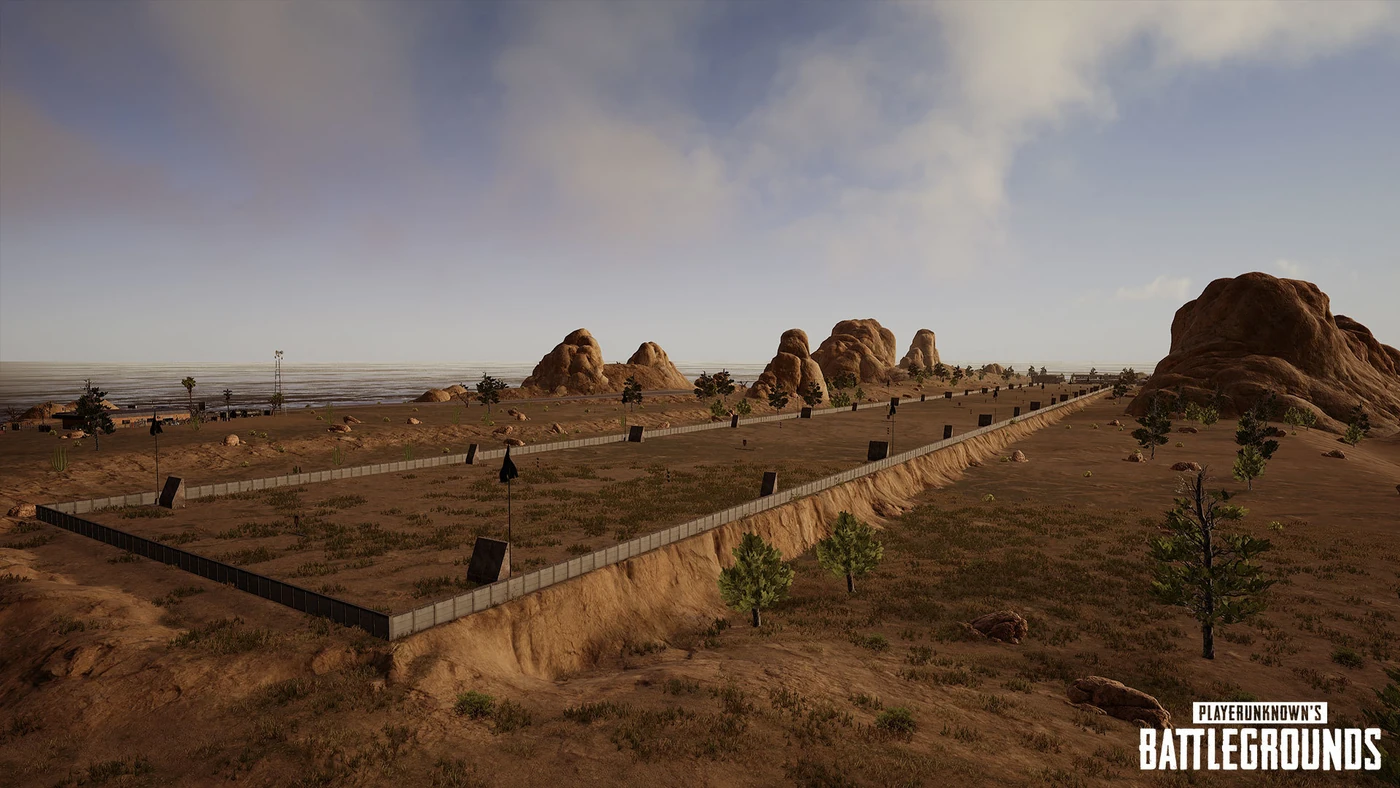
- It dropped on a roof, a mountain, or in water. Crates land in dumb, unreachable places constantly. If getting to it is a project, it's not your crate.
Flare gun drops and bait plays
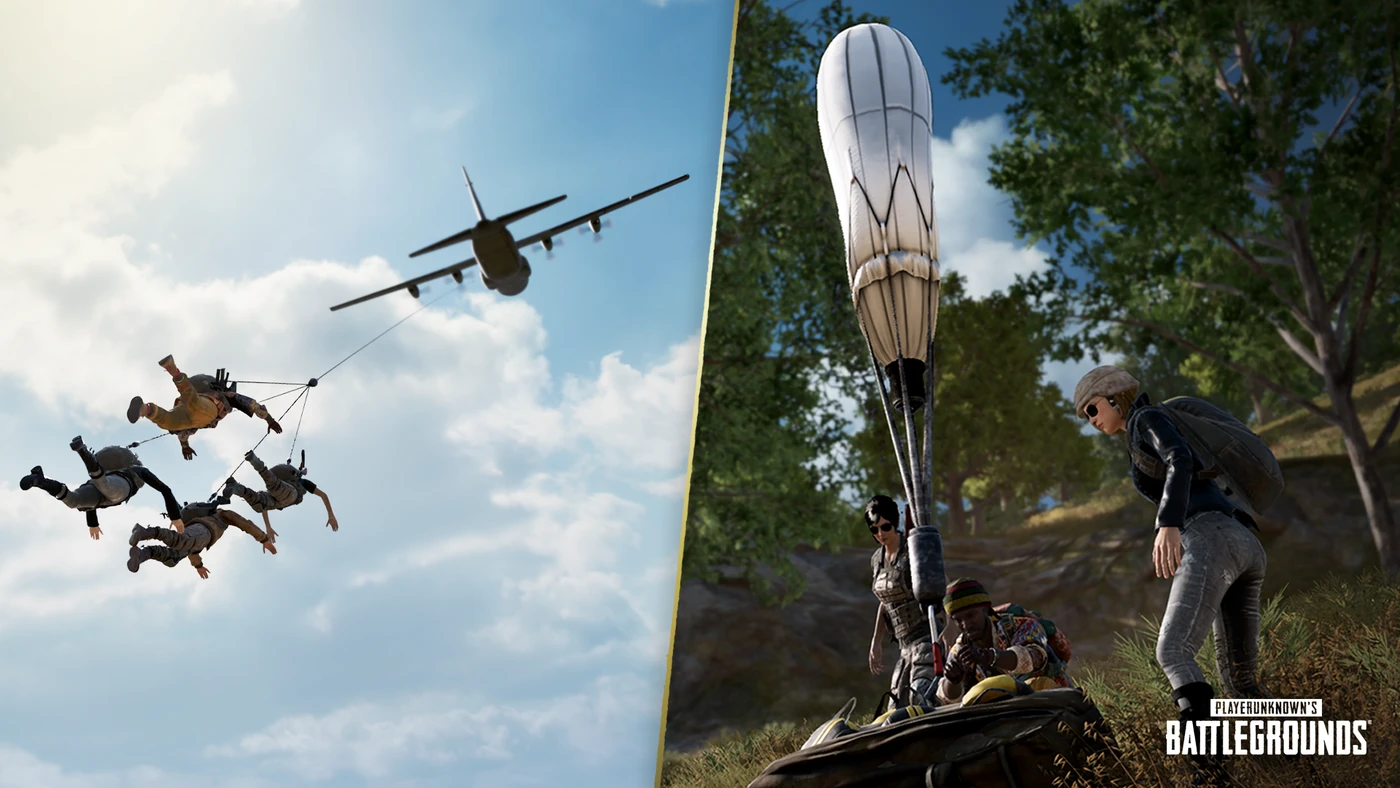
The Flare gun is a special item that lets you summon your own drop. Fire it straight up while inside the safe zone and a C-130 flies over to drop a noticeably larger crate held by three parachutes — a Flare Drop (or "Super Air Drop"). It contains roughly the equivalent of two normal packages, often two crate-exclusive weapons plus top-tier gear in one box.
One critical catch: fire the flare gun outside the safe zone and you don't get a loot crate at all — you get a BRDM-2, an amphibious armored vehicle. That's a feature, not a bug, and a strong rotation tool, but it's not what you wanted if you were hoping for an AWM.
The flare drop is also the cleanest bait in the game, especially for squads. Pop it somewhere with strong overwatch, let a desperate enemy commit to the giant obvious crate, and punish them when they break cover for it. You're not really giving away loot — you're using the most attention-grabbing object in PUBG to pull a fight onto ground you already control. Just remember the smoke works on you too, so don't be the one caught looting your own bait. Sound discipline matters here; see the audio and footsteps guide for staying quiet on the approach.
Quick Action Checklist
- Treat red smoke as a trade: top-tier loot for your position and cover. Price it before you run
- Always grab the AWM if a scope is in the box — it's the only reliable one-shot through a Level 3 helmet
- Value the Level 3 helmet, vest, backpack, and high scopes as much as the gun — they're crate-or-nothing
- Contest only with a covered approach, or by watching the crate and taking the kill plus the loot
- Skip open-field, roof, mountain, and water crates, and any crate when you're already fully kitted
- Manage AWM .300 Magnum ammo carefully — what's in the box is all you get
- Fire a flare gun inside the safe zone for a Super Air Drop; outside it you get a BRDM-2 instead
- Use flare drops as bait — let enemies commit to the crate, then punish from overwatch
Frequently Asked Questions
Keep Reading
Related Guides
PUBG Training Mode Guide: Drills That Actually Work
Most people load Training Mode, spray a wall for ninety seconds, get bored, and queue ranked. That is not practice, that is fidgeting. Here is what Camp Jackal actually contains and the drills that convert range time into wins.
PUBG Red Zone Guide: Survive the Bombing Run
That flashing red circle on your minimap has ended more panic runs than it has kills. The red zone in PUBG is a bluff you can call — here is how it works, why it is not targeting you, and how to walk out of one every time.
PUBG Emergency Pickup Guide: Fly Out of Trouble
It looks like a party balloon and it saves games. The Emergency Pickup fultons your squad across the map to the safe zone, but it has strict rules and it hangs you in the open air. Here is how to use it without turning into target practice.
PUBG Early Game Guide: Win the First Circle Window
Half the lobby is dead before the first circle finishes closing, and most of them lost in the plane, not in a gunfight. Here's how to turn PUBG's opening minutes — drop, loot, fight-or-leave, first rotation — into a lead instead of a lottery.

Best Weapons in PUBG: Tier List
Every PUBG tier list is out of date the moment a balance patch drops. So here's the list, ranked by role, plus the durable logic to re-tier any gun yourself when the next patch shakes things up.
Best PUBG Loadouts & Attachments
A naked M416 and a fully kitted M416 are basically two different guns. Here's how to build the strongest two-gun loadouts in PUBG and the attachment priority that turns loot into recoil control.