PUBG Red Zone Guide: Survive the Bombing Run
That flashing red circle on your minimap has ended more panic runs than it has kills. The red zone in PUBG is a bluff you can call — here is how it works, why it is not targeting you, and how to walk out of one every time.
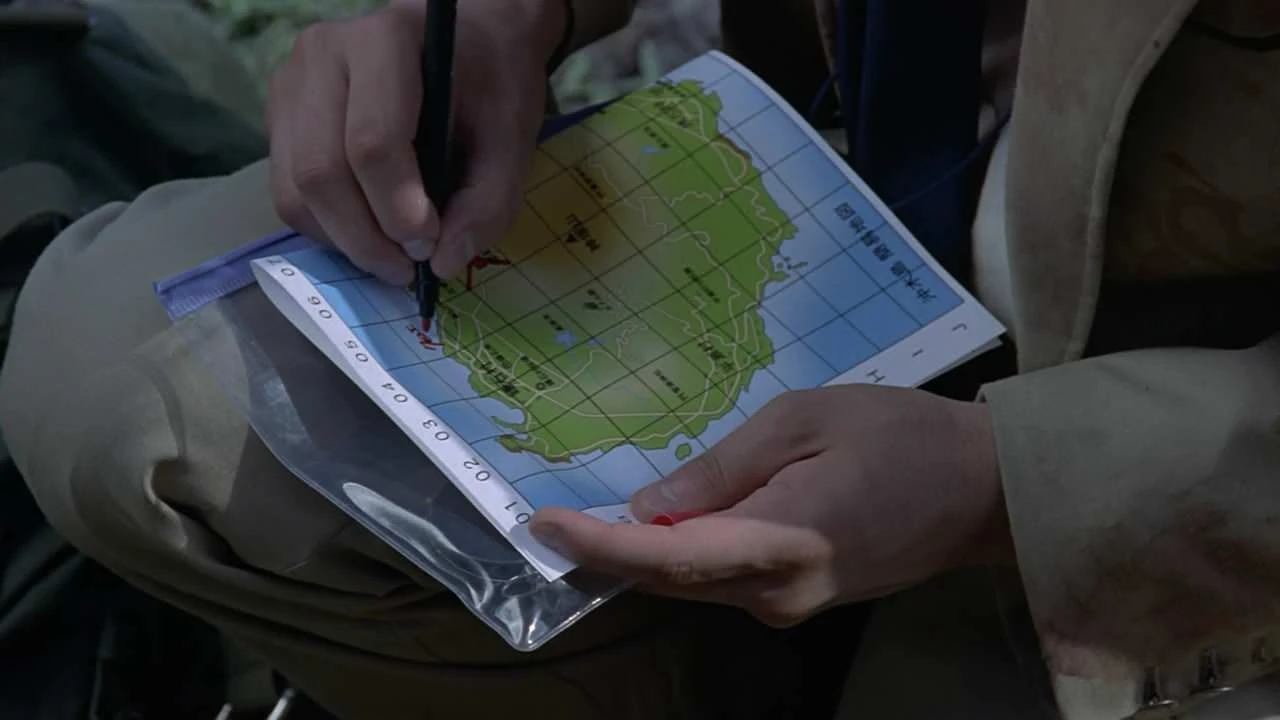
The first time a red zone lands on you, it feels like the game decided to end your run personally. The minimap flashes red, the sky starts screaming, and the ground around you erupts in a rolling wall of explosions. New players sprint in a blind panic, straight across open terrain, and get chewed up by the blue zone or a lurking third party instead. Here is the punchline: the red zone kills almost nobody who reacts correctly. It is one of the loudest, scariest, and least lethal mechanics in PUBG: Battlegrounds — a bluff you can call every single time.
That does not mean you ignore it. A direct bomb hit is a one-shot kill, no armor save, no downed state — just a spectate screen. But "direct hit" and "somewhere in the zone" are two wildly different levels of danger, and understanding the gap is the whole skill. This guide breaks down what the red zone actually does, why it is not hunting you specifically, and how to turn a mechanic that scares your enemies into free positioning.
What the red zone actually is
The red zone is a periodic bombing run that spawns a marked red circle on the map. Once it appears, bombs rain down inside that circle at random positions for a short window, then it clears and the match rolls on. You get warning: the zone shows up on your map and minimap before the ordnance starts falling, which is your cue to check where you are relative to it and act.
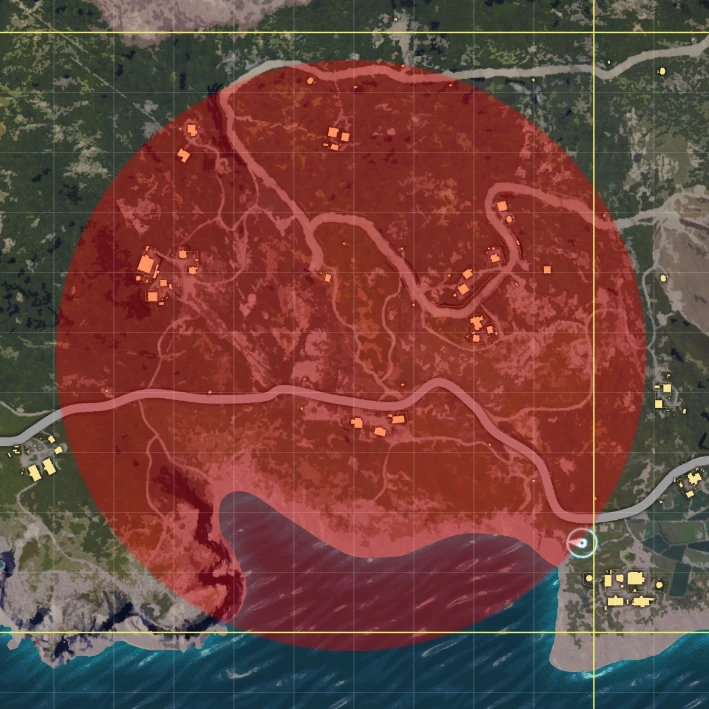
Two numbers matter. First, a direct hit is lethal — full stop. Second, the odds of any single bomb landing directly on you across a zone that big are genuinely low. The bombs are scattered, not aimed, so the practical threat is a bomb detonating near you and catching you in the splash, not a bomb dropping on your head. That distinction is why the correct response is "get behind something solid," not "run for your life across a field."
Red zones show up on the big open maps where there is room for a bombing grid to matter — Erangel and Miramar are the classic red-zone maps. The compact maps built around fast, close fights don't use them; you won't get bombing runs dropped on you on a tiny map where everyone is already on top of each other. If you're learning the maps in general, our best PUBG maps ranked breakdown covers which board you're actually playing on.
Does the red zone target you?
No. And this is the single most useful thing to internalize, because the myths around it are everywhere.
You'll hear that the red zone spawns on players who camp too long, that it targets heavily populated areas, or that a red zone on the map is the game telling you enemies are nearby. Krafton has said the placement is random, and the community has actually tested it. The YouTuber WackyJacky did a run with an entire lobby grouped in one spot, and the first red zone spawned on the far side of the map from every single player — exactly what you'd expect if placement is genuinely random and exactly not what you'd see if it tracked bodies.
So when a red zone lands on your building, the game is not punishing you for holding an angle. It rolled dice and your grid square came up. That matters tactically: you don't need to abandon good positioning because a red zone appeared, and you can't read enemy locations off where the bombs are falling. Treat it as weather, not as an ambush. The same discipline applies to reading the blue zone rotation — respect the mechanic, don't invent intentions it doesn't have.
How dangerous the red zone really is
Let's put the fear in proportion. In a typical red zone, you are standing in a large marked area while a scattered pattern of bombs drops across it. The kill condition is a bomb detonating directly on or immediately beside you. Because the impacts are spread out and random, the overwhelming majority of players who are simply inside a red zone and take one sensible action walk out untouched.
The players who die to it fall into two buckets. The first are the ones who freeze or panic-sprint in the open, maximizing their exposure and rolling the dice over and over as they cross the zone. The second are the ones who never looked at the minimap, didn't register the red circle, and were already caught mid-field when the first bomb landed. Both are avoidable with awareness. The red zone rewards the calm player and punishes the one who loses their head — which, frankly, describes most of PUBG's late game too. If panic is your problem, the same nerves that lose red zones lose gunfights, and our endgame circle strategy guide is built around staying level when the pressure spikes.
How to survive the red zone
The survival rule is one sentence: get inside or behind something solid, and stay away from windows and doors. Everything else is detail.
The moment you see red on the minimap, check whether you're inside the circle. If you're outside it, you can keep doing whatever you were doing — the bombs won't reach you. If you're inside it, find the nearest hard cover and get to it:
- A building is the gold standard. Bombs don't punch through a roof. Get inside, move away from the windows and the doorway, and just wait it out. A couple of walls and a ceiling between you and the sky is total safety. This is the same "own the interior" instinct we push in the compound clearing guide — the inside of a structure is your friend.
- No building? Find overhead cover. Arches, bridges, rock overhangs, and small structures all block bombs. The classic example is the Ruins on Erangel — tuck under the stone arches and the bombing run passes over you.
- Don't just crouch in the open and hope. Crouching in a field does nothing against a bomb that lands next to you. Cover has to be solid and ideally overhead to matter.
The cover that works and the cover that doesn't
Not all cover is created equal here, so be specific about what you run to. Overhead cover and full interiors stop bombs cold. A flimsy fence, a bush, or a lone tree does nothing — those break line of sight from players, not ordnance from the sky. Standing near a window or an open doorway inside a building is a subtle trap: a bomb landing just outside can splash through the opening, so pull into an interior corner instead of hugging the glass. And if you genuinely cannot reach hard cover before the bombs start, the least-bad option is to keep moving in a straight, purposeful line toward the edge of the circle rather than spinning in place — you want to be leaving the zone, not marinating in it.
Vehicles and the red zone
Here's the one place the red zone earns its scary reputation: vehicles. If you're driving through a red zone, you are a fast-moving target strapped to a fuel tank. A bomb that lands near your vehicle can destroy it, and a destroyed vehicle explodes — which can finish you off even if the bomb itself didn't land on your head. The car turns a survivable near miss into a lethal one.
So when a red zone spawns on your route, the correct move is usually to stop, get out, and take cover on foot until it passes, rather than gunning it through and praying. A few seconds parked behind a building beats a fiery death because you were impatient. This is a specific case of the broader truth that vehicles are loud, visible liabilities in the wrong moment — our vehicle combat guide covers when the car is an asset and when it's a coffin, and the red zone is firmly in coffin territory.
The exception is if you're on the very edge of the zone and can clearly drive out of it faster than you could reach cover. Then keep going — but only if the exit is close and the path is open. When in doubt, park and wait.
Turning the red zone into a weapon
Once you stop fearing the red zone, you can start using it. Because most experienced players know to seek cover, a red zone reshapes how everyone in the area moves — and you can read that.
- Free rotation cover. When a red zone drops between you and where you need to go, enemies in that area are pinned in buildings waiting it out, not watching sightlines or pushing. That's a window to reposition, heal, or cross ground you couldn't cross safely a moment ago. Panic is loud; use the noise and the distraction to move.
- The audio blanket. A red zone is deafening. Explosions bury the sound of your footsteps, your looting, and your vehicle. If you've been trying to reposition quietly near an enemy, the bombing run is your cover — they can't hear you coming over the ordnance. Pair that with what you know from the audio guide and you can make aggressive moves that would normally give you away.
- Punish the panicker. If you're safely under cover and you spot an enemy sprinting across the open in a red-zone panic, that's a target who is fully focused on the sky and not on you. You don't have to take the fight, but a distracted runner is an easy pick if the angle's clean.
The mindset flip is the whole thing: the red zone isn't an event that happens to you, it's a condition you can exploit because your opponents are still afraid of it. Stay calm, get behind something solid, and watch everyone else make mistakes.
Quick Action Checklist
- The instant you see red on the minimap, check whether you're inside the circle
- Outside the zone? Carry on — the bombs won't reach you
- Inside the zone? Get into a building, away from windows and doors, and wait it out
- No building? Duck under an arch, bridge, or rock overhang — overhead cover stops bombs
- Never panic-sprint across open ground; a direct hit is a one-shot kill
- Get out of vehicles — a bomb near a car destroys it and the explosion can kill you
- Remember it's random: it isn't targeting you and it doesn't reveal enemy positions
- Use the noise and chaos as cover to rotate, heal, or push while enemies are pinned
Frequently Asked Questions
Is the PUBG red zone random or does it target players?
How do you survive the red zone in PUBG?
How much damage does the red zone do in PUBG?
Which PUBG maps have the red zone?
Should you drive through the red zone in PUBG?
Keep Reading
Related Guides
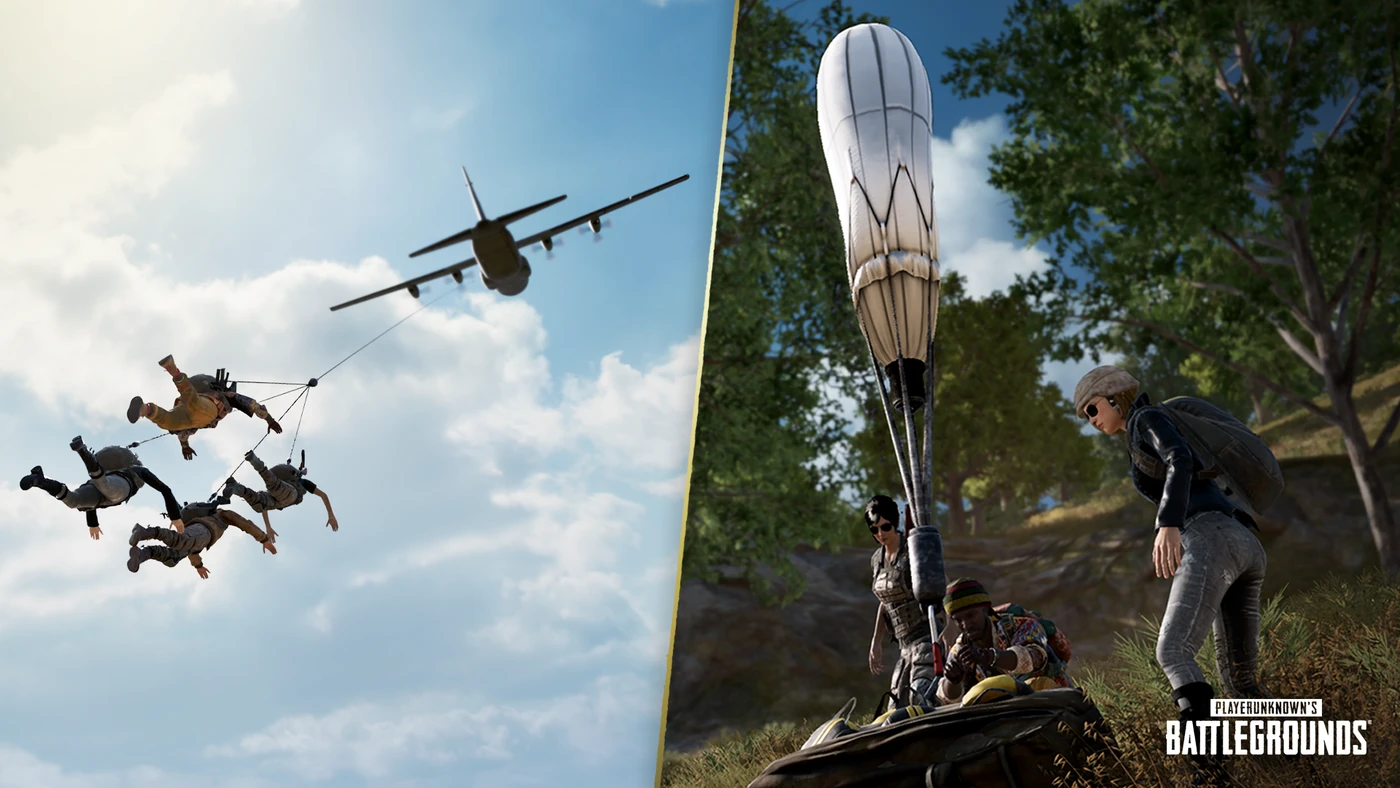
PUBG Emergency Pickup Guide: Fly Out of Trouble
It looks like a party balloon and it saves games. The Emergency Pickup fultons your squad across the map to the safe zone, but it has strict rules and it hangs you in the open air. Here is how to use it without turning into target practice.
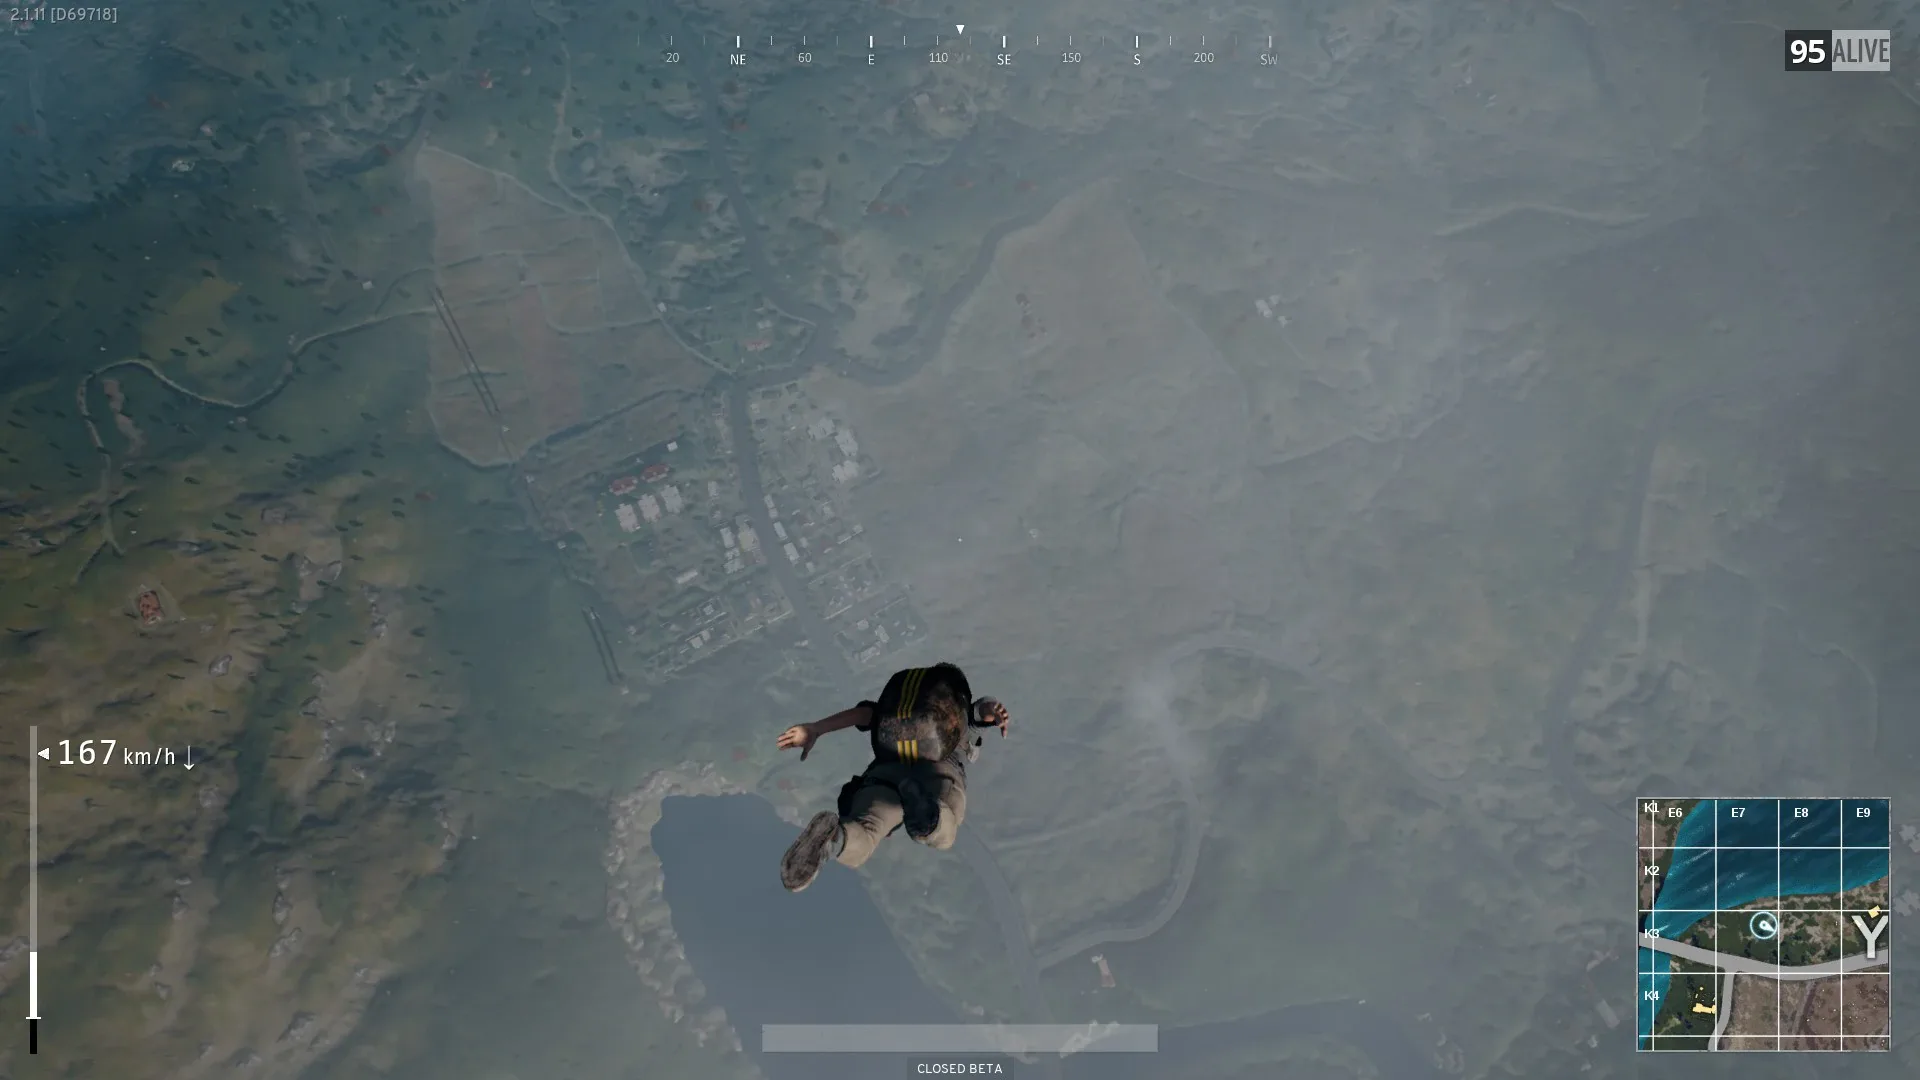
PUBG Early Game Guide: Win the First Circle Window
Half the lobby is dead before the first circle finishes closing, and most of them lost in the plane, not in a gunfight. Here's how to turn PUBG's opening minutes — drop, loot, fight-or-leave, first rotation — into a lead instead of a lottery.
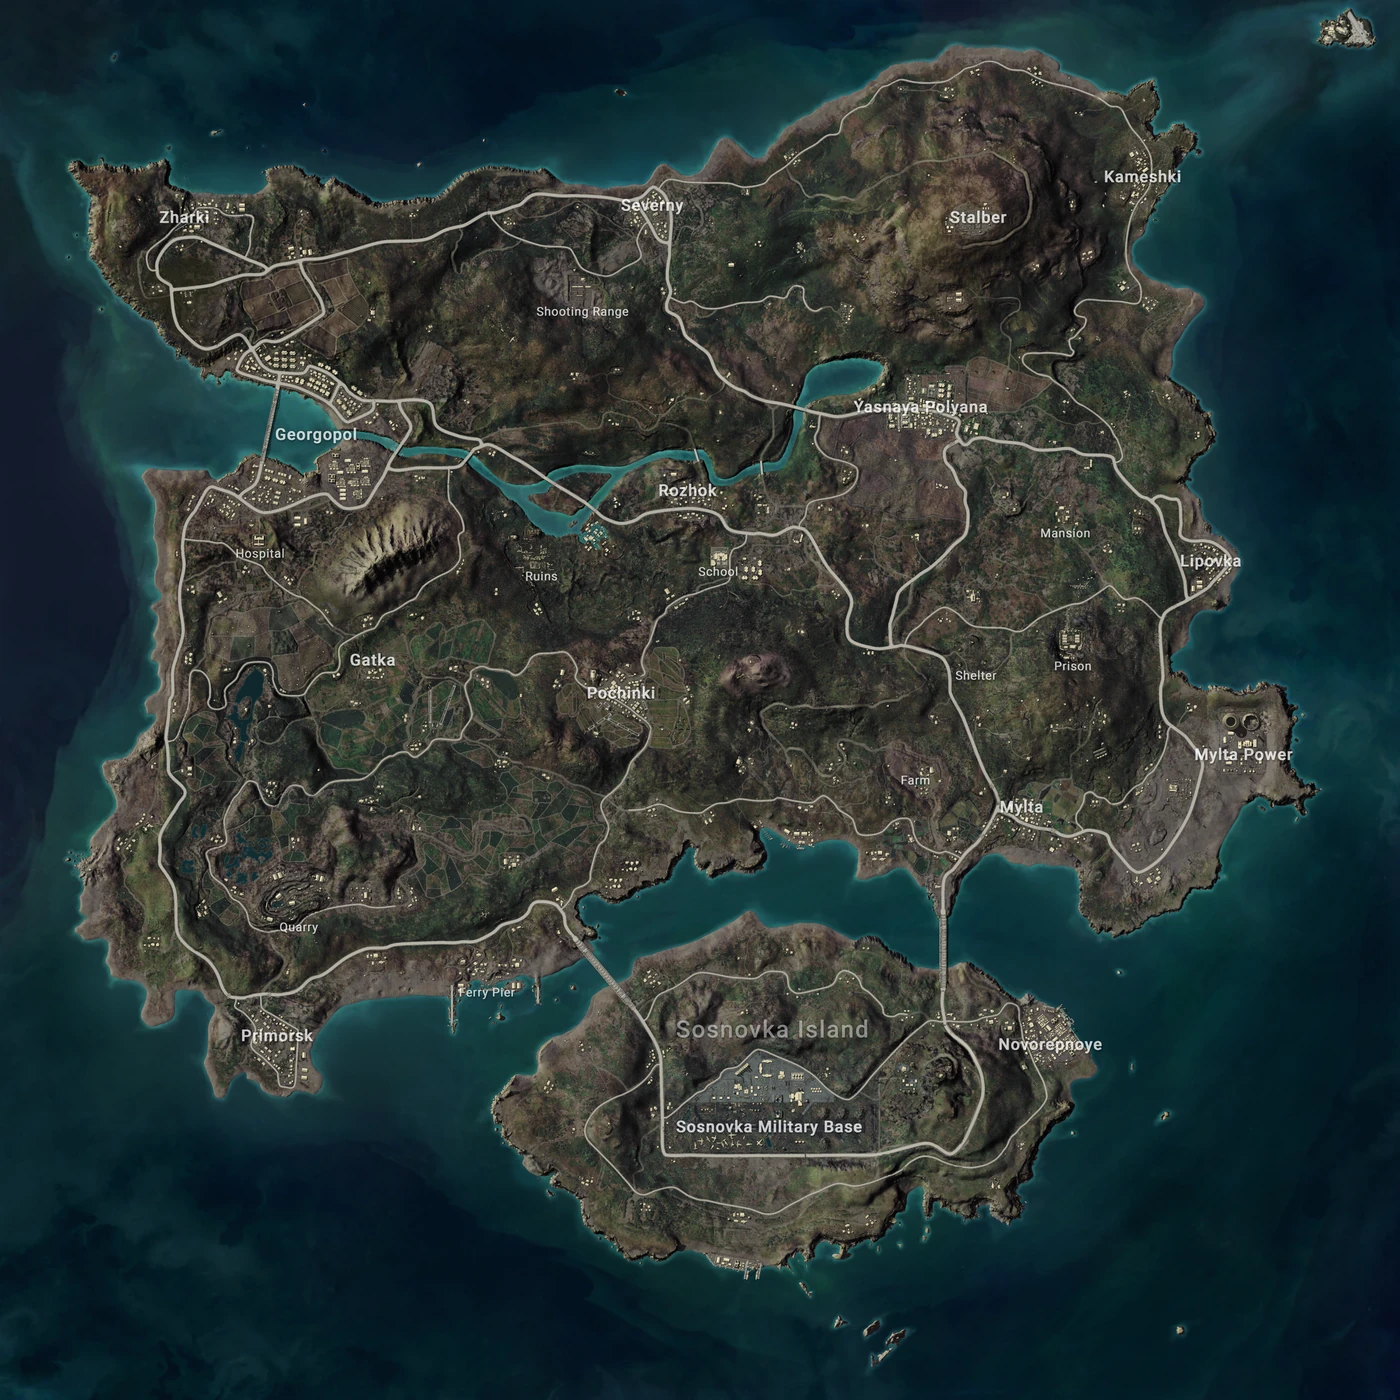
PUBG Mid-Game Guide: Own Phases 2 Through 5
You survived the drop and you'll survive the final ten — but the match is decided in the messy middle, phases two through five, where most players just react to the blue and hope. Here's how to turn the mid-game into a lead instead of a coin flip.
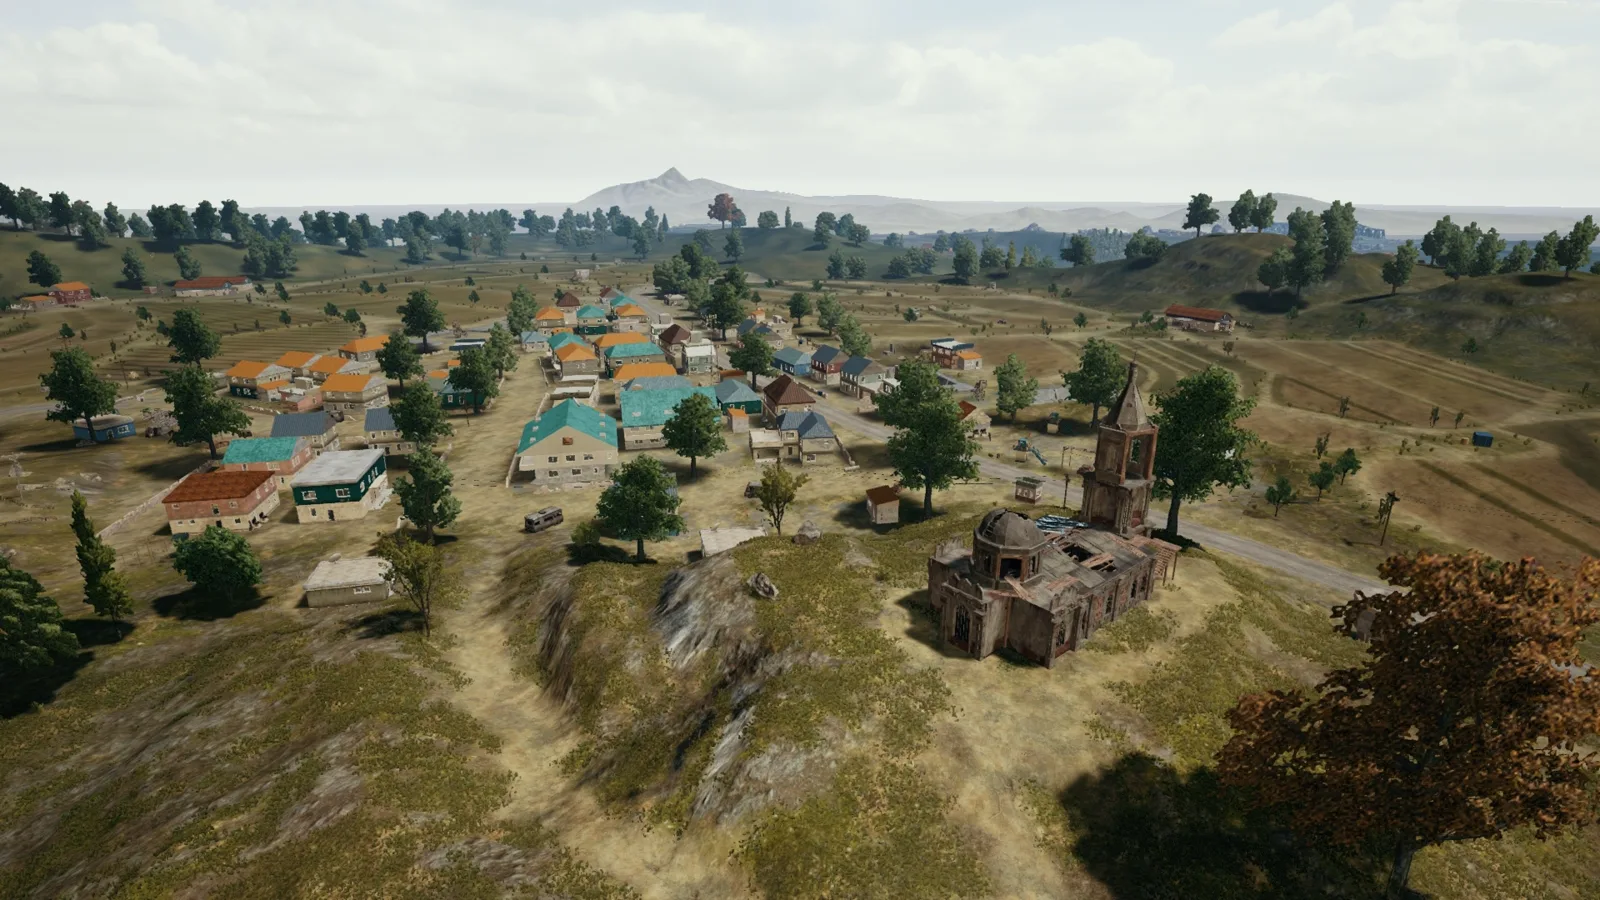
PUBG Duo Strategy Guide: How to Actually Win as Two
Duos is the least forgiving mode in PUBG and nobody talks about it that way. You get exactly one teammate, which means you get exactly one mistake — and the moment you're both down, the game ends instantly with no third player to clean up. Here's how two players actually win.
Best Weapons in PUBG: Tier List
Every PUBG tier list is out of date the moment a balance patch drops. So here's the list, ranked by role, plus the durable logic to re-tier any gun yourself when the next patch shakes things up.
Best PUBG Loadouts & Attachments
A naked M416 and a fully kitted M416 are basically two different guns. Here's how to build the strongest two-gun loadouts in PUBG and the attachment priority that turns loot into recoil control.