PUBG Emergency Pickup Guide: Fly Out of Trouble
It looks like a party balloon and it saves games. The Emergency Pickup fultons your squad across the map to the safe zone, but it has strict rules and it hangs you in the open air. Here is how to use it without turning into target practice.
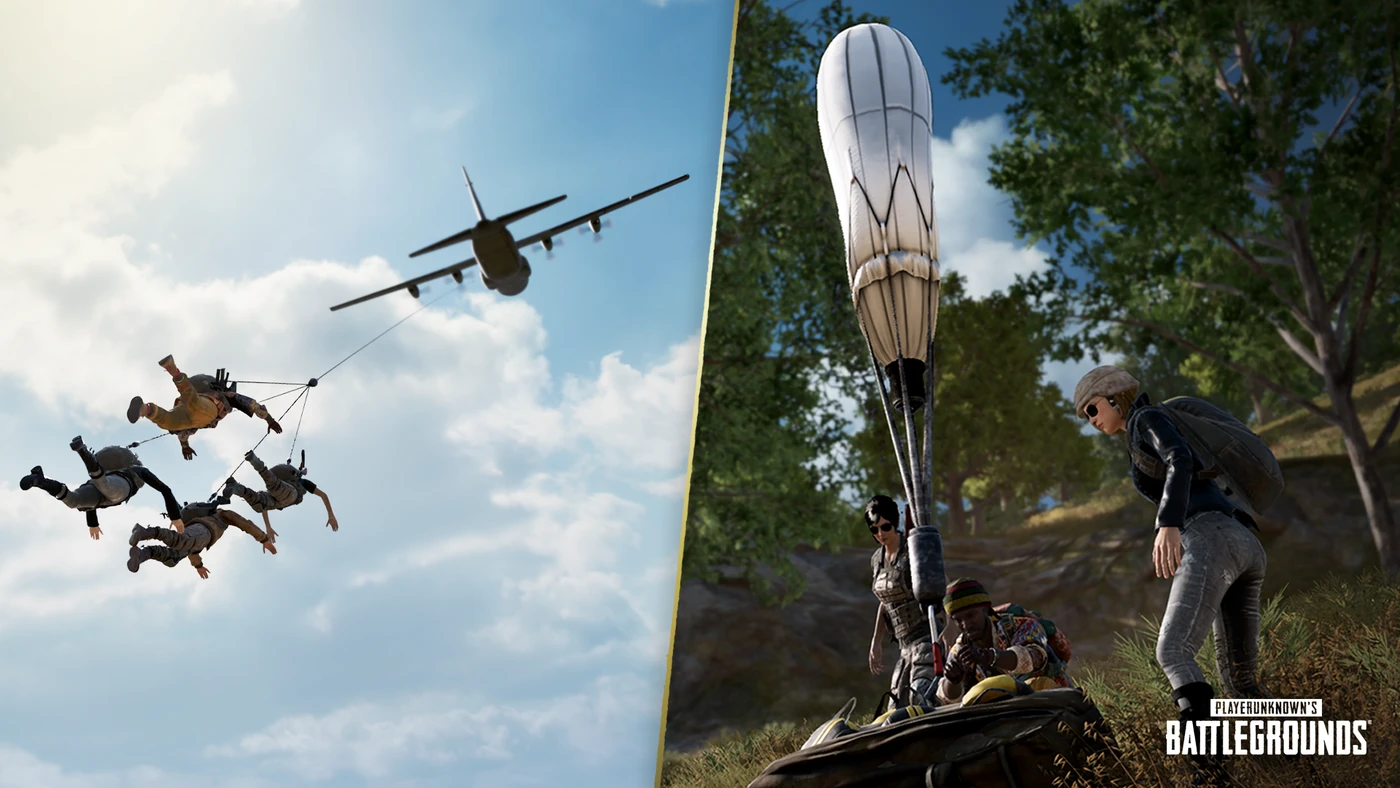
Picture the run that should have been over: your squad is stuck on the wrong side of the map, the blue zone is eating your health bars, and there's no vehicle and no time. In old PUBG that's a wipe. Now one player pulls out what looks like a deflated party balloon, drops it, and sixty seconds later a plane snatches all four of you into the sky and flies you to the safe zone. That's the Emergency Pickup, and it's one of the most underrated pieces of utility in PUBG: Battlegrounds — a get-out-of-jail card that most players never bother to loot.
It's not free, though. The Emergency Pickup has a strict rulebook about where and when it works, and while you're dangling under that balloon you can't shoot back and you're a slow-moving target painted against the sky. Used well, it steals games. Used badly, it's a highlight reel for whoever's holding a DMR. Here's the full breakdown.
What the Emergency Pickup does
The Emergency Pickup is a deployable item, introduced back in Update 11.1, that carries you and your squad to the safe zone. When you deploy it, a Fulton balloon inflates out of the bag. Once that balloon is fully inflated and high in the air, a plane arrives in 60 seconds. During that window, up to four players can attach themselves to the balloon's rope. The plane catches the balloon, hoists everyone up, and flies toward the center of the current safe zone. At any point in the flight, players can detach and parachute down wherever they want.
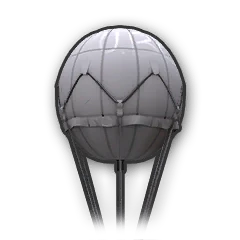
So it's not a teleport and it's not instant. It's a 60-second commitment followed by a flight, and both halves have risk attached. But the payoff is enormous: it converts "we can't possibly cross that ground in time" into "we're now floating over the middle of the circle picking a landing spot." No other single item repositions an entire squad that far, that fast. Think of it as a one-shot rotation tool that trades airtime and vulnerability for distance you could never cover on foot — the ultimate answer to a brutal blue zone rotation.
Where to find it and when you can use it
The Emergency Pickup is a lootable item you carry in your inventory, and it only spawns on four maps: Erangel, Miramar, Sanhok, and Vikendi. If you're on one of the other maps, it's simply not in the loot pool, so don't go hunting for it.
Just as important is the timing window, because this is where players waste them. The Emergency Pickup cannot be used before the first circle appears, and it cannot be used after the fourth circle. That's a deliberate design choice — it's a mid-game rotation tool, not an endgame escape hatch. If you're sitting on one waiting for the perfect final-circle moment, you've already missed your window; by the time the fights get truly desperate, the item is disabled. Plan to spend it in the early-to-mid rotations, and read the endgame circle strategy guide for how the late game changes once this tool is off the table.
A few hard restrictions round out the rules:
- It will not deploy indoors. You need open sky above you.
- It won't work on ferries or trains — moving map objects break it.
- The deployment area has to be clear of obstacles — terrain, vehicles, buildings — with a clear view of the sky, or the deploy simply fails.
How to deploy it without wasting it
Deploying an Emergency Pickup is a commitment, so the setup matters more than the button press. The single biggest cause of a failed deploy is trying to pop it in a bad spot. The balloon needs vertical clearance and the surrounding area needs to be open, so pick your ground deliberately:
- Find flat, open terrain with nothing overhead. No tree canopy, no building eaves, no cliff wall right beside you. If there's an obstacle in the way, the deploy fails and you've announced your position for nothing.
- Get away from vehicles. Parked cars near the deploy point can block it. Ditch the ride and step into the open before you drop the balloon.
- Deploy as a squad, together. Since up to four players attach to one rope, you want everyone within reach when the balloon goes up. One person deploys, the rest gather on it. Nobody wants to be the guy still running toward the balloon when the plane arrives. Tight coordination here is exactly the kind of thing our squad strategy guide drills.
Remember the 60-second timer. That's a full minute where the balloon is up, visible, and loud, telling everyone in the area exactly where you are and that you're about to be helpless. Deploy somewhere the local threats can't easily reach you in that minute, not in the middle of a hot compound.
What happens once the plane grabs you
The moment the plane hooks the balloon and lifts you, the rules of engagement change completely. You are now cargo, and cargo has limits:
- You cannot shoot. Weapons are disabled for the entire ride. You can't fight back, you can't return fire, you can only watch.
- The camera locks to third person. For the whole journey you're in TPP whether you normally play it or not — worth knowing if you're an FPP purist, because your view changes for the duration.
- You can detach and parachute at any time. You're not locked in until the destination. If you see danger, or you spot a landing zone you like better than the safe-zone center, cut loose and drop.
- Below 50 meters altitude, the parachute won't open. This is the killer detail. If you wait too long to detach and you're already low, you can't deploy the chute — so make your detach decision while you still have altitude to spare.
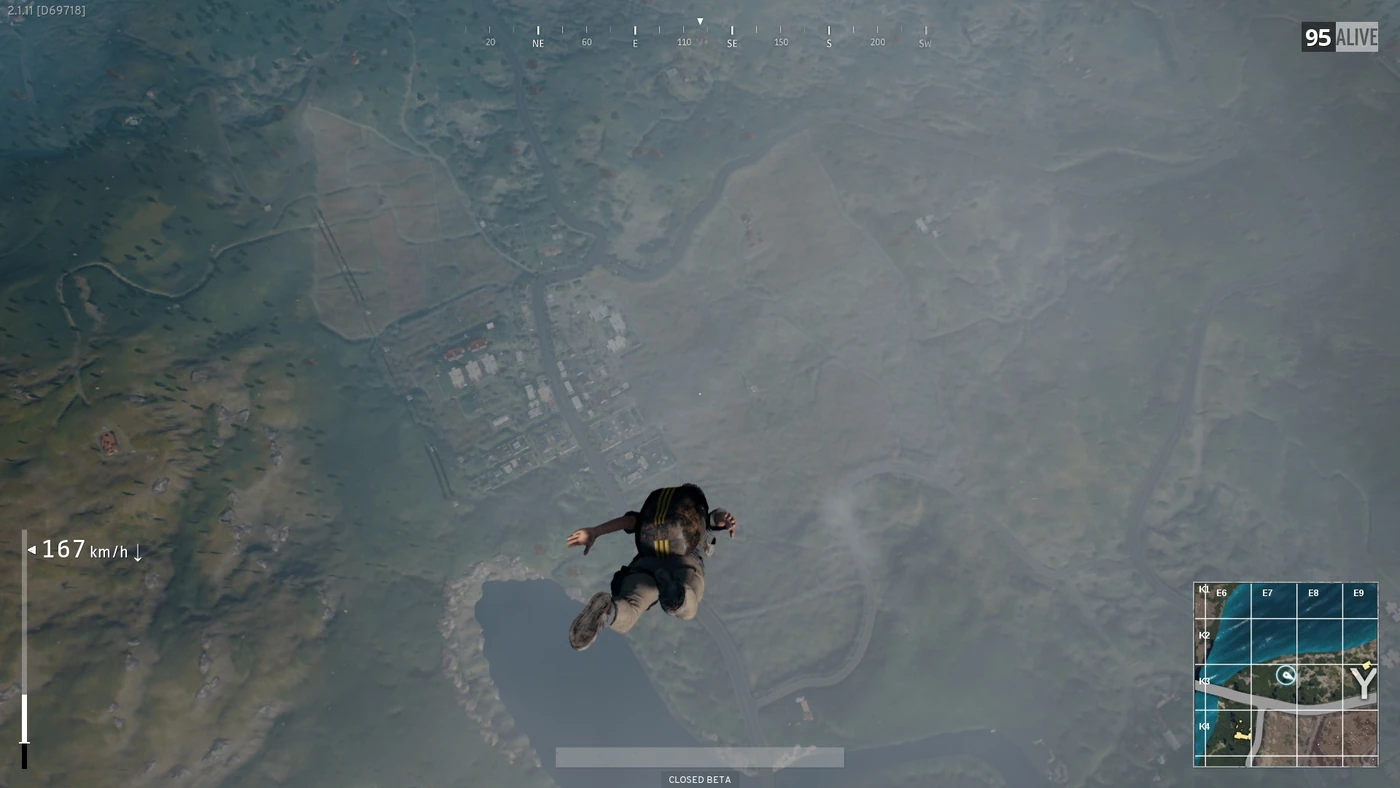
The practical upshot: treat the flight like a second drop from the plane at match start. You get to choose where you come down, but you have to commit to the detach early enough that the parachute has room to deploy. Plan your landing the same way you'd plan a hot drop — pick the spot, watch for other players already on the ground, and don't float down into the middle of an enemy squad.
The risks: you're a sitting duck up there
Let's be blunt about the downside, because it's real. From the second the balloon inflates to the second you touch ground, you are exposed. Players on the rope can take damage. You're a slow, predictable, silhouetted target with no ability to shoot back, and anyone with a scoped rifle who spots you gets a leisurely shot at a squad that can't do anything about it. A well-positioned enemy can pick your whole team apart mid-air.
That's why where and when you deploy is the entire skill. You want to pop the Emergency Pickup somewhere the enemies who could shoot you either aren't looking or aren't in range. Deploying in the open next to a contested compound is how you feed an entire squad to a camper on a hillside.
Motor Gliders are your worst enemy
The specific nightmare is the Motor Glider. It's a flying vehicle, and against a squad hanging helplessly from a balloon rope it's a flying execution. The glider can close distance, line you up, and attack you mid-air while you have zero ability to respond. If you know there's an active Motor Glider in your area, seriously reconsider deploying the Emergency Pickup at all — you'd be handing them the easiest multi-kill in the game.
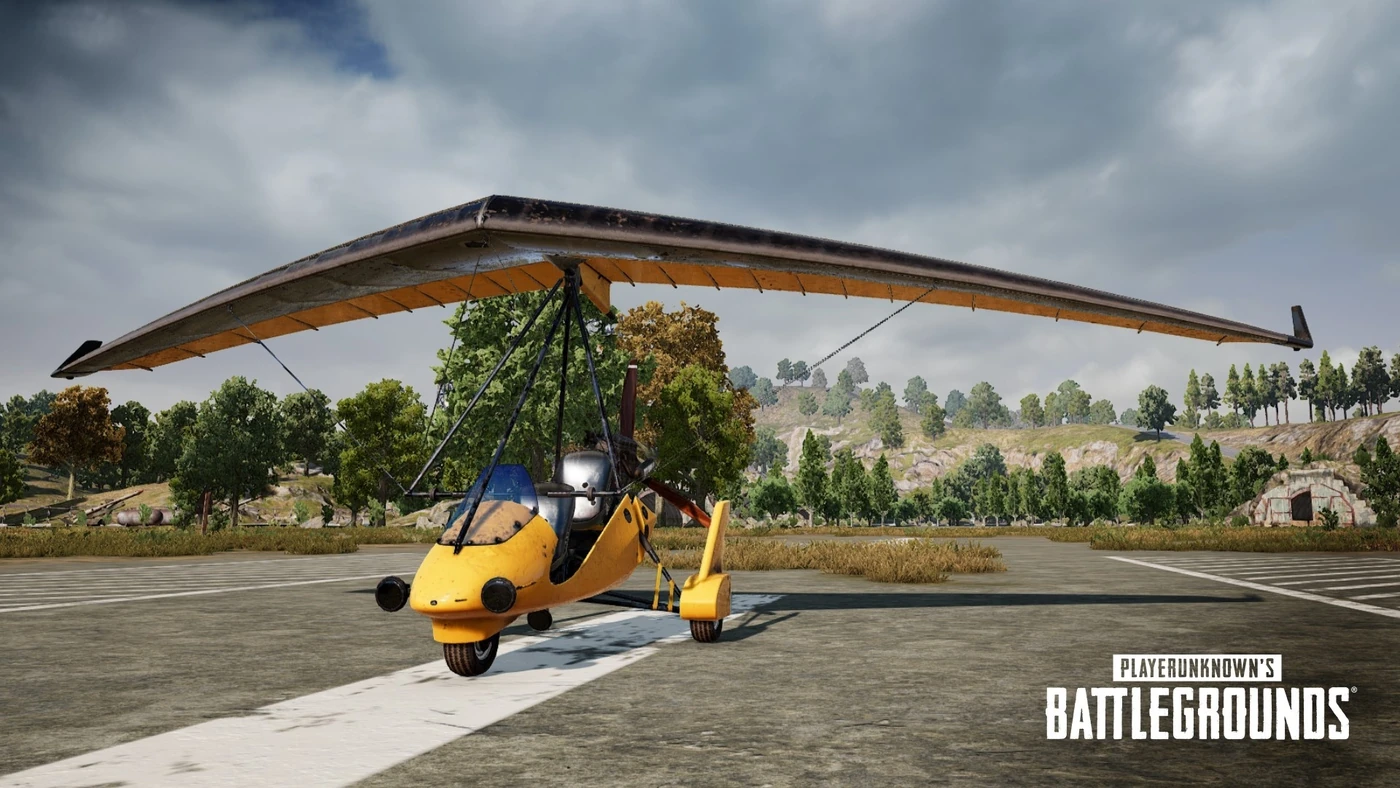
If you must fly with a glider nearby, at least stagger your detaches and get to the ground fast rather than riding the full flight and giving them a long, slow window. Airtime is danger time.
When it's actually worth using
The Emergency Pickup shines in a few specific spots, and it's dead weight everywhere else. Spend it when:
- You're stuck deep in the blue zone and can't outrun it. This is the flagship use. No vehicle, too far to run, health draining — the balloon is your only realistic path to the circle. It beats dying in the blue every time.
- You need to cross a huge open field while a team is engaging you. Sometimes the ground route is a death march across a sniper's dream. Flying over it — carefully, and away from that team's sightlines — sidesteps the whole gauntlet.
- Your squad wants a safer looting spot. If you dropped somewhere picked-clean or too hot, the Emergency Pickup relocates the whole team to greener pastures without a long, exposed overland trek.
Outside those situations, you're usually better off keeping your inventory slot for heals and ammo. The Emergency Pickup is a specialist tool: it's incredible in the exact moment it's designed for, and it's a wasted slot the rest of the time. Loot it, hold it for the mid-game blue-zone emergency, and if that emergency never comes, so be it — the game where it saves your run more than pays for the slot. And when the pickup isn't the answer, fall back on smart overland movement from the movement and positioning guide.
Quick Action Checklist
- Loot the Emergency Pickup on Erangel, Miramar, Sanhok, or Vikendi — it's not on other maps
- Use it in the mid-game: it's disabled before the first circle and after the fourth
- Deploy on flat, open ground with clear sky — never indoors, on ferries, trains, or near obstacles
- Step away from vehicles before you drop the balloon or the deploy can fail
- Gather your whole squad on the rope — up to four players ride one balloon
- Expect a 60-second wait before the plane arrives; deploy where enemies can't reach you in that minute
- Detach and parachute while you're above 50 meters — below that the chute won't open
- Do not deploy with a Motor Glider active nearby; you can't shoot back mid-flight
- Best uses: escaping a blue zone you can't outrun, crossing open ground, or relocating to safer loot
Frequently Asked Questions
How does the Emergency Pickup work in PUBG?
Where do you find the Emergency Pickup in PUBG?
When can you use the Emergency Pickup in PUBG?
Can you get shot while using the Emergency Pickup?
Why is my Emergency Pickup failing to deploy in PUBG?
Keep Reading
Related Guides
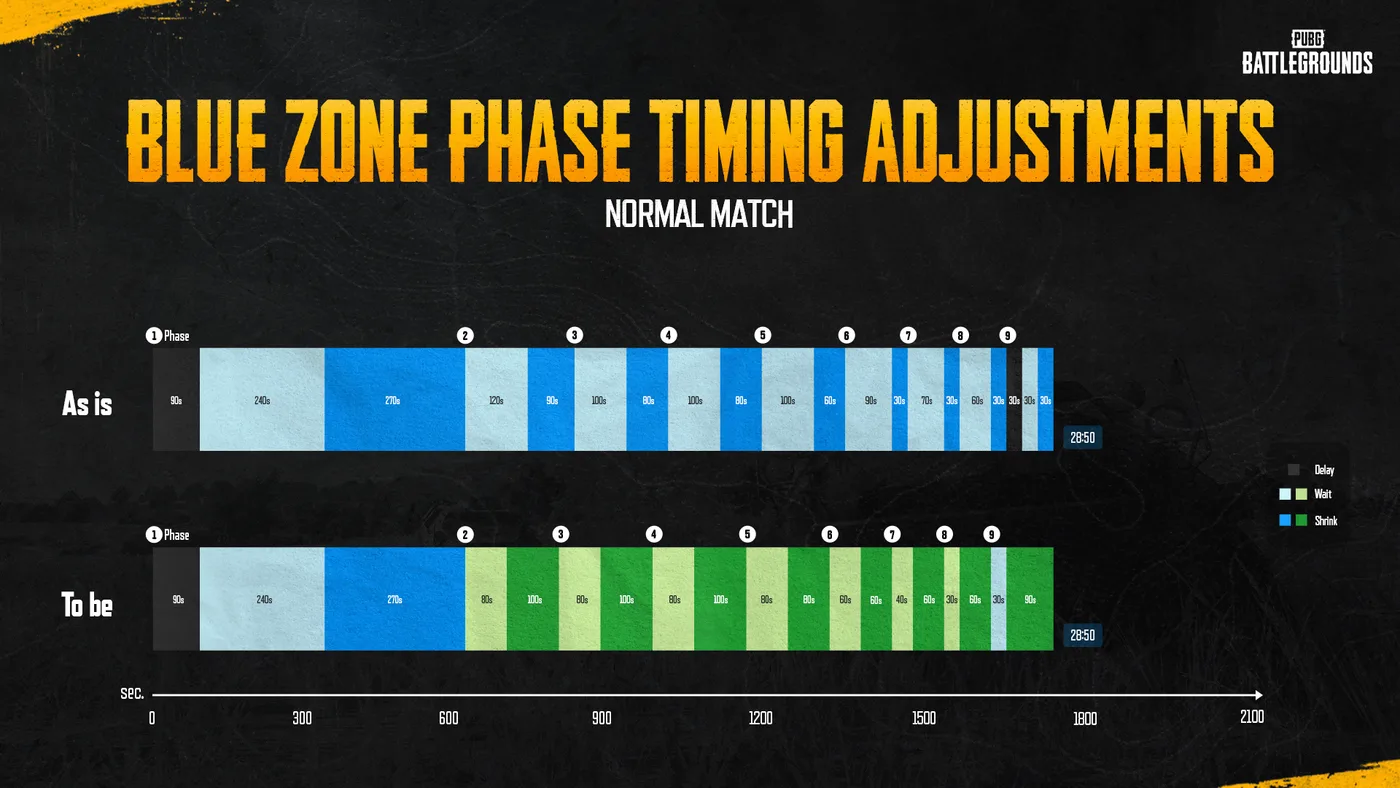
PUBG Blue Zone Timings: Every Phase in Normal and Ranked
Update 42.1 retimed PUBG's blue zone separately for Normal Match and Ranked, and made its damage depend on how long you stay in the blue rather than how far out you are. Here is every phase as a table, built from KRAFTON's own charts.
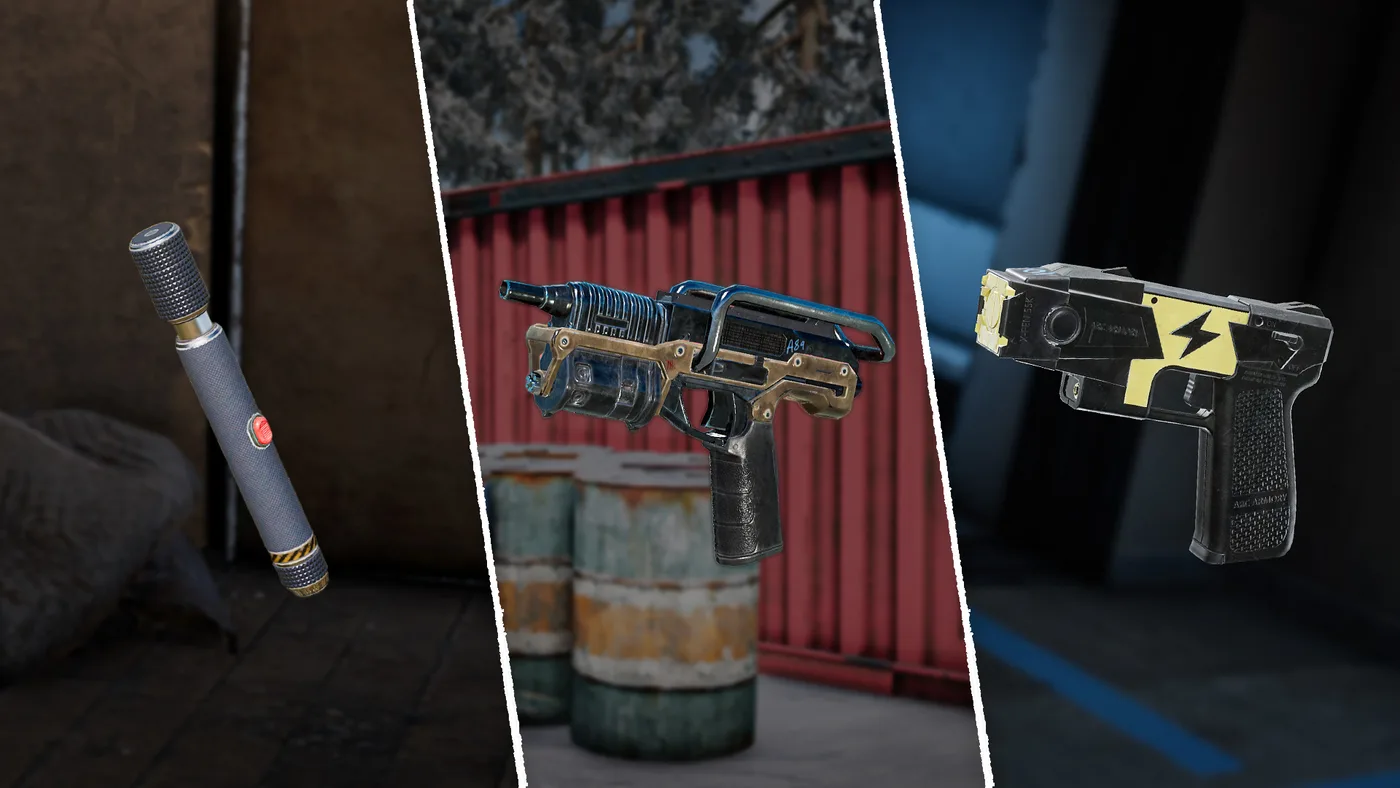
PUBG Utility Items: Folded Shield, Zipline Gun & More
PUBG's loot pool has a whole layer of kit that isn't a gun, armour, a heal or a grenade. Here are nine of those items: what each one does, what slot and weight it costs you, where it spawns as of Update 43.1, and which patch changed the rules on it.
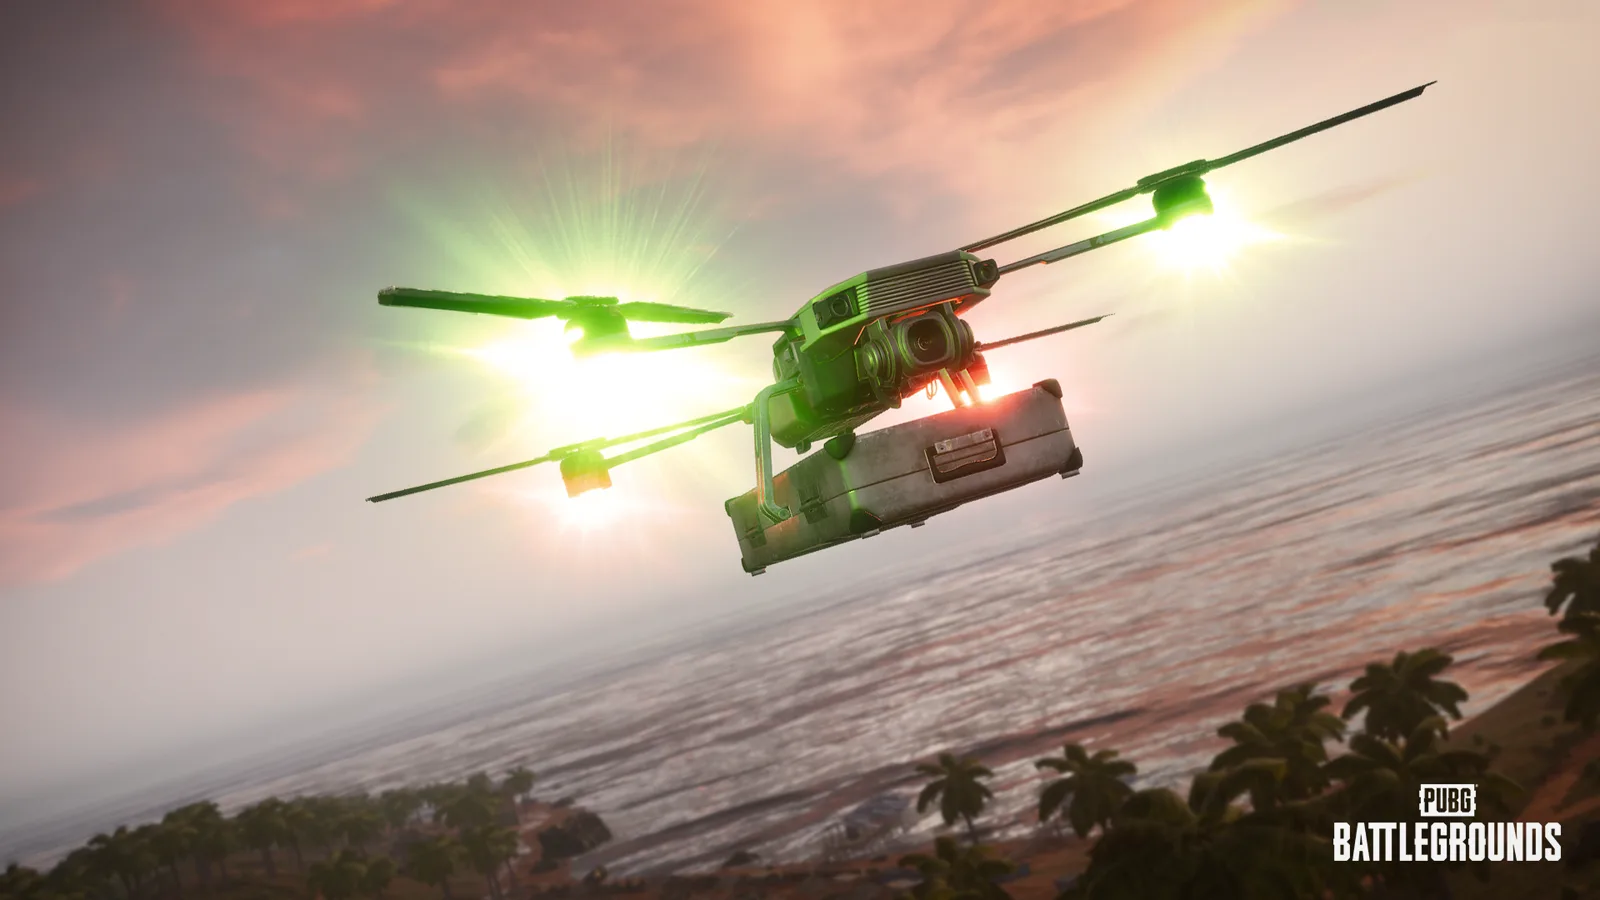
PUBG Tactical Gear Guide: What Survived and What Got Cut
PUBG's tactical gear has been added, made mandatory, deleted, revived, and pruned — all inside four years. Here's exactly what's in the loot pool in 2026, what each item costs you in weapon slots, and why the Drone and Spotter Scope aren't coming back.
PUBG Red Zone Guide: Survive the Bombing Run
That flashing red circle on your minimap has ended more panic runs than it has kills. The red zone in PUBG is a bluff you can call — here is how it works, why it is not targeting you, and how to walk out of one every time.
Best Weapons in PUBG: Tier List
Every PUBG tier list is out of date the moment a balance patch drops. So here's the list, ranked by role, plus the durable logic to re-tier any gun yourself when the next patch shakes things up.
Best PUBG Loadouts & Attachments
A naked M416 and a fully kitted M416 are basically two different guns. Here's how to build the strongest two-gun loadouts in PUBG and the attachment priority that turns loot into recoil control.