Leon Combat Guide: The Supply Box Economy in RE Requiem
Leon has a full arsenal and an in-game store, which sounds generous until you realize the store only takes a currency you have to opt into earning.

Leon reaches Raccoon City, unlocks a store full of weapons and upgrades, and then most players spend the next hour wondering why they have no money. The answer is embarrassing and it is in the menu: you never equipped the Tactical Tracker.
That is the trick at the center of Leon's half of Requiem. He gets everything Grace does not — shotguns, SMGs, rifles, grenades, an attaché case, a shop — but the shop runs on a currency the game makes you deliberately opt into generating. Every zombie you killed before putting that wristband on paid you nothing.
If you have not started the campaign, the Requiem beginner guide covers difficulty and camera settings first.
Leon Plays Like RE4 and Capcom Knows It
Leon's gameplay is built directly on his Resident Evil 4 remake incarnation, and it is not a subtle homage. He has access to multiple handguns, the Requiem magnum, shotguns, submachine guns, rifles, and hand grenades — a genuine loadout rather than Grace's two-pistol starvation diet.
He also carries the RE4 remake's melee grammar. Quick-time events drive melee attacks, dodges, and parries. He can pick up weapons dropped by zombies to throw at them, or swing them if enemies are close. Explosives can be thrown or shot.
The practical consequence: unlike Grace, Leon is supposed to fight. Avoiding encounters as Leon is often the wrong call, because encounters are literally how you get paid.

The Tactical Tracker Is Opt-In Currency
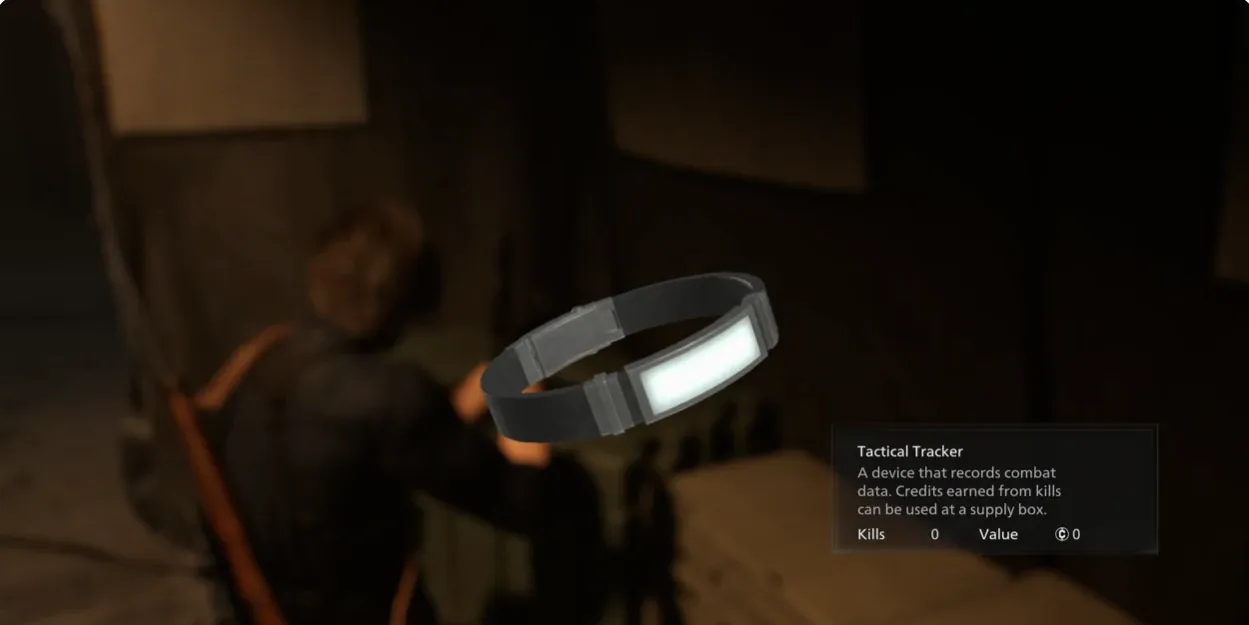
Upon reaching Raccoon City, Leon gains access to the Supply Box, the shop where he buys weapons, upgrades, ammo, med injectors, and body armor.
To purchase weapons, Leon must have the Tactical Tracker equipped. It is a tracking wristband that records his kill count and converts kills into credits. No tracker equipped means no credits from kills.
This is the falsifiable claim worth internalizing: kills only generate spending money while the Tactical Tracker is equipped. There is no retroactive credit for the horde you cleared before you put it on. Equip it the moment you have it and leave it on.
Once you accept that, Leon's whole approach shifts. Clearing a room is not a resource drain, it is income. The question stops being "can I afford this fight" and becomes "is this fight profitable" — which, given ammo is purchasable at the same Supply Box, it usually is.
Tracking Modules Are the Real Payday
Kills are steady income. Tracking Modules are the lump sums.
These are findable items that grant large amounts of credits, and the payout scales with the module's rarity. A rare module is worth a meaningful chunk of exploration time.
The strategic read: exploration in Leon's sections has a direct cash value that exploration in Grace's sections does not. Grace searches for survival items. Leon searches for capital. If you are the kind of player who beelines objectives, Leon's half is where that habit costs you the most, because you are skipping the upgrades that make the back half of the campaign manageable.
What to Buy at the Supply Box
The Supply Box stocks weapons, weapon upgrades, ammo, med injectors, body armor, armor repair, and an expanded attaché case. Rough priority for a first playthrough:
- The expanded attaché case. Every other purchase is worth more when you can carry it. Capacity compounds.
- Weapon upgrades on one primary, not spread thin. Requiem rewards committing to a workhorse gun over owning five mediocre ones.
- Body armor, then repairs as needed — see below for why this is cheaper than it looks.
- Ammo, but only as a stopgap. You can craft most of it.
- Med injectors, situationally.
The reason ammo sits low is Leon's crafting, which we get to shortly. Buying what you can make is how credits evaporate.
Body Armor Is Repairable, Not Consumable
Body armor can be purchased at the Supply Box, and — importantly — repaired there too.
Players treat armor as a consumable they are burning through, and so they play cautiously to preserve it, which is exactly backwards. Damaged armor is not wasted armor. It is armor with a repair bill. Take the hits armor exists to absorb, then pay to fix it. That is the intended loop, and the credit cost of a repair is far less painful than the ammo and healing cost of playing a fight timidly.
The Hatchet Changes How You Should Play
The Hatchet replaces the knife as Leon's primary melee weapon. It deals heavy damage and can occasionally execute zombies outright.
It has a durability bar, like Grace's knives. Here is the difference that matters more than any other melee detail in the game: Leon can resharpen the hatchet at any time, which effectively makes it a permanent weapon.
Grace's knives break forever. Leon's hatchet does not. So the correct discipline is completely inverted between the two characters. Grace should hoard knife durability and use knives only to break grabs. Leon should use the hatchet constantly, on everything, and resharpen it whenever there is a lull. A hatchet sitting at full durability in a quiet moment is a wasted resource — that durability was free.
The hatchet is also the tool for finishing stunned Blister Heads, which Leon can execute directly.
Chainsaw Segments Are Free Ammo
Certain segments hand Leon a chainsaw for a short while. It is an incredibly powerful attack option that costs no ammunition and no hatchet durability.
Treat a chainsaw pickup as a window, not a weapon. Anything you kill with the chainsaw is a kill you did not pay for — and with the Tactical Tracker equipped, it still generates credits. Push aggressively into groups while you have it rather than saving it for a threat that may not come before it expires.
The Attache Case and Crafting
Leon's inventory is the attaché case from RE4 and Resident Evil Village. You rotate and pack items to fit, and an expanded case is purchasable at the Supply Box.
His crafting is more limited than Grace's blood-driven system, but it covers the essentials:
- All ammo types and grenades from gunpowder and metal scrap.
- Healing items from green herbs.
- Stacked Hand Grenade — merge two hand grenades into a single more powerful one.
The Stacked Hand Grenade is the one people forget exists. If you are holding a pile of hand grenades and fighting anything that clusters, merging beats throwing two separately, and it saves a case slot in the process.
Blister Borne and the Cyst Trap
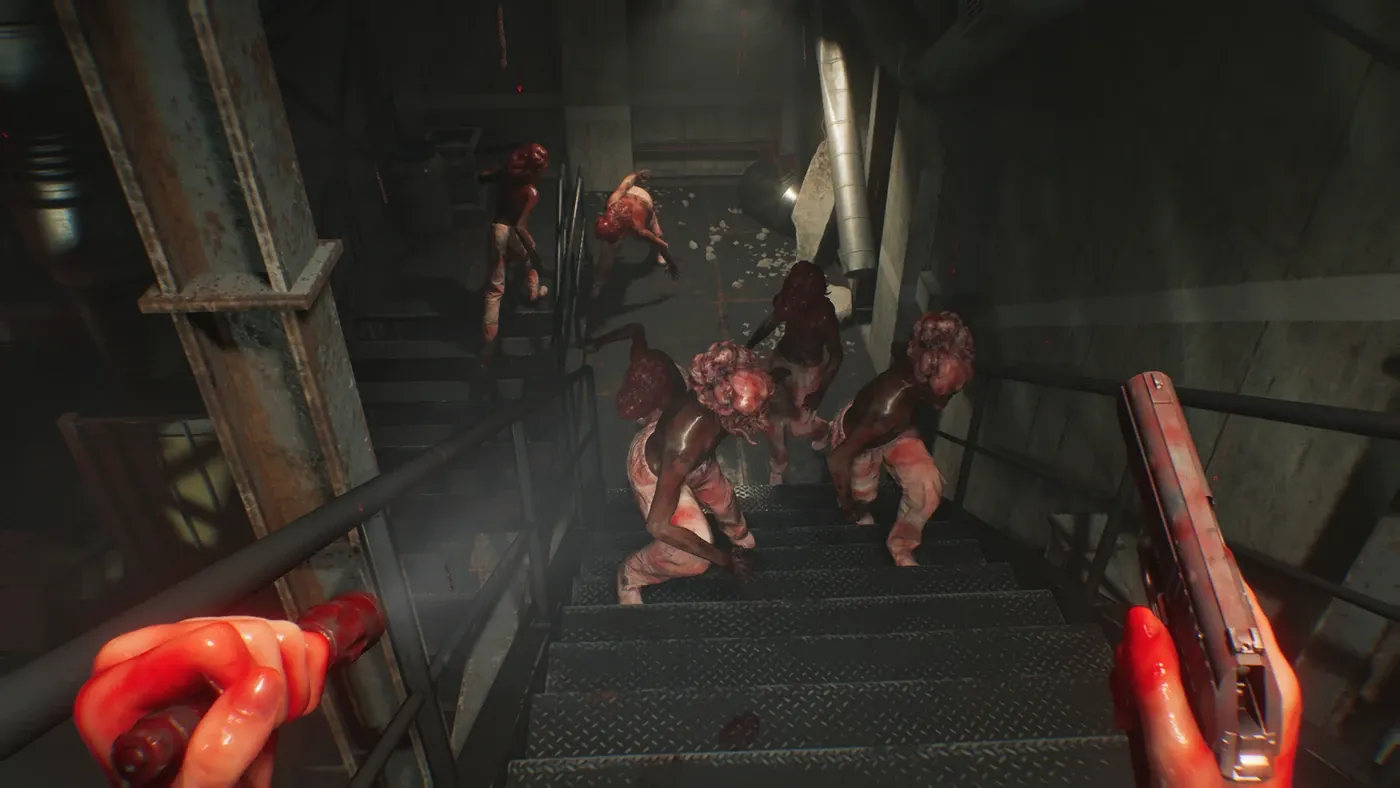
The Blister Borne is exclusive to Leon's sections — an irregular mutation of a Blister Head covered in multiple cysts.
Here is the mechanic, and it is a genuine trap. Shooting out all of a Blister Borne's cysts kills it instantly. That sounds like a clean answer, and against a lone target it is. But the resulting explosion mutates any zombie near it — alive or dead — whose head is still intact into a Blister Head.
So the instant kill is conditional on positioning. Pop a Blister Borne in a corridor full of downed bodies and you have traded one enemy for a room full of faster, stronger ones. The same contagion logic governs ordinary Blister Heads, which is covered in more depth in the Grace survival guide.
Practical rule: before you commit to the cyst kill, look at what is on the floor around it. If there are intact heads nearby, either destroy those heads first or lure the Blister Borne somewhere emptier.
BSAA Zombies and Artillery
Raccoon City's ruins hold something the series has not done quite like this: mutated BSAA soldiers.
These are not shambling melee threats. They will aimlessly shoot at Leon, and some of them operate BSAA artillery guns. That changes the geometry of a fight — you are dealing with ranged pressure and suppression rather than closing distance.
Cover and repositioning matter here in a way they do not against ordinary zombies. Artillery positions in particular are worth prioritizing over the infantry around them, because the artillery is what denies you the ability to maneuver.
The area also contains the mummified remnants of zombies and victims of the Sterilization Strategy, the 1998 missile strike that destroyed the city. Twenty-eight years of decay has not made them safe.
Elite Guard Fights Are Stealth Fights
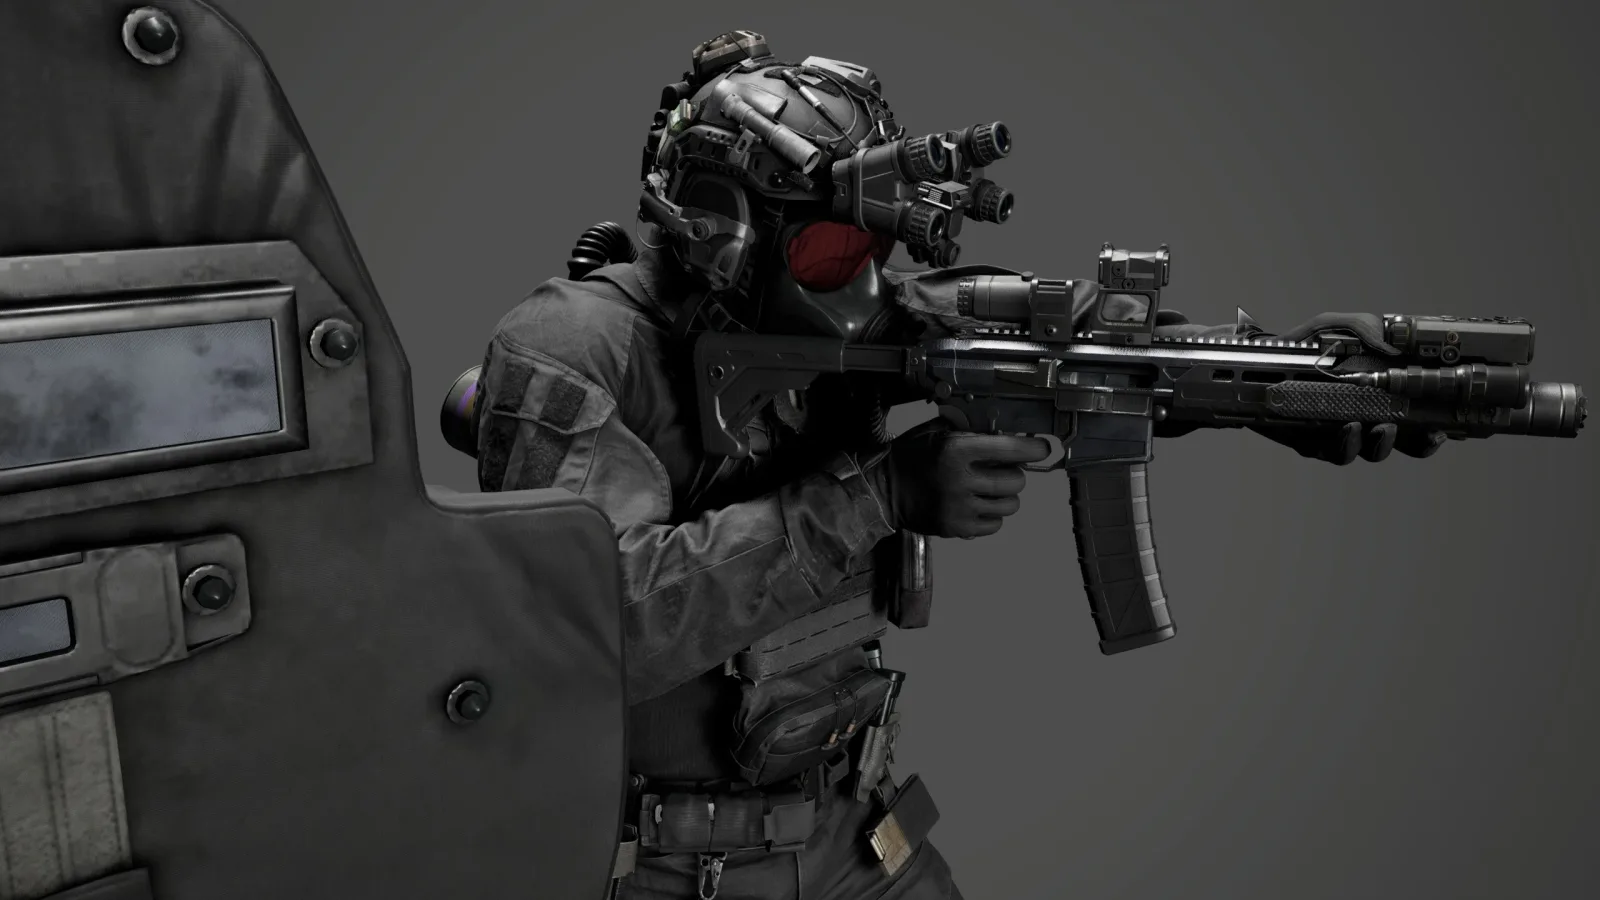
The most unusual enemy Leon encounters is the Elite Guard — highly skilled human soldiers, not infected.
They can kill Leon very quickly with their guns. This is the section where Requiem asks its action protagonist to play like a survival horror protagonist, forcing more strategic, stealth-oriented engagement rather than the run-and-gun the rest of Leon's campaign encourages.
Do not walk into Elite Guard encounters with zombie habits. Sight lines, patrol timing, and picking off isolated targets are the tools. A frontal assault on a group of them is how a well-supplied run ends abruptly.
The Commander Is a Krauser Fight
Leon eventually faces The Commander, the leader of the Elite Guard.
Structurally this fight takes a melee-oriented approach directly comparable to the Krauser fight in the RE4 remake. If you know that encounter, you know the shape of this one — parries and dodges over sustained gunfire, reading attack patterns rather than out-damaging them.
Go in with hatchet durability topped up and your parry timing warm. It is one of the few fights in Leon's campaign where raw purchased firepower is not the answer.
For the full picture of the campaign, including Grace's completely different ruleset, start at the Resident Evil Requiem coverage hub or browse the rest of the Mythras blog.
Quick Action Checklist
- Equip the Tactical Tracker immediately. Kills generate zero credits without it, and there is no retroactive payout.
- Hunt Tracking Modules during exploration — rarer modules pay out substantially more.
- Buy the expanded attaché case first. Capacity multiplies the value of everything else.
- Concentrate weapon upgrades on one primary rather than spreading them.
- Treat body armor as repairable infrastructure, not a consumable. Take the hits, pay the repair.
- Use the hatchet constantly and resharpen in every lull. Unlike Grace's knives, it never breaks for good.
- Execute stunned Blister Heads with the hatchet.
- Push aggressively during chainsaw segments — those kills cost no ammo and still bank credits.
- Merge hand grenades into Stacked Hand Grenades for clustered enemies.
- Check the floor for intact heads before popping a Blister Borne's cysts.
- Prioritize BSAA artillery positions over the infantry guarding them.
- Play Elite Guard encounters as stealth, not as combat.
- Approach The Commander like the RE4 remake Krauser fight — parry and dodge, do not trade damage.
Frequently Asked Questions
How does the Supply Box work in Resident Evil Requiem?
What is the Tactical Tracker in Resident Evil Requiem?
Does Leon's hatchet break in Resident Evil Requiem?
How do you kill a Blister Borne?
How do you beat the Elite Guard in Resident Evil Requiem?
Keep Reading
Related Guides
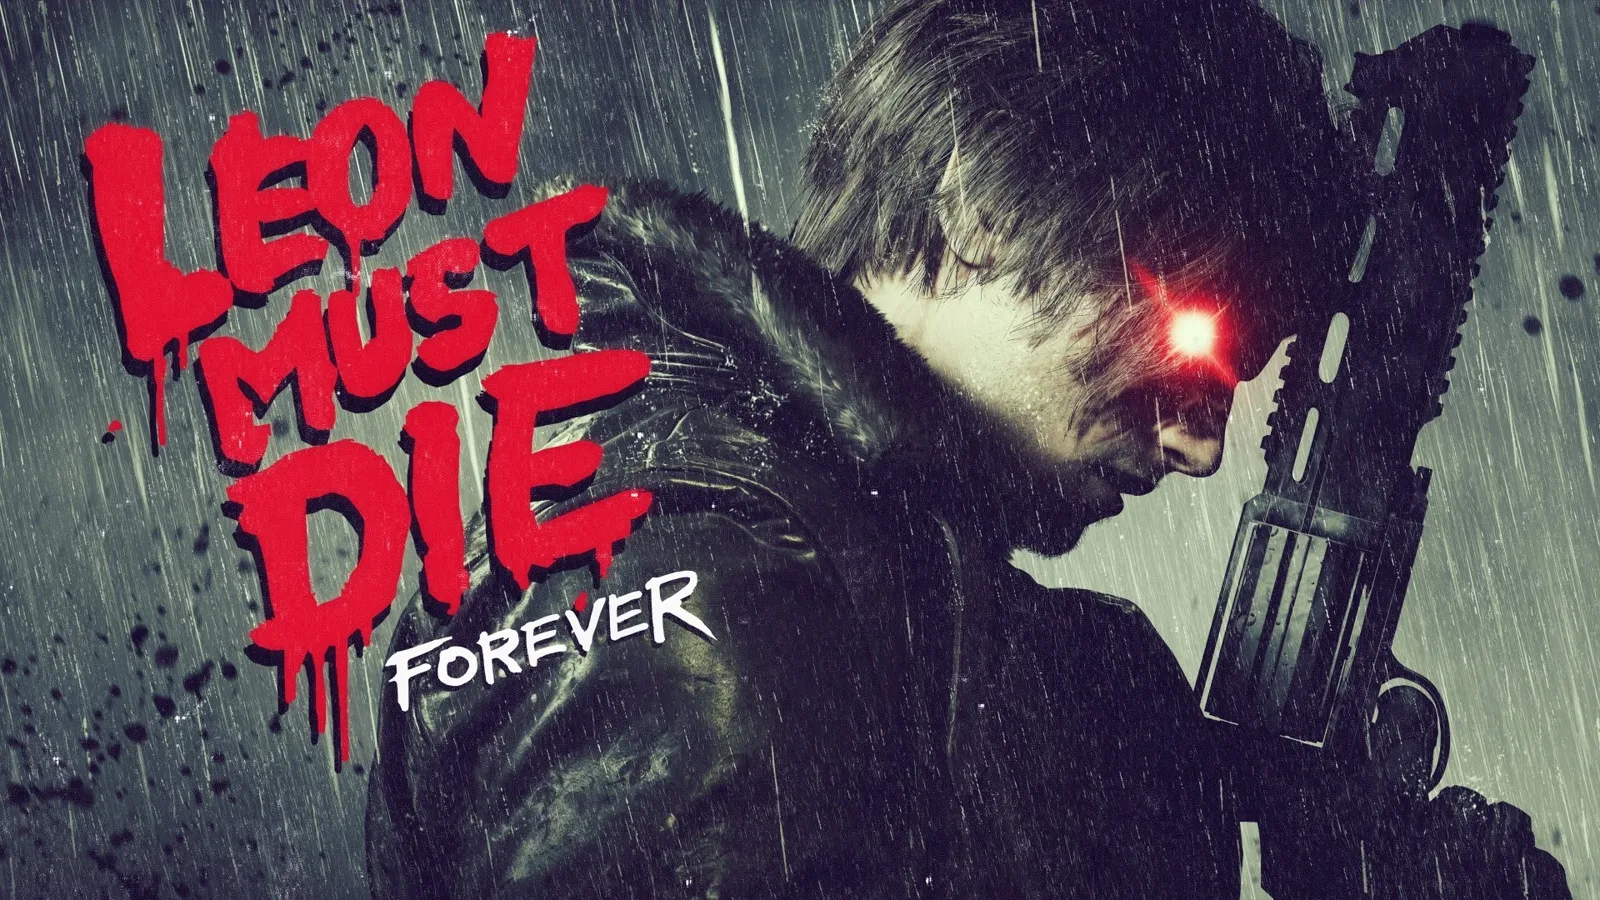
Leon Must Die Forever Guide: Enhancers, Ranks, and Routes
Requiem shipped without a Mercenaries mode. Three months later Capcom dropped one for free, and it is stranger and meaner than the one you were expecting.
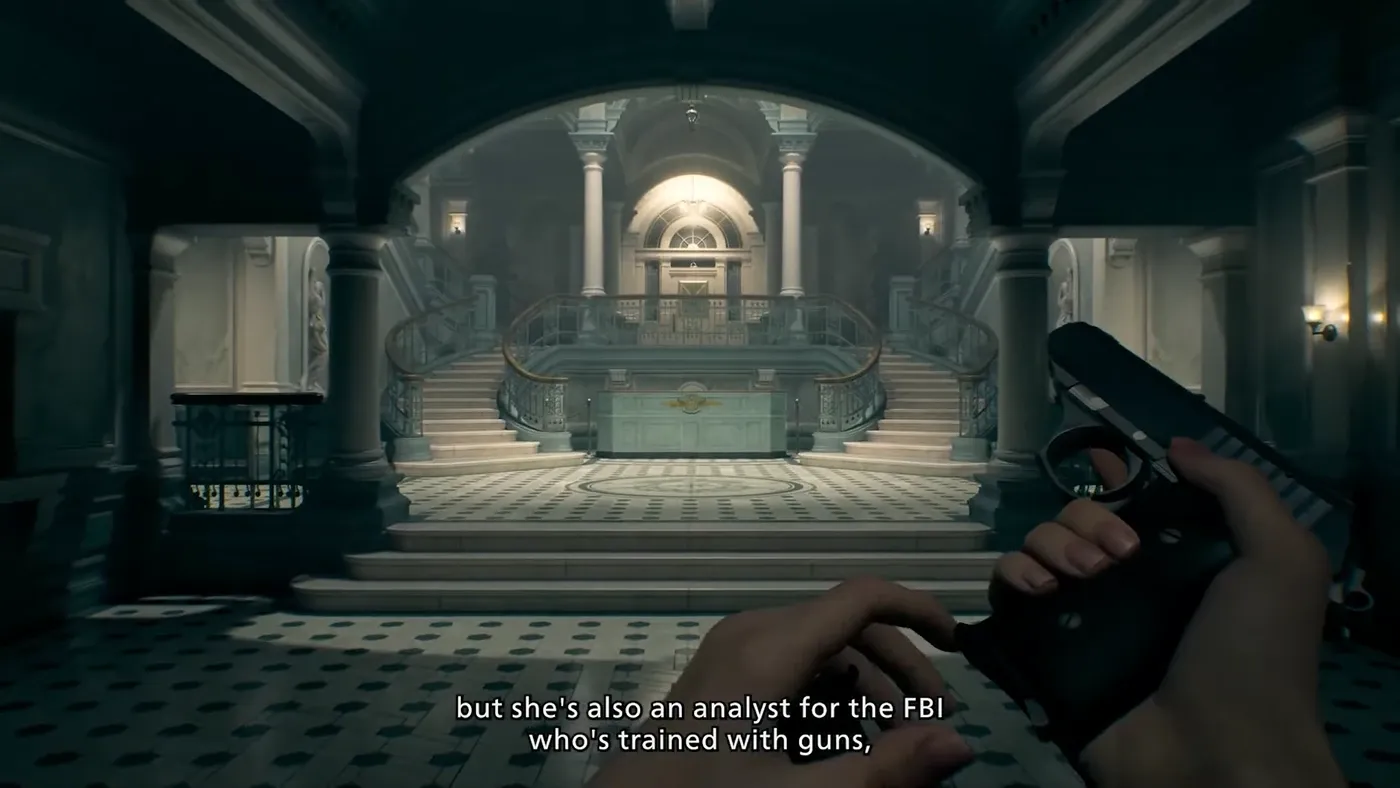
Resident Evil Requiem Beginner Guide: Your First Five Hours
Requiem is two games wearing one trench coat, and the settings you pick in the first ten minutes shape both of them. Here is what actually matters before you start.
Resident Evil Requiem Challenges: All 62 and What CP Actually Buys
Infinite ammo costs 50,000 CP. Forty-six of Requiem's fifty-one story challenges, combined, pay 35,000. The unlock economy is front-loaded onto five brutal runs, and nobody tells you that up front.
Resident Evil Requiem Release Date, Platforms and Editions: What Is Confirmed
When Requiem launched, which platforms it hit, what the three editions actually cost, and the confirmed PC specs — the buyer-facing facts, stripped of the guesswork.

Resident Evil Requiem Story and Setting: What Is Confirmed
Requiem is the ninth mainline Resident Evil, and it finally goes back to Raccoon City. Here is what Capcom has actually confirmed about the story, separated from the guesswork.

Which Resident Evil Games Should You Play Before Requiem?
You do not need to play nine games to understand Requiem. You need one, maybe two. Here is the honest catch-up list, what each one actually sets up, and what you can skip without missing anything.