The Last of Us Part 2 Enemies: Every Faction and New Infected
The first game gave you one kind of human enemy in three different jackets. Part II gives you three factions that fight nothing alike — an army with dogs, a cult that communicates in whistles, and a slaver gang in riot helmets — plus two infected the original never had. Here is what each one actually does and what breaks it.
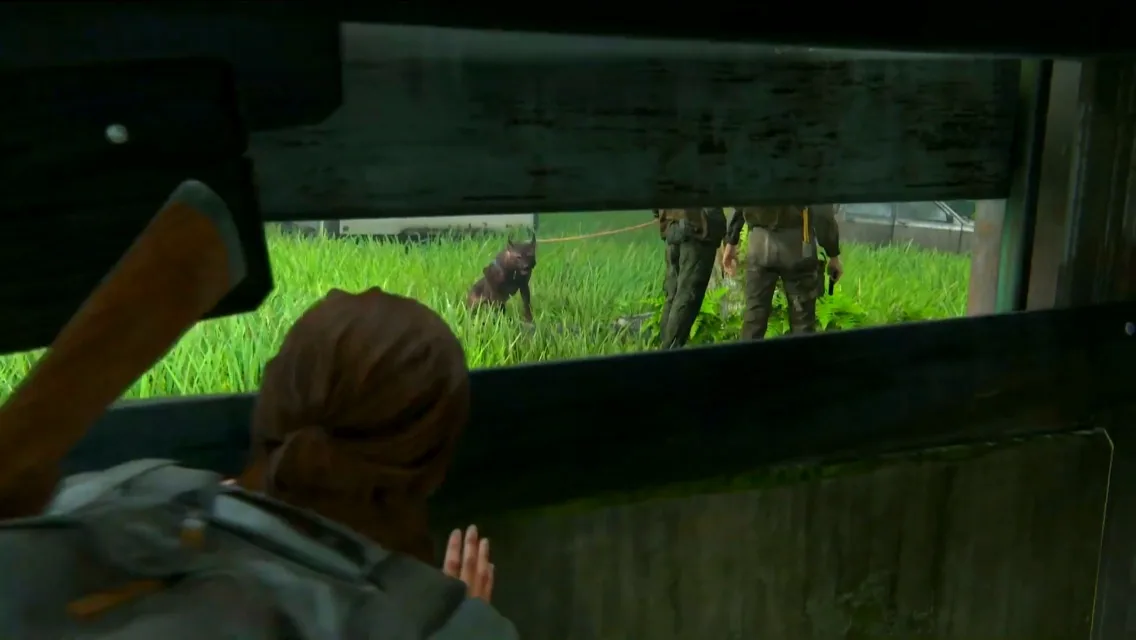
In the first game, human enemies were one problem wearing different jackets. Hunters in Pittsburgh, bandits in the suburbs, Fireflies in the lab — they shot at you, took cover and flanked, and the answer was broadly the same answer.
Part II splits them into three factions that fight nothing alike, and then adds two infected the original doesn't contain. A brick that solves a WLF patrol does very little about a Seraphite who has already whistled your position to four other people, and neither trick touches a Rattler in a riot helmet.
Everything below is The Last of Us Part II and Part II Remastered, not the first game and not the HBO show. If you want the four infected stages of the original — runners, stalkers, clickers, bloaters — those live in the infected guide, which deliberately leaves the Part II creatures alone. Light encounter spoilers ahead: factions, enemy types and the areas they hold. No story beats.
Three factions, three different problems
| Faction | Where | Signature | The lever that works |
|---|---|---|---|
| WLF ("Wolves") | Seattle, most of it | Military hardware, big numbers, trained dogs | Break the scent trail, then fight the survivors like soldiers |
| Seraphites ("Scars") | Seattle forests, outskirts, the island | Bows, melee, whistled coordination, ambushes | Deny them the ambush — they are weakest in a straight fight |
| Rattlers | Santa Barbara | Body armor, riot helmets, traps, dogs | Stealth kills and the silenced SMG; release the chained infected |
They are not equally dangerous in the same way. The WLF outnumber and outgun you. The Seraphites out-position you. The Rattlers simply absorb bullets that would drop either of the other two.
The WLF has guns, numbers and dogs
The Washington Liberation Front started as an anti-FEDRA protest movement founded by Emma and Jason Patterson in the mid-2020s, escalated into open war after the military killed the Pattersons, and eventually drove FEDRA out of Seattle entirely. By the time you arrive, Isaac Dixon runs it as a militia at war with the Seraphites.
That history is why they fight the way they do: they inherited the army's stuff. Wiki-documented WLF armament runs to 9mm pistols, revolvers, military pistols, pump shotguns, semi-auto rifles and hunting rifles, plus pipe bombs, smoke bombs and trap mines strung up to catch wandering infected. Melee-wise it's crowbars, hammers, machetes, baseball bats, pipes, hatchets and felling axes. They drive repurposed FEDRA Humvees and trucks. They're organised into units with callsigns pulled straight off the NATO alphabet — Alpha, Bravo, Echo, Kilo, Lima, Oscar, Papa, Tango and a dozen more.
Two things about them are worth building tactics around.
They mostly aren't armored. The wiki notes a dead WLF soldier wearing a salvaged FEDRA vest, but says no living soldier is observed in body armor by 2038. Headshots land. Compare that to Santa Barbara later and you'll feel the difference immediately.
They're bad at fighting infected. The wiki logs a WLF group killed by shamblers and clickers in the Seattle subway, a patrol overwhelmed by stalkers in an apartment building, and three lookouts killed by runners. They don't hold downtown Seattle at all, because it's infested. Any room that contains both a patrol and infected is a room you should be watching from cover rather than entering.
There's a third quirk that flatters small, sneaky play: WLF members are noted as preferring to face larger enemy forces, because that turns into a straight fight. Small groups that hide and use guerrilla tactics gave them far more trouble. You are, structurally, the thing they hate.
Dogs are a mechanic, not an enemy type
Stealth in Part II is a different problem because of this, and Naughty Dog stated it plainly in the PlayStation Blog hands-on preview: "Trained guard dogs are on patrol, which can follow your scent and chew up your well-laid plans. Activate Listen Mode to see your scent trail."
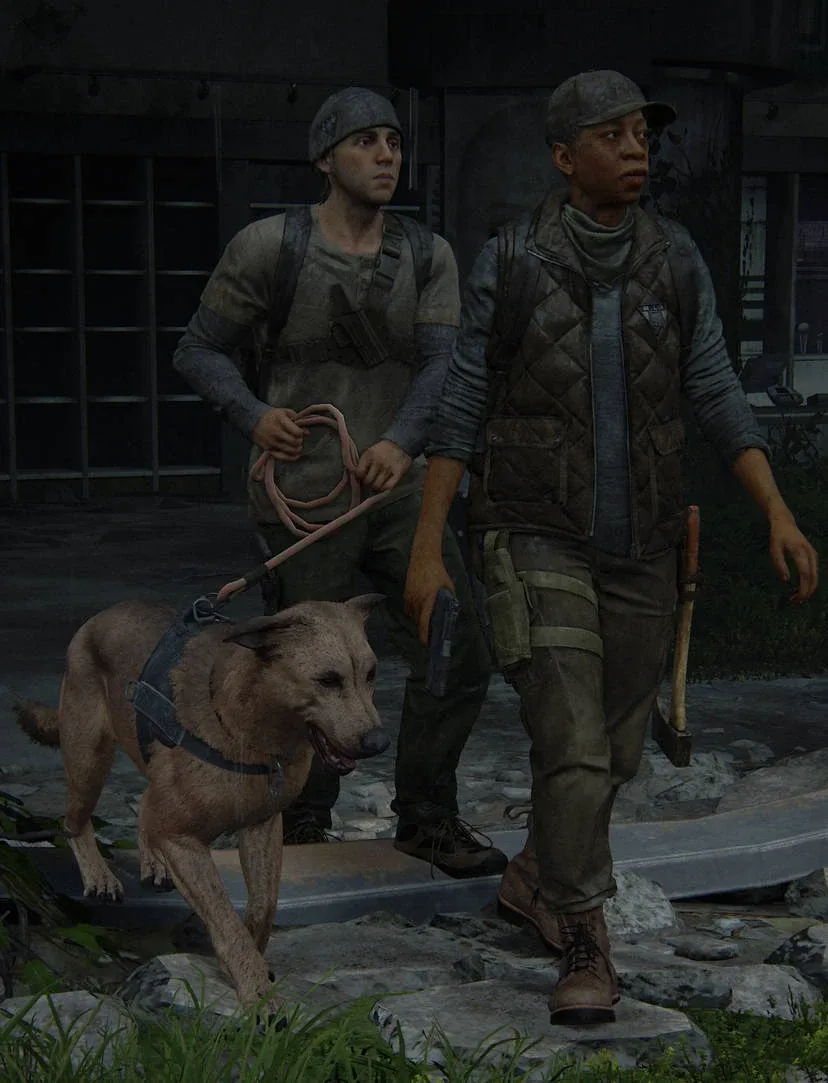
The dogs are German Shepherds and Dobermans, chosen in The Art of The Last of Us Part II for their scent work. The mechanical consequence is that hiding stops being a position and becomes a history. Everywhere you walked is still there, glowing, and something is reading it. Four ways out, in rough order of how much they cost you:
- Get distance and keep moving. Game8's breakdown notes that moving around widens the trail so it covers more ground, making your current position harder to pin. Gamepressure's guide puts it more bluntly — go the opposite way and run until no scent trail is visible.
- Throw a brick or a bottle. Noise pulls the dog off the trail it's following. This is the cheapest option and it costs one throwable.
- Kill the handler, then the dog. Dogs patrol with an owner and work at that owner's command, but removing the handler does not remove the dog. Game8 is explicit that dogs cannot be stealth killed — they hear or smell you before you get close — so the quiet route is the bow or a suppressed pistol on the handler first, and then dealing with the dog.
- Kill the dog. Silenced weapons, the bow, Molotovs and mines all work. Gamepressure notes dogs can also be spared entirely, which makes a no-dog-kills run viable if you want the extra difficulty.
Ellie's own new movement options exist partly to service this. The same PlayStation Blog preview describes going prone — "Ellie can now drop to the ground by holding Circle" — as a way to break line of sight and crawl, and a dedicated dodge for close-quarters attacks. Prone breaks sight. It does nothing about smell. Those are two separate detection systems now, and the dogs are the reason.
The dogs aren't exclusive to Seattle either — see the Rattlers below.
The Seraphites whistle because you speak English
The Seraphites — "Scars" to everyone who isn't one — are a primitivist religious cult founded in the Lower Queen Anne suburb between September 2013 and March 2014 around a woman later called the Prophet. After her death, Elders took over. Their doctrine rejects pre-outbreak technology, though Lev notes that soldiers are granted an exemption so they can fight.
That doctrine is a combat profile. They lead with bows and arrows and a deep bench of melee — sickles, machetes, clubs, hammers, staves, pickaxes — and back it with a smaller pool of firearms: bolt-action rifles, repeating rifles, double barrel shotguns, revolvers and semi-auto pistols. Equipment that poor makes a stand-up fight a losing proposition, so they don't have one. They ambush, they ride horses, and they specifically target WLF trucks to stop patrols driving away from the ambush.
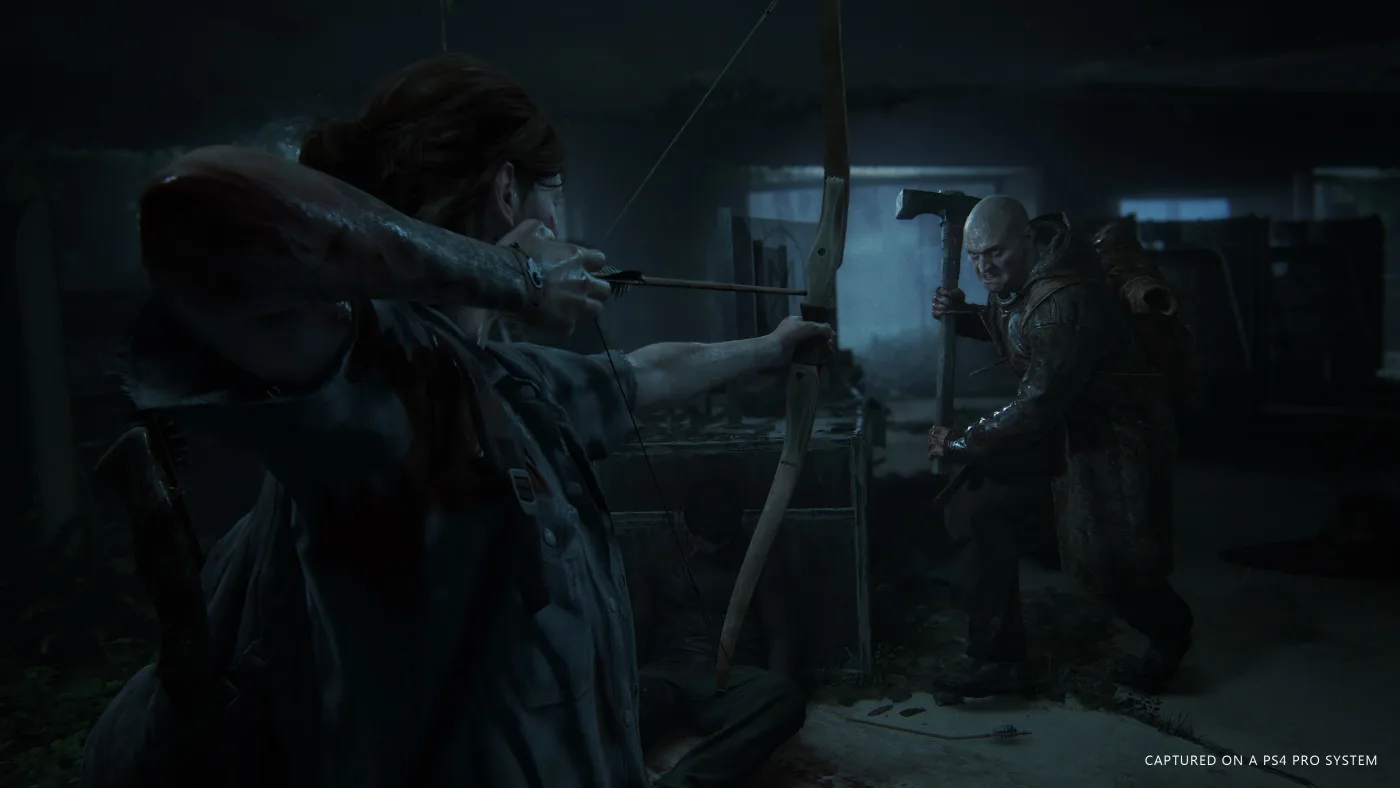
Then there's the whistling. The Seraphites coordinate searches, pass information and set up flanks using whistles because almost everyone they fight speaks English. It isn't atmosphere. It's an encrypted comms channel, and you are the one without the key. When a WLF soldier shouts "she's behind the car," you know exactly how much trouble you're in. When a Seraphite whistles twice, you know only that something changed.
Some numbers to size the war you've walked into: the Seraphite fighting force is put at a little over five hundred, against a WLF that holds thousands of Seattle residents and several battalions of soldiers. The Seraphites are losing on paper, and Isaac still believed they could win.
The uniformity is a tell in itself. Every Seraphite carries a Glasgow smile as a mark of humanity's imperfection, and all of them wear the same dark trousers, white undershirt and hooded leather coat — so one hooded silhouette in a treeline at dusk means several. Their vocabulary carries too: defectors are "apostates", the Cordyceps is "the corruption", and infected are "demons".
The Rattlers are the ones in armor
Santa Barbara's slaver gang operates out of Hacienda Polanco, a converted oceanside resort, and it changes the rules on you late.
Rattlers wear armor. Most members carry a ballistic vest, a riot helmet, or both, and the wiki is explicit that the helmets let them resist headshots. This is the exception in Part II rather than the norm — the WLF's living soldiers aren't described in armor and the Seraphites aren't either, so the entire game trains you on unarmored humans and then stops.
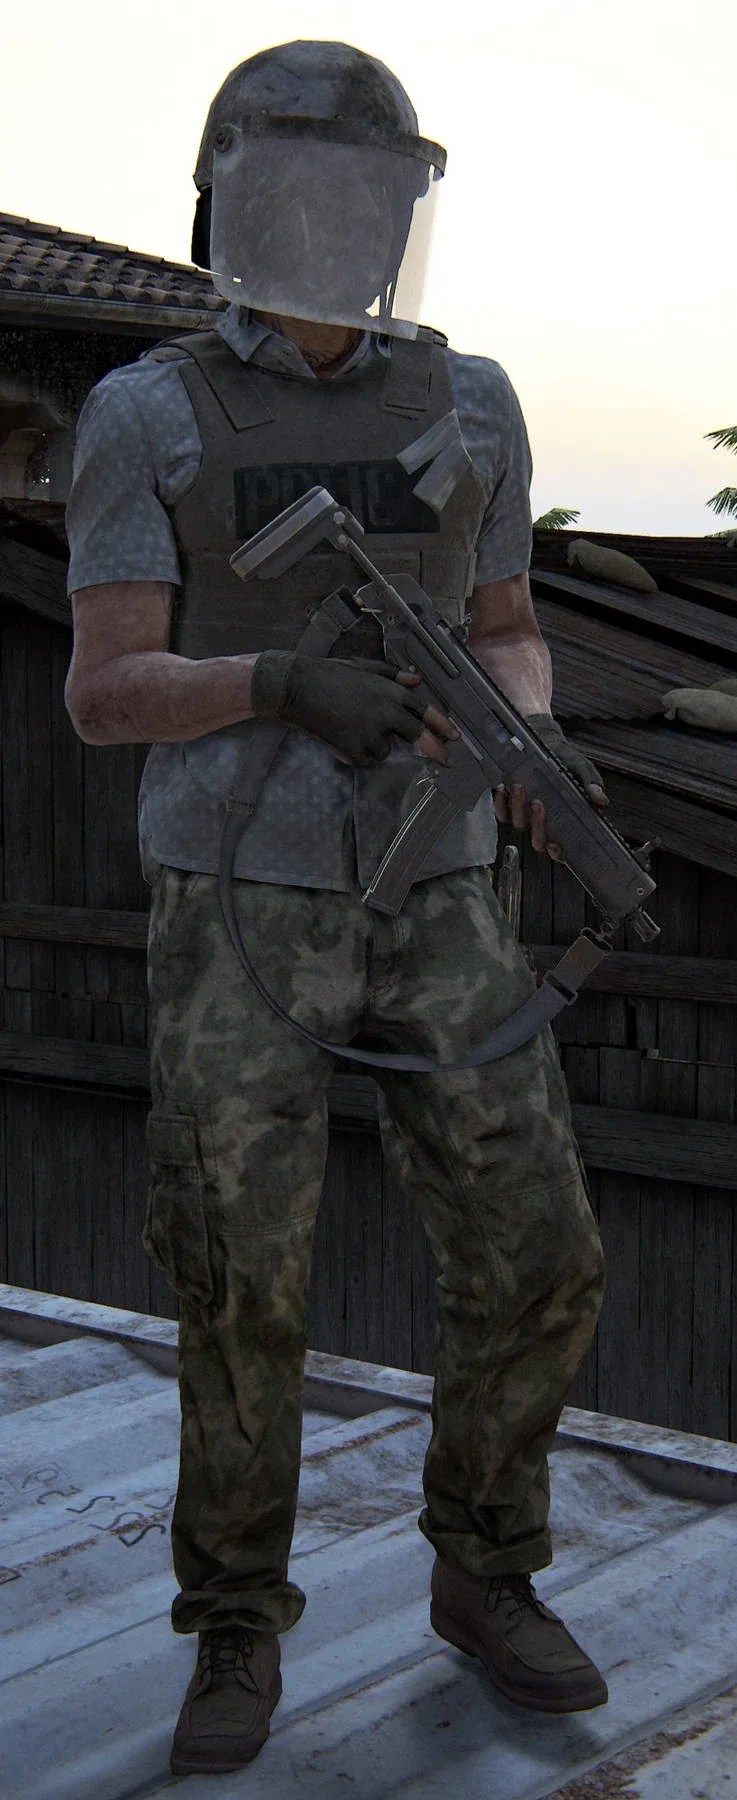
It is not a coincidence that the silenced submachine gun shows up exactly here. The wiki frames it as the weapon Ellie acquires that helps counter Rattler armor, and it's the last gun in the game — a suppressed, 20-round answer to helmets, with no workbench upgrades of any kind. The Part 2 weapon upgrades guide covers why it and the flamethrower sit outside the upgrade economy entirely.
The rest of the Rattler package:
- Traps. Booby traps are set across the suburbs and woodland they patrol, which is how Ellie enters the chapter in the first place.
- Numbers and range. Automatic rifles, bolt-action rifles, pistols, shotguns and Molotovs. Even the poorest-equipped Rattler carries a pistol and a melee weapon, and melee troops flank to flush you out of cover rather than charging it.
- Dogs again, but harder. Patrols hunting runaway slaves use tracking dogs, and those dogs wear canine bulletproof vests. The brick trick still works. Shooting them is worse value than it was in Seattle.
- Chained infected. The Rattlers keep captured infected chained around the property as guard animals, and you can let them off. Game8 recommends approaching without triggering an alert and freeing them all at once; the wiki notes clickers in particular wreck the patrol patterns and kill surprised or underequipped Rattlers outright.
Against armored bodies, game8's guidance is to lean on stealth kills, save silenced weapons and the bow for unarmored targets, keep a shotgun for the moment cover breaks, and use mines in corridors. Nothing about that fight rewards trading shots.
Shamblers are not bloaters
The shambler is an alternate fourth stage of infection rather than a bigger bloater. In-game documentation attributes them to heavy water exposure — Seattle's rain and humidity — where bloaters develop in dry conditions. They turn up in Seattle and, later, in Santa Barbara.
The PlayStation Blog preview describes them exactly: "Shamblers are horrifying, walking pustule-clusters that spray gaseous acid when they get near you and take a ton of damage. Once defeated, these festering threats explode with violent force."
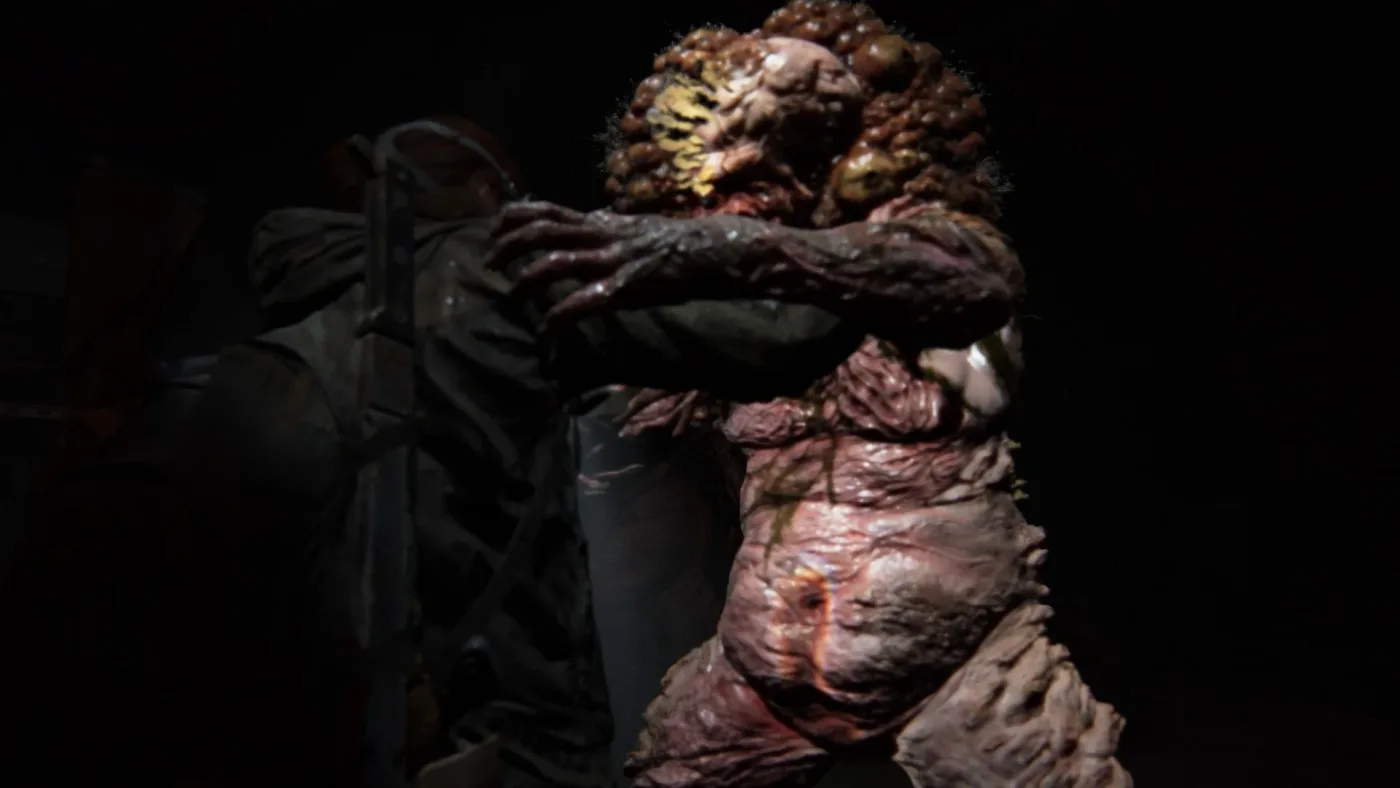
Four differences from a bloater that actually change your inputs:
- No fungal plates. Bloaters and clickers carry armoring fungal plate. Shamblers don't, which leaves them vulnerable to precision damage in a way a bloater isn't.
- You can wrestle out of a grab. Both Ellie and Abby can throw a shambler off. A bloater's grab is not a thing you escape.
- They come in packs. Bloaters are usually a single problem. Shamblers appear in groups, and they'll climb over obstacles rather than route around them.
- They're slow until they're not. Most survivors can outrun one, but noise makes them sprint.
The kill is fire and explosives: flamethrower bursts, Molotovs, trap mines as Ellie, pipe bombs as Abby. Bricks still work as a lure to bunch a group together before you commit the Molotov. And because the corpse detonates into a damaging spore cloud, "kill it and walk past" is not a plan — kill it and be somewhere else.
The rat king is three fights
One enemy, one location, three phases.
The rat king is a super-organism: multiple stalkers, clickers and a bloater fused together by the fungus in the basement of the Lakehill Seattle hospital. Per Nora's dialogue it formed from some of the first people infected in Seattle, meaning roughly 25 years of growth in a room thick enough with spores to merge them. The wiki counts at least nine conjoined infected in there, working from the nine visible left hands on the model. It is the only known case in the game.
It plays out in three phases, and phase two is where runs die:
- The mass. It charges through everything, fire included, and it can kill outright by grabbing you or by emitting mycotoxin the way a shambler does. Distance is the whole game. Save incendiary ammunition and bombs for it.
- The split. After enough damage it separates into a bloater half and a stalker half — and the stalker half is invincible until the bloater half is dead. Shooting the stalker in this phase is wasted ammunition. Lure the bloater into the supply room in the back left corner of the basement, funnel it into the corridor, and resupply while you're there.
- The stalker. It flees, then ambushes you at the vents, hiding and lobbing spore bombs from range. Closing the distance shuts the projectiles down, so melee is efficient if your dodges are reliable. Sweep the basement for supplies before you follow it.
If it feels familiar from somewhere else, that's because it's also the final unlockable boss in Part II Remastered's roguelike mode, where it one-shots you — the No Return guide covers that ladder.
Part II's stalkers are a different enemy
Stalkers exist in both games, and treating them the same is a mistake.
In Part II they hole up in poorly lit buildings, parking lots, sewers, subways and the forest in Seraphite territory. They're difficult to pick up in Listen Mode. Approached, they run and hide in shadow instead of charging, and stay silent — they only turn aggressive when provoked or hit with something loud like a gunshot or an explosion. In groups they hide and attack in a coordinated way rather than swarming. The wiki characterises their Part II appearances as closer to mini-boss encounters than the three scripted meetings the first game gave them.
The genuinely unsettling variant: inside buildings, some stalkers have grown into the walls, with fungus spreading out of them. Left alone they eventually calcify and die. Found by a survivor, they tear free and attack. A wall is not cover in this game. The good news is that adult Ellie can outwrestle a stalker in close quarters and dodge their surprise attacks, which the fourteen-year-old of Left Behind could not.
While we're on infected that break the rules: the three clickers in the Westlake Bank wear man-made body armor, because they were the bank's security guards before they turned. That's the same vault run that hands Ellie the pump shotgun.
They call each other by name
This is a design decision rather than a mechanic, but it has a tactical edge worth knowing. Human enemies in Part II carry assigned names, and they use them. Co-director Kurt Margenau, in Nerdist's hands-on preview: "For them, they're just on a patrol, and they're calling each other by name. They have assigned names in the game and they'll sometimes call them out."
The same interview gives the part you can actually exploit: "If you stealth kill one guy and they were in the middle of a conversation, he'll notice that he's not responding and go check it out." A silent kill isn't silent if it interrupts an exchange. Take bodies out of a patrol between conversations, not during them.
The rest of the AI behaves accordingly — Nerdist describes enemies calling out your cover position, "She's behind the car!", while one pins you with suppressing fire and the others loop into a pincer. Neil Druckmann's framing before that session was that "running away is a valid strategy," which is unusually honest advice from a developer about their own combat system, and correct more often than it sounds.
Quick Action Checklist
- Treat the three factions as three different games: outgun-and-outnumber (WLF), out-position (Seraphites), out-armor (Rattlers).
- Enter Listen Mode the moment a dog barks. Your scent trail is drawn on the ground, and that trail is what the dog is following.
- Break a trail by moving away and throwing a brick or bottle. If you mean to kill the pair, take the handler out first — the dog itself cannot be stealth killed.
- Prone breaks line of sight and does nothing about scent. They are separate detection systems.
- Seraphite whistles are coordination, not ambience. Two whistles means a flank is already moving.
- Bank headshots against the WLF and the Seraphites. Bank stealth kills and the silenced SMG against helmeted Rattlers.
- Free the chained infected on the Rattler property before you're spotted, then let the clickers rewrite the patrol routes.
- Shamblers have no fungal plates, so precision damage works — but stand clear of the corpse, which explodes.
- On the rat king, do not shoot the stalker half until the bloater half is dead. It is invincible until then.
- Loot the hospital basement before chasing the stalker half into the vents.
- Time stealth kills for the gaps in patrol conversations. Enemies notice when someone stops answering.
Frequently Asked Questions
What are the three enemy factions in The Last of Us Part 2?
How do you deal with dogs in The Last of Us Part 2?
Why do the Seraphites whistle in The Last of Us Part 2?
Which enemies in The Last of Us Part 2 wear body armor?
What is a shambler in The Last of Us Part 2?
How do you beat the rat king in The Last of Us Part 2?
Are stalkers different in The Last of Us Part 2?
Do enemies in The Last of Us Part 2 really have names?
Keep Reading
- Washington Liberation Front — The Last of Us Wiki
- Seraphites — The Last of Us Wiki
- Rattlers — The Last of Us Wiki
- Shambler — The Last of Us Wiki
- Rat king — The Last of Us Wiki
- Stalker — The Last of Us Wiki
- Armor — The Last of Us Wiki
- Hands-on with The Last of Us Part II: new gameplay details revealed — PlayStation.Blog
- We Played 3 Hours of The Last of Us Part II — Nerdist
- Scent Trails Explained — Game8
- Rattlers: Battle Tips and Strategy — Game8
- The Last of Us 2: Dogs guide — gamepressure.com
Related Guides
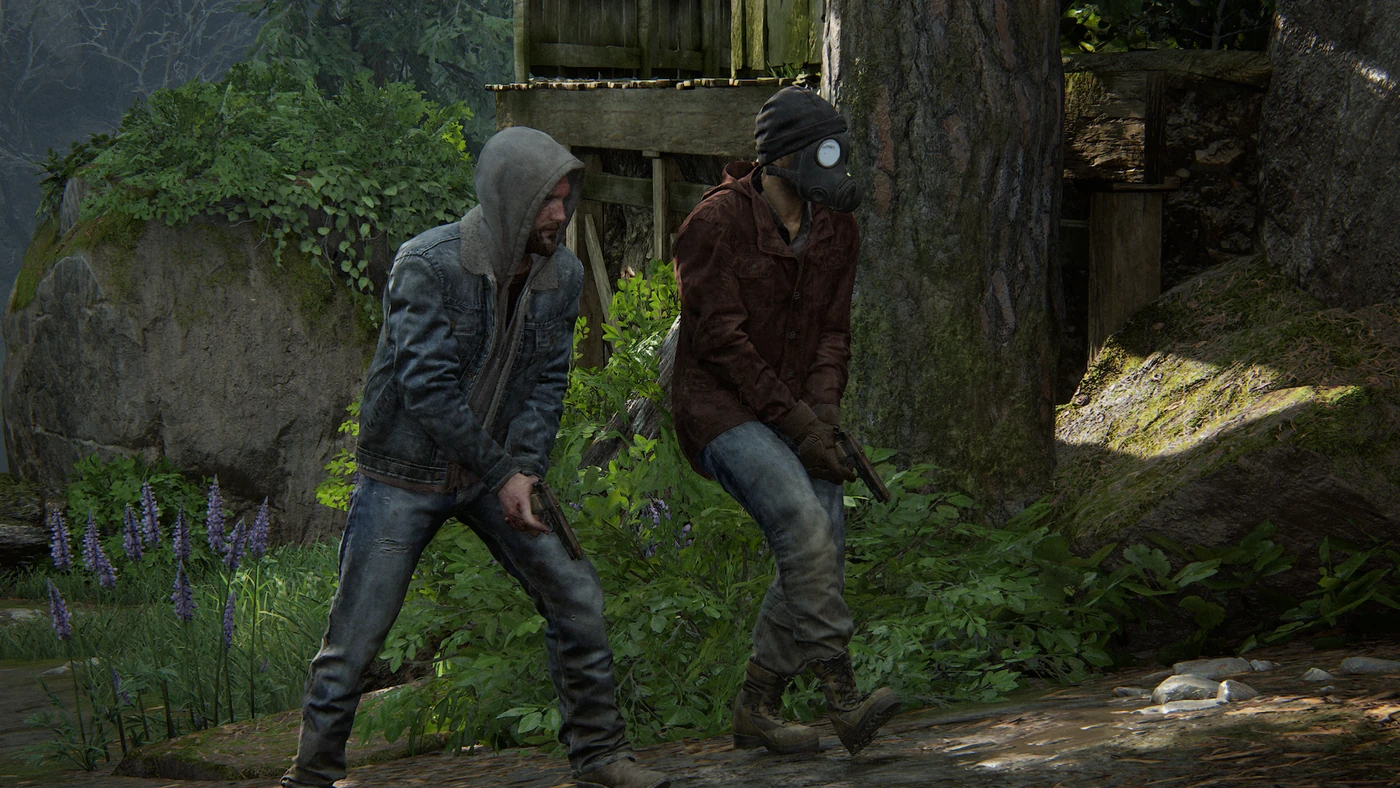
The Last of Us Part 1 Human Enemies: All Six Factions
Six human groups fight Joel and Ellie across eight of Part I's twelve chapters, and they do not carry the same kit. Where each one appears, what the wiki lists them carrying, who wears armor, and what the 2022 remake changed about how they hunt you.
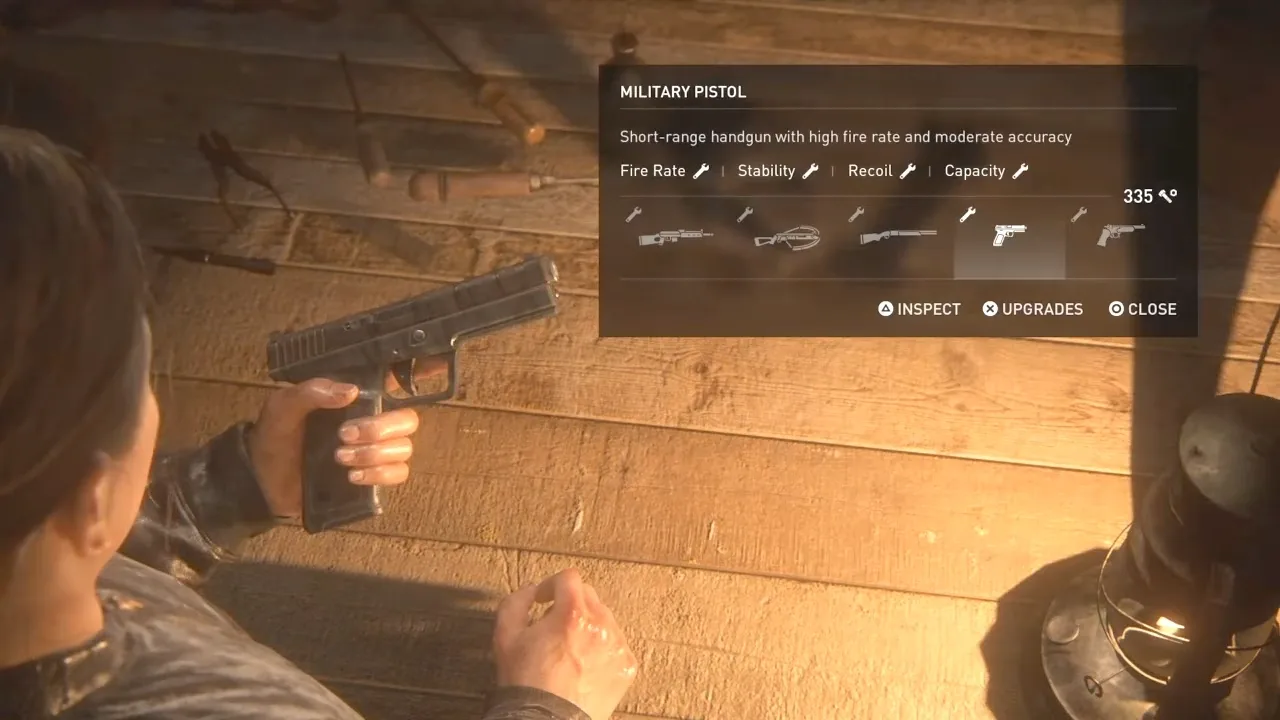
The Last of Us Part 2 Weapon Upgrades: All 1,920 Parts
Twelve guns, but only ten of them accept a single part. Fully upgrading The Last of Us Part 2 costs exactly 1,920 parts spent from two wallets that never talk to each other — and one upgrade alone eats 100 of them. Here is every cost, every gun location, and the buy order that survives Seattle.
The Last of Us Part 2 Skills Guide: Every Branch and Cost
Fifty player upgrades, ten branches, 1,900 supplements — and Ellie and Abby spend from completely separate wallets. Here is every branch with its real cost, all eight training manual locations, the cheapest route to the Specialist trophy, and the four upgrades worth buying in your first hour of Seattle.
The Last of Us Photo Mode Guide: Every Version Compared
Photo Mode has shipped in four Last of Us releases and the toolkit is different in each. How to open it, what each Part II tab does, what Part I and Part II Remastered added, and the slider settings Naughty Dog's own staff use.
The Last of Us Infected Guide: How to Beat Every Type
A clicker cannot see you and cannot be strangled. Those two facts decide more encounters than any gun you own. Here is how all four infected stages actually work, and what to spend on each.

The Last of Us Part 1 Skins: All 55 and What They Cost
Part I kept all 21 skins from the 2013 game, added 18 outfits and 16 weapon skins, and put the lot in one points shop. Here is the listed price of each skin, filter and modifier, what the Digital Deluxe Edition actually unlocks, and the two Steam-only shirts.