The Last of Us No Return Guide: Every Unlock, Character and Boss
No Return is the only genuinely new thing in The Last of Us Part II Remastered, and it hides most of itself behind a progression ladder nobody explains in-game. Here is the full run structure, every character unlock, all six bosses in order, and what the three currencies are actually for.
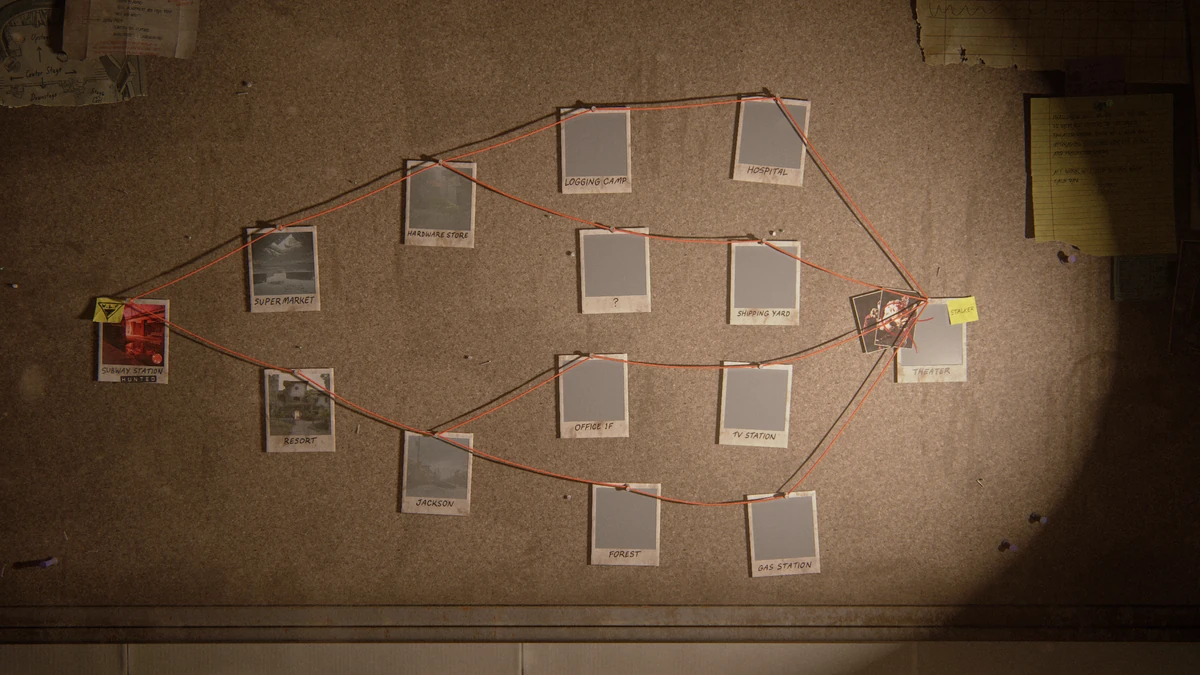
Nothing in No Return prepares you for the moment the sixth Polaroid on the board stops being a location and starts being a health bar. Five encounters of scavenging, one boss, and if it is the Rat King you get exactly one mistake before the run is over. That structure — short, brutal, repeatable — is why No Return is the best thing Naughty Dog has shipped since the campaign itself, and why so many people bounce off it in the first hour. Half the mode is locked behind a progression ladder the game never bothers to explain.
This is the whole ladder. Run structure, all twelve playable characters and their unlock conditions, every boss in order, what the three separate currencies do, and how mods, gambits and dead drops fit together. No fluff about what a roguelike is.
One scope note before we start: No Return exists only in The Last of Us Part II Remastered, which landed on PS5 on 19 January 2024 (a $10 upgrade if you owned the PS4 original) and on PC on 3 April 2025. It is not in the 2020 PS4 release, it is not in Part I, and it has nothing to do with the HBO show. If you own Part II on PS4 and cannot find the mode, that is why.
How a No Return run actually works
A run is six encounters long, and the sixth is always the boss. That is it. No endless spiral, no forty-minute commitment — a clean run is roughly a lunch break.
Between fights you sit in the Hideout and look at a corkboard covered in Polaroids, each one a location with an encounter type stamped on it. Red string links them into a branching route from your starting node to the final Theater node. At certain points the board offers you two paths and taking one closes the other, so route planning is a real decision rather than decoration. You are picking which enemy faction, which map, and which encounter type you want to spend your next three minutes on.
Those locations are pulled straight out of the campaign — Jackson, the Super Market, the Hospital, the TV Station, the Shipping Yard, the Forest, the Resort, the Gas Station, the Theater and more. The free update that shipped alongside the PC launch added four more: Overlook (high above Seattle, heavy verticality), School (the abandoned elementary school), Streets (the overgrown Hillcrest neighbourhood) and Nest (the Infected-choked building from Abby's campaign).
There are four encounter types, and they demand genuinely different things from you:
| Type | Objective | What it punishes |
|---|---|---|
| Assault | Clear three waves of enemies | Sloppy resource use across a long fight |
| Hunted | Survive until the timer runs out | Standing still; reinforcements never stop |
| Capture | Break into a guarded safe | Getting spotted early and losing your stealth window |
| Holdout | Defend a position with an AI partner | Ignoring your ally and getting flanked |
Assault and Hunted are available from the start. Holdout and Capture are locked until you have completed a handful of runs, which is the first sign that the mode is drip-feeding you content rather than showing its hand.
Parts, supplements and currency are three different economies
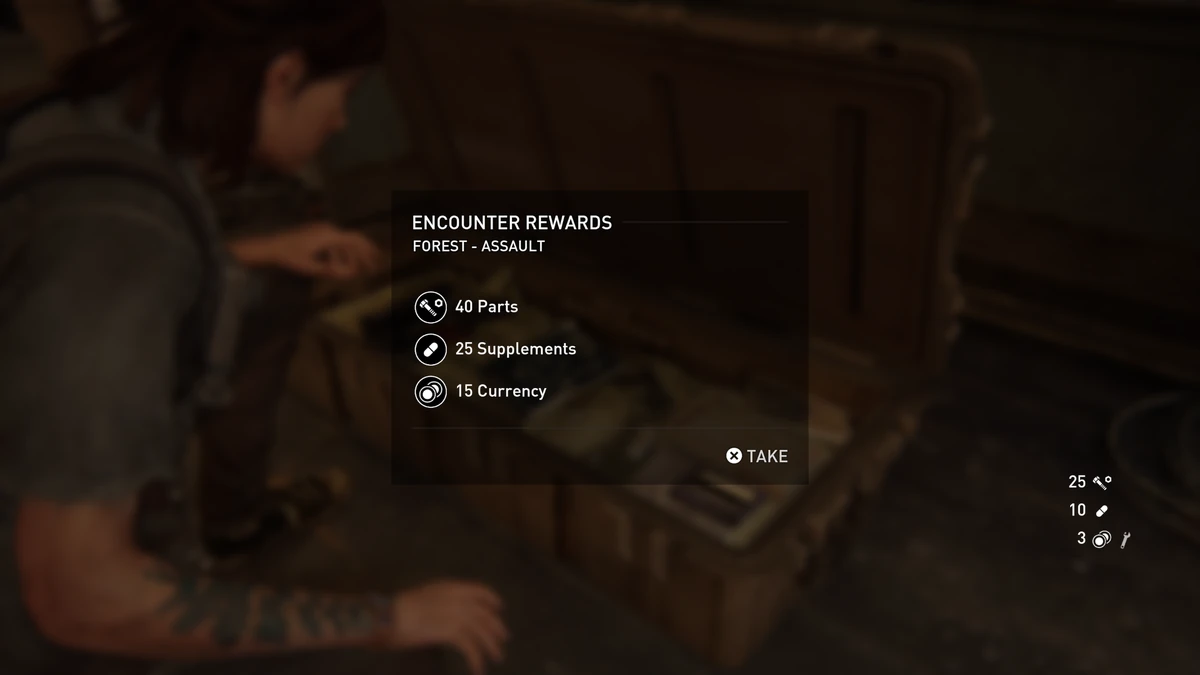
This is the single most common thing new players get wrong, so here it is plainly. Survive an encounter and you crack open a reward case that pays out in three separate resources, and each one buys a completely different kind of power:
- Parts upgrade your weapons at the workbench. Stability, capacity, reload speed — the same system as the campaign, compressed into a run.
- Supplements buy skills inside your upgrade branches. Each tier in a branch has its own supplement cost, and the costs climb steeply, so you will not be maxing two branches in one run.
- Currency is spent at the Trading Post in the Hideout on actual items — weapons, holsters, recipes, ammo.
Twenty-one upgrade branches exist across the mode. Each of the ten original characters starts with one signature branch locked to them, and the remaining eleven are found during runs. Ellie starts on Perseverance, Joel on Shiv, Tommy on Marksman, Abby on Brawler, Lev on Archery, Yara on Ally, Jesse on Guerilla, Dina on Double-Craft, Mel on Healing, Manny on Munitions.
The practical consequence: do not spread your spending. A run gives you enough to go deep on one branch or shallow on three, and shallow on three loses. Pick the branch that matches the character you chose at the board and commit to it. If Part I's crafting economy taught you to hoard, unlearn it here — hoarded currency at the end of a run is currency you set on fire, because none of it carries over. Our crafting and upgrade guide covers the campaign version of that economy, which is where the instinct comes from.
Every playable character and what they actually do
Twelve characters total. Ten shipped with the mode, split evenly between an Ellie-aligned faction and an Abby-aligned faction; Bill and Marlene arrived in the free update. You start with exactly two of them, and the rest chain-unlock down each faction's list.
| Character | Unlock | Signature trait |
|---|---|---|
| Ellie | Available from the start | 50% more supplements, Molotov recipe |
| Dina | Complete 2 encounters as Ellie | Trap mine and stun bomb recipes, double-crafting |
| Jesse | Complete 3 encounters as Dina | 30% more currency, unique Trading Post stock |
| Tommy | Complete 3 encounters as Jesse | Custom sniper rifle, sturdier in melee, cannot dodge |
| Joel | Complete 4 encounters as Tommy | Custom revolver, shiv recipe, melee durability |
| Abby | Available from the start | Starts with a hammer, heals on melee kills |
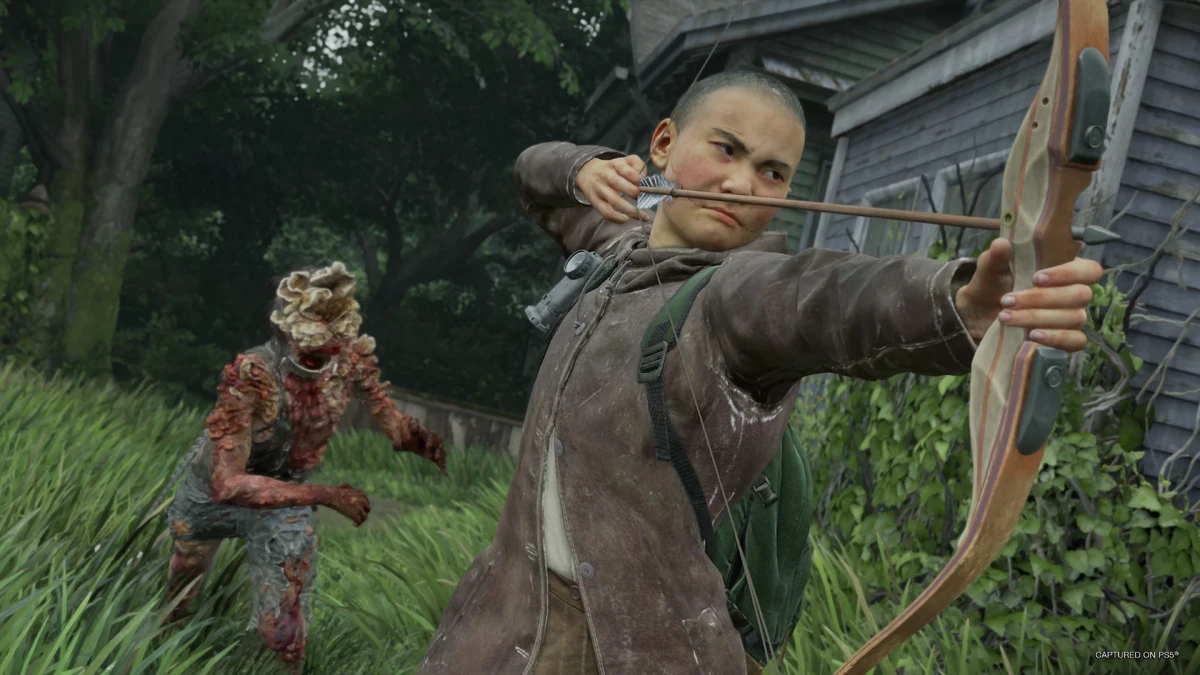
| Lev | Complete 2 encounters as Abby | Bow, faster draw, improved Listen Mode |
| Yara | Complete 3 encounters as Lev | Fights alongside Lev as an ally |
| Mel | Complete 3 encounters as Yara | Starts with two health kits, speed boost on heal |
| Manny | Complete 4 encounters as Mel | 50% more parts, semi-auto rifle, ammo recipes |
| Bill | Complete 3 dead drops | Custom pump shotgun from dead drops, double drop rewards, cannot dodge |
| Marlene | Complete 5 gambits | Custom assault rifle, All or Nothing gambits, one path reroute per run |
Each character also carries a longer challenge list beyond the unlock — things like clearing an encounter using only your starting weapons, or landing a set number of explosive arrow kills as Lev. Those pay out in outfit and weapon skins, including faction-wide rewards for finishing every challenge on one side of the roster.
A few honest takes on the roster after a lot of runs. Tommy is the strongest opener for a nervous player — a custom sniper rifle means you can delete the dangerous enemy in a wave before it reaches you, and the "cannot dodge" penalty barely matters if nothing gets close. Manny is the best value engine, because 50% more parts compounds into a genuinely upgraded weapon by encounter four. Abby is the highest ceiling and the highest floor: healing on melee kills turns her into a self-sustaining blender against runners and gets her killed against anything that shoots back.
And yes, having Joel and Marlene selectable from the same menu in a mode where either can be the one holding the gun is a strange piece of tonal furniture, given how the first game ends. No Return does not comment on it. It is an arcade mode wearing the skin of a story that very much did comment on it.
The six bosses, in the order you will meet them
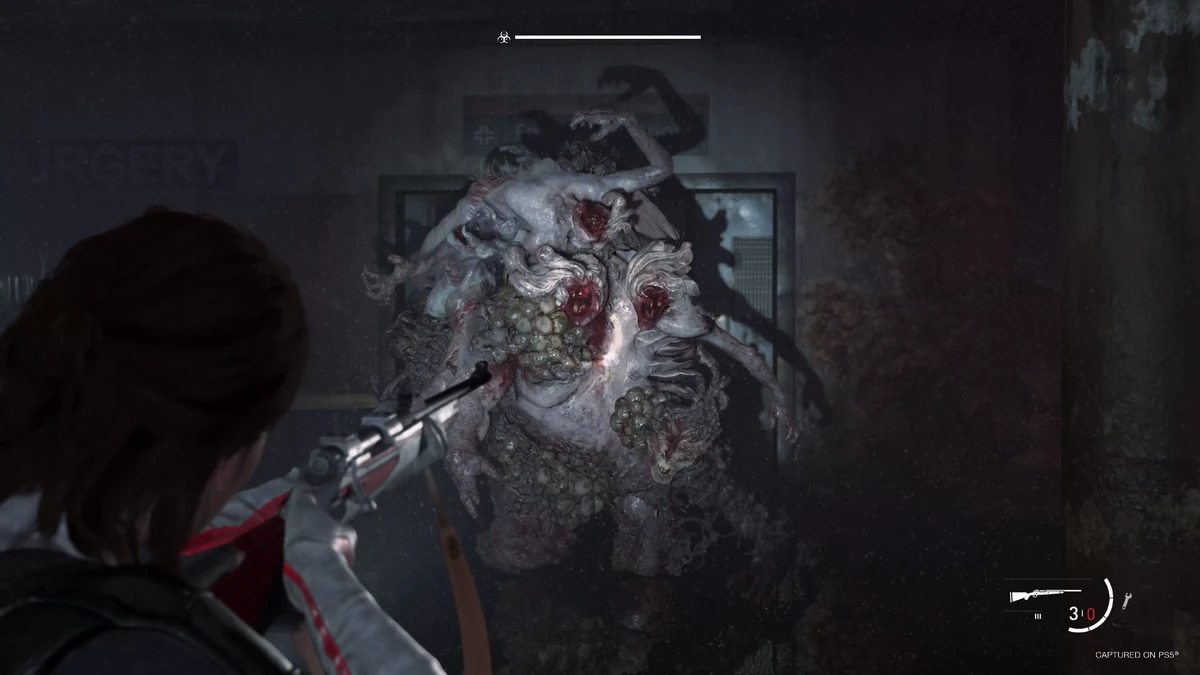
Six bosses cap the sixth encounter of a run, and they are not randomised at first. You face the same boss every run until you beat it, at which point the next one takes its place permanently:
- Arcade Bloater — your first wall, and the fight that teaches you to keep molotovs.
- Theater Infestation
- Rattler Captain
- Garage Bloater
- Seraphite Elite
- Rat King
Once the Rat King is down, the boss slot randomises and any of the six can show up.
The split matters. The Rattler Captain and Seraphite Elite are human fights — busier versions of a normal encounter, winnable with positioning and a bit of patience. The Infected bosses are a different animal, and the Rat King is the outlier even among them: it kills you in one hit. Not a chunk of health. The run. If you have watched a Bloater grab and fold a player in the campaign and thought the wiki was exaggerating, our infected guide covers why the big Infected are built to punish exactly the mistakes No Return encourages — greed, and standing still.
Practical advice: bank a molotov or two through the fifth encounter. Every Infected boss on this list respects fire, and arriving at the boss node with an empty throwable slot because you cleared a runner pack the fun way is how good runs die.
What unlocks when
Half of No Return is invisible on day one. The Core Challenges list gates it behind completed runs — and to be clear, these tick on runs, not encounters:
| Runs completed | Unlocks |
|---|---|
| 1 | Custom Run |
| 2 | Gambits |
| 3 | Dead Drops |
| 5 | Holdout encounters |
| 7 | Capture encounters |
| 9 | Daily Run |
That is the reason so many first impressions of this mode are lukewarm. Play three runs and you have seen two of the four encounter types, none of the optional systems, and one boss. Play nine and it is a different mode. If you tried No Return at launch, gave it forty minutes and shrugged, you genuinely did not see it.
Gambits, mods and dead drops
Three optional layers sit on top of the encounters, and each one changes how you play rather than just how hard it is.
Gambits are small challenges that appear during an encounter — get three kills from prone, stun two enemies with stun bombs, that flavour. There are 28 of them, and completing 15 total unlocks the full set. The payout is small but immediate: currency, ammo, health, parts. They are also the reason to occasionally play badly on purpose. Taking a worse angle to satisfy a gambit is usually worth it in the first half of a run and rarely worth it against a boss.
Mods are the modifiers stamped onto individual encounters, and there are 26 of them across four tiers. They unlock progressively — clear 3, 6, 9 and 12 encounters with mods active and each tier opens in turn. Some are gifts: Low Health Damage Bonus, Stuns Restore Melee Durability, Crafting Gives Bonus Parts, Time Slows on Headshots. Some are hostile: Increased Enemy Speed, Molotov Rain, Long Guns Locked, Reloading Discards Leftover Ammo, and the genuinely miserable Invisible Enemies. Mods also feed your score multiplier, so the punishing ones are not pure downside if you are chasing the leaderboard.
Dead Drops are blue mailboxes hidden in encounters, unlocked after three runs. Find one with Listen Mode, deposit the specific crafting items it asks for, then survive the encounter — the reward is waiting back at the Hideout, usually an extra weapon or a recipe. You do not get to see what you are buying before you pay, which is exactly the kind of blind gamble the mode is built around. They are also Bill's entire identity: three completed dead drops unlocks him, and once he is playable he pulls a custom pump shotgun out of them and takes double rewards from every drop.
Difficulty, scoring and the Daily Run
You pick difficulty per run, and it directly sets your base score multiplier — Grounded runs are worth 2.5x. Your final score is a product of that difficulty multiplier, the mods you accepted, and how you performed, which means a clean Moderate run can score below a scrappy Grounded one. Custom Run, unlocked after your first completed run, lets you disable specific mods, change how often they appear, toggle factions and generally build a sandbox.
Grounded here is the same design philosophy as the campaign's Grounded — thinner resources, deadlier enemies, and Listen Mode and HUD elements stripped away. If you have not run it in the story yet, our Grounded mode guide and the broader difficulty modes breakdown explain what actually changes, and most of it carries over conceptually.
The Daily Run unlocks at nine completed runs and is the mode's competitive endpoint: a fixed randomly-generated run that is identical for everyone that day, with online leaderboards attached. One attempt, one seed, everyone sees the same board. It is also where the hardest trophy in the mode lives, since finishing a Daily Run on Grounded is a meaningfully different ask from finishing a standard one.
How to win your first run
The route from "I keep dying at encounter four" to a completed run is mostly discipline, not skill.
- Pick Tommy or Manny once they are unlocked. A sniper rifle or a parts surplus both solve the same problem — the fourth and fifth encounters spike, and you need something scaling to meet them.
- Commit to one upgrade branch. Supplement costs climb per tier. Two half-branches is the losing build.
- Read the board before your first fight. Route around the encounter type you are worst at. Most people lose to Hunted because they treat it like Assault and try to clear the map instead of surviving the clock.
- Spend currency early, not late. An upgrade bought before encounter two works for four more fights. Currency in your pocket at the boss did nothing.
- Do the dead drops in the first three encounters. Detouring for a mailbox is cheap when the enemy count is low and expensive when it is not.
- Arrive at the boss with fire. Molotovs, a bomb, anything incendiary. Every Infected boss on the list respects it.
- Do not chase gambits into the boss fight. They are worth a small detour in encounter two and worth nothing if they cost you the run.
The bigger point: this mode wants you to lose runs. Characters, encounter types, mods, gambits and the Daily Run all unlock from playing, not from winning, so a failed run still moves the ladder forward. That is what makes it the most replayable thing in either game, and why the weapons you learned in the campaign feel different when you only get six encounters to make them count.
Quick Action Checklist
- A run is six encounters and the sixth is always a boss — budget your resources across five fights, not fifteen.
- Learn the difference between Parts (weapons), Supplements (skill branches) and Currency (Trading Post items). They are not interchangeable.
- Unlock down one faction first: 2 encounters as Ellie gets Dina, 2 as Abby gets Lev, and it chains from there.
- Bill needs 3 completed dead drops; Marlene needs 5 completed gambits.
- Bosses are sequential until you clear all six — Arcade Bloater first, Rat King last, then randomised.
- The Rat King one-shots you. Bring fire and space.
- Push past nine runs before judging the mode; Holdout, Capture, Dead Drops and the Daily Run all unlock along the way.
- Grounded multiplies your score by 2.5x, and mods feed the multiplier too — hostile modifiers are not pure downside on a leaderboard run.
- No Return is Part II Remastered only. It is not in the PS4 original, not in Part I, and not in the show.
Frequently Asked Questions
How long is a No Return run in The Last of Us Part II Remastered?
How do you unlock all the characters in No Return?
What order do the No Return bosses appear in?
What is the difference between parts, supplements and currency?
How many mods and gambits are in No Return?
Is No Return available in the original The Last of Us Part II?
What is the Daily Run in No Return?
Keep Reading
Related Guides

The Last of Us Part 2 Remastered Skins: How to Unlock Them
The 2020 release of Part II had no outfits you could wear. Remastered added dozens, split between a points shop and No Return challenges. Here is what each one costs or asks of you, and where the lists disagree.

The Last of Us PC Requirements and Best Settings
This vertical has told you which version to buy and how each mode plays, but never what your PC actually needs to run it. Here are the official spec tiers for both Part I and Part II Remastered, exactly which upscaler each one supports, whether Steam Deck can handle it, and the patch history that turned Part I from a 59-Metacritic launch into the clean build you'd buy today.
The Last of Us Part 1 Human Enemies: All Six Factions
Six human groups fight Joel and Ellie across eight of Part I's twelve chapters, and they do not carry the same kit. Where each one appears, what the wiki lists them carrying, who wears armor, and what the 2022 remake changed about how they hunt you.

The Last of Us Photo Mode Guide: Every Version Compared
Photo Mode has shipped in four Last of Us releases and the toolkit is different in each. How to open it, what each Part II tab does, what Part I and Part II Remastered added, and the slider settings Naughty Dog's own staff use.
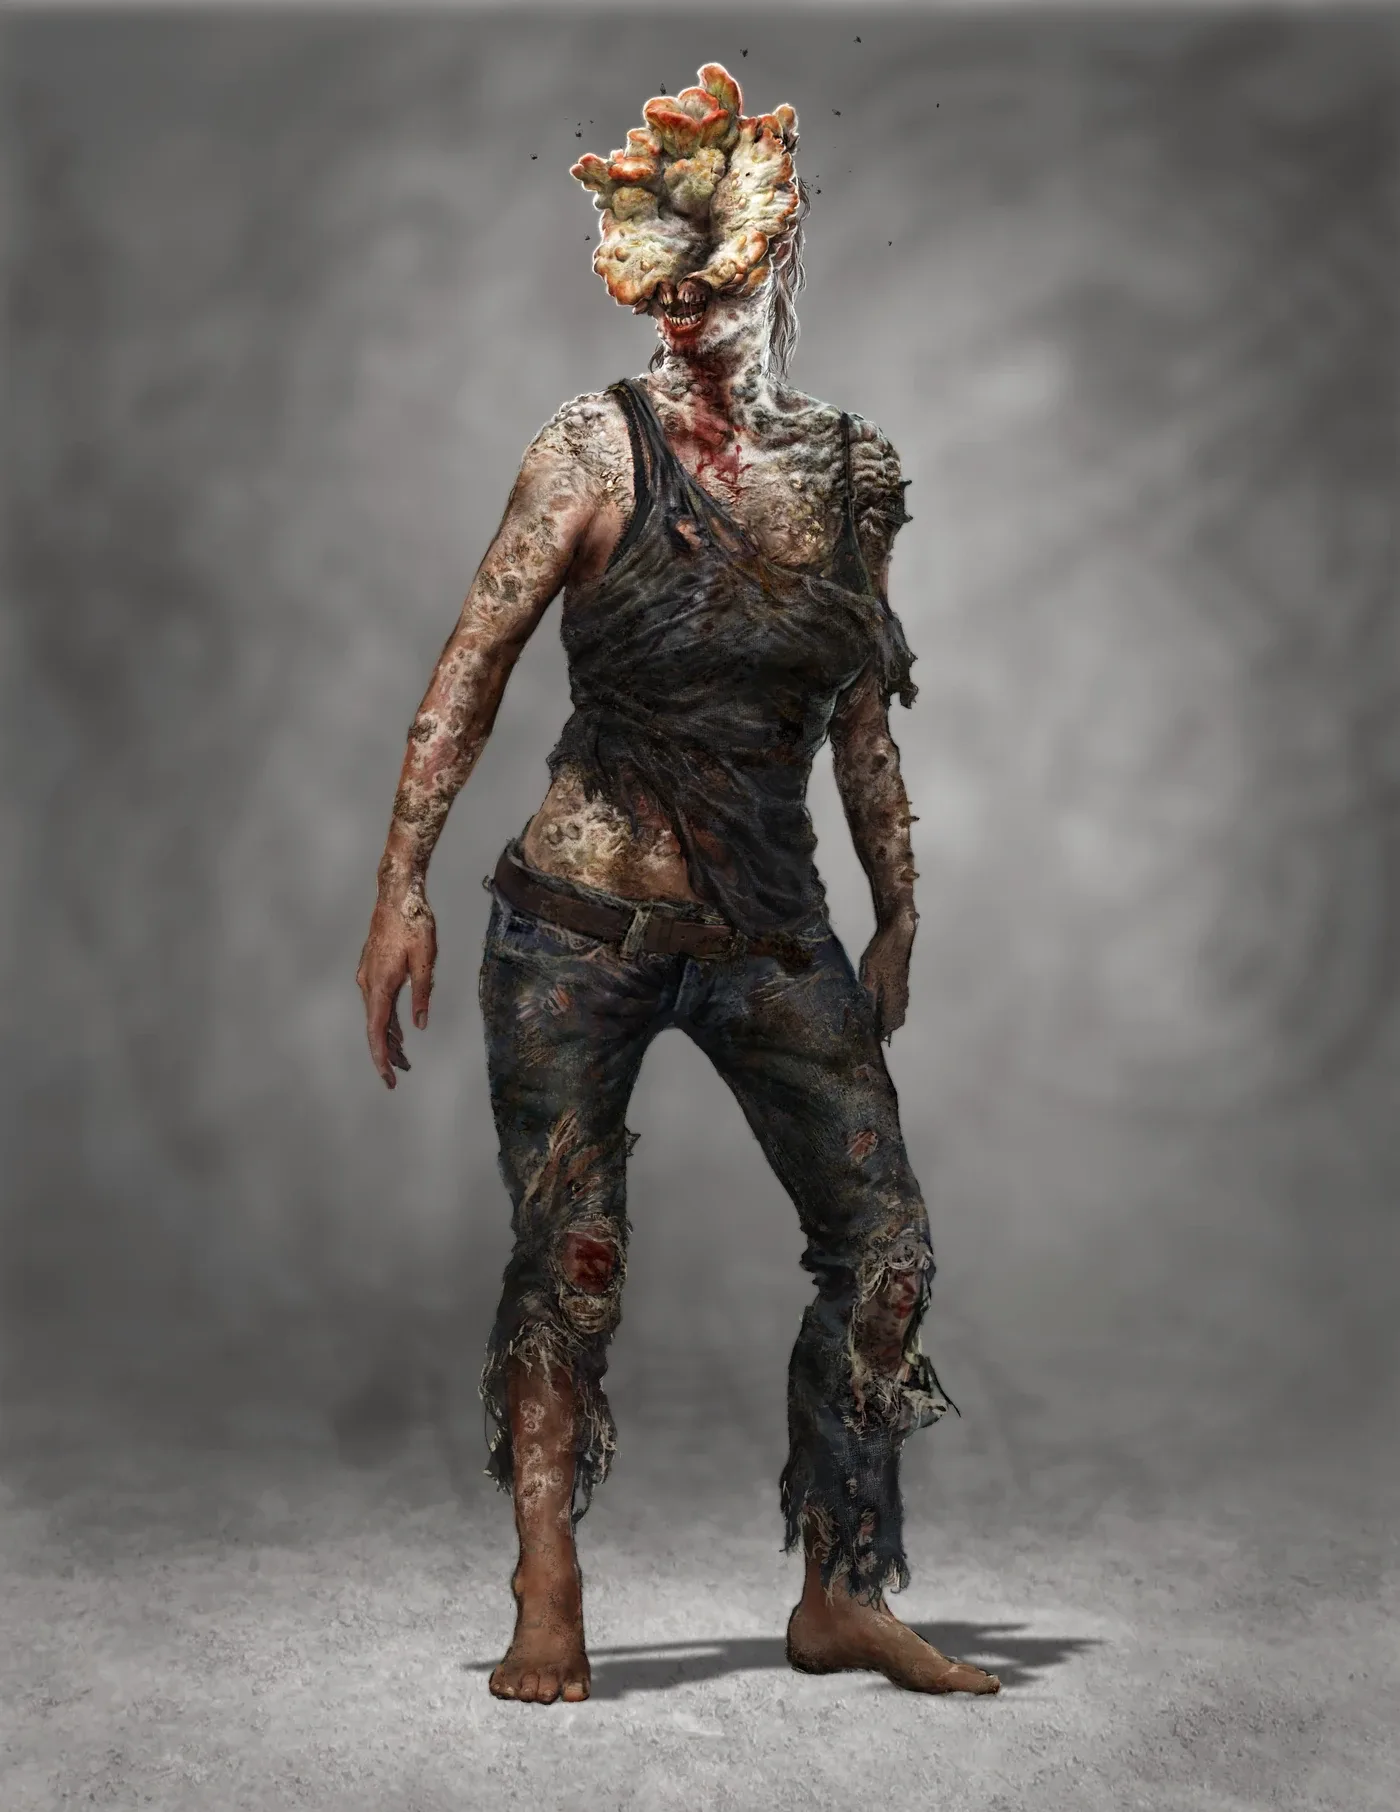
The Last of Us Infected Guide: How to Beat Every Type
A clicker cannot see you and cannot be strangled. Those two facts decide more encounters than any gun you own. Here is how all four infected stages actually work, and what to spend on each.

The Last of Us Part 1 Skins: All 55 and What They Cost
Part I kept all 21 skins from the 2013 game, added 18 outfits and 16 weapon skins, and put the lot in one points shop. Here is the listed price of each skin, filter and modifier, what the Digital Deluxe Edition actually unlocks, and the two Steam-only shirts.