The Last of Us Weapons Guide: Every Gun and What to Upgrade
You will not fully upgrade this arsenal in one playthrough. El Diablo alone costs 370 parts. Here is every weapon in The Last of Us, where it is, and the upgrade order that actually survives contact with Grounded.
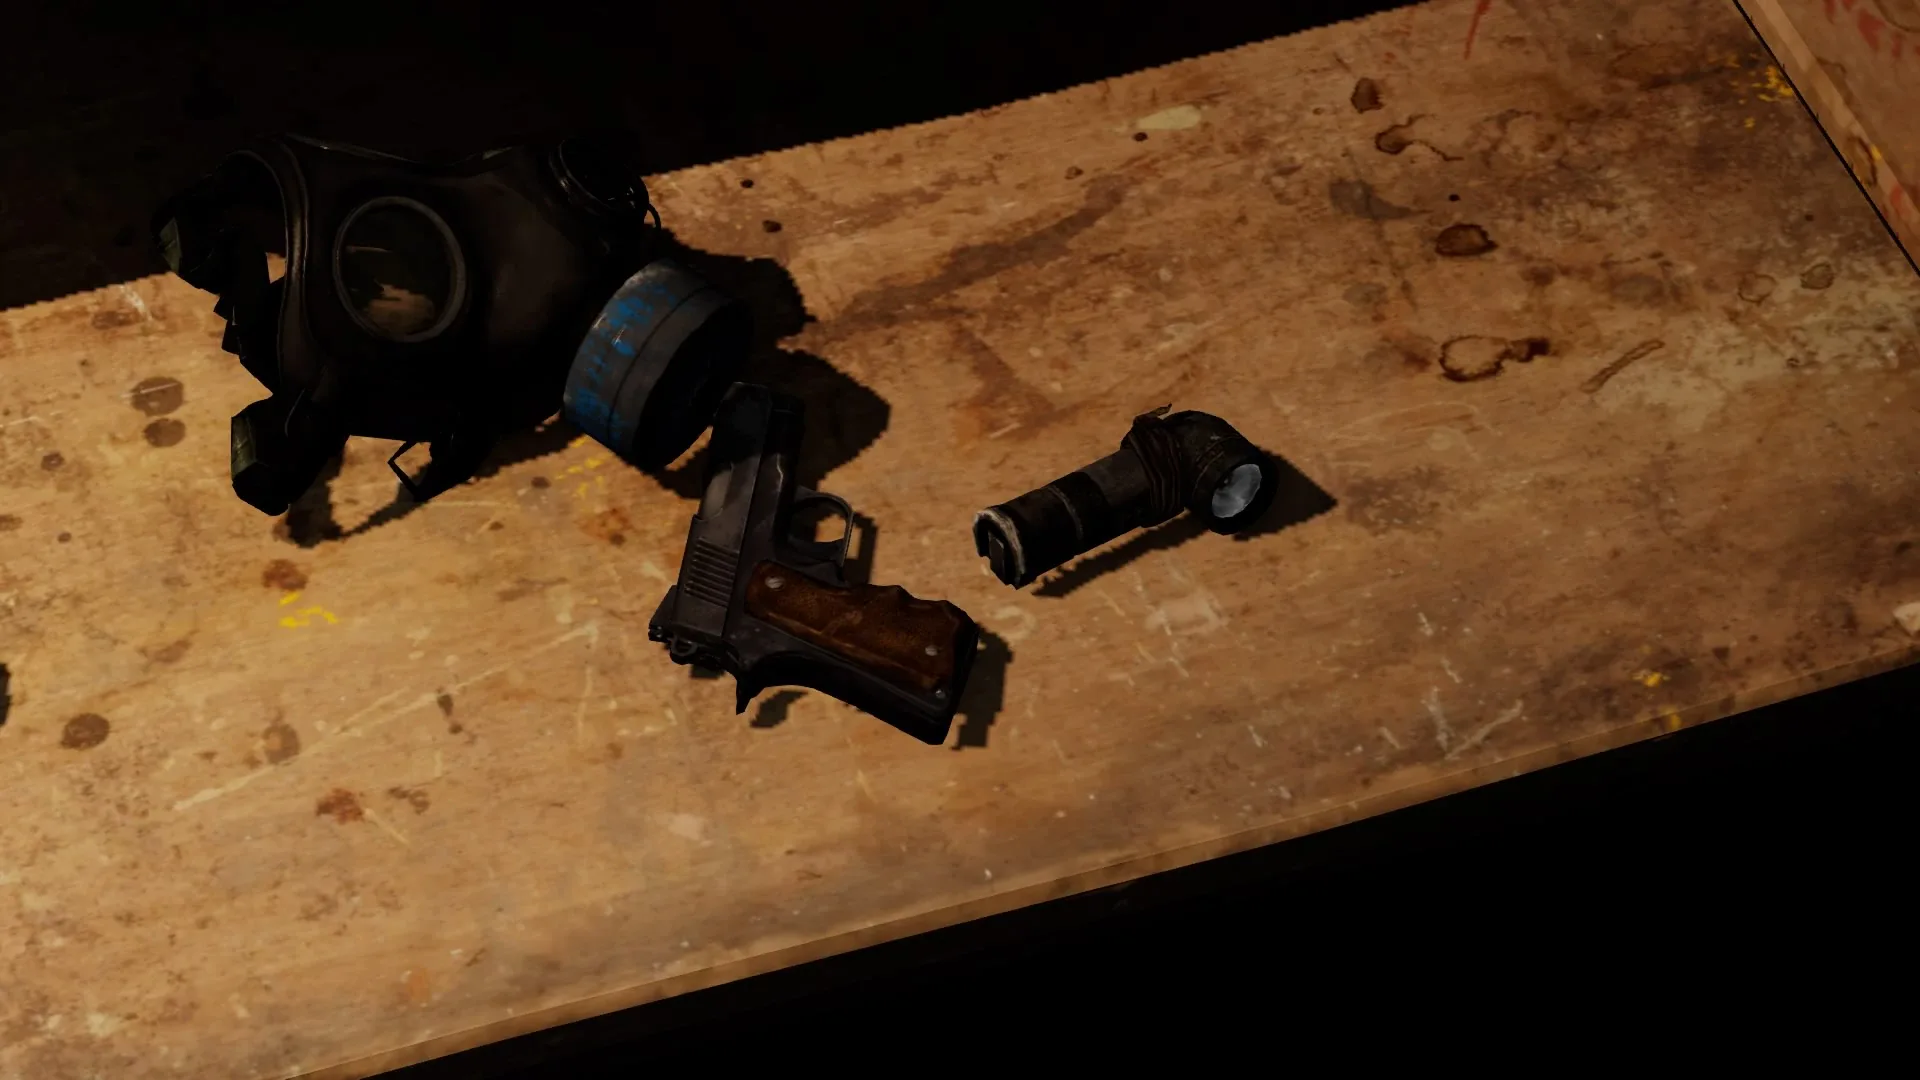
El Diablo costs 370 parts to fully upgrade. You cannot collect 370 spare parts in a single playthrough — not even if you sweep every drawer in the game. That single number tells you everything about how The Last of Us treats weapons: this is not an arsenal you complete, it is a set of trade-offs you commit to.
Which means the interesting question was never "what is the best gun." It is "which three or four things do I actually finish, and what do I abandon half-built." Get that wrong and you arrive at the University with a beautifully tuned pistol and a shotgun that still holds four shells.
This guide covers the single-player weapons of the first game — the original release, Remastered, and Part I. Factions multiplayer has an entirely separate weapon pool, and none of the Part II gear appears here. If you are new to the vertical, the The Last of Us coverage hub is the front door, and the wider Mythras blog covers everything else.
What Joel actually carries
Every firearm falls into one of two inventory categories, and the split matters more than the individual guns.
Pistols draw fast, handle well, and let Joel grab a hostile survivor as a human shield. Long guns hit harder and reach further but are slow to bring up. The bow and the flamethrower both count as long guns, which is a detail that quietly shapes your loadout — carrying the bow means giving up the shotgun slot unless you have paid for the second holster.
| Weapon | Category | First available |
|---|---|---|
| 9mm pistol | Pistol | The Quarantine Zone (Joel's opening kit) |
| Revolver | Pistol | The Outskirts, on a dead soldier |
| Shorty | Pistol | The Suburbs, sewers |
| El Diablo | Pistol | Before the hydroelectric plant |
| Hunting rifle | Long gun | The Outskirts, Capitol building |
| Shotgun | Long gun | Bill's Town, given by Bill |
| Bow | Long gun | Lincoln, an abandoned encampment |
| Flamethrower | Long gun | The University, loading dock |
| Assault rifle | Long gun | Saint Mary's Hospital, endgame |
Without holster upgrades you get one pistol slot and one long gun slot on the quick-select, and everything else lives in the backpack — which means fumbling through a menu while a runner sprints at you. Both holsters cost 75 parts and one level of tools each. That is 150 parts for a convenience upgrade, and it is still one of the best purchases in the game.
Pistols: the 9mm carries the game
The 9mm is the first weapon Joel picks up, out of the smuggling stash in the Boston quarantine zone, and it stays relevant for the entire run for one boring reason: 9mm ammunition is the most common ammunition in the world. Every hunter in Pittsburgh, every bandit in Jackson County, every cannibal in Silver Lake is carrying some.
Its upgrade sheet is the cheapest in the game — reload speed at 15, 20 and 25 parts, fire rate at 20, 30 and 40, and magazine capacity across four levels at 15, 20, 30 and 40. Crucially, the first tier of every one of those costs zero tools. You can start improving the 9mm at the museum basement workbench in The Outskirts before you have found a single toolbox.
The revolver is the other early pistol, taken off a dead soldier just outside the quarantine zone along with his log book — one of the collectible artifacts and journals worth stopping for. It hits considerably harder than the 9mm and has only two upgrade lines, reload speed and fire rate. On Grounded it will usually drop an unarmored human in one shot, which is the entire reason it stays in the rotation on the higher difficulties.
What the revolver is not is an answer to armor. Its rounds do not pierce, and a clicker's skull plating shrugs off a direct hit — if you have read our infected guide you already know that head shots on fungal plating are a losing bet regardless of caliber.
The Shorty and El Diablo: two guns most players waste
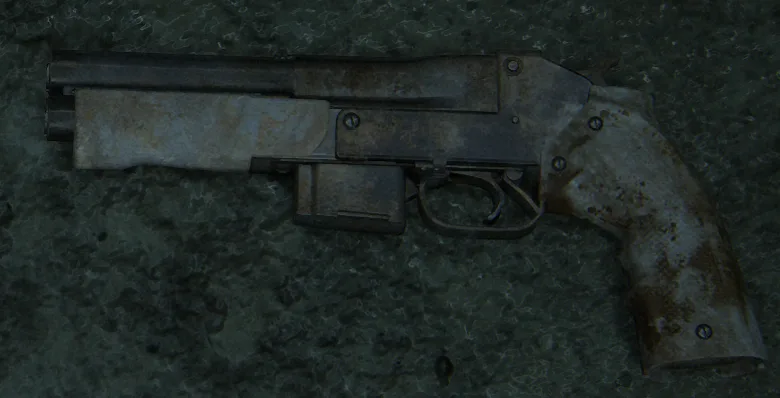
The Shorty is a sawn-off shotgun that occupies a pistol slot, and it is sitting on a bench on the left in the sewers during The Suburbs, just after you trip the first sound trap. It holds two shells at base and six fully upgraded. Note the important part: the Shorty does not share ammunition with the shotgun. They are separate pools, which is the single most misunderstood fact about this weapon.
That separation is a gift and a tax. A gift because it effectively doubles your close-range firepower without touching your shotgun shells. A tax because Shorty shells are rare, and every upgrade on its five-line sheet demands tools — the cheapest reload tier still wants tools level 1, and the top tiers want level 4 and 5. It is a late-game investment dressed up as an early-game pickup.
El Diablo is the scoped hand cannon, first found on a corpse near the abandoned car just before the hydroelectric plant, after the events with Henry and Sam. Miss it and the game leaves spares — one in the shack outside the plant entrance, another near the workbench in Tommy and Maria's settlement. It kills most things in one or two shots and takes a bloater down in two, which sounds absurd until you see the base clip: one round.
The catch is that 370 parts number. Fully upgrading El Diablo — reload, fire rate, clip capacity, and two tiers of armor piercing at 75 parts apiece — is arithmetically impossible on a first run. Buy the clip capacity if you buy anything. Going from one round to three is the difference between a weapon and a ritual.
Long guns: shotgun, hunting rifle, bow, flamethrower
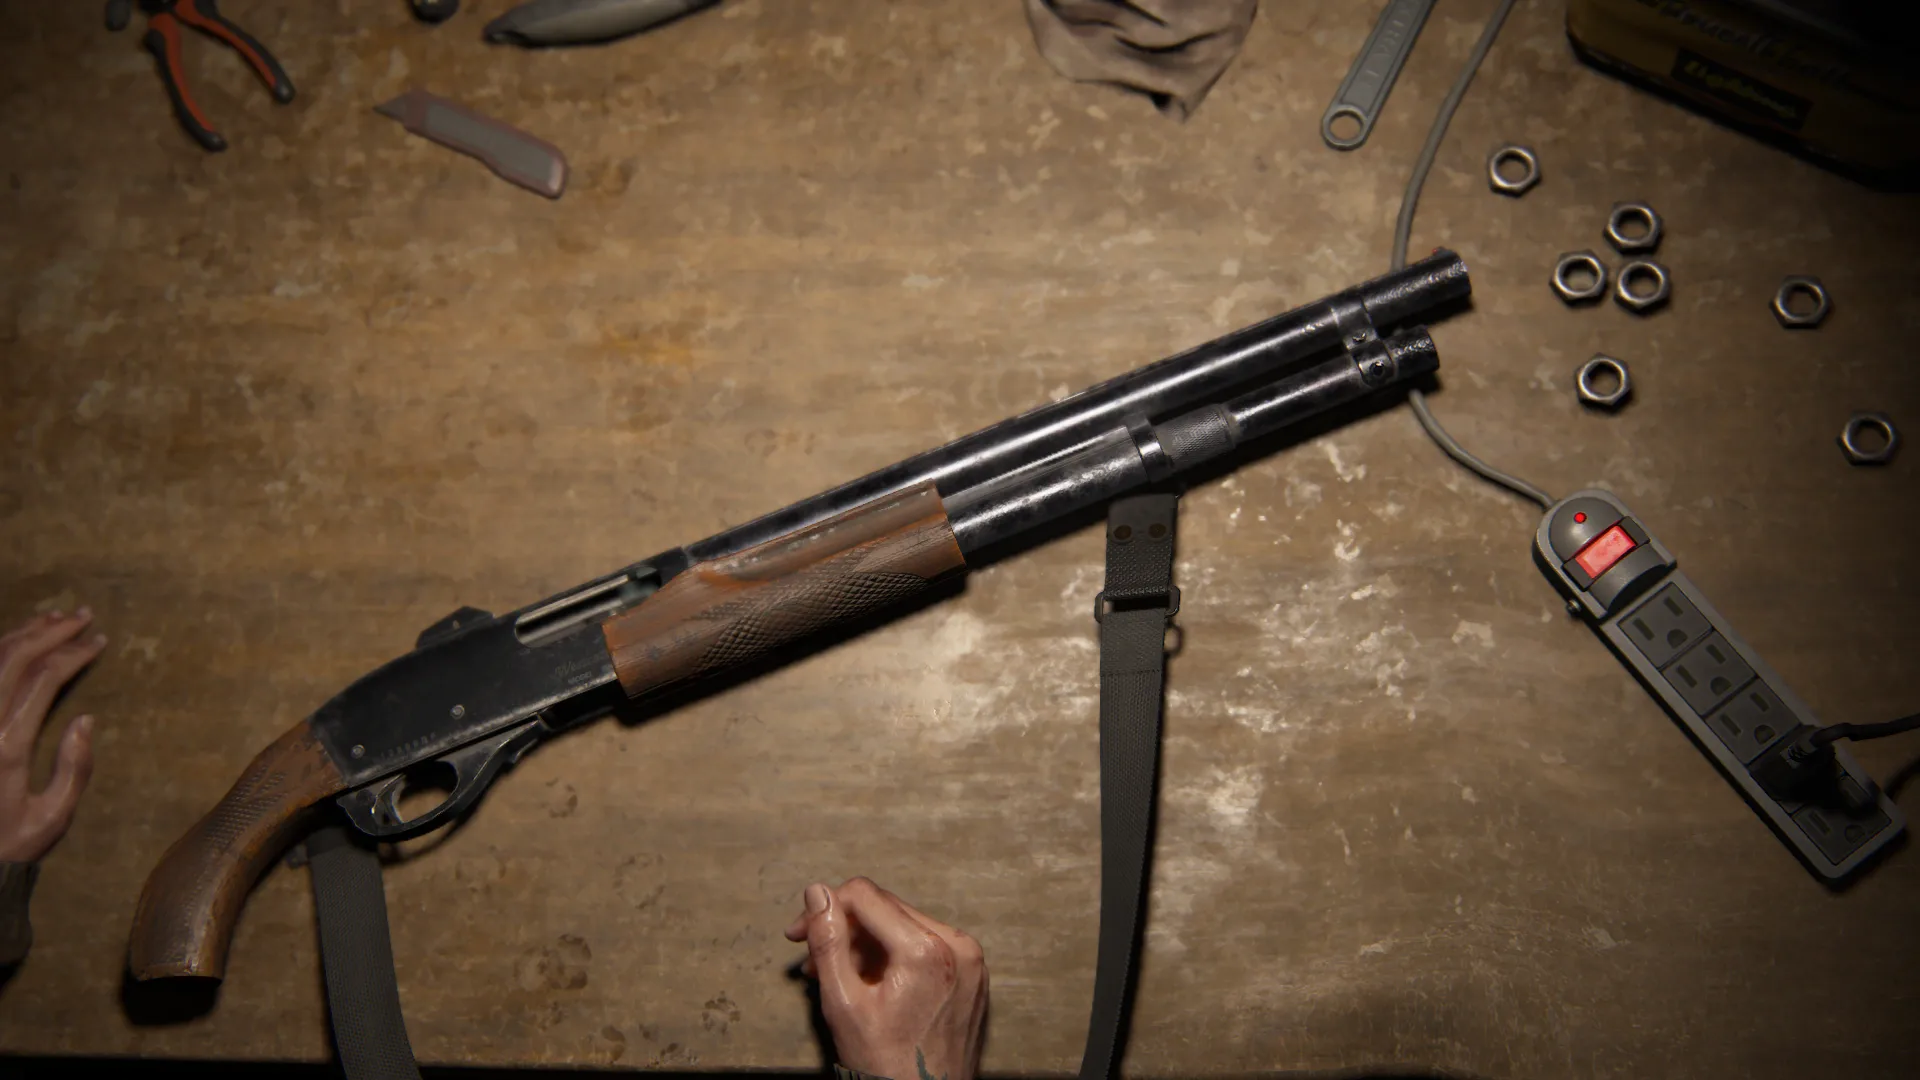
Bill hands you the shotgun in Bill's Town, on the trip to the crashed military truck at Lincoln High School. It one-shots most humans and infected at close range with a spread wide enough to catch two bodies, and its damage falls off a cliff past that. Four shells base, eight upgraded, with reload speed, fire rate, clip capacity, recoil and range on the sheet. Clip capacity first, always — a shotgun that runs dry mid-swarm is a stick.
The hunting rifle — the wiki files it as the bolt-action — is waiting on a dead Firefly on the second floor of the Capitol building, right after Tess buys you time. Base clip is one round with seven in reserve; upgraded that becomes three and nine. It is the game's designated armor solution: armor piercing costs only 15 parts at the first tier and 40 at the second, and the 60-part power upgrade pushes it to the point where one body shot kills armored humans and one head shot kills a clicker outright. For 115 parts across three upgrades, that is the best value on any weapon in the game.
The bow sits in the remains of an encampment in Lincoln, and it is the only firearm with renewable ammunition — arrows can be recovered from bodies and walls, though some break on impact. Unaware unarmored humans, runners and stalkers die to one arrow anywhere in the body. Clickers need a head shot, and that shot usually snaps the arrow. Bloaters are a genuine waste: their plating has to be destroyed first, and you are looking at roughly four head shots. Buy draw speed before range; the shake while holding an aim is what loses you arrows.
The flamethrower is a homemade thing with a bicycle brake lever for a trigger, found in a loading dock at the University of Eastern Colorado, with a backup near a group of runners on the bottom floor of a nearby building. It one-shots humans and eats bloaters, and it has almost no range at all — the 40-part range upgrade is less a damage boost than a self-preservation measure. Everything it does, a molotov also does at a distance, which is why the crafting and resource guide is worth reading before you decide the flamethrower earns its holster slot.
Melee weapons: durability is the only stat that matters
Melee splits cleanly. Blunt weapons — the 2x4, the pipe, the baseball bat — do not kill in a hit. They stagger, and you need roughly four or five staggers in a combo before the finisher animation triggers. Bladed weapons — the machete, the hatchet, the shiv, plus Ellie's switchblade in its own weird hybrid category — kill in one, and swing faster while doing it.
The trade is durability, and the numbers are brutally small:
| Weapon | Hits (unmodified) | Hits (with binding + blade) |
|---|---|---|
| Machete | 3 | 6 |
| Hatchet | 5 | 8 |
| Shiv | 1 to 3 | — |
Three swings. That is a machete. This is why the melee upgrade — taping a blade to a blunt weapon — is worth more on an already-bladed weapon than a blunt one: you add the same number of hits either way, and blades swing faster, so the upgrade returns more per resource on the hatchet than on the 2x4. Modifying a plank turns it into a slow machete. Modifying a hatchet turns it into a genuinely reliable stealth tool for eight kills.
Shiv durability scales from one to three hits depending on how many training manuals you have found, which is one more reason to sweep rooms rather than sprint them.
Workbench order: what to buy and when
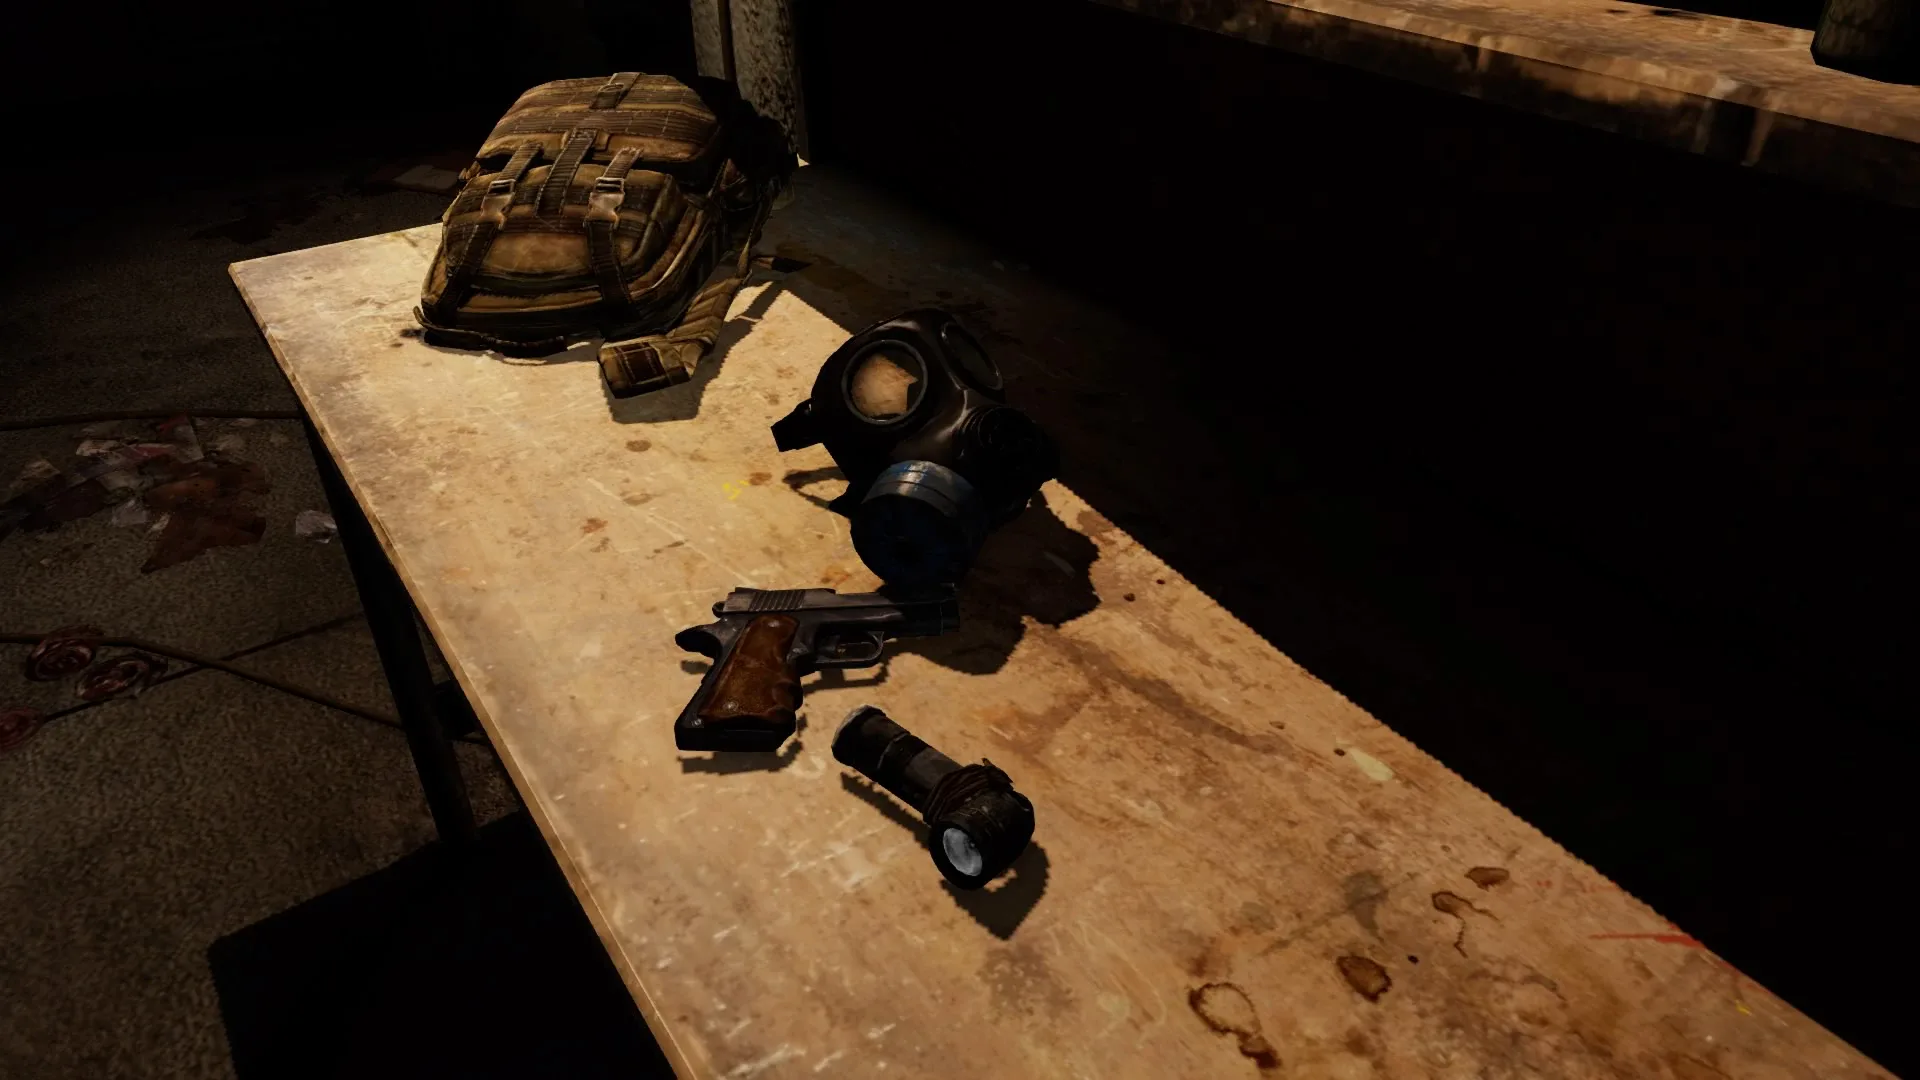
There are eleven workbenches across the campaign, and they all share the same inventory. Upgrades need parts, which are consumed, and a tools level, which is not — toolboxes raise a permanent tier that caps at level 5. Miss a toolbox and the next one you find simply grants the tier you skipped, so you never lose progress, only tempo.
Workbenches sit in the museum basement in The Outskirts, the church basement in Bill's Town, three separate spots in Pittsburgh, a garage in The Suburbs, the dam control room in Tommy's Dam, two in The University, and two in the Bus Depot chapter. One warning: the Tommy's Dam bench is destroyed when the bandits attack. Spend before you trigger that fight.
A spending order that holds up across difficulties:
- Hunting rifle armor piercing (15 parts). Cheapest meaningful damage upgrade in the game.
- 9mm magazine capacity, tiers 1 and 2 (35 parts). No tools required, and the 9mm is what you will be firing most.
- Both weapon holsters (150 parts). Painful, and worth it. Four ready slots changes how you fight.
- Shotgun clip capacity (15, then 30). Turns your panic button into an actual answer.
- Hunting rifle power (60 parts). The armor-and-clicker solution, finished.
- Bow draw speed. Only if you are playing stealth-first, in which case take it earlier.
What to skip: El Diablo's armor piercing tiers, at 75 parts each, when the hunting rifle does the same job for a fifth of the price. Flamethrower power at 60 parts and tools 5, which arrives so late it barely gets used. Shotgun range, which fights the weapon's entire design.
If you are climbing toward the top difficulty, note that the game gives you less ammunition per pickup as the difficulty rises, and pickups scale inversely to what you are already carrying — hoarding one weapon's ammo actively suppresses drops for it. Our Grounded mode guide goes deeper into how that economy squeezes.
The two guns you barely get to touch
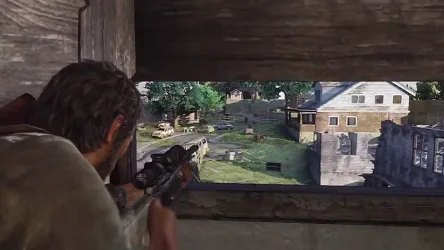
Two weapons exist mostly as set pieces. The military sniper appears in The Suburbs — a hunter uses a tripod-mounted bolt-action on you first, and after you kill him, Joel takes the position and covers Ellie, Henry and Sam. It has infinite ammunition and it is the only gun in the game you never reload. It cannot be upgraded, cannot be carried, and is abandoned the moment the noise of the fight pulls a horde into the neighborhood.
The assault rifle is the only fully automatic weapon a player can obtain in single player, and you get it at the very end, off Fireflies while storming Saint Mary's Hospital. Thirty rounds in the magazine, ninety in reserve. Above hard difficulty, pickups drop to nine to fifteen rounds instead of a full thirty, which is the game's way of saying you may have the rifle but you do not get to play a shooter with it. There is no workbench in the finale anyway.
Neither weapon should change a single parts decision you make in the preceding fifteen hours. Plan the arsenal around the seven guns you actually get to keep.
Quick Action Checklist
- Buy both weapon holsters — 75 parts each, one tools level each. Menu fumbling gets people killed.
- Put the first 15 parts you find into hunting rifle armor piercing. Nothing else returns that much.
- Start the 9mm's first upgrade tiers immediately; they cost zero tools.
- Remember the Shorty uses its own shell pool, separate from the shotgun.
- Grab El Diablo before the hydroelectric plant, and take clip capacity over armor piercing.
- Do not try to fully upgrade El Diablo. It costs 370 parts and one playthrough will not cover it.
- Spend everything at the Tommy's Dam workbench before the bandits attack and destroy it.
- Modify bladed melee weapons over blunt ones — a modified hatchet gets eight kills, a machete six.
- Save arrows for unaware targets; clicker head shots usually break them and bloaters waste them entirely.
- Ignore the sniper and assault rifle when planning upgrades. You never keep either one.
Frequently Asked Questions
How many weapons are in The Last of Us Part I?
What is the best weapon upgrade to buy first?
Where do you find El Diablo in The Last of Us?
Does the Shorty use the same ammo as the shotgun?
Can you fully upgrade every weapon in one playthrough?
How many workbenches are there in The Last of Us?
Is the bow worth using in The Last of Us?
What melee weapon is best in The Last of Us?
Keep Reading
Related Guides
The Last of Us Infected Guide: How to Beat Every Type
A clicker cannot see you and cannot be strangled. Those two facts decide more encounters than any gun you own. Here is how all four infected stages actually work, and what to spend on each.
The Last of Us Grounded Mode Guide: Survive Triple Damage
On Grounded, every enemy hits three times as hard and your HUD is gone. But your revolver also one-shots unarmoured humans, which is the strangest and most useful fact about the hardest mode in the game.
The Last of Us Part 1 Shiv Doors and Safes: All Locations
Out of 1,620 parts in a Last of Us campaign, 660 sit behind locks — 460 behind thirteen shiv doors and 200 inside four safes. The game tells you none of their locations. Here is every door, every safe, every combination, and exactly how many parts each lock is holding.
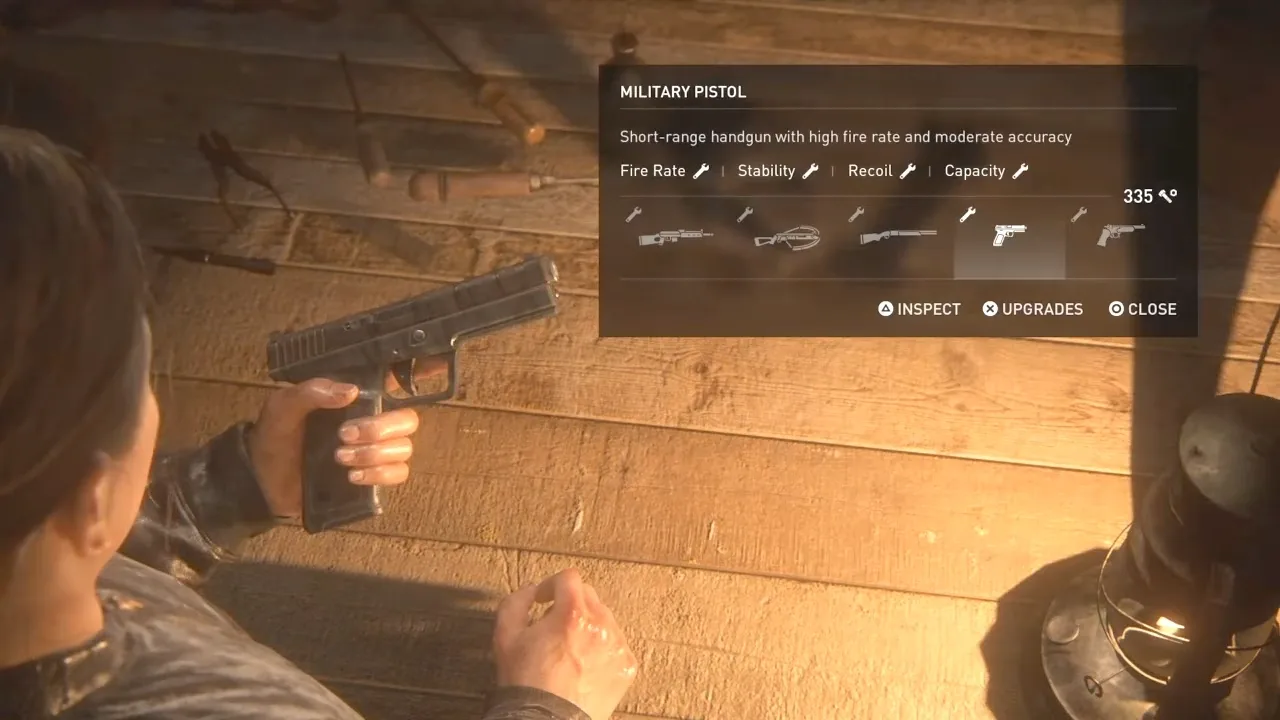
The Last of Us Part 2 Weapon Upgrades: All 1,920 Parts
Twelve guns, but only ten of them accept a single part. Fully upgrading The Last of Us Part 2 costs exactly 1,920 parts spent from two wallets that never talk to each other — and one upgrade alone eats 100 of them. Here is every cost, every gun location, and the buy order that survives Seattle.
The Last of Us Part 2 Skills Guide: Every Branch and Cost
Fifty player upgrades, ten branches, 1,900 supplements — and Ellie and Abby spend from completely separate wallets. Here is every branch with its real cost, all eight training manual locations, the cheapest route to the Specialist trophy, and the four upgrades worth buying in your first hour of Seattle.
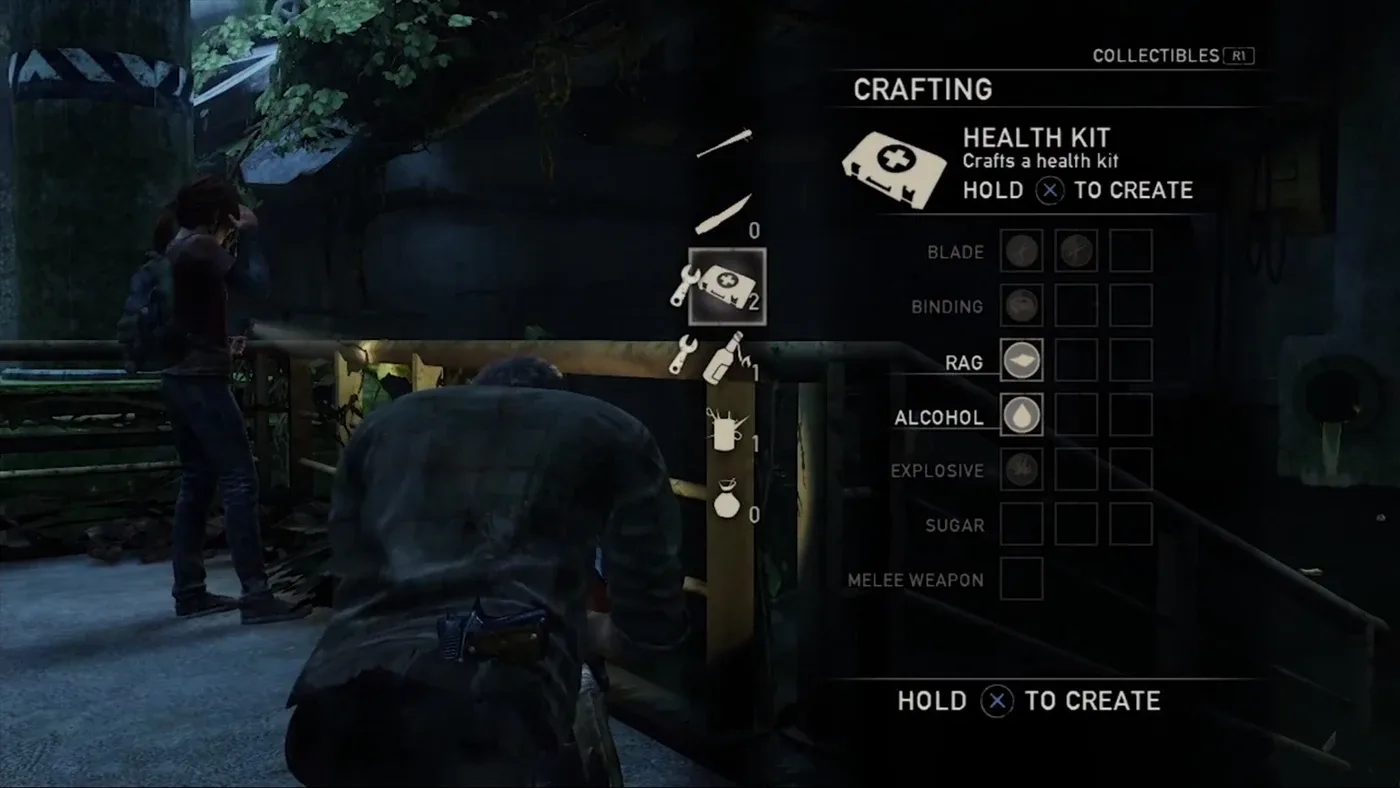
The Last of Us Crafting and Upgrade Guide: Every Recipe
Alcohol and a rag makes a health kit. Alcohol and a rag also makes a molotov. That one overlap is the entire economy of The Last of Us, and most players never think about it deliberately.