Fortnite Rotation Guide: How to Move and Take Zone
Most Fortnite deaths happen in the open, mid-rotation, to someone who got to cover first. Rotating well is a skill you can train — reading the zone, moving early through cover, beating the storm, and knowing when to hold position versus take it. Here's how.

Pull up your match history and look at where you actually died. Be honest — a big chunk of those deaths weren't lost fights, they were rotations: you got caught crossing open ground, took shots from someone already set up, and went down before you reached cover. Aim gets all the attention, but rotation is the skill quietly deciding whether you arrive at fights with the advantage or arrive as someone else's free kill.
Rotating is moving to stay inside the safe zone, but doing it well is reading where the next circle pulls, leaving early, stringing cover together instead of running the straight line, and knowing whether to hold the position you have or take a better one. Get it right and you show up to every fight on your terms with the storm at someone else's back. This guide is rotation from the ground up — and it works the same in Build and Zero Build, because reading the zone doesn't care whether you can build a ramp.
Most deaths happen in the open
Players die mid-rotation because they treat moving as something they do between the important parts of the game, instead of one of the most dangerous things they do all match. When you're crossing open ground, you can't shoot back effectively, you can't see everyone who can see you, and you're a moving silhouette against the terrain. Every second in the open is a second someone on the high ground is lining you up.
The storm is the clock behind all of it. It deals damage that ramps up the later the game goes — early storm is a slow chip you can tank, but late-game storm is a genuine threat to your life, so getting caught outside the circle in the back half of a match is often just death. That pressure forces everyone to move on the same timer, which is exactly why rotations are deadly: half the lobby is crossing open ground at once, and the players who planned their route are shooting the ones who didn't.
The fix: treat every rotation as a deliberate decision, not an afterthought. Before you move, know where you're going, what route keeps you in cover, and roughly who else is moving the same way. The players who never seem to die in the open aren't lucky — they decided their route while everyone else was still looting.
Read the zone before you commit
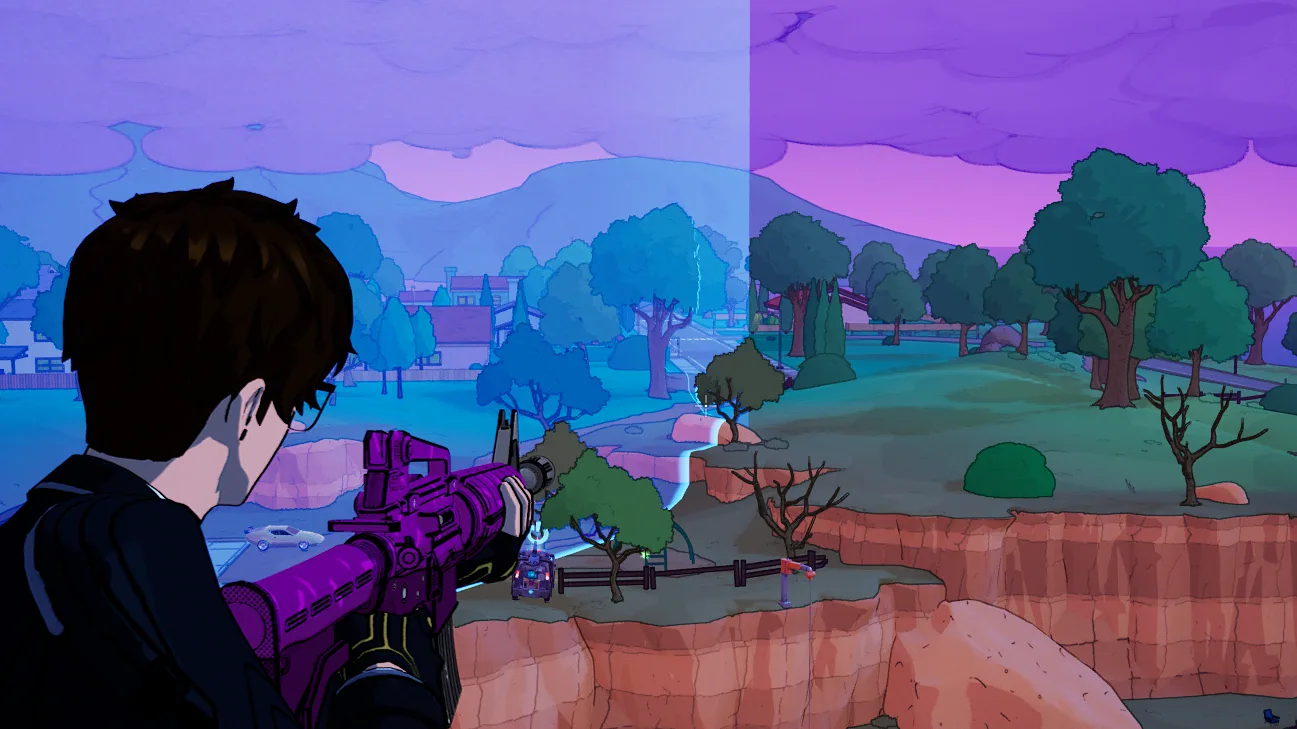
![]()
Every good rotation starts with reading the zone. When a new circle appears on the map, you get a window before the storm actually starts moving — that window is for making a plan, not for standing still. Four things to read every single time:
- Where the circle pulls. Is the new zone dragging you across a wide-open field, or toward terrain you can use? A zone that drops you into open ground with no cover is one you want to enter early and from the safe side, before everyone else gets set up to shoot the field.
- The terrain inside the next zone. Hills, buildings, ridgelines, and hard cover are the prizes. Whoever claims the best ground in the next circle controls the fights there. Spot it before you move and aim for it.
- Which side of the zone you're on. If you're on the far side, you'll be rotating with the storm at your back, pushing into players already settled. Whenever you can, get to the safe side so the storm is threatening them, not you.
- How much time the countdown gives you. The timer tells you whether you can grab one more chest or need to leave right now. Cutting it close to loot something you don't need is how you take ramping storm damage at the worst possible moment.
Reading the zone is a habit, not a gift. Glance at the map the instant a new circle appears, pick your spot and your route, and commit early — every time, until it's automatic.
Rotate early and rotate with cover
The two rules that prevent the most open-field deaths: move early, and move through cover.
Early beats late almost every time. Rotate while the storm is just starting to close and most of the lobby is heads-down moving too — distracted, repositioning, looking at the map. That's the safe window. The player who leaves at the last second arrives in a settled zone where people are watching the edges, crossing open ground while defenders pick their angles. Late rotation is how good aimers throw winnable games.
Through cover beats the straight line. The fastest route is rarely the safest, and the safest route wins more games:
- String cover together. Move tree-to-rock-to-building, along ridgelines, and through low ground so you're broken up against the terrain instead of silhouetted in the open the whole way.
- Cross gaps fast, rest behind cover. When you do have to cross open ground, sprint the gap and recover behind the next piece of cover — don't stroll across the middle of a field at walking speed.
- Don't over-rotate into dead center. Being dead-center isn't the goal; a defensible spot with the storm covering one or more of your flanks is better. Sometimes the strongest position hugs the safe-zone edge so nobody can come at you from the storm side.
A rotation that gets you to good terrain on the safe side, early, through cover, is worth more than any kill you might pick up sprinting recklessly across the open to get there.
Beating the storm when you're caught out
Sometimes you misjudge it — you loot too long, get pinned in a fight, or the zone pulls hard away from you, and now you're outside the circle with the storm ticking. Beating the storm in that spot is its own skill:
- Check whether the math works. Weigh your health and shield against the distance to the safe zone and the storm's speed. Late-game storm damage ramps up hard, so a long run through deep storm at low HP simply doesn't survive — spotting that early lets you change the plan before it's too late.
- Take the shortest line to the edge, not the center. Your only job is clipping back inside the circle, so run to the nearest boundary, not the middle — every extra meter is more damage.
- Use mobility to make the run. This is what rotation tools exist for: a launch pad, vehicle, or movement item turns an un-survivable storm run into an easy one. Save one for the moment you need it.
- Heal on the move. Items you can use while running let you outpace the storm tick instead of stopping and losing ground. Stopping in the storm to channel a slow heal is usually a death sentence.
The best fix is not getting caught — but when you are, treat it as a clean problem: shortest line to the edge, mobility if you have it, heal on the move, and don't panic into deep storm at low HP when the math says you won't make it.
Mobility is the rotation tool

Movement is survival in a rotation, and the mobility toolkit is what lets you cross danger fast, beat the storm, and reposition out of a bad spot. The baseline tools are durable parts of the game, not season gimmicks, so they're worth leaning on:
- Sprint. Hold sprint to move noticeably faster, with a stamina meter that drains and recovers. Sprint is for crossing danger zones — covering the open gap between cover quickly — not for cruising the whole map. Burn it on the exposed stretches and let stamina recover behind cover. Remember you can't aim down sights while sprinting, so don't sprint blindly into a fight.
- Sliding. Sprint then crouch to slide, dropping your profile and carrying speed down slopes — great for sliding into cover or breaking a sightline under fire.
- Mantling. Run into a ledge, wall, or window and you auto-climb over it. It's your quick vertical traversal for reaching elevation or cutting into a building without going the long way around.
On top of the baseline, carry a dedicated rotation tool whenever you can, especially in the back half of the game. Launch pads, vehicles, and grapple-style items all do the same job: cover a long, dangerous rotation in seconds and reposition out of a losing spot. A movement item is the difference between making a brutal storm rotation easily and dying in a field on foot — in the late game, a mobility slot is often worth more than a third weapon.
Holding zone vs taking zone
Not every rotation is about moving. A huge part of the skill is deciding whether to hold the position you already have or take a better one — and getting this wrong costs games in both directions.
Hold zone when:
- You're already on good terrain on the safe side and the next circle keeps you in it. Moving out of a strong spot for no reason just exposes you. If the storm is doing the work of pushing enemies toward you, sit tight and let them come across the open.
- You have a position that covers the likely approach routes. Holding a building, a hill, or hard cover that forces opponents to push you across open ground is a winning setup — make them take the risk.
Take zone when:
- The new circle pulls away from you and your spot is about to be in the storm or on the wrong side. Staying put out of stubbornness gets you caught — rotate early to claim the new ground.
- The terrain ahead is clearly better and you can get there uncontested. Claiming the best ground in the next zone before anyone else arrives is one of the highest-value plays in the game, because position multiplies everything.
The judgment call is whether your current ground stays valuable next circle. If it does, hold and let the storm bring you fights; if it doesn't, take the new ground early rather than getting shoved into it late. Indecision — half-committing, then second-guessing in the open — is what actually kills people. Pick hold or take and execute it cleanly.
Build vs Zero Build rotations
Rotation reading is identical across both modes — where the circle pulls, which side you're on, moving early through cover — but how you execute the move differs:
| Situation | Build mode | Zero Build |
|---|---|---|
| Crossing open ground | Build a wall/ramp path across the danger, or use mobility | String natural cover together and sprint the gaps |
| Reaching high ground in the next zone | Ramp up to it or take existing high ground | Walk, mantle, or use a mobility item to existing high ground |
| Getting caught in the open | Throw up a wall to break the sightline while you move | Slide or sprint to the nearest hard cover; the wall isn't coming |
| Holding the zone you took | Build cover/high ground on your position | Claim the best natural cover and elevation and hold it |
The honest summary: in Build mode you can manufacture cover mid-rotation, which gives you more margin for a sloppy route; in Zero Build the map's existing cover is all you get, so the route read matters even more. (Our Zero Build guide goes deep on cover usage and mobility without walls.) Either way, the core skill — read the zone, move early, take the safe side — is the same, and it's the skill that carries across both modes.
Avoiding open-field deaths
Tie it all together with the habits that specifically stop the open-field death — the most common and most preventable way good players lose:
- Never cross a big open field at walking speed late game. Sprint the gap, build or use mobility across it, or don't take that route at all. Strolling across the open is volunteering to be target practice.
- Know your next piece of cover before you leave the current one. Move cover-to-cover with the next anchor already picked, so you're never stranded in the middle deciding where to go.
- Use sound. Footsteps and gunfire tell you who's rotating where. If you hear a fight on your route, go around it instead of sprinting into two players who'll both turn on you.
- Rotate into the storm-covered flank. Position so the storm guards a flank and enemies have to expose themselves to reach you.
- When in doubt, move early. Almost every open-field death traces back to leaving late — the early mover crosses while the lobby's distracted, the late mover crosses while it's watching.
Rotation won't show up on a highlight reel, but it's the difference between arriving at every fight with the advantage and dying on the way there. Train it like you train aim, and watch how many "I got third-partied" and "I got shot from nowhere" deaths quietly disappear.
Quick Action Checklist
The rotation habits that stop open-field deaths:
- Read every new circle: where it pulls, the terrain inside, which side you're on, how much time you have
- Rotate early — move while the lobby's distracted, not at the last second
- Move through cover, never the straight line across an open field
- When beating storm, take the shortest line to the edge, use mobility, and heal on the move
- Carry a mobility item in the late game — it's often worth more than a third gun
- Hold zone when you're on good safe-side terrain; take zone early when the circle pulls away
- Know your next piece of cover before you leave the current one
- Use sound to route around fights instead of into them
- In Build mode you can build cover mid-rotation; in Zero Build the route read matters even more
Frequently Asked Questions
Keep Reading
Related Guides

Fortnite Third-Partying Guide: When to Push, When to Hold
Third-partying is the most reliable way to win a fight without earning it — you let two players gut each other, then collect. But the same logic points back at you the second you start shooting. Here's how to be the third party instead of the corpse two of them split.

Fortnite Duos & Trios Strategy: How to Win in Small Teams
Duos and Trios aren't just Squads with empty slots. With fewer guns, every knock swings the math harder, every res is riskier, and one bad split loses the game. Here's how to play 2s and 3s — roles, comms, trading, reboots, shared loot, and third-partying as a small unit.
Fortnite Weak Spots & Aiming Guide: Where to Aim
Two players land the same shots and one does way more damage. The difference isn't aim — it's where they're aiming. Here's the where: headshots and weak spots, crosshair centering, pre-aiming, tracking vs flicking, and aiming the gaps in someone's build.
Fortnite Tunneling Guide: Cross Open Ground Without Dying
Tunneling is how good players cross open ground while being shot at and live to fight in the next zone. It's the move-and-rebuild rhythm that turns a death-march across a field into a moving box nobody can crack. Here's how to actually do it.
Fortnite Weapon Tier List: How to Rank Any Loot Pool
Any Fortnite tier list is stale the second a patch drops. So instead of memorizing this season's gun names, learn how to rank weapons by class and role — the framework that's S-tier in every season.

Best Fortnite Settings for PC & Console
Half your settings menu is noise; a handful of options decide whether you can see, aim, and build. Here's what to change on PC and console, why, and the one number nobody else can pick for you.