Best Fortnite Controller Settings & Aim Assist Guide
Linear or exponential, what your deadzones are silently stealing, how aim assist actually works, and the build binds and grip that let your thumbs do two jobs at once. The controller settings that move your aim, minus the copy-a-pro nonsense.
Controller players get told the same lie over and over: that aim assist does the work and the settings are an afterthought. The opposite is true. Aim assist only bites when your stick inputs are clean, and most controller players are quietly sabotaging themselves with a deadzone that eats their micro-adjustments and a response curve that makes their thumb fight the game. Fix those two things and your aim improves before you've practiced a single hour.
This is a controller-specific guide. No mouse talk, no "just lower your DPI" — DPI doesn't exist on a stick. We're going through the settings that change how the thumbstick translates into crosshair movement (response curve, deadzones, sensitivity), how aim assist actually behaves and how to keep it working for you, and the build/edit binds and grip that let your thumbs do two jobs at once. A standing caveat first: Fortnite reshuffles its settings menu and renames options between patches, so treat exact labels and any specific number as a starting line you tune from, not gospel. The principles hold across every season.
What actually makes a controller player good
Three things separate a controller player who hits shots from one who sprays:
- A response curve and deadzone that pass your thumb's intent through cleanly. This is settings, not skill, and it's where most players lose aim they don't know they're losing.
- Aim assist they feed correctly. Aim assist isn't an aimbot; it's a magnet that only pulls when you're already close and moving with the target. Players who "don't feel" aim assist are usually fighting it.
- Binds and a grip that let them build while still aiming and moving. On a stock pad your thumb leaves the stick to build. Paddles and claw exist to fix exactly that.
Notice none of those is "copy a pro's sensitivity." Sensitivity matters, but it's downstream of getting the curve and deadzone right. Set those wrong and no sensitivity number saves you.
Linear vs exponential, the one that matters most
This is the single most important controller setting and the one most players never consciously choose. It's the aim response curve — how stick deflection maps to how fast your crosshair turns.
- Linear. A one-to-one map: push the stick halfway, turn at half speed; push it full, turn at full speed. The relationship is a straight line, so the turn speed is predictable everywhere on the stick. Most current high-level controller players prefer linear because that predictability is what builds consistent muscle memory — the same stick push always produces the same turn.
- Exponential. A curved map: small stick movements turn the crosshair slowly and large movements turn it fast, with the speed ramping up as you push further. It gives you fine control near center and a fast flick at the edge. Some players love it for micro-adjusting, but the non-linear ramp makes the same push feel different depending on where you already are, which is harder to learn precisely.
The honest take: linear is the safer default for almost everyone, because consistency beats a marginal control gain you have to re-learn every time the curve shifts. If you came from older console shooters that defaulted to exponential and linear feels twitchy at first, that's normal — your thumb learned the curve, not the game. Give linear a focused week with a slightly lower sensitivity before you judge it. If, after that, you genuinely track better on exponential, run exponential. But pick deliberately — most players are on whatever the default was and never knew there was a choice.
Deadzones, the setting quietly stealing your aim
A deadzone is the dead patch at the center of your stick's travel where input registers as nothing. It exists to stop a worn or drifting stick from moving your crosshair when you're not touching it. The problem: set it too high and you're throwing away the small, precise inputs that micro-adjustments are made of.
Here's what a too-large deadzone does to you:
- Your fine corrections vanish. The tiny stick nudge you use to settle the crosshair onto a head falls inside the dead patch and does nothing. You feel like your aim is "floaty" or "won't lock on" — that's the deadzone eating your input.
- It makes aim assist feel weak. Aim assist responds to your stick movement near a target. If your small movements are being swallowed, the assist has nothing to work with.
The right approach:
- Set the look (right stick) deadzone as low as your controller allows without drift. Lower it gradually. The moment your crosshair starts creeping on its own when you're not touching the stick, you've gone one step too far — back it up slightly. A controller with worn sticks needs a bigger deadzone; a fresh or high-end controller can go very low.
- Don't ignore the left (movement) stick deadzone either. Too high and your slow walk-peeks turn into either standing still or full sprints with nothing in between.
Stick drift is the enemy of a low deadzone. If your sticks drift, you'll be forced to raise the deadzone to compensate, which is one more reason a controller with quality (or replaceable) sticks is worth it for serious play. Get the deadzone as low as you can hold steady and a chunk of "lost" aim comes straight back.
Sensitivity and the multipliers that actually help
Controller sensitivity is split into more sliders than mouse players deal with, and the split is where the real tuning lives. Broadly you've got base look sensitivity, an ADS (aim-down-sights) multiplier, and build/edit multipliers.
- Base look sensitivity. This is your hip/look turn speed. Start in a moderate band — fast enough to whip onto someone who flanks you, slow enough that you don't sail past a target you're tracking. Too high is the more common mistake; if you constantly overshoot and then claw back, come down a notch. There's no universal correct value; it depends on your grip and the curve you picked.
- ADS sensitivity multiplier. This scales your turn speed while aiming down sights, and it's typically set below 1.0 so aiming slows you down for precision. Many controller players run an ADS multiplier somewhere in the lower range (well under 1.0) so scoped and long-range shots settle cleanly. If your tracking gets shaky the moment you ADS, your ADS multiplier is probably too high.
- Build and edit multipliers. Same principle as any control setup: building and editing are speed races, so set these above your aim feel so your view rotates fast when you're throwing a 90 or ramp-rushing. Edit a touch faster than build. New builders should start lower so edits don't overshoot, then creep them up as the hands get quick. Our best Fortnite settings guide covers the build/edit multiplier logic in more detail.
The meta-rule: change one slider at a time, then commit. The fastest way to never improve is to tweak your sensitivity every session so your muscle memory never sets. Find values that feel controllable, then leave them alone for weeks.
Aim assist, how it works and how not to waste it
Aim assist is the most misunderstood thing on controller. It is not an aimbot and it does not snap to heads. On controller, Fortnite's aim assist mostly does two jobs: it slows your crosshair as it passes over an enemy (so you can settle on them instead of flying past), and it gently helps your crosshair drift with a moving target when you're already close. That's it — it rewards good inputs, it doesn't replace them.
How to actually feed it:
- Move your stick while you aim. Aim assist is strongest when both you and the target are moving. Standing perfectly still and waiting for the magnet to grab is the wrong instinct — keep small inputs going so the slowdown has something to act on. This is why a too-large deadzone (which swallows small inputs) kneecaps aim assist.
- Strafe in fights. When you mirror an enemy's strafe, aim assist helps drag your crosshair along with them. Holding a movement direction during a duel isn't just dodging; it's switching the assist on.
- Don't fight the slowdown. When the crosshair "drags" near a target, that's the assist working — ease into it rather than yanking through it. Yanking past the slowdown zone throws away the help.
On settings: there's usually an aim assist strength option. The default on is the right call for nearly everyone — leave it enabled. The bigger gains aren't in cranking a strength slider; they're in the deadzone and curve work above, because those decide whether the assist even has clean inputs to respond to. A common pattern: players who say aim assist "feels off" have a high deadzone strangling the small movements aim assist needs.
Build and edit binds on controller
On controller, the binds problem is brutal: your thumbs are already busy moving and aiming, and building demands more inputs from those same thumbs. The answer the game gives you is Builder Pro.
- Use Builder Pro. It maps each build piece — wall, ramp, floor, cone — to its own button or trigger in Build mode, so you place the exact piece you want with one press instead of cycling. It's the competitive default on controller and it's not close. If you're still on the combat-first default in Build mode, switching to Builder Pro is the single biggest building upgrade available to you.
- Why one-press-per-piece matters so much. Cycling through pieces is the slowest possible way to build, and on controller it also keeps your thumb off the stick longer. One button per piece means you throw a wall then immediately a ramp without a menu in between — and you get your thumb back on the stick sooner.
- Set a fast edit and a reset/confirm you can hit cleanly. Editing on controller is three actions in a row (enter edit, select, confirm/reset), so make sure your edit input and your reset are buttons you reach without losing aim. Our Fortnite editing guide covers the edit technique these binds serve.
The hard ceiling on a stock controller is that any build/edit input pulls a thumb off a stick, so you can't perfectly build and aim at the same time. That's not a binds problem you can fully solve in software — it's a hardware one, which is the entire case for paddles below.
Claw, paddles, and grip
If you want to build and edit while keeping both thumbs on the sticks, you need extra inputs your thumbs aren't responsible for. Two ways to get there:
- Claw grip. You curl your index fingers down onto the face buttons while your thumbs stay on the sticks, so you can press face buttons (build pieces, jump, edit) without leaving stick control. It's free — no hardware — but it's physically demanding, takes real time to learn, and isn't comfortable for everyone's hands. Plenty of top controller players use a version of it.
- Back paddles / extra buttons. A controller with rear paddles (a "pro" or elite-style pad) lets you remap build pieces, jump, and edit onto paddles your middle or ring fingers press, so your thumbs never leave the sticks. This is the cleanest fix: you keep full aim and movement while building. It's the one situation where a custom layout clearly beats stock Builder Pro — extra inputs let both thumbs stay home.
How to assign paddles if you have them: put the inputs you most need while aiming on the paddles first. Jump and a build piece (usually wall) are the highest-value paddle binds, because jumping and walling mid-fight are exactly the moments you can't afford to take a thumb off the stick. Edit and a second piece come next. Keep the assignment small at first — two paddles, two high-value actions — and add more only once those are automatic.
Grip is personal and a little physical. If claw hurts your hands, don't force it — a paddle controller gets you the same benefit without the strain. If you can't or don't want either, stock Builder Pro with good deadzone/curve settings still gets you very far; claw and paddles raise the ceiling, they're not the price of entry. Whatever you choose, drill it in Creative before you trust it in ranked — see our how to get better at Fortnite guide for structuring that practice.
Quick Action Checklist
The controller settings that actually move your aim and building:
- Pick your response curve deliberately — linear is the safe default for consistency; choose exponential only if it genuinely tracks better after a focused week
- Drop your look deadzone as low as your sticks allow without drift — this is where lost aim hides
- Don't neglect the movement-stick deadzone so slow peeks still register
- Base look sensitivity in a moderate band; come down if you overshoot constantly
- ADS multiplier below 1.0 so aiming settles for precision
- Build/edit multipliers above your aim feel, edit a touch faster than build
- Leave aim assist on, and feed it — move your stick and strafe while you aim
- Use Builder Pro so every piece is one press; never cycle pieces
- Add claw or paddles to build while keeping both thumbs on the sticks — paddle the wall and jump first
- Change one setting at a time, drill it, then stop tweaking so muscle memory forms
Frequently Asked Questions
Keep Reading
Related Guides
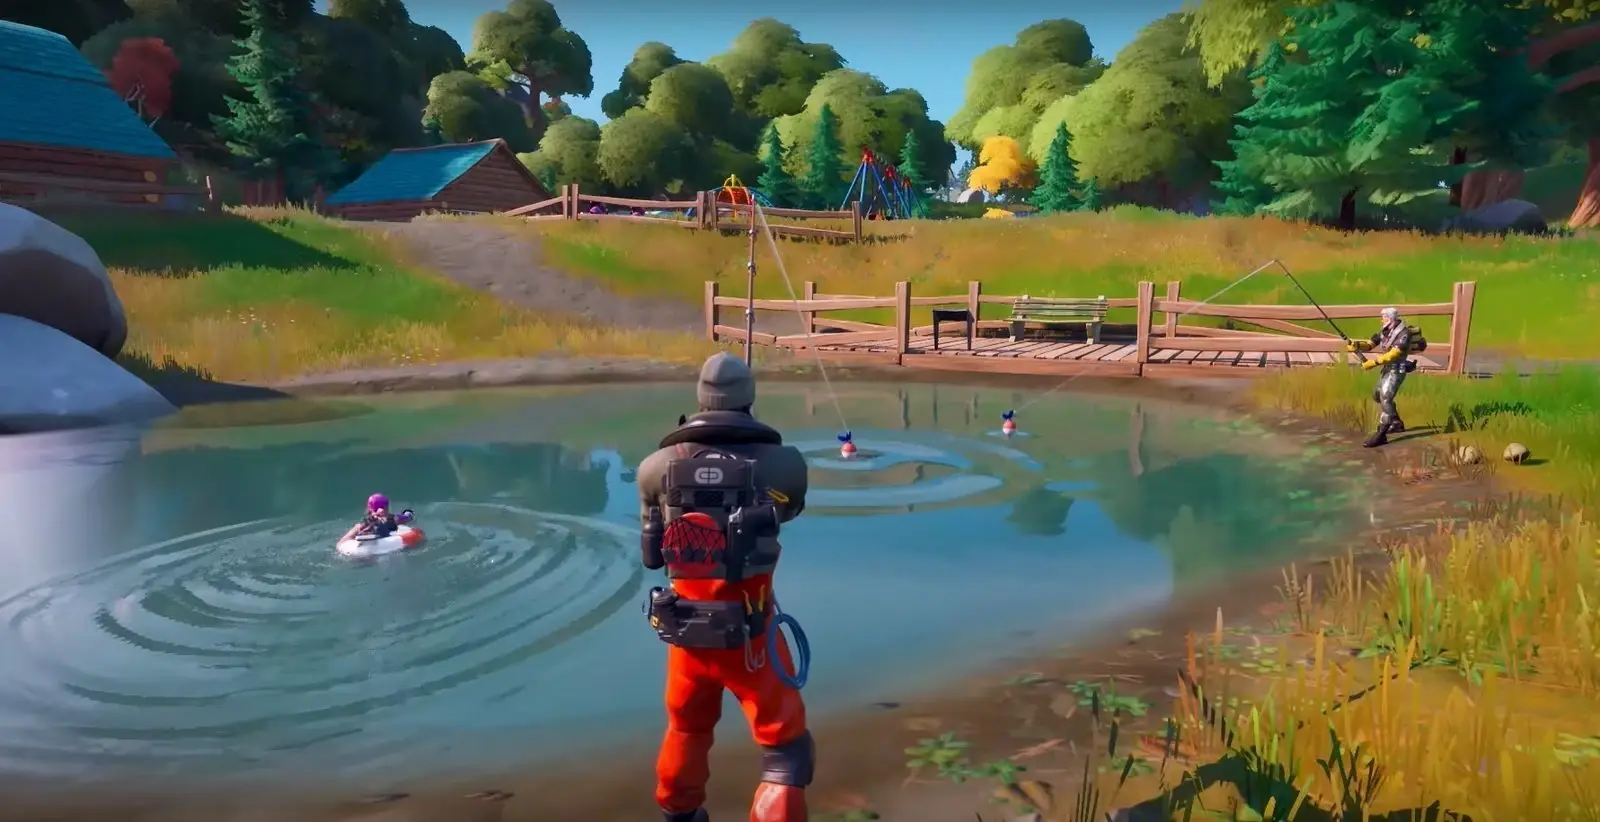
Fortnite Fishing Guide: Rods, Fish, and Free Heals
Fishing looks like the thing you do when you're bored and the storm is far away. It's actually one of the fastest heal sources in the game — a Shield Fish hands you 40 shield in about a second while a Shield Potion is still gurgling. Here's how the whole system works and when it's worth your time.
Fortnite Mobility Items Guide: What to Carry and When to Use It
A mobility item slot is often worth more than a third weapon, and most players either ignore it or waste the item the second they pick it up. Here's how launch pads, shockwaves, grapplers, rifts and the rest actually work, which to carry, and when to pull the trigger.
Fortnite XP & Leveling Guide: Fastest Ways to Level the Battle Pass
Nobody who finishes the Battle Pass early did it by grinding eliminations. They did it by knowing where XP actually comes from. Here's how leveling really works and the fastest ways to bank it.
Fortnite Reload Mode Guide: Fast Respawns, Faster Wins
Reload isn't Battle Royale on a small map — it's a respawn brawler where dying once is barely a setback. The reboot card changes every fight, and the players who play scared lose to the players who play loud. Here's how the mode actually works and how to win it.
Fortnite Weapon Tier List: How to Rank Any Loot Pool
Any Fortnite tier list is stale the second a patch drops. So instead of memorizing this season's gun names, learn how to rank weapons by class and role — the framework that's S-tier in every season.
Best Fortnite Settings for PC & Console
Half your settings menu is noise; a handful of options decide whether you can see, aim, and build. Here's what to change on PC and console, why, and the one number nobody else can pick for you.