Genshin Spiral Abyss Guide — 800 Primogems a Month
A full 36-star Spiral Abyss clear pays 800 Primogems, once a month, for the cost of zero resin. What stands between you and that payout usually is not skill — it is the two-team tax.
The Abyss Is a Two-Team Tax, Not a Skill Wall
Here is the number that should reframe how you think about the Spiral Abyss: a full clear of Floors 9 through 12 pays out 800 Primogems, the Moon Spire refreshes once a month, and none of it costs a single point of Original Resin. That is 800 free primogems every month sitting behind a wall most players assume is about being good at combat.
It usually isn't. Floor 12 filters accounts less on execution than on a boring structural requirement: you need two teams, not one. Eight built characters, not four. The players who wall at the top of the Abyss are almost never bad at dodging. They have one gorgeous main team and a second team held together with duct tape, and the Abyss makes them field both.
Understand the structure and the two-team tax, and Floor 12 stops being a skill check and becomes a planning exercise. So here is exactly how the tower is built and how to beat it without owning half the roster.
How the Abyss Is Actually Built
The Spiral Abyss unlocks at Adventure Rank 20 and lives inside the Musk Reef, reached from the Cape Oath teleport waypoint. It is single-player only — co-op is disabled the moment you step in — and it splits cleanly into two halves that behave nothing alike.
The Corridor — Floors 1 to 8
Floors 1 through 8 make up the Abyss Corridor, and this is the part people forget exists once they've cleared it. The Corridor is permanent. You beat each floor once, collect a one-time Primogem payout, and it never resets. The enemy lineups are fixed, the difficulty ramps gently, and the star conditions are usually forgiving things like "clear with the party's remaining HP above a threshold" rather than a hard stopwatch.
Treat the Corridor as your onboarding. It gates the real content — you cannot enter Floor 9 until you've cleared Floor 8, Chamber 3 — but once it's done, it's done. If you're new, grinding the Corridor's one-time rewards is some of the easiest primogem income in the game.
The Moon Spire — Floors 9 to 12
Floors 9 through 12 are the Abyssal Moon Spire, and this is the endgame everyone actually means when they say "the Abyss." Every floor has three chambers. Every chamber is worth up to three stars. That's nine stars per floor, 36 stars across the four floors — the famous target.
The Moon Spire resets on a schedule, and every reset it swaps its enemy lineup, its environmental effects, and a rotating global buff. Unlike the Corridor, you can re-run it as many times as you want, and you'll want to, because the primogems refresh every cycle.

The Reset Schedule Nobody Reads Carefully
The Moon Spire resets once a month, on the 16th, during what the game calls the Moment of Syzygy. One reset, one full clear, 800 Primogems.
It did not always work that way. Until 16 June 2024 the Moon Spire's rewards reset twice each month — the period beginning on the 1st was the Waxing Phase, the period beginning on the 16th the Waning Phase — and that is where the old 600-per-clear, 1,200-a-month arithmetic came from. That schedule is gone. If you're still budgeting primogems around two Abyss paydays, you're budgeting for a version of the game that ended two years ago.
Two things still trip people up. First, only Floors 9 through 12 reset. The Corridor stays cleared forever; you never re-earn those one-time rewards. Second, since Version 5.1 you can quick-claim the full star rewards from Floors 9 and 10 without clearing them again after a reset, provided you've already cleared Floors 11 and 12 respectively with full stars. For an account that genuinely lives at the top of the tower, the monthly chore is two floors, not four.
There's no entry cost, no cooldown, and no daily limit on attempts. You can fail Floor 12 Chamber 3 forty times in a row and the game shrugs. That's the good news buried in the difficulty: the Abyss is pure practice with no resource sink, so a wall is always temporary.
Stars, the Clock and the 36-Star Target
In the Moon Spire, stars come down almost entirely to one thing — speed. Each chamber gives you a time budget, and your star count is decided by how much time is left on the clock when the last enemy drops. Beat the chamber with comfortable time to spare and you take all three stars. Squeak in at the buzzer and you might walk away with one.
That single fact reorganizes the whole endgame. The Abyss does not reward tanky, safe, grind-them-down teams. It rewards teams that delete enemies fast. A comp that clears Floor 12 with health to spare but no time to spare is a two-star comp, and two stars per chamber across four floors leaves you short of the 36 you need for the full payout.
The math on rewards: in the Moon Spire, each floor pays 50 Primogems at three stars, another 50 at six, and another 100 at nine — 200 per floor at a full nine stars, so 36 stars across the four floors totals 800. You do not need to be perfect on the way up — the Corridor and lower Moon Spire floors are gentle — but the top-end primogems specifically demand that you three-star Floors 11 and 12, and that means killing on the clock.
Because the score is speed, damage per second is king, and damage per second in this game is mostly a function of how well your characters are geared. If your carries are underperforming the clock, the fix is usually artifacts before it's anything else — our Genshin artifact guide walks through the substat math that separates a Floor 11 team from a Floor 12 one, and it's a cheaper fix than pulling a new character.
Ley Line Disorders and the Blessing of the Abyssal Moon
Two rotating systems shape every cycle, and reading them is half the battle.
Ley Line Disorders are per-floor environmental effects, listed on the floor's info screen before you enter. Some help you — "characters deal increased Pyro DMG," say — and some are pure hazard, like periodic elemental fields or enemies gaining shields. These are fixed for the duration of a cycle but change with each reset, and they are the single biggest hint about which elements the developers want you to bring this time around. If the disorder buffs Electro damage, that's not a coincidence; it's a nudge toward an Electro-forward roster.
The Blessing of the Abyssal Moon is the global buff that applies across the whole Moon Spire for the cycle. It's a rotating condition — historically things like "gain a damage bonus after picking up an elemental particle" or "increased damage for a few seconds after using an Elemental Burst." The Blessing rewards a specific playstyle each cycle, and building your rotation around it is often the difference between a two-star and a three-star chamber. Read it before you queue, not after you've lost.
The takeaway: never walk into a fresh reset blind. Spend thirty seconds reading the disorder on each floor and the Blessing at the top of the screen, and build toward what the cycle is asking for. The enemies rotate too, so a team that hard-cleared last cycle can genuinely struggle this one if the lineup shifts against its element.
Building Two Teams Without Two Whales
Now the actual wall. Floors 9 through 12 split every chamber into two halves. The first half is fought by your first team, the second half by your second team, and — this is the part that hurts — a character placed on one team cannot be used on the other. Floor 12 demands eight distinct, functional characters, all built well enough to hit the clock.
This is why the Abyss feels so much harder than the open world. Overworld combat lets you funnel every good character and every artifact into one immaculate team. The Abyss says: now do it twice, and no sharing.
Archetypes That Actually Clear Floor 12
You don't need meta-defining five-stars in both slots. You need two teams that each have a clear damage plan. The reliable near-F2P archetypes:
- An amplifying reaction team — Vaporize or Melt, pairing a Pyro or Cryo carry with a Hydro or Pyro enabler to multiply hits. Huge per-hit damage, ideal for the burst windows the clock rewards.
- A Hyperbloom or Aggravate team — Dendro-based reaction cores that spread damage across a whole enemy pack. Excellent on the multi-target chambers that eat single-target comps alive.
- A Freeze team — locks enemies in place while a Cryo or Hydro carry deletes them. Trivializes chambers full of mobile, annoying enemies.
Which one you can field depends on who you own, and reactions are the engine under all three. If you're fuzzy on why a Dendro core spreads damage or why Freeze shuts down crowd control, the Genshin elemental reactions guide breaks down every reaction and which stat feeds it — reaction literacy is what lets you build a functional second team out of characters you'd otherwise call benchwarmers.
The Support Overlap Problem
Here's the trap that quietly kills most first attempts at 36 stars. The best supports in the game are so good that you want them on both teams — and you can't have them.
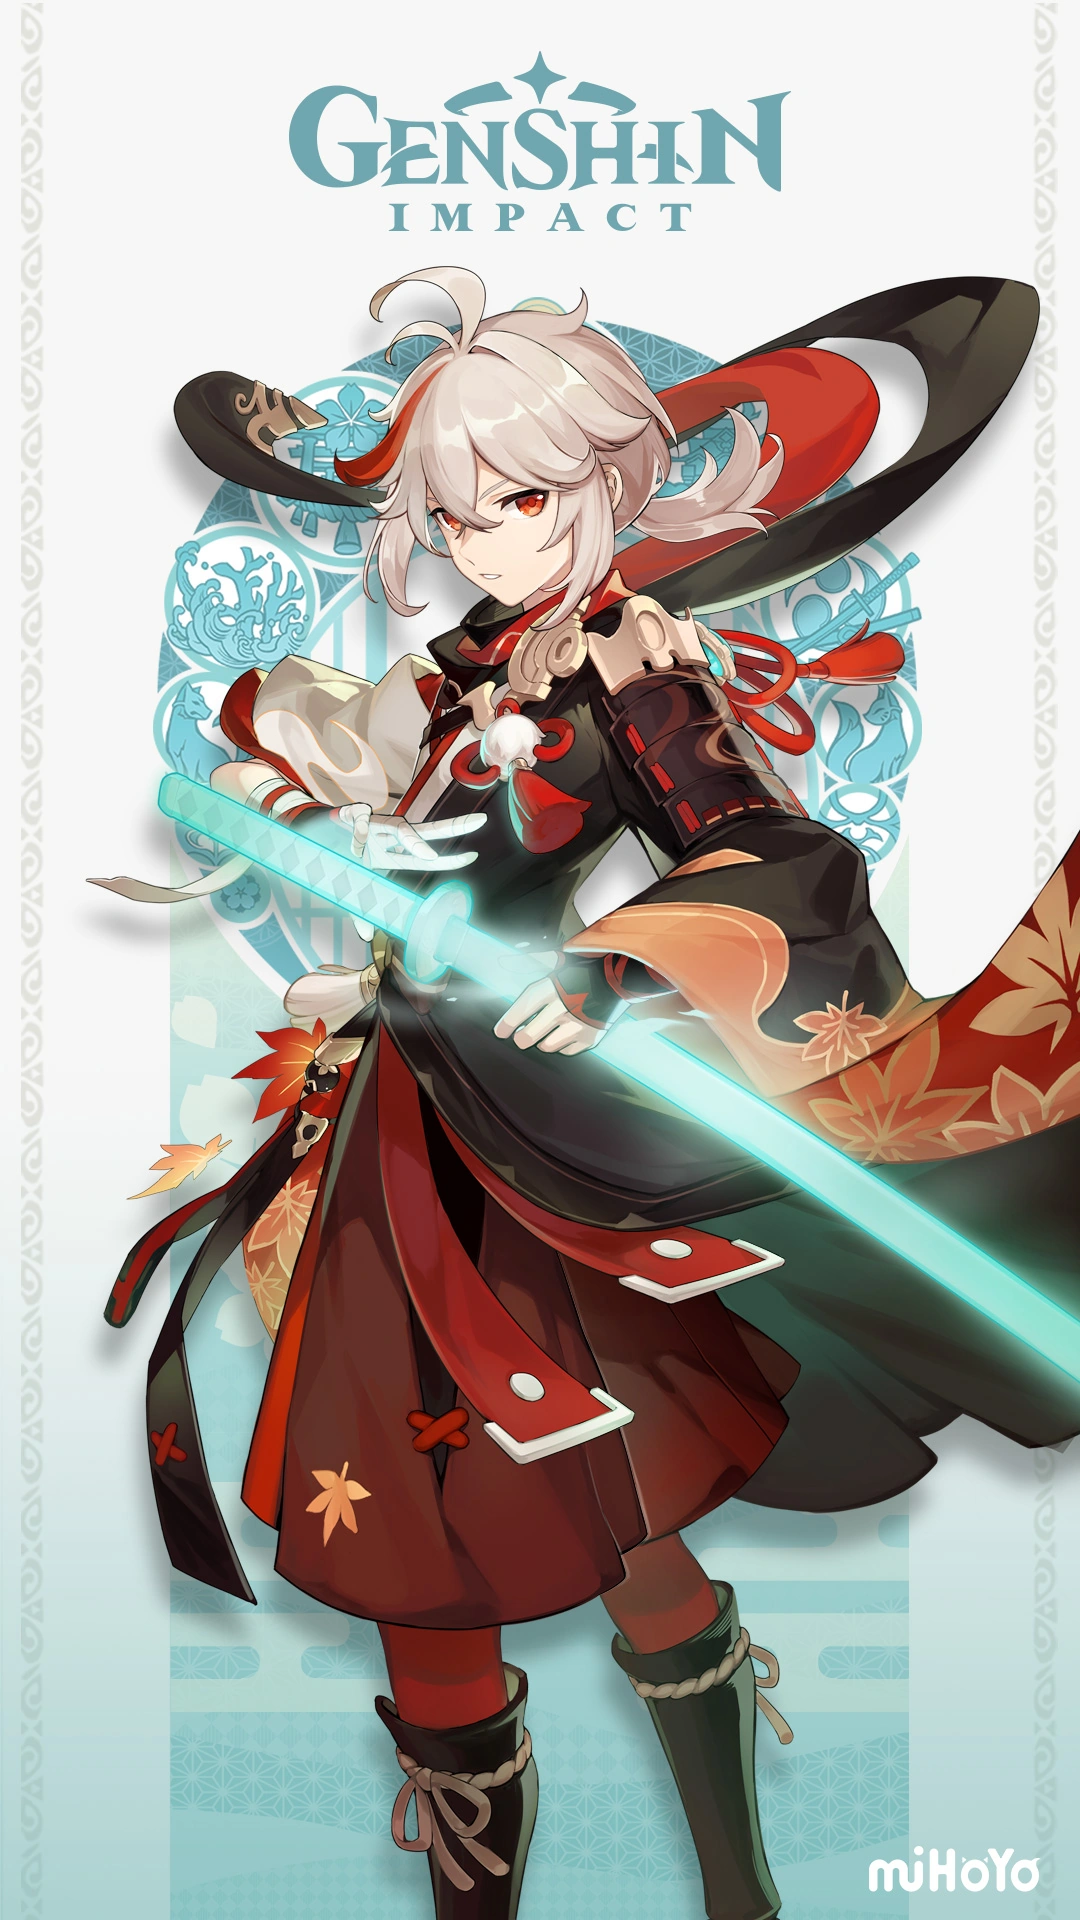
Bennett is the classic example. His burst is one of the strongest attack buffs and heals in the game, so instinct says put him on your strongest team. Fine. But that means your second team gets no Bennett, and it has to solve healing and damage buffing with someone else. Same story with an anemo grouper like Kazuha, whose crowd-control and damage amplification you'd love in both halves but only get in one.
The discipline: build your two teams as a pair, not as "best team plus leftovers." Split your premium supports deliberately — one burst-buffer and one grouper per side if you can — so neither half is carrying dead weight. This is also why account-building advice always says pull for breadth before depth. Before you spend on a sixth copy of a carry you already own, ask whether a single new support would let you field a genuine second team. Our Genshin wish and gacha guide covers pity and the fifty-fifty so you can plan those pulls instead of praying through them.
Why People Wall at 33 Stars
The 33-to-36 gap is the most common plateau in the game, and it's almost always one of these:
One team is real, the other is cardboard. You three-star the first half of every chamber and bleed stars on the second. Fix: pour artifact upgrades into your weakest built character until the second team can hit the clock. It's usually a gearing problem, not a roster problem.
You're too slow, not too fragile. Players see themselves dying and assume they need more survivability, so they slot a second healer and lose even more time. If you're finishing chambers alive but out of clock, the answer is more damage, not more comfort. Drop the redundant healer for a damage sub-DPS.
Wrong elements for the cycle. The enemy lineup and ley line disorders shifted and your go-to team is now fighting into a resistance or a shield it can't break. Read the cycle and rotate elements to match rather than forcing the team that worked last time — and if you're not sure which reaction beats which enemy type, the Genshin elemental reactions guide maps every pairing so you can counter-pick instead of guessing.
Energy problems. A carry who can't cast their burst every rotation does a fraction of their damage. If your damage feels randomly inconsistent between attempts, it's usually Energy Recharge — you're not building enough particles to power the rotation the clock demands. That's an artifact fix as much as a team one; the Energy Recharge thresholds in our Genshin artifact guide explain how much you actually need before you over-invest.
A Realistic Clear Plan
If you're staring at Floor 9 for the first time, or stuck at Floor 11, here's the order of operations that actually moves the needle:
- Clear the entire Corridor first. Floors 1 to 8 are one-time primogems and free practice against the difficulty curve. Don't skip them to bash your head on Floor 12.
- Take stock of eight characters, not four. Write down your best two teams honestly, splitting premium supports across both. If one team has no healer and no buffer, that's your problem, and it's fixable with gear or one targeted pull.
- Gear the weak link. The lowest-damage character on your second team is your ceiling. Farm artifacts specifically for them before anything else.
- Read the cycle every reset. Ley line disorder per floor, Blessing of the Abyssal Moon up top. Match your elements to what the tower is rewarding.
- Chase speed, not safety. Once you can survive a chamber, every subsequent improvement should be about killing faster. Swap comfort picks for damage.
- Re-clear once a month. The moment the calendar hits the 16th, Floors 9-12 refresh. That's your recurring 800 primogems — set a reminder if you have to.
Do that and 36 stars stops being a milestone you're chasing and becomes a monthly chore you barely think about. That's the goal: the Abyss should feel like collecting a paycheck, not clearing a raid.
More Genshin coverage lives on the Genshin Impact coverage hub, and the rest of our game guides are on the Mythras blog.
Quick Action Checklist
- The Spiral Abyss unlocks at Adventure Rank 20 and is single-player only.
- Floors 1-8 (the Corridor) are permanent one-time rewards; Floors 9-12 (the Moon Spire) reset and repeat.
- The Moon Spire resets once a month, on the 16th, during the Moment of Syzygy — 800 Primogems for a full 36-star clear.
- 36 stars means three-starring all twelve Moon Spire chambers. Stars are decided by clear speed, not survival.
- Floors 9-12 need two separate teams; a character on one team cannot be used on the other. That's eight built characters.
- Split your best supports across both teams — don't stack Bennett and your grouper on one side and leave the other bare.
- Read the ley line disorder on each floor and the Blessing of the Abyssal Moon before you enter; match your elements to the cycle.
- Walling at 33 stars is almost always a weak second team, too little damage, or wrong elements — rarely a skill issue.
- If you're surviving but out of clock, add damage, not another healer.
- Gear the weakest character on your second team before you spend anywhere else.
Frequently Asked Questions
When does the Spiral Abyss reset in Genshin Impact?
How many Primogems do you get from the Spiral Abyss?
Why do I need two teams for the Spiral Abyss?
How are Spiral Abyss stars earned?
What are ley line disorders and the Blessing of the Abyssal Moon?
Do I need five-star characters to clear Floor 12?
Why am I stuck at 33 stars?
Is the Spiral Abyss worth doing as a free-to-play player?
Keep Reading
Related Guides
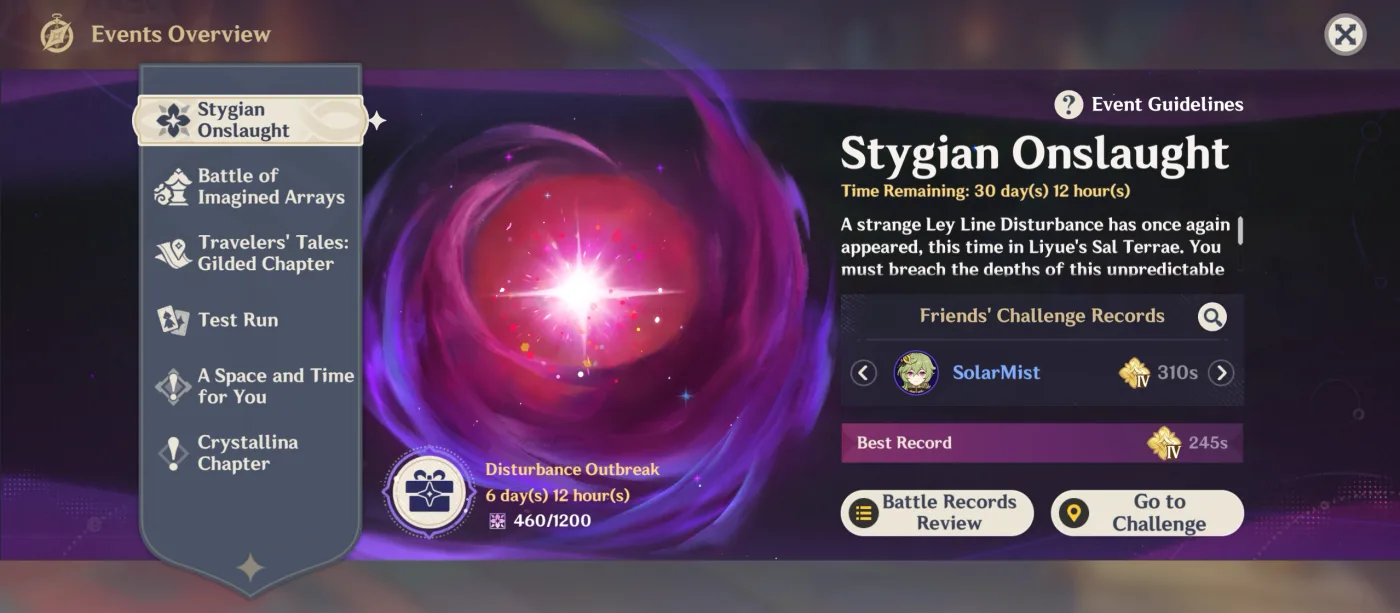
Genshin Stygian Onslaught Guide — The Primogems Stop at Difficulty Three
Genshin has three permanent endgames. The third one hands you its entire Primogem payout at difficulty three of six, then spends the top half of the ladder paying you in artifact currency and weapon skins instead. The reward table is the whole strategy.
Genshin Imaginarium Theater Guide — The Endgame That Out-Pays the Abyss
The Spiral Abyss pays 800 Primogems a month. A full Imaginarium Theater season pays 1,000. One of them asks for eight built characters and one asks for twenty-eight, and most accounts are still only collecting the smaller cheque.

Genshin Energy Recharge Guide — How Much ER You Actually Need
Xingqiu drops exactly five Hydro particles per skill cast. Standing on him when they land is worth 15 Energy. Swapping away first is worth 9. Same cooldown, same rotation, six Energy gone — and that is before you touch the Energy Recharge stat at all.

Genshin Elemental Reactions Guide — Every Multiplier Explained
Most players know Hydro plus Pyro equals Vaporize. Far fewer know that swapping which element lands first is the difference between a 2x multiplier and a 1.5x one — the same rotation, a third of the damage gone.

Genshin Artifact Guide — Stats, Rolls and Resin Math
A five-star artifact can roll the exact same substat four times and give you anywhere from 10.88 percent to 15.54 percent CRIT DMG. Understanding that spread is the difference between a functional account and a museum of half-built characters.
Genshin Impact Codes — Every Active Code Today
Six global Genshin Impact codes pay Primogems right now, 290 in total, and three codes this page listed on September 16 are now reported dead. Here is the checked list with exact rewards, the one code with a published deadline, the code groups that cancel each other, and where the sources disagree.