Genshin Elemental Reactions Guide — Every Multiplier Explained
Most players know Hydro plus Pyro equals Vaporize. Far fewer know that swapping which element lands first is the difference between a 2x multiplier and a 1.5x one — the same rotation, a third of the damage gone.
Reactions Are Not a Bonus, They Are the Damage Formula
There is a moment every Genshin player hits somewhere around Adventure Rank 35 where the damage numbers stop making sense. You pulled a five-star. You leveled them to 80. You slotted decent artifacts. And a friend running a four-star Xiangling is out-damaging you by a factor of three.
The gap is not the character. It is that they are triggering reactions and you are hitting things with a stick.
Here is the claim this whole guide rests on, and it is falsifiable: a Hydro attack landing on a target that already has a Pyro aura multiplies that attack's damage by exactly 2. Not "roughly double." Two, before Elemental Mastery is even factored in. Reverse the order — Pyro landing onto an existing Hydro aura — and that same multiplier drops to 1.5. Same characters, same artifacts, same rotation length, and you have thrown away 25 percent of the hit because you pressed buttons in the wrong sequence.
That is the entire skill ceiling of Genshin combat compressed into one sentence. Everything below is the detail.
The Four Reaction Families
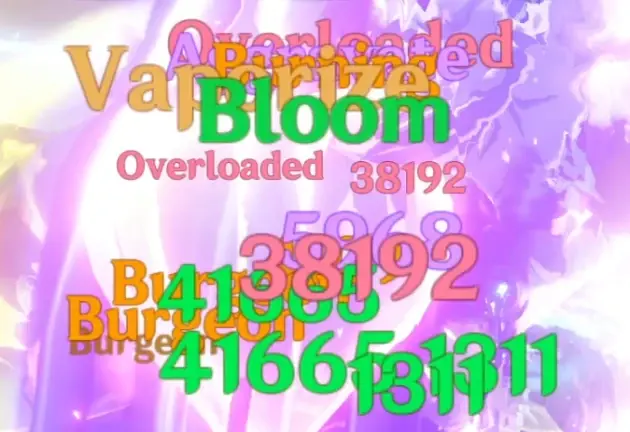
Teyvat has seven elements: Pyro, Hydro, Electro, Cryo, Dendro, Anemo, and Geo. Combining two of them on a single target produces a reaction, and every reaction in the game falls into one of four mechanical buckets. Learning the bucket matters more than memorizing the names, because each bucket responds to a completely different stat.
Amplifying Reactions
Vaporize and Melt. These two do not create their own damage instance. They take the attack that triggered them and multiply it — by 2 or by 1.5 depending on order.
- Vaporize: Hydro onto Pyro aura is 2x. Pyro onto Hydro aura is 1.5x.
- Melt: Pyro onto Cryo aura is 2x. Cryo onto Pyro aura is 1.5x.
Because they multiply the triggering hit, everything that made that hit big still applies. ATK matters. CRIT Rate and CRIT DMG matter. Damage bonus goblets matter. This is why Vaporize teams still want conventional CRIT builds and only a moderate amount of Elemental Mastery.
Transformative Reactions
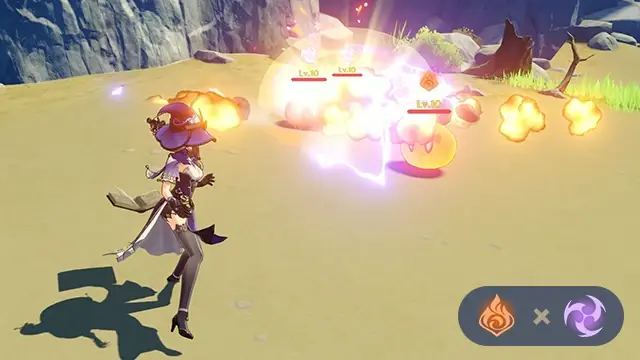
Overloaded, Superconduct, Electro-Charged, Swirl, Burning, Bloom, Hyperbloom, Burgeon, and Shattered. These spawn a separate instance of damage that has nothing to do with your attack.
The part that trips people up: transformative reaction damage is calculated purely from the triggering character's level and Elemental Mastery. It cannot CRIT. It ignores ATK entirely. It ignores the target's DEF. A Hyperbloom hit from a level 90 character with 900 Elemental Mastery lands for exactly the same number whether that character has 800 ATK or 2,400 ATK.
Two concrete examples worth knowing. Superconduct deals AoE Cryo damage in a five-metre radius and cuts the Physical RES of every enemy caught in it by 40 percent for 12 seconds — that is what makes it a Physical-carry enabler rather than a damage reaction. Overloaded deals AoE Pyro damage, counts as a Blunt attack for the purposes of breaking shields and triggering Shatter, and produces the knockback that has ruined more Abyss runs than any enemy in the game.
Additive Reactions
Spread and Aggravate, both gated behind the Quicken state that Dendro and Electro create together. These are the odd ones out. They do not multiply your hit and they do not spawn their own instance. They add a flat chunk of base damage to the triggering attack before the rest of the damage formula runs.
Aggravate boosts Electro damage. Spread boosts Dendro damage. Per the reaction data, Spread's additive bonus is slightly the larger of the two.
Because the bonus is added to base damage rather than multiplied on top, it then gets scaled by your damage bonus, CRIT, and everything else downstream. Additive reactions reward hybrid builds: enough Elemental Mastery to make the additive chunk meaningful, and enough CRIT to multiply it.
Crystallize and Frozen
Two reactions that produce no damage at all and are still worth building around.
Crystallize triggers when Geo meets Pyro, Hydro, Electro, or Cryo, dropping a shard that grants an elemental shield. Elemental Mastery increases how much damage that shield absorbs.
Frozen is Hydro plus Cryo, and it is crowd control rather than damage — a hard lock on enemy movement. Hit a Frozen enemy with a Geo or Blunt attack and you trigger Shatter, which is itself a transformative reaction. Worth knowing: several enemies carry Freeze Resistance that shortens the lock, and most land Local Legends sit at 90 percent resistance, which is why your Freeze team suddenly stops working on overworld bosses.
Forward vs Reverse — The Trigger Order That Doubles Your Damage
This is the single highest-value thing in the guide, so it gets its own section.
The community calls the 2x version "forward" and the 1.5x version "reverse." The rule is simple once you see it: the reaction is stronger when the element that lands second is the one that intuitively "beats" the first. Water beats fire, so Hydro onto Pyro is 2x. Fire beats ice, so Pyro onto Cryo is 2x.
The practical consequence is that your rotation order is a damage stat.
If Xiangling's Pyronado is your damage source, you want Pyro landing on an existing Hydro aura — that is a 1.5x reverse Vaporize, and it is what Xiangling actually plays. If Ganyu's charged shot is your damage source, you want Cryo landing on Pyro for 1.5x reverse Melt, or you flip it and let a Pyro carry like Hu Tao slam into a Cryo aura for the full 2x forward Melt.
There is no way to get 2x on both sides of a swap. Pick which character in the team is your damage dealer, then build the rotation so their hits are the ones triggering the reaction, not the ones setting up the aura.
One more consequence that experienced players exploit: 1.5x reactions consume less of the initial aura and often leave it intact, while 2x reactions tend to strip the aura completely. A reverse Vaporize team can therefore get more reaction procs off a single Hydro application than a forward one can. Lower multiplier, more triggers. Sometimes that math favours reverse.
Elemental Mastery Is Not a Universal Stat
Every guide tells you Elemental Mastery boosts reactions. Almost none tell you that it boosts different reactions on completely different curves, which is why "just stack EM" is bad advice.
Elemental Mastery starts at 0 for nearly every playable character. It scales with heavy diminishing returns — the jump from 0 to 200 is enormous, and the jump from 800 to 1,000 is marginal.
The honest breakdown:
- Transformative reactions (Hyperbloom, Burgeon, Overloaded, Swirl, Electro-Charged, Superconduct, Bloom, Burning, Shattered): Elemental Mastery is close to the only offensive stat that matters on the triggering character. Build it to the ceiling. A Hyperbloom trigger with 1,000 EM and garbage CRIT is correct.
- Amplifying reactions (Vaporize, Melt): Elemental Mastery multiplies on top of the 2x or 1.5x. It is strong but it competes with ATK and CRIT for artifact slots. Somewhere in the 100 to 250 range is typical, usually acquired from substats rather than a dedicated EM sands.
- Additive reactions (Aggravate, Spread): moderate EM plus full CRIT. The additive chunk is real but it is not the whole hit.
- Crystallize: EM increases shield absorption only.
The rule of thumb that survives every patch: if the reaction makes its own damage number, go all-in on Elemental Mastery. If the reaction changes your damage number, split.
Auras, Internal Cooldown, and Why Your Reactions Fizzle
You have almost certainly had a rotation where the reaction just refused to fire. That is not bad luck, it is one of two systems.
Aura decay. Applying an element leaves an aura that drains over time. Reactions consume that aura, by different amounts depending on the reaction and the strength of the incoming element. If your Hydro applier's aura has fully decayed before your Pyro carry gets on field, you get a plain Pyro hit and no Vaporize. This is why off-field appliers with long uptime are so valuable.
Internal cooldown. Most damage sources cannot reapply their element on every single hit. A character swinging four times a second is not applying Pyro four times a second — the game gates reapplication behind an internal timer. This is the actual reason a fast attacker with a Pyro infusion produces fewer reactions than you would expect, and why some slower attacks feel disproportionately good in reaction teams.
There are also throughput caps on the reaction side. A single target can only take one instance of Overloaded damage per 0.5 seconds from the same attacker, and multiple Overloaded triggers landing within 0.1 seconds of each other only produce damage once regardless of source. Superconduct allows two instances per 0.5 seconds under the same rules. Stacking more triggers past those caps does nothing.
And one detail that decides team compositions: the stats used are always those of the character who triggers the reaction, never the one who set up the aura. Your Dendro applier's Elemental Mastery is irrelevant to Hyperbloom damage. Only the Electro character pulling the trigger matters. Build accordingly.
Reaction Teams That Actually Hold Up
Genshin adds characters constantly, but reaction archetypes are close to permanent. These three have been viable through years of patches because they are built on mechanics rather than on any one banner unit.
Vaporize for Frontloaded Damage
One Pyro carry, one Hydro applier with strong off-field uptime, plus support. The Hydro character keeps an aura up, the Pyro character slams into it for reverse Vaporize, or the Hydro character triggers into a Pyro aura for forward Vaporize on their own hits.
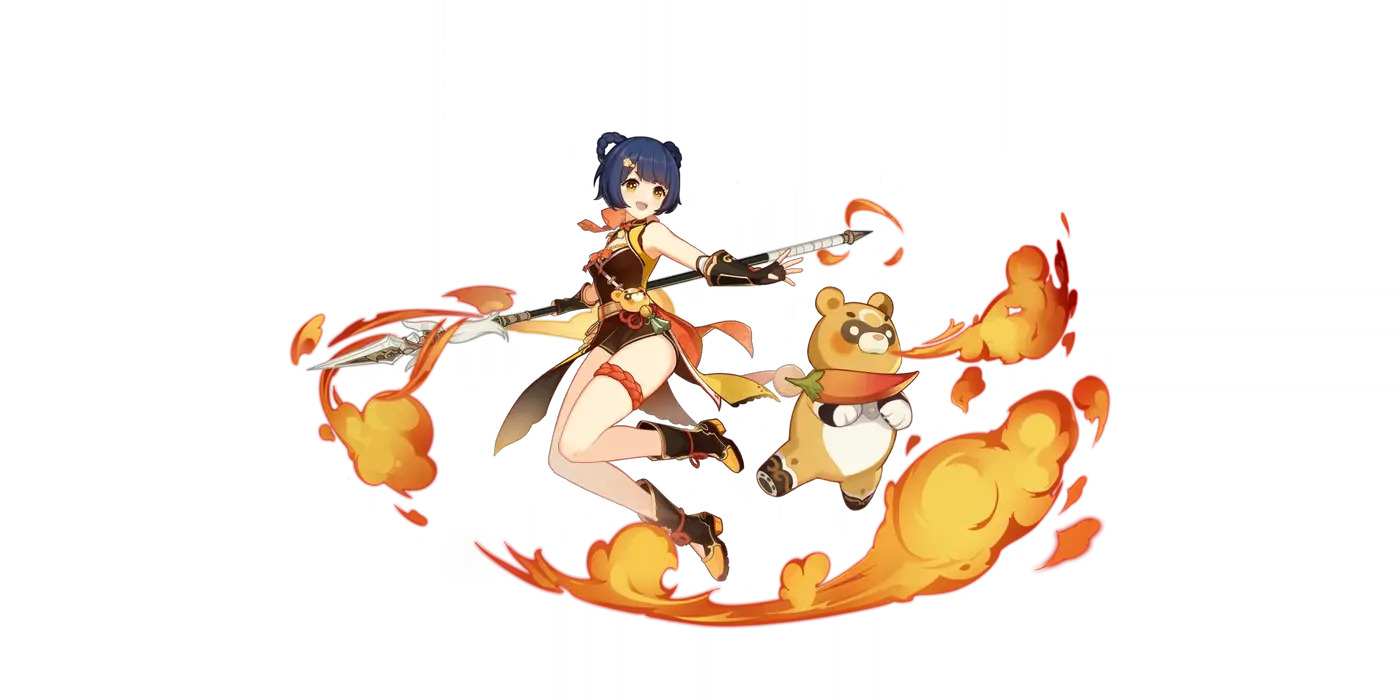
Xiangling into a Hydro aura is the four-star version of this and it has never stopped working. Her Pyronado provides long off-field Pyro uptime, which means you can also flip the polarity and let a Hydro character be the trigger.
Hyperbloom, the Free Damage Engine
Dendro plus Hydro creates a Dendro Core. Hit that Core with Electro and it becomes Hyperbloom, a homing projectile that seeks the nearest enemy.
Hyperbloom is the most build-friendly damage in the game precisely because it ignores everything expensive. No CRIT needed. No ATK needed. No five-star weapon needed. You need a level 90 Electro trigger with as much Elemental Mastery as you can jam into five artifact slots, plus a Dendro unit and a Hydro unit to manufacture Cores.
This is the archetype to build if you are free-to-play and staring at a wall in the Abyss. It is genuinely the cheapest strong team in Genshin.
Aggravate for Electro Carries
Dendro plus Electro produces the Quicken state. Landing further Electro on a Quickened target triggers Aggravate, which adds base damage to that Electro hit.
Unlike Hyperbloom, Aggravate wants a real build — CRIT Rate, CRIT DMG, Electro damage bonus — with a healthy slice of Elemental Mastery layered on. It is the archetype that lets an Electro main DPS stay relevant without an amplifying reaction, and it plays comfortably because Dendro auras last a long time.
Small bonus most players miss: the Electro elemental resonance from running two Electro characters gives Superconduct, Overloaded, Electro-Charged, Quicken, Aggravate, and Hyperbloom a 100 percent chance to generate an Electro particle. In an Aggravate team that is an enormous amount of free energy.
The Reaction Mistakes That Cost You Abyss Stars
Running four different elements. It looks like more reactions. It is fewer. Four elements means auras constantly overwriting each other and no consistent aura for your carry to trigger into. Two elements plus support is almost always stronger than a rainbow team.
Building Elemental Mastery on the wrong character. Only the trigger's stats count. EM on your Dendro applier in a Hyperbloom team is a wasted sands.
Ignoring Overloaded knockback. Pyro plus Electro sends enemies flying out of your Anemo grouping and out of your circular fields. In a team that wants enemies clustered, Overloaded is actively a downside. Plan around it or avoid the pairing.
Assuming Superconduct is a damage reaction. Its damage is trivial. Its value is the 40 percent Physical RES shred for 12 seconds, and that is only worth anything if you have a Physical damage dealer to spend it on.
Chasing 2x when 1.5x procs more often. More triggers at 1.5x frequently beats fewer triggers at 2x, because the reverse reaction preserves the aura. Count procs across a full rotation, not multipliers on a single hit.
Expecting Superconduct or Overloaded to chain. Neither applies its element to the targets it hits. Superconduct does not apply Cryo, Overloaded does not apply Pyro. They are terminal — no follow-up reaction comes off them.
If you are still building your first accounts' gear around these teams, our Genshin Impact artifact guide covers exactly which main stats to chase for each reaction archetype, and the Genshin wish and gacha guide covers whether any of these characters are actually worth pulling for.
Quick Action Checklist
- Decide which character in your team is the damage dealer, then build the rotation so their hits trigger the reaction.
- Vaporize: Hydro onto Pyro is 2x, Pyro onto Hydro is 1.5x. Melt: Pyro onto Cryo is 2x, Cryo onto Pyro is 1.5x.
- If the reaction makes its own damage number, stack Elemental Mastery to the ceiling and ignore CRIT.
- If the reaction multiplies your damage number, split between Elemental Mastery, ATK, and CRIT.
- Put Elemental Mastery on the trigger character only — the aura applier's stats never count.
- Cap your team at two offensive elements plus support. Rainbow teams overwrite their own auras.
- Building free-to-play? Hyperbloom first. It needs no CRIT, no ATK, and no five-star weapon.
- Remember Overloaded knocks enemies out of your grouping and Superconduct is a Physical RES shred, not a damage source.
- Check the internal cooldown on your applier — fast attacks do not mean fast element application.
Frequently Asked Questions
Which order gives the 2x Vaporize multiplier in Genshin Impact?
Does Elemental Mastery help every reaction equally?
Why does my reaction sometimes not trigger at all?
Whose Elemental Mastery counts in a Hyperbloom team?
What does Superconduct actually do?
Keep Reading
Related Guides

Genshin Lunar Reactions Guide — Moonsign, Triggers, Scaling
Genshin has quietly added five reactions since Version 5.8, and they break the oldest rules in the combat system: they CRIT, they ignore DMG Bonus and enemy DEF, and they refuse to fire at all unless the right character is standing in your party.
Genshin Damage Formula Guide — Which Multiplier Your Build Is Missing
A level 90 character hitting a level 90 enemy loses exactly half its damage before resistance, before crits, before anything you can see. That 0.5 is not difficulty tuning — it falls straight out of one line of arithmetic, and it is the reason your next upgrade probably is not another CRIT DMG roll.
Genshin Energy Recharge Guide — How Much ER You Actually Need
Xingqiu drops exactly five Hydro particles per skill cast. Standing on him when they land is worth 15 Energy. Swapping away first is worth 9. Same cooldown, same rotation, six Energy gone — and that is before you touch the Energy Recharge stat at all.
Genshin Spiral Abyss Guide — 800 Primogems a Month
A full 36-star Spiral Abyss clear pays 800 Primogems, once a month, for the cost of zero resin. What stands between you and that payout usually is not skill — it is the two-team tax.
Genshin Artifact Guide — Stats, Rolls and Resin Math
A five-star artifact can roll the exact same substat four times and give you anywhere from 10.88 percent to 15.54 percent CRIT DMG. Understanding that spread is the difference between a functional account and a museum of half-built characters.
Genshin Stygian Onslaught Guide — The Primogems Stop at Difficulty Three
Genshin has three permanent endgames. The third one hands you its entire Primogem payout at difficulty three of six, then spends the top half of the ladder paying you in artifact currency and weapon skins instead. The reward table is the whole strategy.