Best Free Sacrifice Outlets in MTG Commander, Ranked
A sacrifice outlet is only as good as the price on the trigger, and the best ones cost nothing. Here are the free sac outlets ranked — the altars, the one-drops, and the engines that turn every creature you control into mana, cards, and combo fuel.
Every aristocrats player learns the same lesson within their first five games: your Blood Artist is a decoration if you can't make creatures die on command. Your opponent points a board wipe at the table, you shrug and take the triggers. But the moment they point targeted exile at your Pitiless Plunderer and you can't respond by sacrificing your whole board for value first — that's when it clicks. The payoffs are not the deck. The outlets are the deck.
And not just any outlets. The word doing all the work in this ranking is free. A sacrifice ability that costs two mana to activate is a completely different card from one that costs nothing, because the free one works when you're tapped out, works ten times in a row mid-combo, and works at instant speed in response to whatever your opponents just did. Every card below has been verified against Scryfall for exact cost, wording, and Commander legality — and every single activated ability in the top ten is free to use.
What makes a sac outlet free
The definition matters, so let's nail it down. A free sacrifice outlet is a permanent with an activated ability where the entire activation cost is "sacrifice a creature" — no mana, no tapping, no life unless it's trivial. The sacrifice IS the cost, which has two enormous rules implications:
- It can't be countered by killing the creature in response. Sacrificing is part of paying the cost. By the time anyone can respond, your creature is already in the graveyard and the ability is on the stack. Targeted removal literally cannot stop you from getting value out of a creature that's about to die.
- You can activate it as many times as you have bodies. No mana cost means no throttle. With twenty tokens and Ashnod's Altar, you make forty mana in a single priority window. A two-mana activation cost would cap that at however much mana you happened to have floating.
Cards like Blasting Station (which requires a tap) or Sadistic Hypnotist (sorcery-speed only) come with an asterisk, and you'll find them in the honorable mentions rather than the top ten. They're playable. They are not the engine.
One more distinction worth making: sac outlets are not sac payoffs. Blood Artist, Zulaport Cutthroat, Grave Pact — those cards reward you when creatures die, but they can't make it happen. We ranked those separately in our aristocrats payoffs guide. This list is the other half of the machine: the cards that pull the trigger.
Mana outlets vs value outlets
Free outlets split into two families, and a good deck wants both.
Mana outlets convert creatures into mana: Ashnod's Altar, Phyrexian Altar, Phyrexian Tower. These are the combo enablers. Every infinite loop in the archetype — Gravecrawler loops, Nim Deathmantle loops, token-doubling nonsense — runs on an altar converting bodies into the mana that keeps the loop going. They're also just honest ramp in a deck that makes more creatures than it can use; ten tokens sitting on defense is six extra mana any time you need it.
Value outlets convert creatures into cards, counters, or damage: Viscera Seer scrys, Yawgmoth draws, Carrion Feeder grows, Goblin Bombardment shoots. These are your day-to-day engine — the cards that make every creature death mean something even when you're not comboing. They're also your best response to removal: opponent targets your commander, you sac it to Viscera Seer, and their kill spell fizzles into a scry for you.
The dream draw has one of each on the battlefield by turn four, backed by a token generator churning out fodder. At that point every creature you control reads "this card is mana, a card, and a death trigger, in whatever combination you need, at instant speed."
The best sacrifice outlets, ranked
Ranked on cost efficiency, how much each activation returns, and how often the card ends up in a winning loop.
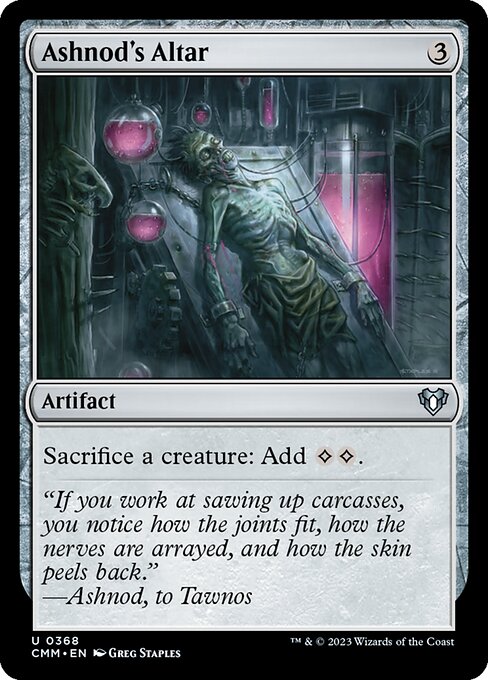
- Ashnod's Altar — {3} artifact. Sacrifice a creature: add {C}{C}. The gold standard for thirty years and still the best. Two mana per body is the highest rate of any free outlet, and because it's an artifact it goes in every deck regardless of color. The classic line: Ashnod's Altar plus Nim Deathmantle plus Grave Titan — sac the Titan and its two Zombies for six mana, pay {4} to Deathmantle the Titan back, and every loop nets two colorless mana and two fresh Zombie tokens. That's infinite mana, infinite tokens, and infinite death triggers with exactly three cards.
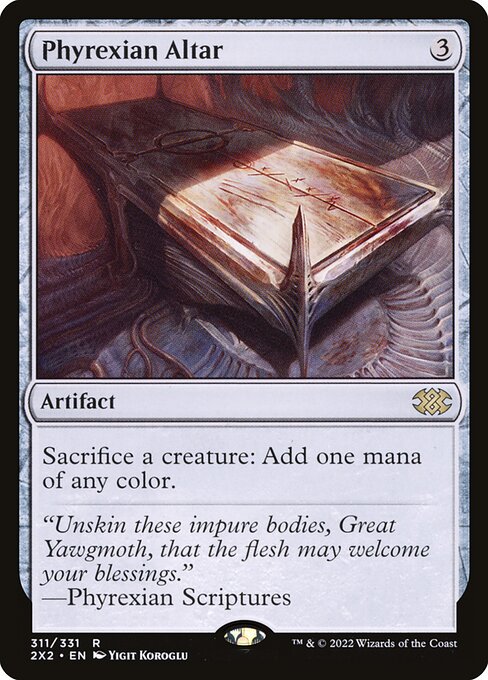
- Phyrexian Altar — {3} artifact. Sacrifice a creature: add one mana of any color. One mana instead of two, but the color access changes what's possible. The most famous line in the archetype: Phyrexian Altar plus Gravecrawler plus any death payoff. Sac Gravecrawler for {B}, recast it from the graveyard for that same {B} (it only asks that you control a Zombie), and repeat forever. Every loop is a death trigger, and with Blood Artist watching, the table just dies.
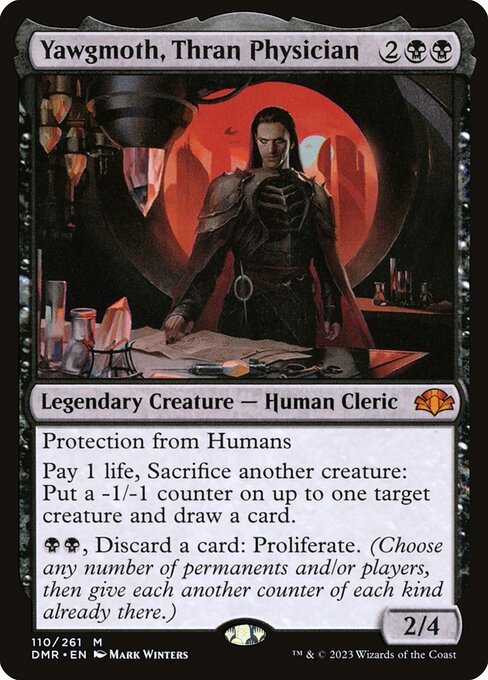
- Yawgmoth, Thran Physician — {2}{B}{B} legendary creature. Pay 1 life, sacrifice another creature: put a -1/-1 counter on up to one target creature and draw a card. The 1 life is a rounding error and what you get back is absurd: card draw AND removal stapled to every sacrifice. Yawgmoth eats a board wipe announcement by converting your whole battlefield into a fresh hand, then picks off mana dorks and utility creatures with the counters. The single most powerful card on this list; it's third only because it doesn't slot into every color identity the way the altars do.
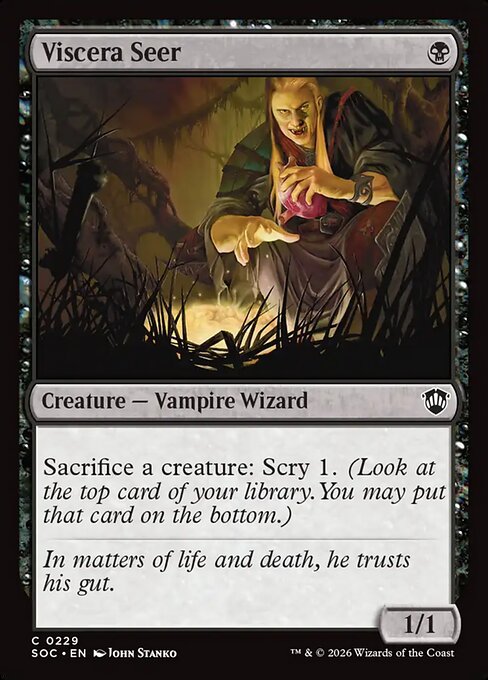
- Viscera Seer — {B} creature. Sacrifice a creature: scry 1. One mana, zero restrictions, instant speed, can even sacrifice itself. The scry looks small until you're deep in a game sculpting draws every turn — sac a token in each end step and you're effectively playing with a better library than everyone else. It's the cheapest insurance policy in the format: any creature about to be exiled becomes a scry instead.
- Carrion Feeder — {B} creature. Can't block; sacrifice a creature: put a +1/+1 counter on it. The aggressive Viscera Seer. It turns your dying creatures into a growing threat that demands an answer, and in a deck that loops creatures it gets lethal fast. The can't-block clause is a real cost, but a one-mana outlet that doubles as a win condition earns its slot.
- Goblin Bombardment — {1}{R} enchantment. Sacrifice a creature: deal 1 damage to any target. The red altar. Free, instant-speed, repeatable damage that picks off utility creatures, finishes planeswalkers, and — with infinite tokens — kills the table outright. As an enchantment it dodges most creature and artifact removal, which matters more than it looks.
- Altar of Dementia — {2} artifact. Sacrifice a creature: target player mills cards equal to its power. Two modes, both great: point it at yourself to stock the graveyard for recursion loops, or point it at an opponent as a win condition once a loop goes infinite. Two mana, colorless, and it's the mill wincon that combo decks reach for first.
- Greater Good — {2}{G}{G} enchantment. Sacrifice a creature: draw cards equal to its power, then discard three. Green's Yawgmoth. In a deck with big bodies this is the best draw engine in the color — sacrifice a 6/6 in response to removal and you just drew six cards. The discard-three is a bonus in any deck that wants creatures in the graveyard anyway.
- Woe Strider — {2}{B} creature. Sacrifice another creature: scry 1 — and it arrives with a free 0/1 Goat token to feed the machine, then escapes from the graveyard for {3}{B}{B} plus exiling four cards. A Viscera Seer that brings its own fodder and refuses to stay dead. Board wipes barely inconvenience it.
- Phyrexian Tower — legendary land. Tap, sacrifice a creature: add {B}{B}. It's a land, which means it costs you nothing to run — no deck slot competition, no mana investment, immune to creature removal. Once per turn you get an Ashnod's-grade burst of black mana. Every black deck that sacrifices anything should run it.
Honorable mentions: High Market (land, tap plus sac for 1 life — the budget Tower, fine in any deck), Blasting Station (tap to sac, but it untaps whenever a creature enters, so it goes infinite with token loops), Bartolomé del Presidio (a two-mana Orzhov commander that's a free outlet in the command zone and eats artifacts too), and Sadistic Hypnotist (sorcery-speed only, but free repeatable discard that strips the table's hands).
The infinite combo shells
Free outlets are the connective tissue of nearly every creature-based infinite combo in Commander, and the shells are worth knowing on sight — both to build them and to see them coming.
The Gravecrawler loop. Phyrexian Altar + Gravecrawler + another Zombie on the battlefield. Sac Gravecrawler for one black mana, recast it from the graveyard with that mana, repeat. Zero net mana, infinite casts, infinite deaths. Any payoff — Blood Artist, Zulaport Cutthroat — turns it into a kill. This is the cleanest three-piece engine in the archetype and every piece is individually good.
The Deathmantle loop. Ashnod's Altar + Nim Deathmantle + any creature whose entrance makes two or more bodies (Grave Titan is the classic). The Titan and its tokens make six mana on the altar; four of it buys the Titan back with Deathmantle's trigger. Infinite colorless mana, infinite entries, infinite deaths.
The mill-out. Either altar loop, but with Altar of Dementia as the outlet instead — now every loop mills an opponent, and infinite loops mean the whole table draws from an empty library. It's the win condition that doesn't care about lifegain, protection, or hexproof.
If combo lines are your thing, our best Commander combos guide covers the full menu, and the reanimation spells ranking covers the cards that fetch these loops back after someone breaks them up.
How many outlets your deck actually needs
The boring math answer: a dedicated aristocrats or sac-loop deck wants five to seven free outlets, weighted toward the cheap ones. You need one on the battlefield at all times, opponents will kill the good ones on sight, and drawing a second is never dead because the abilities don't conflict — sac to Viscera Seer when you want the scry, to the altar when you want mana.
Prioritize by curve. The one-mana creatures (Viscera Seer, Carrion Feeder) come down early and start working immediately; the altars land mid-game and enable the loops; Yawgmoth and Greater Good are your late-game card advantage. A deck running only three-mana artifact outlets has a real problem when the first one meets an artifact wipe.
And remember what the outlet actually buys you beyond combo: it makes all removal bad against you. Every targeted kill spell pointed at your board becomes a value trade the moment you respond by sacrificing the target. Every board wipe becomes a draw-six with Greater Good on the table. Opponents who know this stop pointing removal at you at all — which is its own kind of pillow fort. That defensive utility is why even non-aristocrats decks in black or green run Viscera Seer and Phyrexian Tower as format staples.
Budget note: this is one of the cheapest engines in Commander to assemble. Viscera Seer, Carrion Feeder, Goblin Bombardment, High Market, and Woe Strider are all pocket change. The altars have climbed with reprint scarcity, but the archetype functions fine on the budget tier while you hunt copies.
Quick Action Checklist
- Run 5-7 free outlets in a dedicated sacrifice deck, split between mana outlets (altars) and value outlets (Seer, Yawgmoth)
- Prioritize truly free activations — no mana, no tapping — so you can respond to removal and loop without limit
- Learn the two core loops: Phyrexian Altar plus Gravecrawler, and Ashnod's Altar plus Nim Deathmantle plus Grave Titan
- Sacrifice in response to targeted removal — the ability can't be stopped by killing the creature, since the sac is the cost
- Add Phyrexian Tower and High Market to any black deck's mana base; lands are free real estate
- Pair every outlet package with real payoffs (Blood Artist effects, Grave Pact effects) — outlets alone don't win
- Verify every card's current price and legality on Scryfall before ordering
Frequently Asked Questions
What is the best sacrifice outlet in MTG Commander?
Why do sacrifice outlets need to be free?
Can an opponent stop me from sacrificing a creature?
Is Ashnod's Altar or Phyrexian Altar better?
How many sacrifice outlets should an aristocrats deck run?
Keep Reading
Related Guides
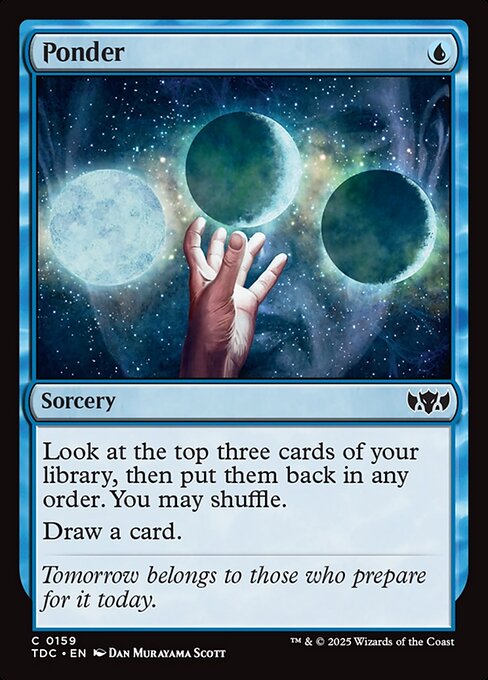
Best Cantrips in MTG, Ranked: Cheap Card Selection
A cantrip replaces itself and fixes your next few draws for one mana. That is the quiet engine under every consistent blue deck. Here are the best cantrips in Magic, ranked — and the trap of running them in a deck that does not want them.
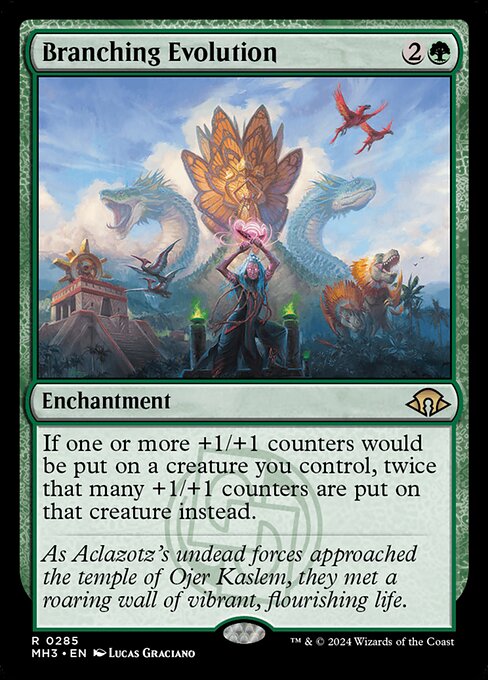
Best +1/+1 Counter Cards in MTG Commander, Ranked
Kill the anthem and the board shrinks. Kill the creature that placed a +1/+1 counter and nothing changes — the counter is already part of the creature. Here are the best +1/+1 counter payoffs and multipliers in Commander, ranked, plus the stacking order that turns one counter into eight.
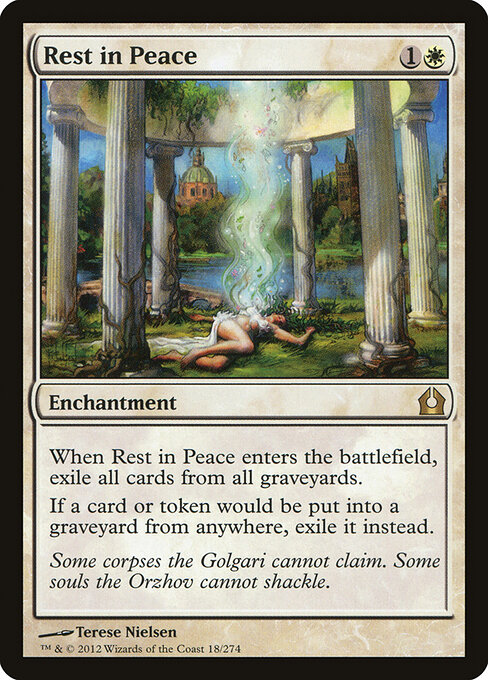
Best Graveyard Hate Cards in MTG Commander, Ranked
Every Commander pod has a reanimator deck, an aristocrats deck, and a guy whose commander says "return target creature card from your graveyard." Here is the best graveyard hate in the format, ranked — and the timing rules that separate a blowout from a wasted card.
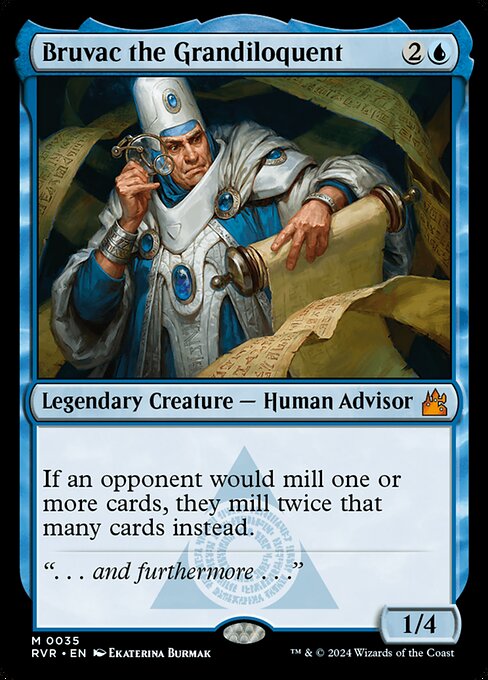
Best Mill Cards in MTG Commander, Ranked
Milling one player out is a chore. Milling three at once, before they punch your face in, is a real deck. Here are the best mill cards in Commander, ranked — plus the doublers and win conditions that make 300 total cards of library actually beatable.
MTG Commander Format Guide — How to Start Playing EDH (2026)
Commander is the most-played MTG format on the planet and the easiest one for new players to start in. The rules look intimidating on paper. They are not. Here is the full beginner guide.

Best Commander Staples Every Deck Wants, Ranked
There's a short list of cards that show up in basically every Commander deck regardless of theme — the silent 25 that make the splashy 75 work. Here are the staples worth a slot in almost any list, sorted by the job they do, with the legality double-checked.