Mina the Hollower Exploration Tips: Secrets, Gaps, and Backtracking
Half the walls in Mina the Hollower are not walls. Here is how to read Tenebrous Isle, cross gaps you thought were gated, and backtrack for the secrets that actually matter.

Mina the Hollower looks like a Metroidvania, and it kind of is one, but it lies to you about its own walls. A lot of the gaps that read as "come back with an upgrade" are crossable the first time you see them, using tools you already have. If you play it like Hollow Knight, waiting patiently for the double jump before you touch a ledge, you will walk past a startling amount of the island for no reason.
Tenebrous Isle is broken into several themed areas full of branching paths and secrets, with the city of Ossex sitting at the center as your hub. Here is how to read it, cross what looks uncrossable, and backtrack for the things that are actually worth the trip.
Exploration in Mina Is Softer Than It Looks
The island runs eleven main dungeons, each capped by a Spark Generator, spoked out from Ossex in the middle. That structure sounds gated and linear. In practice the gating is looser than the layout implies, because Mina's core traversal verb is available from minute one and it is stronger than most players give it credit for.
That verb is the burrow. If you are fuzzy on how digging, Bones, and Sparks fit together, the Mina the Hollower beginner guide lays out the core loop first and this post assumes it. The short version for exploration purposes: burrowing makes you fast and invincible, and it doubles as your best jump. That second half is the part people miss.
The Fake Walls: Gaps That Were Never Gated
Here is the mental shift that changes how you explore. When you hit a gap that looks too wide, your first assumption should not be "I need an item." It should be "I probably have not tried the burrow long jump yet."
The Burrow Long Jump Solves Half of Them
Release the jump input while you are burrowed and Mina launches much farther than a standing hop. That is the intended tool for crossing big gaps, and the game barely tells you it exists. A large number of early "I need an upgrade for this" ledges are just long jumps you have not learned to commit to. You can also attack while airborne, which matters when a gap has a flying enemy parked in the middle of it.
So before you write a ledge onto your mental "come back later" list, actually attempt it: burrow, build the momentum, release, and see where you land. You will be surprised how often the answer was your thumb the whole time.
Sidearms Are Traversal Tools in Combat Costumes
The other half of the fake walls fall to sidearms, several of which are secretly movement abilities the game files under weapons. The full breakdown lives in the Mina the Hollower sidearms and trinkets guide, but for exploration specifically these are the ones to keep in mind:
- Hollower's Rocks skip across water for a single Joule, which turns a lot of "wait, can I cross this?" ponds into a non-event.
- Iron Steed rides across gaps outright.
- Fishing Rod hooks an enemy and warps you to it. If that enemy is on the far side of a hazard, so are you now. Read it as a grappling hook, not a grab.
- Deflector Parasol lets you float, which extends your air time over a gap.
- Mist Jar, the only healing sidearm, also helps with gap-crossing as a bonus.
The habit to build is to check your sidearm list before you assume a route is blocked. In a game where your secondary tools double as traversal, a wall is often a sidearm you already own and forgot about.
Backtracking Is the Real Progression
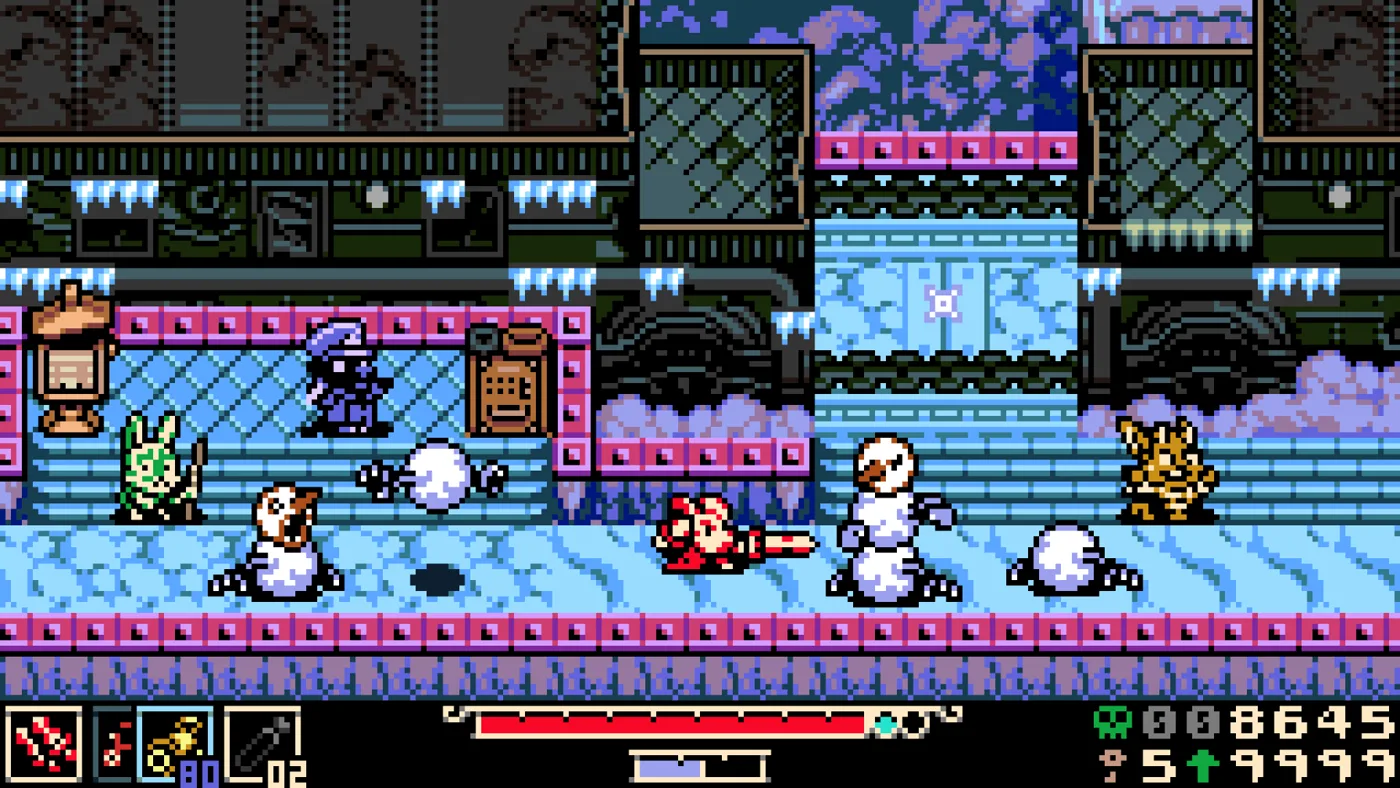
Some walls are genuinely gated, and those are the ones worth being disciplined about. Mina rewards a running mental list of spots you could not reach, because the tools that open them arrive steadily, and a good chunk of the island is designed to be re-walked with a better kit.
The distinction to draw is between "I could not do this" and "I could not do this yet." The first category is often a burrow long jump you flinched on. The second is a real gate that a later ability clears. Keeping those two straight saves you from both extremes: fruitlessly grinding at an impossible gap, and skipping a reachable secret because it looked hard.
The Movement Trinkets That Reopen the Map
Trinkets are your other progression axis for traversal, and several of them are effectively movement upgrades in passive form:
- Keri the Wisp lets you hold jump while airborne to float and extend a fall.
- Spring Heels grants consecutive high jumps.
- Bellows Bustle gives you a mid-air dash.
- Bridge Weaver creates web platforms across gaps.
- Niter Belt adds burrow explosions, which rewards a constant-burrowing traversal style.
Any one of these can convert a gap you wrote off into a clean route. The catch is that trinkets only swap at Trinket Chests or the moment you pick one up, so you cannot rethink your loadout mid-dungeon. When you finally unlock a second or third trinket slot, the right move is to equip a movement trinket and go re-run your "come back later" list. A decent number of those spots were never gated behind a story item at all, just behind a jump you did not have equipped.
What to Actually Hunt For
Not every secret is worth the detour, so here is what is. The two collectibles that pay off exploration the most are the ones that expand your own systems:
- Trinket Bags add trinket slots. More slots is the single biggest change to how your build plays, so these are worth chasing hard.
- Joule Boxes raise your maximum Joule capacity, which is what turns sidearms from an occasional treat into a real, repeatable part of your kit.
Beyond those, you are looking for Trinket Chests and Weapon Chests, which are how you swap and store your loadout, plus straightforward Bone pickups. Weapons themselves are scattered too. You gain access to all five over the course of the game, and the Mina the Hollower weapons guide covers where the roster shakes out and which ones are worth prioritizing when you find them.
The point is to prioritize. Slot-expanding pickups compound. A single stack of Bones does not. If you have limited time to comb a screen, chase the bag over the loose currency.
Getting Around Tenebrous Isle
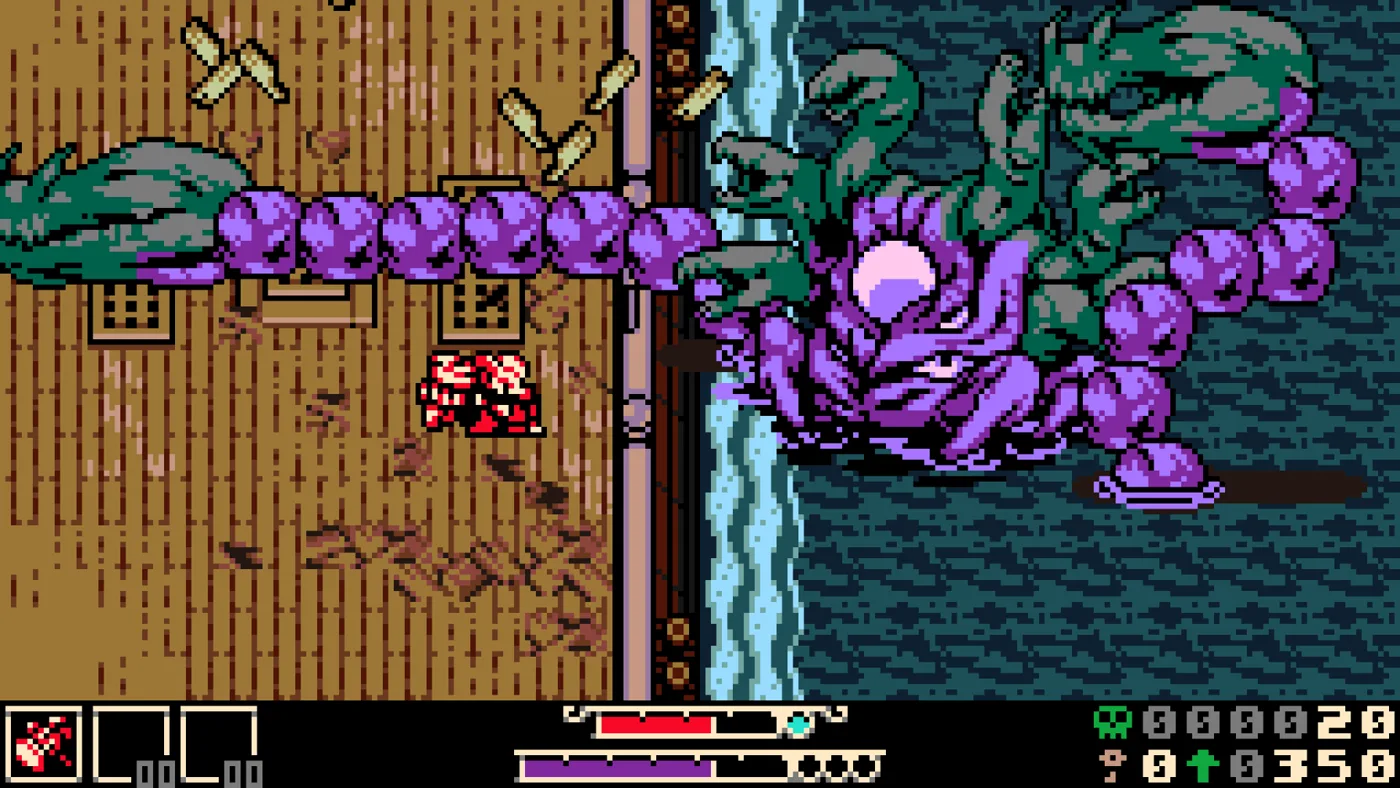
Ossex is not just a shop, it is your transit hub. The city holds most of the island's population and, more usefully, the shops, upgrades, and the means of transportation you use to reach the other areas, including a railroad you get running to open up travel. Treat a trip back to the center as a genuine resupply and re-route point, not wasted time.
The practical loop is to push a dungeon until you hit a hard gate or run low on resources, then head back to Ossex to spend Bones, swap trinkets and sidearms at the appropriate chests, and pick a new direction. Because your loadout only changes at those specific chests and merchants, the hub trip is when you actually reconfigure for whatever region you are heading into next.
Turn Exploration Into Bones
Exploring and farming are the same activity if you equip for it. Two items make combing the island pay for itself:
- Deboning Wand makes enemies drop far more Bones. Equip it when you are deliberately clearing a region you are already exploring, then swap it out for a fight that actually needs a combat trinket.
- Stolenoid magnetizes pickups, which is quietly excellent when so much of your Joule and Bone income comes from scattered scenery drops.
That last point deserves a habit of its own: break everything. Flowers, candles, and pots feed your Joule pool, and Joules power both your traversal sidearms and your only healing. An explorer who reflexively smashes scenery is topping up the exact resource that lets them keep crossing gaps. Both farming trinkets, plus the Joule economy they lean on, get the full treatment in the sidearms and trinkets guide. Bones can also be converted into Bonestone at generators, which shops accept, so a well-explored region funds the next one.
When Pits Are the Only Thing Stopping You
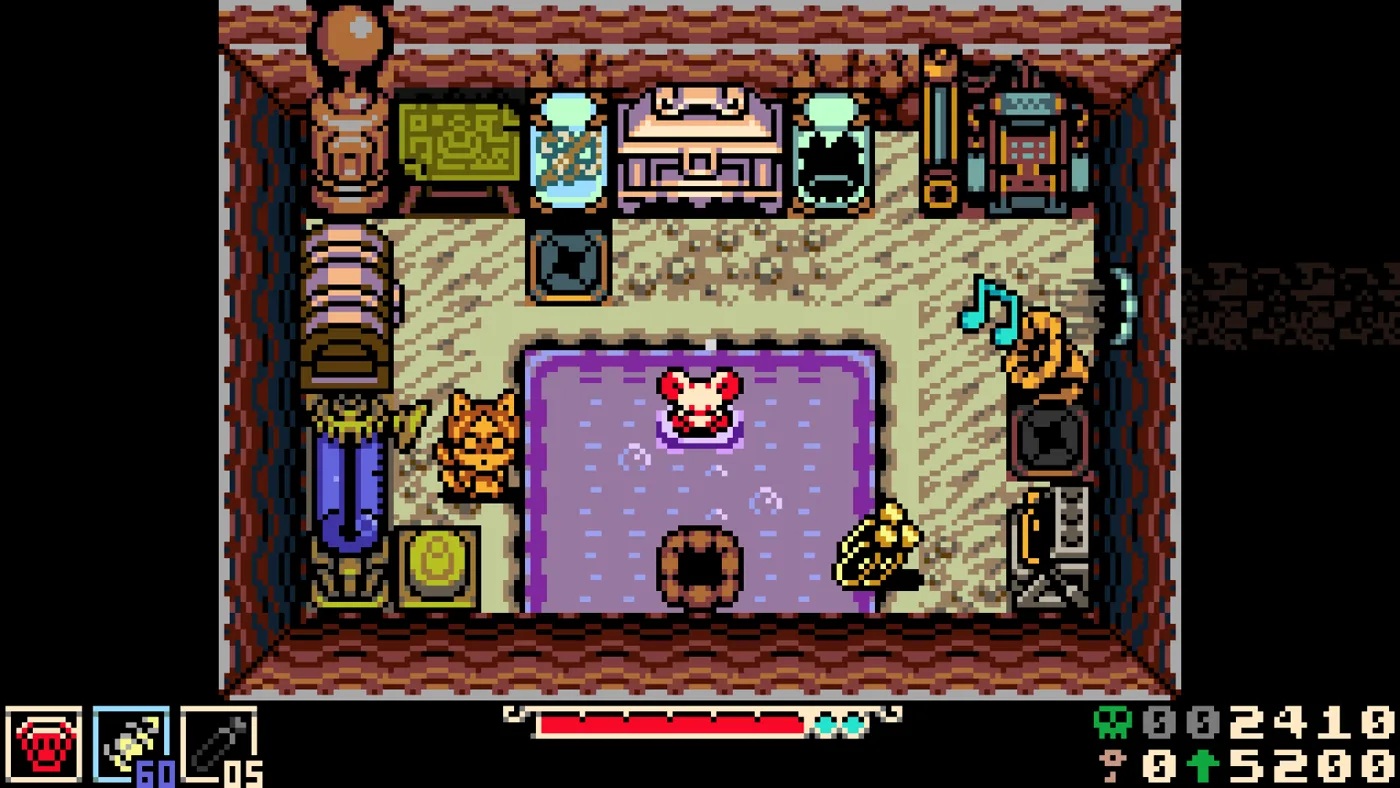
Sometimes the obstacle is not reach, it is that the game keeps launching you off a ledge into a hole before you can line up the jump. Knockback in Mina is severe, and around exploration platforming it is genuinely the thing most likely to end a careful traversal attempt.
If pits are the wall, the game hands you the answer in its modifier suite. Mina ships with over 200 modifiers instead of a difficulty slider, and the exploration-relevant ones are options like No Pit Damage, Walk on Pits, Walk on Spikes, Infinite Burrow, and Auto Jump. Turn on No Pit Damage and a whole class of "I keep dying to the gap, not the enemies" frustration disappears.
Two honest caveats. Most modifiers are locked behind New Game Plus, so a first playthrough gets a subset rather than the full menu. And assist modifiers disable Feats, the achievement system tied to platform trophies, so leaning on them costs you completion on that save. For pure exploration comfort, that trade is often worth it. Getting to see the island beats a checklist.
Quick Action Checklist
- Before assuming a gap is gated, try the burrow long jump: burrow, build momentum, release jump. It crosses far more than a standing hop.
- Remember you can attack while airborne, which clears flying enemies parked in a gap.
- Check your sidearms before you write off a route. Hollower's Rocks, Iron Steed, Fishing Rod, and Deflector Parasol are all traversal tools.
- Keep a running mental list of spots you truly could not reach, and separate "not yet" gates from long jumps you flinched on.
- When a new trinket slot opens, equip a movement trinket (Keri the Wisp, Spring Heels, Bellows Bustle, Bridge Weaver) and re-run that list.
- Prioritize Trinket Bags and Joule Boxes over loose Bones. Slot and capacity upgrades compound.
- Use Ossex as a real resupply and re-route hub, and get its transportation running to cut down on backtracking on foot.
- Break every candle, flower, and pot. Joules power your traversal sidearms and your only healing.
- Equip the Deboning Wand and Stolenoid when a region is doubling as a farm, then swap back for real fights.
- If pits keep ending your traversal, turn on No Pit Damage. Just know assist modifiers disable Feats.
Frequently Asked Questions
How do you cross large gaps in Mina the Hollower?
Is Mina the Hollower a Metroidvania?
What should you collect while exploring in Mina the Hollower?
How does fast travel work in Mina the Hollower?
Which trinkets help most with exploration in Mina the Hollower?
How do you stop dying to pits while exploring in Mina the Hollower?
Keep Reading
Related Guides
What Mina the Hollower Is Actually Made Of: Zelda, Castlevania, Bloodborne
"It's like Zelda" is the laziest thing you can say about Mina the Hollower, and it is only about a third true. Yacht Club has been unusually specific about what it stole and from where, so here is the actual recipe.
The Mina the Hollower Soundtrack: 96 Tracks, Free, and Koshiro Shows Up
Yacht Club let its composer release the entire Mina the Hollower soundtrack name-your-price on day one. It is 96 tracks, it runs on a Game Boy sound chip plus a Konami MSX cartridge, and Yuzo Koshiro wrote two of them.
Mina the Hollower Release Date, Platforms & What's Confirmed
The Shovel Knight studio's Game Boy Color love letter is finally here. Here is the confirmed release date, every platform, and what Yacht Club has actually said about Mina the Hollower.
Mina the Hollower Patch Notes Explained: What 1.0.1 to 1.0.6 Changed
Yacht Club has shipped six patches for Mina the Hollower. One of them quietly nerfed your healing, several retuned boss damage, and consoles are still a version behind PC. Here is the readable version.
Mina the Hollower Beginner Guide: Burrow, Bones, and Sparks
Mina the Hollower is not the Souls game people keep calling it. Here is what burrowing, Bones, Sparks, and sidearms really do before you lose a dungeon run to a knockback into a pit.

Mina the Hollower Weapons Guide: All 5 Weapons Ranked
Mina the Hollower opens by asking you to pick a weapon like it is a permanent build decision. It is not. Here are all five weapons, what each actually does, and which ones carry.