RE4 Remake Mercenaries Guide: Every Character, Mayhem Mode and S+ Runs
The Mercenaries is free, it takes five minutes a run, and almost everyone quits at B rank because they play it like the campaign. It is not the campaign. It is a combo game with a timer, and the entire scoring curve is built around one thing: never letting the combo counter reset.
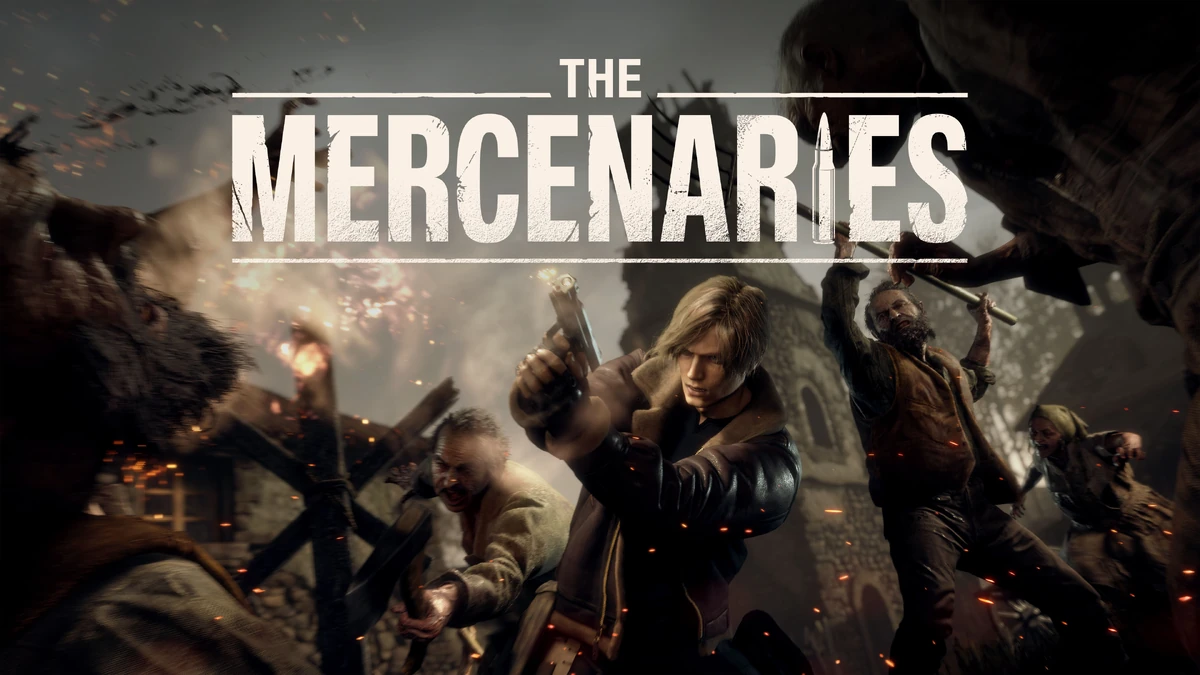
Most people bounce off The Mercenaries in the first ten minutes. They load Village, play it like the campaign — creep a corner, line up a headshot, kick, reposition — finish with 60,000 points and a B rank, and decide the mode is not for them.
The mode is fine. The approach is wrong. Here is the number that reframes everything: S++ on any stage requires 1,000,000 points, and S+ requires 500,000. B rank, the one you just scraped, sits at 50,000. You are not 20% of the way to the top score. You are 5% of the way. No amount of careful, accurate shooting closes that gap, because points come from a combo multiplier, and careful shooting is the thing that lets the combo die.
This is a guide to closing that gap: how scoring actually works, which character unlocks which, who is genuinely broken, and the shortest route to the Handcannon.
What The Mercenaries actually is
The Mercenaries arrived as free DLC on April 7, 2023, and it unlocks the moment you download it — you do not need to have finished the campaign, which makes it one of the better ways to learn the remake's parry timing without a story run on the line.
There are four stages: Village, Castle, Island and Docks. Docks came later, bundled into the September 21, 2023 Separate Ways update, which also added Ada Wong and Albert Wesker to the roster. If you bought the game at launch and never patched your habits, that update roughly doubled the mode's content.
The loop is simple. You pick a character, you get a fixed loadout with no Merchant and no upgrades, and you kill Ganado until the clock runs out. Kills award points and bonus time. That is it. Every decision downstream is about protecting the multiplier and the clock.
The rank table is the whole game
Every stage uses the same thresholds, which is unusually clean for a Capcom bonus mode:
| Rank | Points required |
|---|---|
| S++ | 1,000,000 |
| S+ | 500,000 |
| S | 200,000 |
| A | 100,000 |
| B | 50,000 |
| C | under 50,000 |
Two things fall out of that table. First, the jump from A to S is a doubling, and S to S+ is another 2.5x — the curve is exponential, so incremental improvement does nothing and a change in approach does everything. Second, S is the rank that matters for progression, because S on three specific stages is what buys you the Handcannon. S++ is a leaderboard flex. S is the actual goal.
Combos, Time Orbs and Mayhem Orbs

Kills award points and bonus time, and both get boosted by a multiplier you earn by killing enemies in succession. The HUD shows how long you have to land the next kill before the combo resets. That countdown is the real timer in this mode — the stage clock is downstream of it, because every kill also feeds the clock.
Two pickups sit on top of that:
- Time Orbs add time when collected and boost your multiplier. Do not hoover them up the moment you see them; they are a lifeline for the moment your combo is about to break with nothing in reach.
- Mayhem Orbs charge the Mayhem gauge, the per-character super.
The Mayhem gauge fills slowly on its own, but offensive actions and kills fill it much faster, and it can be stocked — banked to multiple charges so the ability lasts longer when you finally pop it. Most characters hold two stocks; Krauser and Wesker hold none and fire the moment the bar caps.
The practical rule: never activate Mayhem into an empty room. It is a scoring window, not a panic button. Bait a crowd into a corridor, then turn it on.
The unlock chain nobody explains
The roster is gated behind a chain, and each link only needs A rank on any single stage — not all of them:
- Leon — available by default.
- Luis Serra — A rank or higher on any stage with Leon.
- Jack Krauser — A rank or higher on any stage with Luis.
- HUNK — A rank or higher on any stage with Krauser.
- Ada Wong — available by default once the Separate Ways update is installed.
- Albert Wesker — A rank or higher on any stage with Ada.
The two alternate outfits are steeper: Leon (Pinstripe) needs S rank or above on all stages with Leon, and Ada (Dress) needs S rank or above on all stages with Ada. Those are cosmetic-plus-loadout swaps, not upgrades — Pinstripe Leon trades his rifle for a Chicago Sweeper and a Broken Butterfly, which is a completely different playstyle rather than a straight buff.
The chain matters because A rank is only 100,000 points. Grinding Leon to S on Village before touching anyone else is wasted time. Get one A on any stage, move down the chain, and unlock HUNK as fast as possible.
The roster, ranked by scoring speed
HUNK is the answer
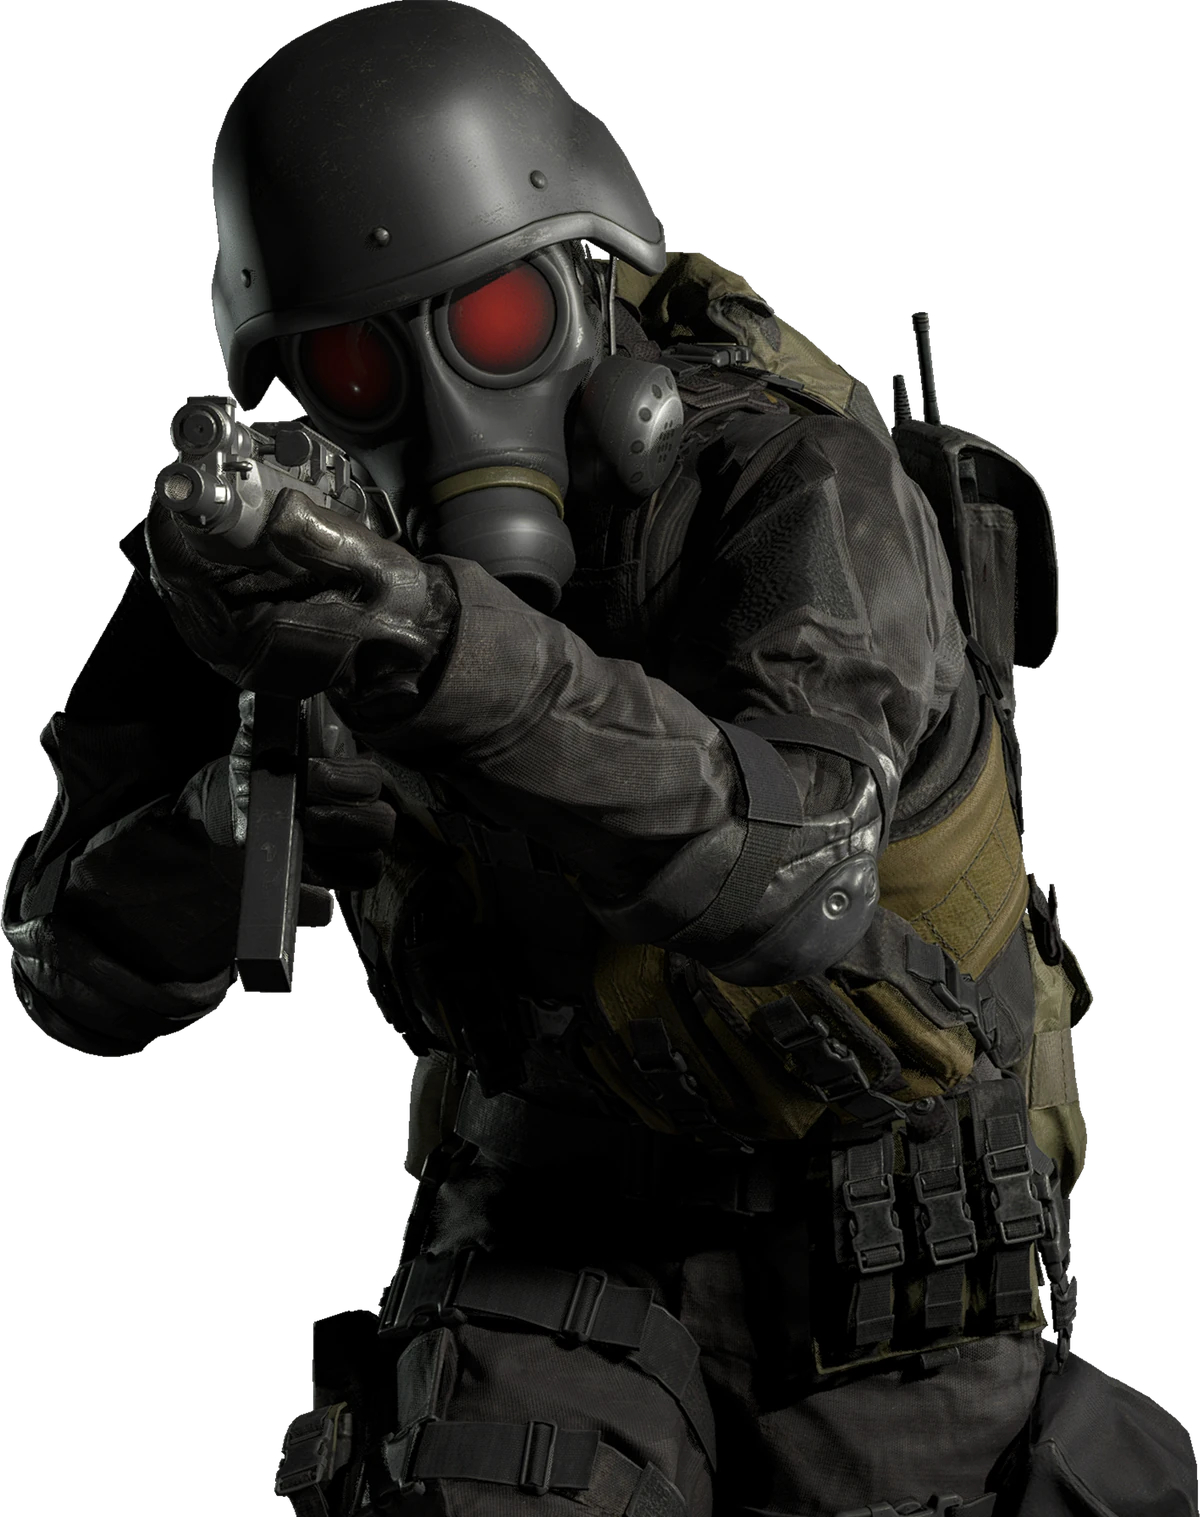
HUNK is the highest-ceiling character in the mode and it is not particularly close. He starts with the LE 5 submachine gun, a Boot Knife, three Hand Grenades, one First Aid Spray, and 160 rounds of submachine gun ammo — the largest starting ammo pool of anyone on the roster. He also has a unique melee that kills instantly, which means the neck-snap is not a stagger follow-up like Leon's kick, it is a free kill that costs zero ammo and keeps the combo alive.
Then his Mayhem Mode gives him unlimited ammunition with no reloads and increased movement speed, across two stocks. Unlimited ammo plus no reload animation removes the two things that break combos: running dry and standing still. Bank two stocks, walk into a packed room, and hold the trigger.
If you want S on three stages tonight, unlock HUNK first and do all three with him.
Krauser and Wesker: melee engines

Krauser carries a TMP, the EJF-338 Compound Bow with three Explosive Arrows, a Fighting Knife, and three Flash Grenades. His Mayhem mutates his arm into a blade and unlocks heavy melee and thrust attacks — but he has no stock, so it fires as soon as the gauge fills. Fight the way he is built: flash a crowd, walk in, and let mutated melee clear it. Explosive arrows are for the armored stuff, not for chip damage.

Wesker is the most technical pick. He runs an XM96E1 and a Killer7, four Hand Grenades, one Heavy Grenade, three Flash Grenades — and only 20 handgun rounds. That is deliberate. He is not meant to shoot his way through; he counterattacks with his hands and can land melee on enemies at range, and his Mayhem adds a powerful combo melee on top of the usual attack and speed boost. Also no stock. Wesker with a full grenade bag and a corridor is one of the highest score-per-second setups in the mode, but he punishes anyone who plays him like a shooter.
Leon, Luis and Ada
Leon is the balanced default: SG-09 R with a Laser Sight, Riot Gun, Stingray rifle, Combat Knife, and two Mayhem stocks that greatly increase attack power and speed. He is the right character to learn the mode with and the wrong character to chase S++ with.
Luis has good firepower — Red9, SR M1903 with a Biosensor Scope — but genuinely weak close quarters, carrying only a Boot Knife. His Mayhem lets him lay dynamite charges that detonate on a timer or when shot, which is the single most interesting scoring tool in the mode if you can plan two rooms ahead. He also starts with two First Aid Sprays, more than anyone else, so he is the safety pick for learning a stage layout.
Ada brings the widest toolkit: Blacktail AC, Sawed-off W-870, Blast Crossbow with ten Blast Arrows, Tactical Knife. One Mayhem stock, standard attack and speed boost. She answers every range band, which makes her the most forgiving character on Docks.
Stage-by-stage notes
Each stage pulls its enemy roster from the matching chunk of the campaign, and each has environmental tools you are expected to abuse:
- Village — the tutorial stage and the easiest S. Open sightlines, chainsaw pressure. This is where you learn to fight with your back to open ground instead of a wall.
- Castle — has cannons you can fire into crowds. A single well-aimed cannon shot into a packed cultist group is worth more combo time than a full magazine.
- Island — has gun turrets. Same principle, more sustained: a turret is effectively a free unlimited-ammo Mayhem if the horde funnels toward you.
- Docks — the Separate Ways addition, and the tightest layout of the four. Shotguns and crossbows over rifles.
The environmental gimmicks are not flavor. They are how you keep a multiplier alive while your real weapons reload.
The Handcannon route
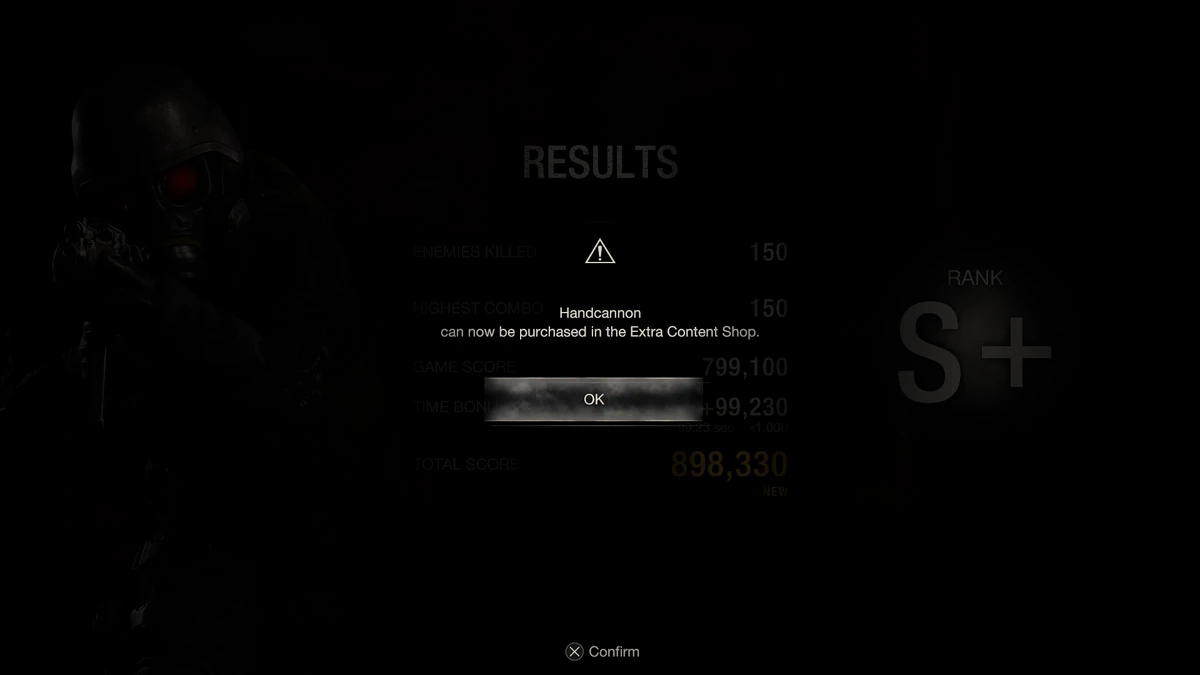
Here is the payoff, and the specific detail that saves people hours: the Handcannon unlocks by earning S rank or higher on Village, Castle and Island — the three original stages. Docks is not required. Once you clear that bar, the Handcannon is purchasable for 1,000 CP in the Extra Content Shop.
The alternative path is beating the campaign on Professional without using bonus weapons. Three Mercenaries runs at 200,000 points each is a dramatically cheaper afternoon than a no-crutch Professional clear.
Worth setting expectations on the reward itself: the remake's Handcannon is a magnum that eats eight inventory slots (2x4), buys from the Merchant for 50,000 pesetas, and has the slowest fire rate of any magnum in the game with brutal recoil and the worst aim bloom of the class. Its exclusive upgrade grants infinite ammo, which is the actual reason to own it. As a weapon it is outclassed by the Broken Butterfly on raw damage and fire rate. As a toy for a New Game+ victory lap, it is exactly what you want.
Unlock it because it is a trophy and the runs are fun. Do not unlock it expecting a Professional-run carry.
Quick Action Checklist
- Rank thresholds are identical on all four stages: 50,000 for B, 100,000 for A, 200,000 for S, 500,000 for S+, 1,000,000 for S++.
- Each roster unlock only needs A rank on one stage with the previous character. Do not grind S before unlocking HUNK.
- HUNK first. 160 SMG rounds, an instant-kill melee, and a Mayhem that gives unlimited ammo with no reloads across two stocks.
- Watch the combo timer, not the stage clock. Kills feed time; the clock takes care of itself if the combo never breaks.
- Save Time Orbs for the moment the combo is about to reset with nothing in range.
- Never pop Mayhem into an empty room. Bait a crowd first — it is a scoring window.
- Use Castle cannons and Island turrets to hold the multiplier through reloads.
- Handcannon needs S on Village, Castle and Island only — skip Docks — then 1,000 CP at the Extra Content Shop.
- Krauser and Wesker have no Mayhem stock; it fires the moment the gauge fills, so position before you cap it.
Frequently Asked Questions
How do you unlock all the characters in RE4 remake Mercenaries?
What are the rank score requirements in RE4 remake Mercenaries?
How do you unlock the Handcannon in the Resident Evil 4 remake?
Who is the best character in RE4 remake Mercenaries?
What is Mayhem Mode in RE4 remake Mercenaries?
Do you need to beat the campaign to play The Mercenaries in RE4 remake?
What did the Separate Ways update add to The Mercenaries?
Keep Reading
Related Guides
RE4 Remake Sentinel Nine and Skull Shaker: Worth Using?
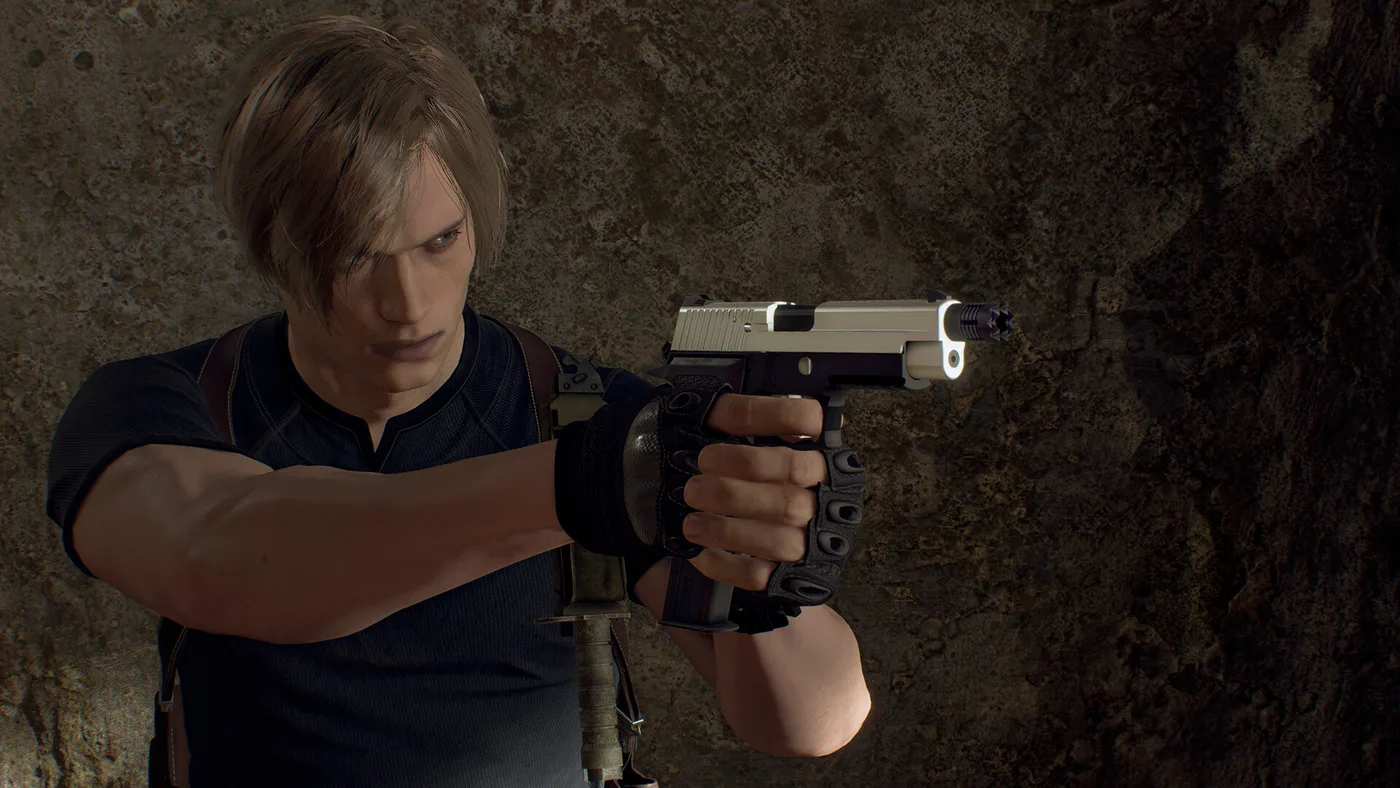
The Resident Evil 4 remake's Extra DLC Pack, bundled in Gold Edition, puts two extra guns in typewriter Storage from the start of a new game. One of them buys back 11 case slots. The other is a starting pistol with a bigger magazine. Here are both, stat for stat against the guns they replace.
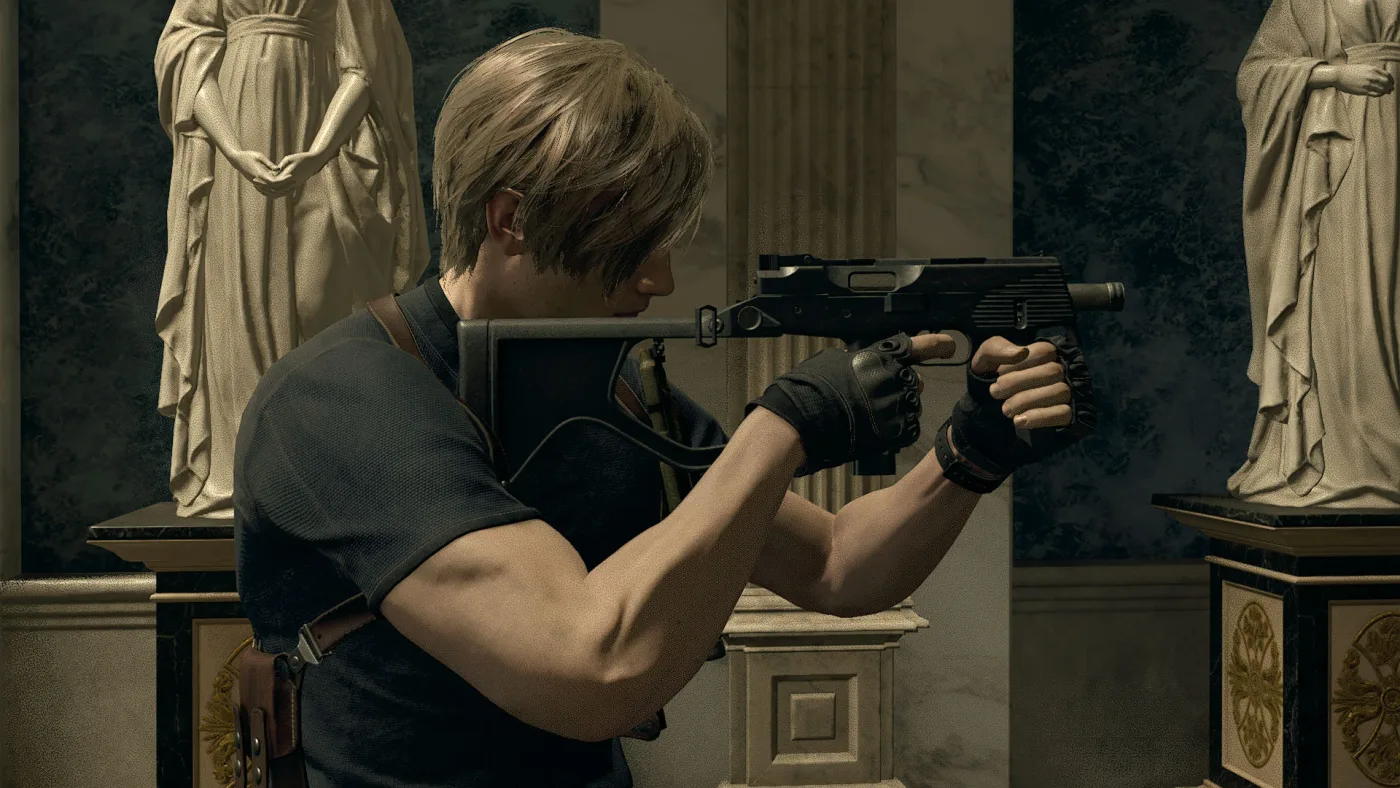
RE4 Remake Best SMG: TMP vs LE 5 vs Chicago Sweeper
Leon's campaign in the Resident Evil 4 remake has three submachine guns, and whether the TMP or the LE 5 hits harder depends on whether you count the exclusive upgrade. Here are the TMP, the LE 5 and the Chicago Sweeper side by side: stats at every level, full upgrade bills, where to find the LE 5, and what a magazine costs to craft.
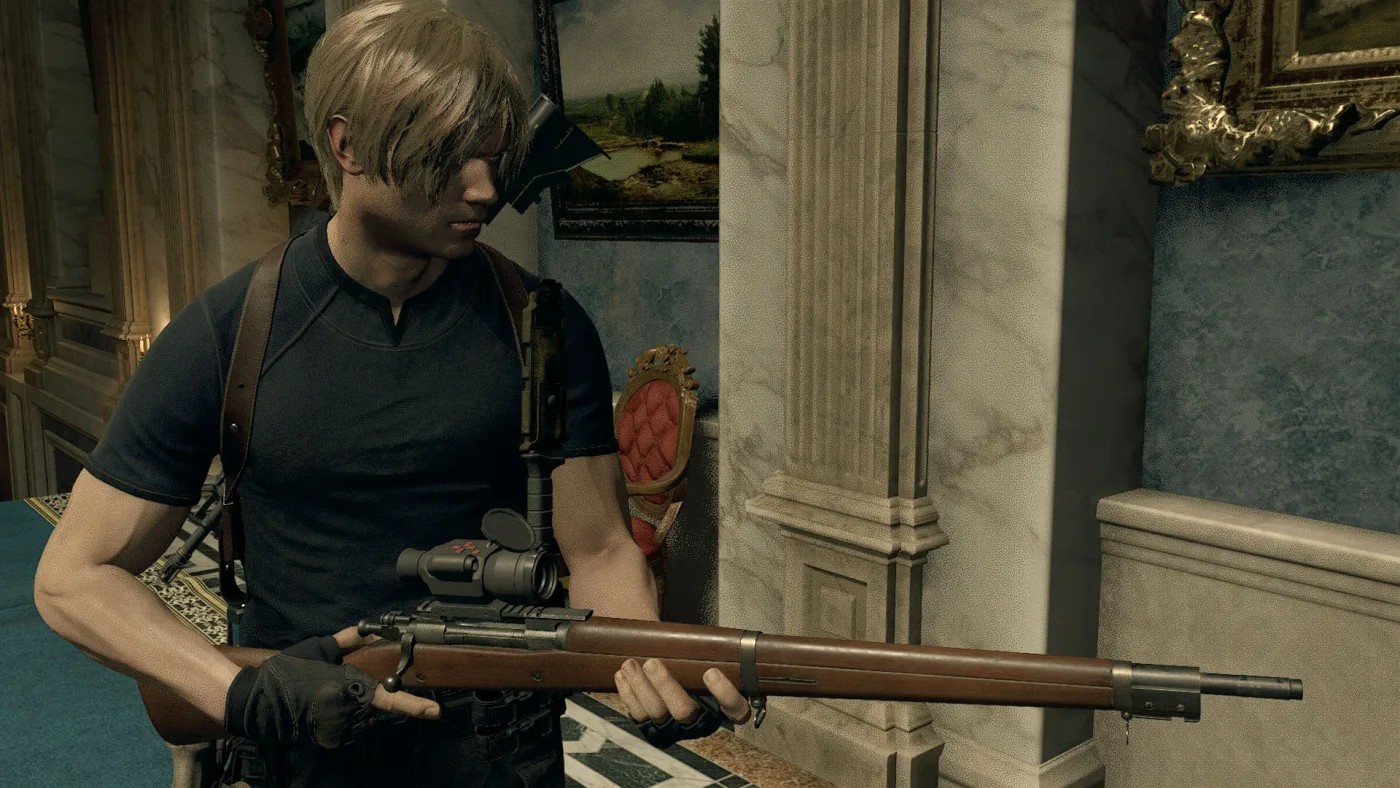
RE4 Remake Best Rifle: SR M1903 vs Stingray vs CQBR
Leon can carry three rifles in the Resident Evil 4 remake, and they all drink from the same ammo pool. Here are their stats, upgrade prices and exclusives side by side, plus the arithmetic on what a full magazine of each one costs to craft.
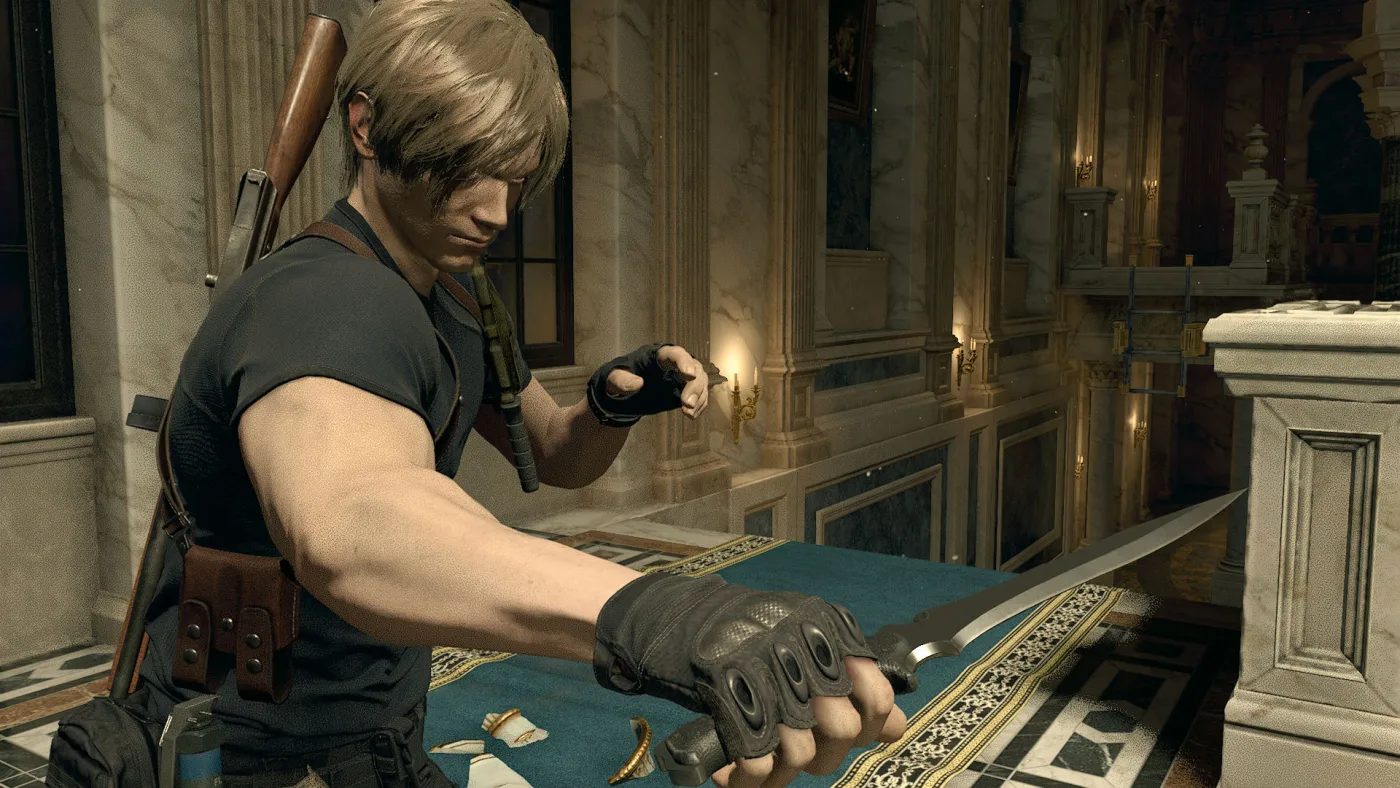
RE4 Remake Best Knife: Combat vs Fighting vs Primal
The Resident Evil 4 remake gives Leon three knives worth upgrading and two worth throwing away, and their stat lines differ more than you would guess. Here is the whole ladder in two tables — every power and durability value, every exclusive upgrade, and what each blade costs to take to the top.

Resident Evil 4 Remake Beginner Guide: Survive the Village
The 2023 remake gives Leon a parry and takes away his indestructible knife. That single trade is the whole learning curve. Here is how to stop dying in the village and start playing the game the way it wants to be played.
RE4 Remake Challenges Guide: All 101, What They Pay, and the Runs You Have to Plan
The remake's challenge list pays 59,400 Completion Points across 101 entries. The shop it feeds needs about 6,000 of them. That gap tells you the list was never about the money — it is about the handful of challenges you can only earn by deliberately not doing the sensible thing.