RE4 Remake Shooting Range Guide: All 12 Courses, S Ranks
Four ranges, twelve courses, and a token machine that is not the slot machine it looks like. Here is every course with its locked weapon set and score thresholds, why a sailor target costs you 500 points, and the 2,100 CP the range pays out if you clear it properly.
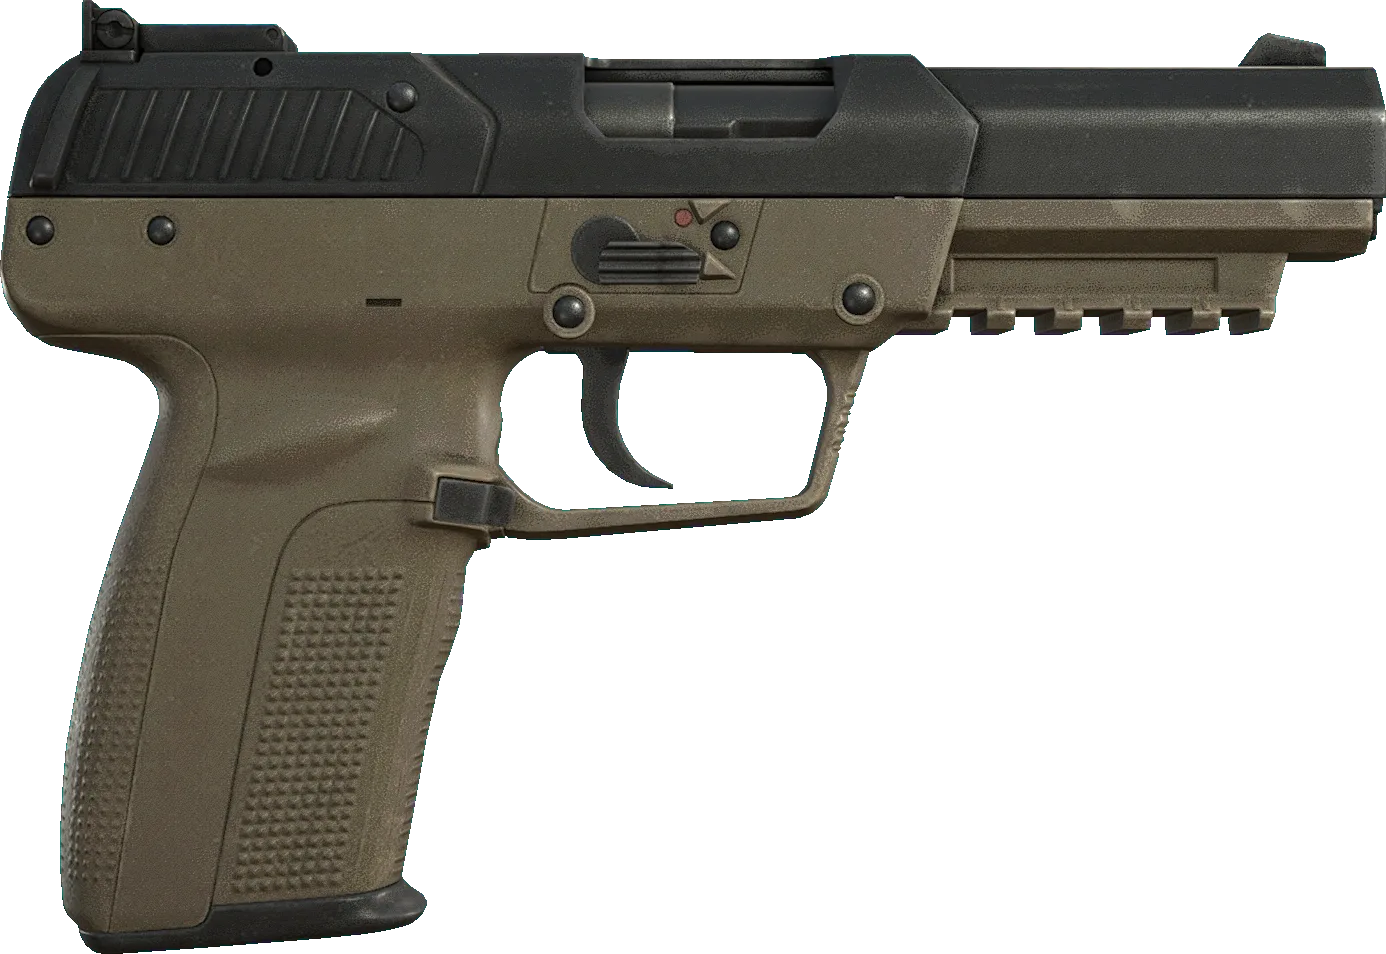
The Resident Evil 4 remake tucks its shooting range behind an elevator next to the Merchant, calls it target practice, and pays you in tokens for a prize machine. That framing undersells it twice.
First, the payout. Add up the reward lines across all twelve courses and a complete sweep hands you at least 26 Gold Tokens — one for the top score line on each course, one for a clean skull sweep on each course, and two extra from 4-C, whose first two score lines pay gold where the other eleven courses pay silver. Gold is what shifts the prize machine toward the rarer charms; the in-game item text says so outright.
Second, the machine itself. It is not a slot machine. Game8's testing found the result is fixed by which three tokens you insert — reload a save, feed it the same combination, and the same charm comes back out.
So the range rewards being cleared properly rather than dabbled in. Here is where all four are, what all twelve courses hand you, and the scoring rules that decide whether you walk out with an S rank or a fistful of silver.
The four ranges and when they open
All four sit at a Merchant's shop. For the first three, take the elevator to the right of the Merchant; the fourth is at his shop northeast of Facility 1 Storage, which you pass through as part of the story.
| Range | Chapter | Where | Courses |
|---|---|---|---|
| 1 | 3 | Merchant in the Quarry | 1-A, 1-B, 1-C |
| 2 | 9 | Merchant on the ground floor of the Grand Hall | 2-A, 2-B, 2-C |
| 3 | 11 | Merchant in the Depths | 3-A, 3-B, 3-C |
| 4 | 14 | Merchant northeast of Facility 1 Storage | 4-A, 4-B, 4-C |
Each range adds three courses to the menu, and previously unlocked ones stay on it — GameWith's chapter table lists 1-A through 2-C available from Chapter 9, 1-A through 3-C from Chapter 11, and the full set from Chapter 14. A course you skipped is still on the menu at the next range.
One caveat on the count: there is a fifth entrance. Game Rant places it in Chapter 15, just before the temple after the body-bags room, and GameWith's chapter table lists Chapter 15 as offering the same stages as Chapter 14. Game8 and Vandal describe four ranges and stop there. No source lists a thirteenth course, and Game Rant says outright that the final range adds no new challenges, so the Chapter 15 door is an extra way in rather than extra content — the same thing the 2005 original did with its fifth entrance in Chapter 5-3.
Playing costs nothing, and the guns the range hands you carry unlimited ammo. Your own inventory is not touched, so a course is also free practice with a gun you have not bought yet.
All 12 courses in one table
Every course locks you to a fixed loadout — you do not bring your own guns — and pays out at three score lines, plus an extra Silver Token at repeating score increments — the Repeats column below.
| Course | Loadout | 1st line | 2nd line | Top line | Repeats | Bonus condition |
|---|---|---|---|---|---|---|
| 1-A | SG-09 R | 3,000 | 5,000 | 7,000 | +1,000 | Destroy all pirates |
| 1-B | SR M1903 | 3,000 | 4,000 | 5,000 | +1,000 | Destroy all pirates |
| 1-C | SG-09 R, SR M1903 | 4,000 | 6,000 | 8,000 | +1,000 | Destroy all pirates |
| 2-A | TMP | 4,000 | 6,000 | 8,000 | +1,000 | All pirates, 20s or more left |
| 2-B | Riot Gun | 3,000 | 6,000 | 9,000 | +1,000 | All pirates, 30s or more left |
| 2-C | TMP, Riot Gun | 6,000 | 9,000 | 12,000 | +1,500 | All pirates, 30s or more left |
| 3-A | Red9 | 4,000 | 6,000 | 8,000 | +1,000 | All pirates in 10 shots or fewer |
| 3-B | Punisher | 4,000 | 6,000 | 8,000 | +1,000 | All pirates in 10 shots or fewer |
| 3-C | Punisher | 5,000 | 7,000 | 9,000 | +1,000 | All pirates in 10 shots or fewer |
| 4-A | Punisher, Riot Gun | 3,000 | 6,000 | 9,000 | +1,500 | All pirates in 20 shots or fewer |
| 4-B | Bolt Thrower | 2,000 | 4,000 | 6,000 | +1,000 | Destroy all pirates |
| 4-C | Blacktail, Stingray, Striker, TMP | 10,000 | 14,000 | 18,000 | +1,500 | Destroy all pirates |
Two things fall out of reading that top to bottom.
1-B has the lowest top line of the twelve at 5,000 points, and it is a rifle-only course, which means the SR M1903 punches through targets lined up behind each other. Lowest threshold plus a piercing weapon makes it a sensible first serious attempt.
4-C is the outlier. It is the only course whose first two score lines pay Gold Tokens instead of Silver, and its top line is 18,000, half again as high as the next-highest (2-C, at 12,000). It also hands you four weapons instead of one or two. Save it for last and expect to repeat it.

What the top threshold is actually worth
The top line on each course is the S rank. That equivalence is published for two of the twelve: Insider Gaming gives 7,000 points for an S on 1-A and 8,000 for an S on 1-C, and both numbers match the top reward line in the table above exactly.
I have not found a published S-rank figure for the other ten courses, so treat the top line as the number to beat rather than a confirmed rank cutoff. One outlier worth knowing about: dbltap says roughly 10,000 points is enough for an S on the first course, which conflicts with Insider Gaming's 7,000 for 1-A. I would trust the specific number over the rounded one, but if you are chasing a rank rather than a token, watch the grade the game gives you and not a guide.
Course 1-A has 27 pirate targets and 1-C has 23. Clearing all of them triggers a bonus round — about 45 seconds on 1-C, with treasure chests and parrots to shoot and no sailors present, worth roughly another 2,000 points.
Sailors cost 500, skulls pay 300
Two target types decide the score, and neither of them is a pirate.
| Target | Effect |
|---|---|
| Pirate | Standard scoring target; clearing all of them triggers the bonus round |
| Sailor (white uniform) | -500 points |
| Skull | 300 points, and a clean sweep of all skulls in a run pays a Gold Token |
The sailor is the one target to actively avoid, and 500 points is a serious dent when the pass line on 1-B is 5,000. It also means shotguns are dangerous on grouped targets: a Riot Gun blast that clips a sailor standing behind your pirate costs you more than the pirate was worth. Game8's general advice is to reach for the SMG over the shotgun when a sailor is near the cluster — which, reading the loadouts above, only helps on 2-C and 4-C, the two courses that issue both.
Skulls are fiddly on purpose. They sit as a marked circle on a target, and GameWith notes the target will not break unless you hit the skull mark itself rather than the target body. They are also fixed — the same skulls appear on the same targets every run, so a scouting run is not wasted.
One useful wrinkle: the skull sweep and the score are separate rewards. GameWith's read is that shooting a sailor does not forfeit the skull Gold Token, only points. If gold is what you are farming, a sloppy run that finds every skull can still be the right run.

The bonus condition is hidden the first time
Every course carries a bonus condition that spawns extra targets when you meet it, and the game does not show you what it is until you have completed that course once. The conditions are in the table above, and they cluster by range: Range 1 just wants every pirate down, Range 2 adds a clock, Range 3 adds a shot budget, and Range 4 keeps the shot budget on 4-A — a looser 20 — then drops back to a plain clear-them-all on 4-B and 4-C.
The practical order, then, is: clear each course once badly to reveal its condition and learn the pattern, then go for score. Target patterns are fixed per course, so the second attempt is a different exercise from the first.
Reloading is the other thing worth planning. Each course has designated reload windows, and Game8's tip is to leave the last target of a group standing when you have cleared the rest quickly — the next wave does not spawn until you break it, which buys you a free reload on your own terms rather than mid-wave.
The piercing courses are where two trophies live
3-B, 3-C and 4-A all give you the Punisher, and 1-B and 1-C give you the SR M1903. Game8 names both as weapons that pierce through targets, and the ranges line targets up in rows accordingly. That is not decoration — it is the intended route to two separate rewards.
Trick Shot asks you to destroy five targets at the range with a single shot. It is a bronze trophy and a 300 CP challenge, and a piercing course with a row of targets is where to attempt it.
Perfect Game asks you to destroy every target except the sailors in a course without missing a single shot. On a piercing course a collateral row counts as one shot for several kills, which makes the accuracy demand less brutal than it reads.
If the Punisher's piercing has you reconsidering it as a real weapon rather than a range toy, the weapon upgrade guide covers where it sits against the Red9 and Blacktail.
The range pays 2,100 CP
Five of the remake's 101 RE.NET challenges live at the shooting range. Three of them are also trophies.
| Challenge | Condition | CP | Trophy | Steam clear rate |
|---|---|---|---|---|
| Amateur Shooter | Complete a game at the shooting range | 200 | Bronze | 72.5% |
| Respectable Marksman | Earn an S rank in a game at the shooting range | 300 | — | — |
| Trick Shot | Destroy 5 targets with one shot | 300 | Bronze | 19.5% |
| Perfect Game | Destroy all targets except sailors without missing a shot | 300 | — | — |
| Real Deadeye | Earn an S rank in all games at the shooting range | 1,000 | Gold | 11.6% |
That is 2,100 CP for the set. The Steam figures were read off the Resident Evil Wiki award pages, which sampled them on 20 March 2026; they drift downward as new owners join the denominator, so read them as difficulty signals rather than fixed numbers.
The gap between Amateur Shooter at 72.5% and Real Deadeye at 11.6% is the shape of the whole minigame: a single course is a five-minute detour, and the twelve-course S-rank sweep is a deliberate project. For where those 2,100 points sit against the full 59,400 CP the challenge list pays, see the challenges guide.

The token machine is not a slot machine
This is the part that changes how you spend.
The prize machine by the range takes three tokens per pull, in any mix of silver and gold. What comes out is not rolled fresh each time. Game8 documents the result as fixed by the combination you insert: load a save, put in the same three tokens, and you get the same charm. Put in a different combination — two gold and one silver instead of two silver and one gold — and you get a different charm, and that mapping holds across reloads. The order you insert them in does not matter, only the mix.
That makes the sensible routine obvious: save before you spend, try a combination, and if the charm is filler, reload and change the mix rather than feeding the machine again with the same three. And it makes gold tokens worth more than their rarity bonus alone, because every gold you hold is another combination you can test.
Tokens have a second source. From Chapter 11 the Merchant will trade you Gold Tokens at 3 spinel each, with no cap on how many, per GameWith — TheGamer confirms the trade is for gold specifically. That is real money in a currency that also funds Exclusive Upgrade Tickets at 30 and 40 spinel. Farm the ranges first; buy tokens only once your upgrade tickets are locked in.
Which charms are worth the slots once they come out of the machine is a separate question, and the charms guide answers it.
Quick Action Checklist
- Four ranges, all at a Merchant: Chapter 3 (Quarry), Chapter 9 (Grand Hall), Chapter 11 (the Depths), Chapter 14 (northeast of Facility 1 Storage). A fifth entrance in Chapter 15 adds no new courses.
- Play every course once badly to reveal its hidden bonus condition, then go for score.
- Start your S-rank hunt on 1-B — 5,000 points is the lowest top line of the twelve.
- Do not shoot white-uniformed sailors: -500 points each. On 2-C and 4-C, swap to the TMP over the shotgun when one is behind your cluster.
- Sweep every skull for a Gold Token. Hit the skull mark itself, not the target body.
- Attempt Trick Shot and Perfect Game on a Punisher or SR M1903 course, where one shot pierces a row.
- Save before you feed the token machine. The charm is fixed by the three-token mix, so reload and change the mix instead of repeating it.
- Leave the last target of a group standing when you need a reload — the next wave waits on it.
Frequently Asked Questions
Where are the shooting ranges in the Resident Evil 4 remake?
What score do you need for an S rank at the RE4 remake shooting range?
What happens if you shoot a sailor in the RE4 remake shooting range?
How do you get the Real Deadeye trophy in Resident Evil 4 remake?
Does the shooting range use your own ammo in Resident Evil 4 remake?
Can you reroll charms at the RE4 remake token machine?
Keep Reading
- Game8 — RE4 remake shooting range locations, all 12 course loadouts, score thresholds and bonus conditions
- Game8 — Real Deadeye trophy and challenge, reload timing and target-pattern tips
- Game8 — the token machine result is fixed by the three-token combination and survives a save reload
- Resident Evil Wiki — the five shooting range challenges and their CP values
- Resident Evil Wiki — Real Deadeye award, 1,000 CP and Steam clear rate
- Resident Evil Wiki — Trick Shot award, 300 CP and Steam clear rate
- Resident Evil Wiki — Amateur Shooter award, 200 CP and Steam clear rate
- Resident Evil Wiki — full RE4 remake award list, confirming which range challenges are also trophies
- Resident Evil Wiki — Gold Token item text on rarer prizes and shooting range score thresholds
- Insider Gaming — 7,000 points for an S rank on 1-A, and its 27 pirate targets
- Insider Gaming — 8,000 points for an S rank on 1-C, its 23 pirates and the 45-second bonus round
- GameWith — the -500 sailor penalty, 300-point skulls, and 3 spinel per token from Chapter 11
- GameWith — skull marks must be hit directly, and a sailor hit does not forfeit the skull reward
- Vandal — four range locations by chapter and the bonus condition for each range
- Game Rant — lists a fifth range entrance in Chapter 15 with no additional courses
- dbltap — puts the first course S rank at roughly 10,000 points, conflicting with Insider Gaming
- TheGamer — four series of three courses each and the skull sweep reward
Related Guides
Resident Evil 4 Switch 2 Reviews: Scores, Gyro, Frame Rate
The Switch 2 reviews for Resident Evil 4 Gold Edition landed on October 13, three days before launch. Here is what six scored reviews and four more write-ups found: the scores, the gyro aiming a September hands-on said not to expect, and the resolution and frame rate behind the praise.
RE4 Remake Platforms: Every Version and What It Needs
The Resident Evil 4 remake is sold on PlayStation, Xbox, Steam, Apple's App Store and, from October 16, the Switch 2 eShop, and the versions are not the same deal. Here is what each one needs to run, what it costs at list, and what it adds or leaves out.
RE4 Remake Small Key Locations: All 8 Locked Drawers
The Resident Evil 4 remake has eight Small Keys for eight locked drawers, with no spare. Here is where every key is, what every drawer holds, the order that never strands a key, and the five drawers Ada opens in Separate Ways with keys she has to buy.
RE4 Gold Edition on Switch 2: What Hands-On Previews Show
Capcom's September 9 announcement gave Resident Evil 4 Gold Edition a release date and a price on Switch 2, but said nothing about how it would actually run. Tokyo Game Show 2026 is where that got answered — by the press who played it, not by Capcom.

Resident Evil 4 Remake Beginner Guide: Survive the Village
The 2023 remake gives Leon a parry and takes away his indestructible knife. That single trade is the whole learning curve. Here is how to stop dying in the village and start playing the game the way it wants to be played.
RE4 Remake Switch 2 Release Date and Gold Edition Price
Capcom confirmed Resident Evil 4 Gold Edition for Switch 2 at the September 9 Nintendo Direct — the remake's first native, installed release on Nintendo hardware after three years as a cloud-only stream. Here is the launch date, the price, exactly what the bundle includes, and what it quietly leaves out.