Super Mario 64 Movement Guide: Long Jump, Wall Kick, BLJ
Super Mario 64 has a moveset deep enough that people are still routing it three decades later. Here is every input that matters on the N64 original, the timing windows nobody explains, and why the backwards long jump does not exist in half the versions you can buy.
Watch someone who is genuinely good at Super Mario 64 and the tell is not that they jump well. It is that they almost never run. They long jump, dive, long jump, wall kick, long jump — the running animation barely appears. That is not showing off. The long jump moves Mario faster than his top running speed, so a player who has internalized the moveset is covering ground at a rate a first-timer physically cannot match while holding forward.
Nintendo shipped this moveset in 1996 with no tutorial attached, and thirty years later people are still finding routes inside it. This is the whole N64 moveset, input by input, plus the timing windows that guides usually skip and the one glitch that half of the available versions have quietly patched out.
Everything here is for the Nintendo 64 original. Where Super Mario 3D All-Stars or the DS remake behaves differently, it is flagged.
The long jump is the game
Crouch while you are moving, press jump, and Mario extends into a long horizontal leap. That is the input — run, hold Z, press A — and it is the single highest-value thing in the game to make automatic.
Three reasons it dominates:
- It beats running for raw travel speed. Chaining long jumps across flat ground is faster than holding forward, which is why timed missions like "Footrace with Koopa the Quick" and every 100-coin run get noticeably easier once it is muscle memory.
- It clears gaps nothing else clears. A triple jump goes up. A long jump goes across. Most of the gaps in Whomp's Fortress, Tick Tock Clock and Rainbow Ride are sized for it.
- It carries speed into other moves. Long jump into a wall kick, or long jump into a dive, and Mario keeps the horizontal velocity.
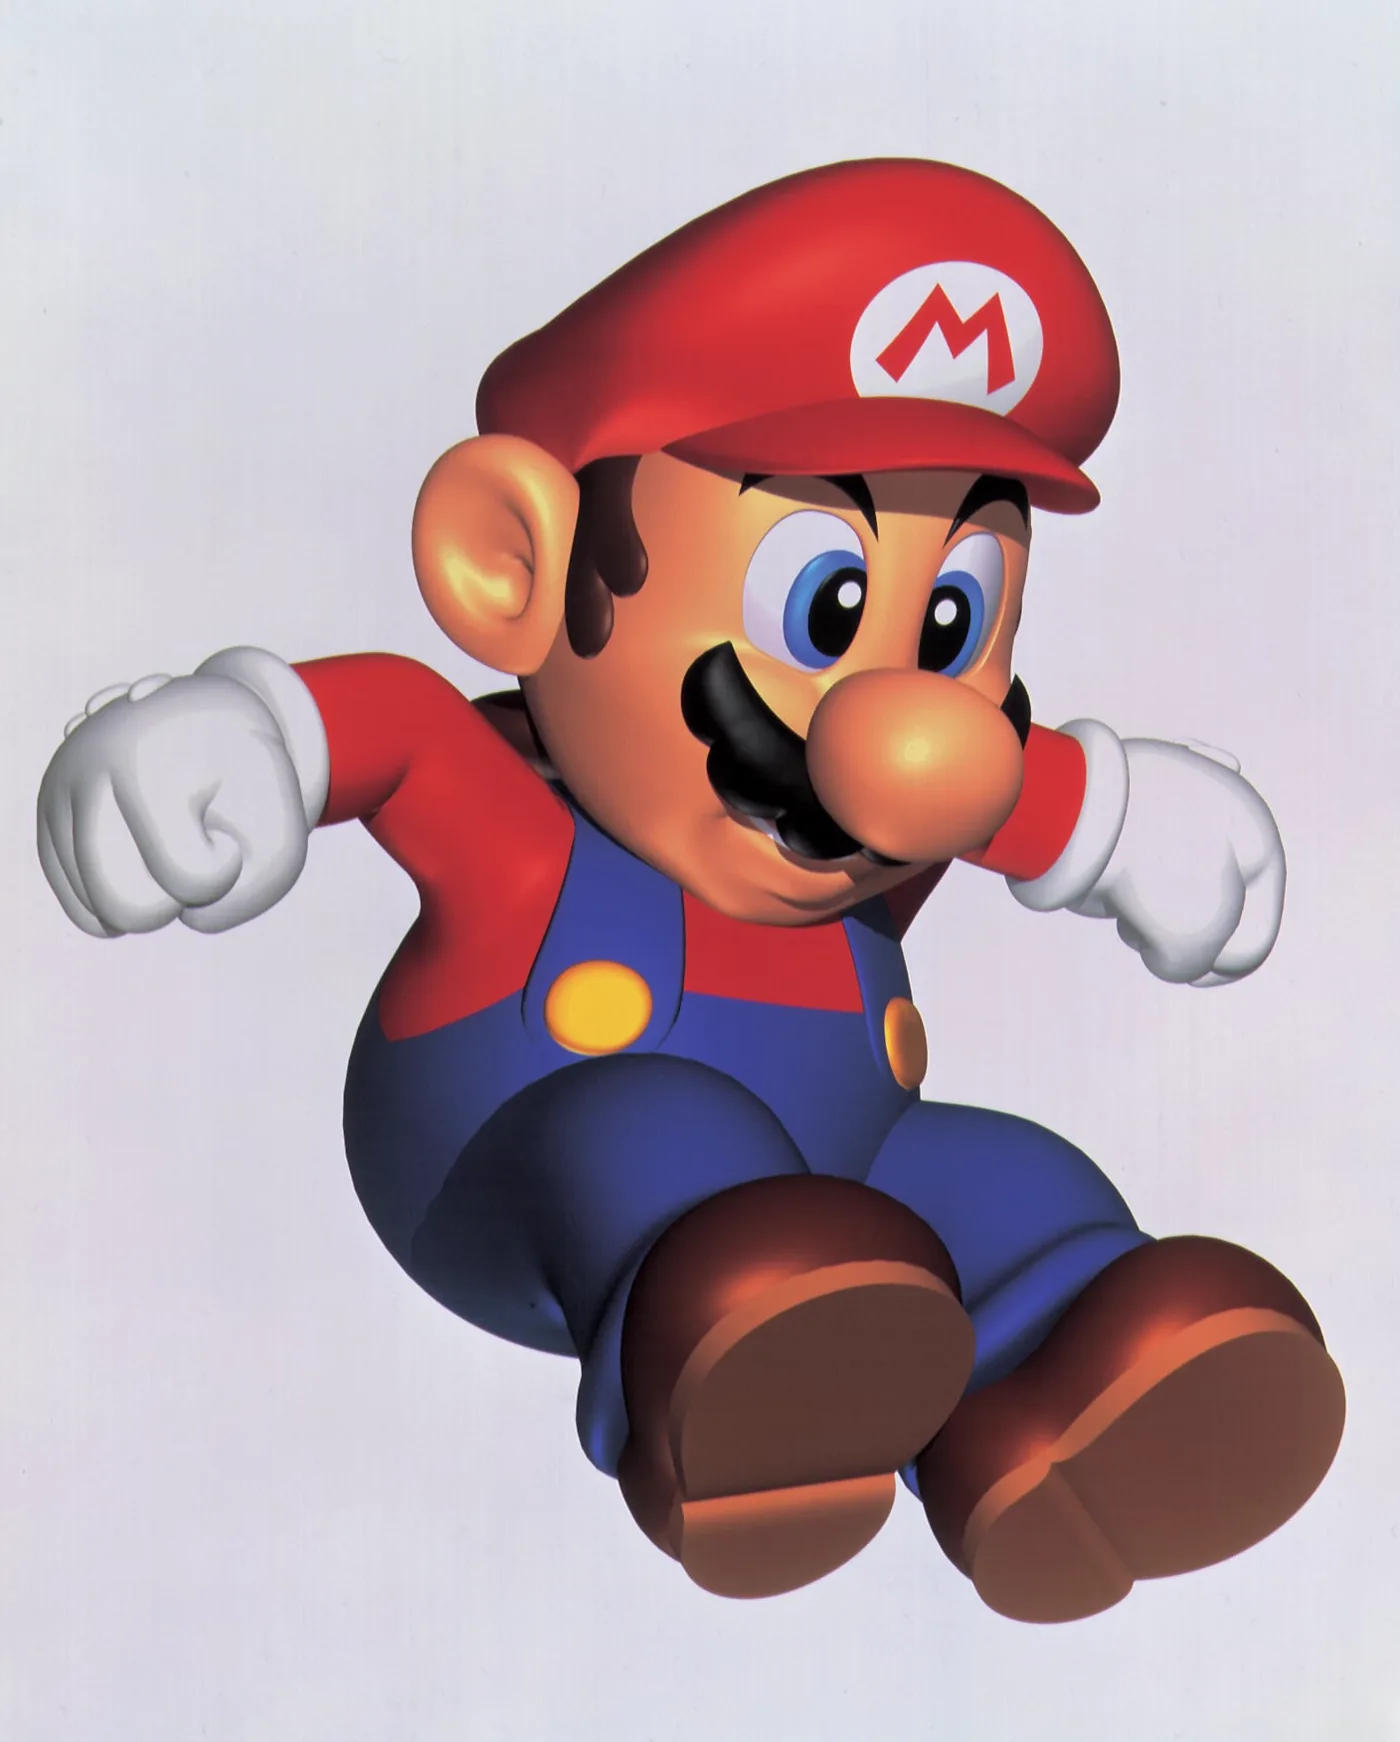
The catch is that long jumps do not steer well. You get a small amount of air control and that is it, so aim before you commit. New players compensate by long jumping short distances and stopping; that is slower than running. Chain them.
The full N64 moveset, input by input
Ground moves
| Move | Input | Notes |
|---|---|---|
| Run | Control stick | Analog. Light pressure walks, full pressure runs. Tiptoeing exists and matters on narrow beams |
| Punch / kick combo | B, B, B | Third hit is a kick. Kills Goombas, Bob-ombs, most small enemies |
| Grab and throw | B near a grabbable object | This is how you handle King Bob-omb, Chuckyas, and Bowser's tail |
| Crouch | Z | The prefix for long jump, backflip and slide kick |
| Crawl | Z plus stick | Slow, but it fits through gaps and it will not slide you off a ledge |
| Long Jump | Run, hold Z, press A | Your primary travel move |
| Backflip | Crouch standing still, press A | High vertical, moves backwards. Hold back on the stick to extend the distance |
| Side flip | Run one way, snap the stick the opposite way, press A | Slightly more height than a backflip |
| Slide kick | Run, hold Z, press B | Foot-first slide that damages enemies in the path |
| Body slide / dive | Run, press B | Belly slide with attack damage. Keeps going on slopes |
Air moves
| Move | Input | Notes |
|---|---|---|
| Double jump | A, then A on landing while moving | Higher than a single |
| Triple jump | A, A, A in sequence while moving | Front flip, highest of the three. Needs runway |
| Jump kick | B in midair | Short attack, also cancels some momentum |
| Dive | B in midair | Extends horizontal reach and sets up a roll on landing |
| Ground pound | Z in midair | Breaks posts and pillars, hits switches, kills Whomps and Thwomps |
| Wall kick | A on wall contact | Vertical recovery, the most important defensive input in the game |
| Ledge grab | Automatic on a ledge | Hold up to climb, press Z to drop |
One flourish worth knowing: land a clean triple jump and do not move, and Mario strikes a pose and cheers. Purely cosmetic, but it is a decent check that you actually hit the third jump rather than a double.
Wall kicks and the timing nobody explains
Every guide says "press A when you hit the wall." The part that matters is what happens if you are late: if you press too late, Mario just bounces off the wall and falls. There is no forgiving buffer. The input has to land in the contact frames.
Practical fixes:
- Jump at the wall, not along it. A shallow angle produces a glancing collision and an unreliable kick. Come in closer to perpendicular.
- Press A on the sound, not on the visual. The wall-contact thud is a more consistent cue than the animation, especially at N64 frame rates.
- Chain in narrow gaps. Two facing walls let you ladder upward indefinitely. Tick Tock Clock and Whomp's Fortress are full of these.
- Use it as insurance. Any time you overshoot a platform and there is a wall on the way down, a wall kick converts a death into a recovery.
Side flip vs backflip, and when each wins
These two look similar and are not interchangeable.
Backflip: crouch while standing still, then A. Mario jumps high and travels backwards. You can control the backward distance by holding back on the stick, and you can chain it directly into a ground pound. It needs no runway at all, which makes it the correct pick on a platform the size of a postage stamp.
Side flip: run one direction, snap the stick to the opposite direction, and press A on the turn. Per the Super Mario Wiki it grants slightly more height than the backwards somersault, and critically it sends you upward without launching you backwards off the ledge you are standing on. Face away from a wall, flick left, flick right, jump — that is the whole motion.
Rule of thumb: if there is nothing behind you, backflip. If there is a pit behind you, side flip. If you have a runway and just want max height, triple jump.
Dive, roll, and how to stop taking fall damage
Long falls hurt in Super Mario 64, and the fix is a movement input, not a power-up. Dive on the way down so Mario rolls out of the landing and the fall damage does not apply. Grabbing a ledge on the way down and landing in water do the same job.
The dive itself (the wiki calls it the Body Slide) has cancel rules worth knowing. Pulling back on the control stick ends the slide, and so does pressing A or Z — but per the wiki only the button cancels retain Mario's momentum. That is why the fast way out of a dive is to jump or ground pound out of it, never to yank the stick backwards.
Diving also has offensive use: it damages anything in the path, and it extends your horizontal reach past what a jump alone gives you. Long jump, then dive at the apex, is a genuine distance extender.
Slopes, slides, and the body slide
Slopes are their own physics system in this game and they are the reason the slide courses feel different from everything else.
If you body slide onto a sufficiently sloped surface, your speed stays constant regardless of what you do with the stick, and you will not stop until you are back on level ground. That is the mechanic underneath The Princess's Secret Slide, the Cool, Cool Mountain slide, and the Tall, Tall Mountain slide. On those courses the stick is for steering, not for braking — jamming it does nothing except bounce you off walls, which is exactly what costs people the sub-21-second star on the Princess's slide.
Steep slopes you did not intend to be on will also slide Mario downward with no control until he reaches a flatter surface. If you are stuck sliding, the fastest recovery is usually to jump out of it and redirect in the air.
The backwards long jump, and why your version may not have it
The backwards long jump — BLJ — is the most famous glitch in the game and it is a straightforward consequence of a missing check. In the original release, long jumping backwards lets Mario accumulate horizontal speed past the game's normal cap. Do it against a surface that keeps re-landing him quickly (a staircase, a steep slope, a moving elevator) and repeatedly tap the jump button, and speed builds without limit.
What that speed buys you:
- The endless stairs skip. Normally the game warps you back down the staircase until you have 70 Power Stars. With enough BLJ speed you cross the trigger zone before the warp fires, and you get into Bowser in the Sky early. That is the backbone of low-star runs.
- Wall clips. Enough velocity and Mario passes through geometry that is supposed to be solid, which enables sequence breaks all over the castle.
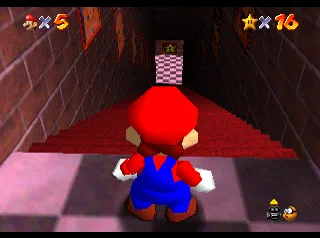
Here is the part people get burned by. The BLJ is not present in every version you can buy. The Super Mario Wiki lists the oversight as fixed in the Rumble Pak Compatible Version, the iQue Player release, and Super Mario 3D All-Stars — and it never existed in the DS remake at all. Since 3D All-Stars is built on the Rumble Pak revision, the Switch collection cannot BLJ. If you are following a low-star route and the trick simply will not fire, you are almost certainly on a patched version rather than doing it wrong.
This is why speedrun categories are version-specific. 0-star and 1-star runs live on the original code. 16-star, 70-star and 120-star runs are the categories that still make sense everywhere.
Where to actually practice this
Do not learn movement in a course that can kill you. Learn it where failure is free.
- Castle grounds. Flat, open, no enemies, and a moat you can fall in. Chain long jumps around the perimeter until you stop dropping the Z-then-A order.
- The castle foyer. Wall kick between the pillars and the walls. No pits, unlimited retries.
- Whomp's Fortress. The best real level for it. Stacked stone platforms at long-jump distances, plus walls at wall-kick distances, plus a tower with a genuine climb.
- Tick Tock Clock. Narrow vertical shafts, so wall kicks and backflips get tested under pressure. Enter when the clock's minute hand is at 12 and the mechanisms stop moving, which turns it into a static platforming gym.
- The Princess's Secret Slide. Two stars, one of them for finishing under 21 seconds, so it is a self-scoring test of whether you actually understand slope physics.
If you are still working out which courses are open to you and what the star doors need, start with the Super Mario 64 beginner guide, and for the odd stars tucked inside the castle itself see the Super Mario 64 secret stars guide.
Quick Action Checklist
- Make the long jump automatic: run, hold Z, press A, and chain them instead of stopping between jumps.
- Practice wall kicks on the audio cue of Mario contacting the wall — a late press just bounces him off with no recovery.
- Use backflip when there is no runway and nothing behind you; use side flip when there is a pit behind you.
- Dive on long falls so Mario rolls out of the landing and takes no fall damage.
- Cancel dives with A or Z to keep momentum, not by pulling back on the stick.
- On slide courses, steer with light stick inputs — slope speed is constant and hard inputs only bounce you off walls.
- Drill movement on the castle grounds and in Whomp's Fortress, where mistakes cost nothing.
- Enter Tick Tock Clock with the minute hand at 12 to freeze the mechanisms and practice vertical movement safely.
- If a BLJ will not fire, check your version: it is patched out of Super Mario 3D All-Stars, the Rumble Pak revision, and iQue, and absent from the DS remake.
Frequently Asked Questions
How do you long jump in Super Mario 64?
Why does my wall kick not work in Super Mario 64?
What is a BLJ in Super Mario 64?
Can you BLJ in Super Mario 3D All-Stars?
What is the difference between a side flip and a backflip?
Keep Reading
Related Guides
Super Mario 64 Speedrun Guide: Beginner Routes and Tech
Super Mario 64 is the most-run game on the internet for a reason: the routes are readable and the first hour of practice pays off fast. Here is how to pick a category, which stars to grab and in what order, and the small handful of tricks that actually move your time.
Super Mario 64 Music: Every Track and Where It Plays
Super Mario 64 scores 15 courses with seven songs, and only one of them belongs to a single course. Here is which track plays in every course and secret level, the five levels whose music rearranges itself as Mario moves, what triggers the boss music and the jingles, all 36 soundtrack tracks under their 1996 and current names, and where to listen today.
Super Mario 64 Bowser Levels Guide: All 24 Red Coins
Bowser in the Dark World, the Fire Sea and the Sky each hide one Power Star behind eight red coins on the obstacle course in front of the fight. Here is the route through all three, where every red coin sits, and what else the level data holds.
Super Mario 64 120-Star Reward: Yoshi and the Castle Roof
Super Mario 64 does not announce your 120th Power Star. The reward is outside: a cannon grate that stops loading, Yoshi on the castle roof, and a gift that quietly resets the next time you load your file. Here is what 120 stars changes, checked against the wikis and the decompiled code.
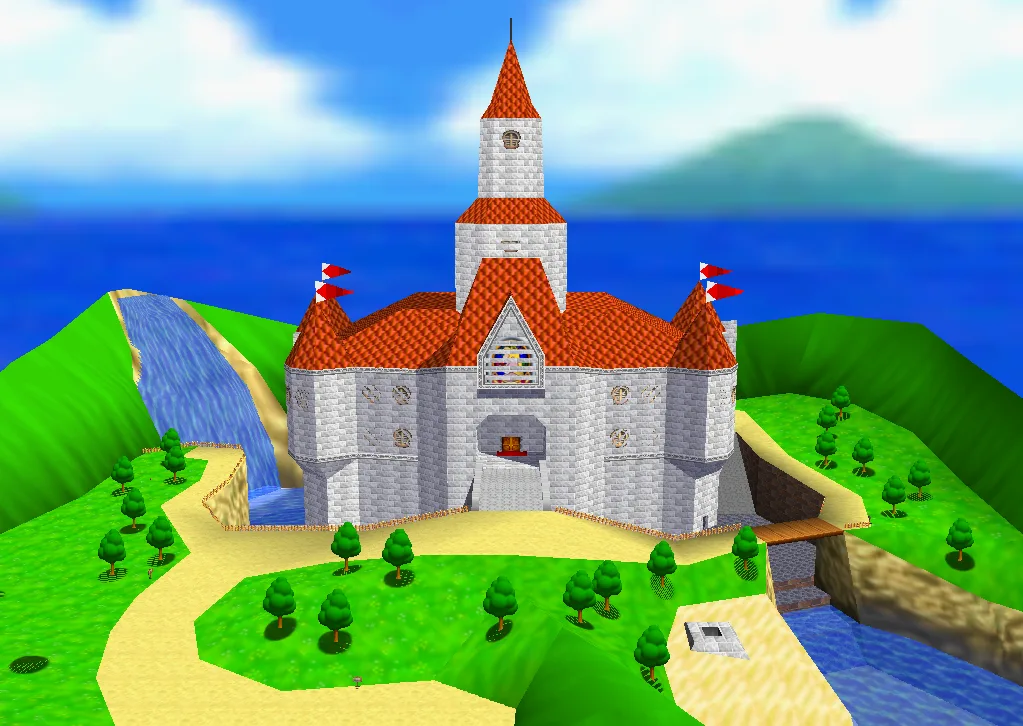
Super Mario 64 Beginner Guide: Your First 30 Power Stars
Super Mario 64 does not gate you on difficulty, it gates you on Power Stars. Here is exactly which doors need what, which stars are fastest to grab, and the route that gets a first-timer from one star to thirty without wandering the castle in circles.
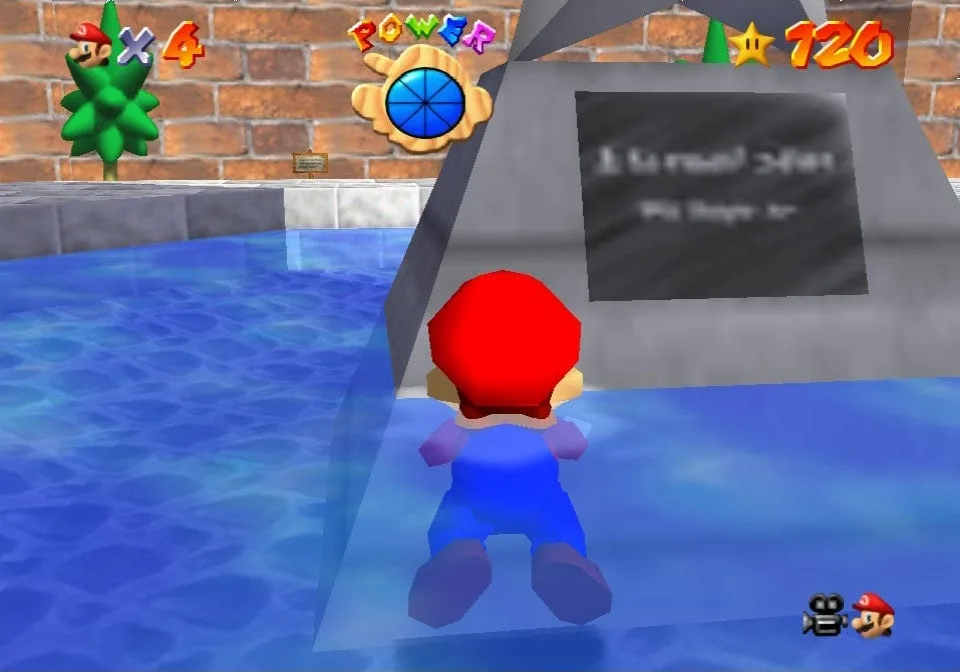
Super Mario 64 Myths and Rumors, Debunked
A blurry plaque in Peach's Castle produced a $100 bounty from IGN, an April Fools joke from Nintendo, and a 2020 source-code leak that made the rumor half-true in the strangest way possible. Here is what "L is real 2401" actually says, why Ninja Mario and DS-era Waluigi were never real, and what got cut from Super Mario 64 for genuine, documented reasons.