Breath of the Wild Combat Tips: Flurry Rush and Beyond
A parried Guardian laser deals 500 damage to a Guardian Stalker that only has 1,500 health. That is three deflections for a kill, no weapon durability spent. Breath of the Wild combat is full of numbers like that.
A Guardian Stalker has 1,500 health and fires a laser that can hit for 58 points of damage — enough to erase a fourteen-heart Link in one shot. It is also the most exploitable enemy in the game, because a single perfect guard that deflects its own laser back into its eye deals 500 damage. Three parries. No weapon durability spent. No arrows used.
That gap between "terrifying" and "trivial" is the entire shape of Breath of the Wild's combat. Nothing in this game is a stat check. Everything is a timing check, and once you own three or four specific timings, the difficulty curve inverts — the enemies that killed you at hour five become your farming route at hour thirty.
Flurry rush is the whole combat system
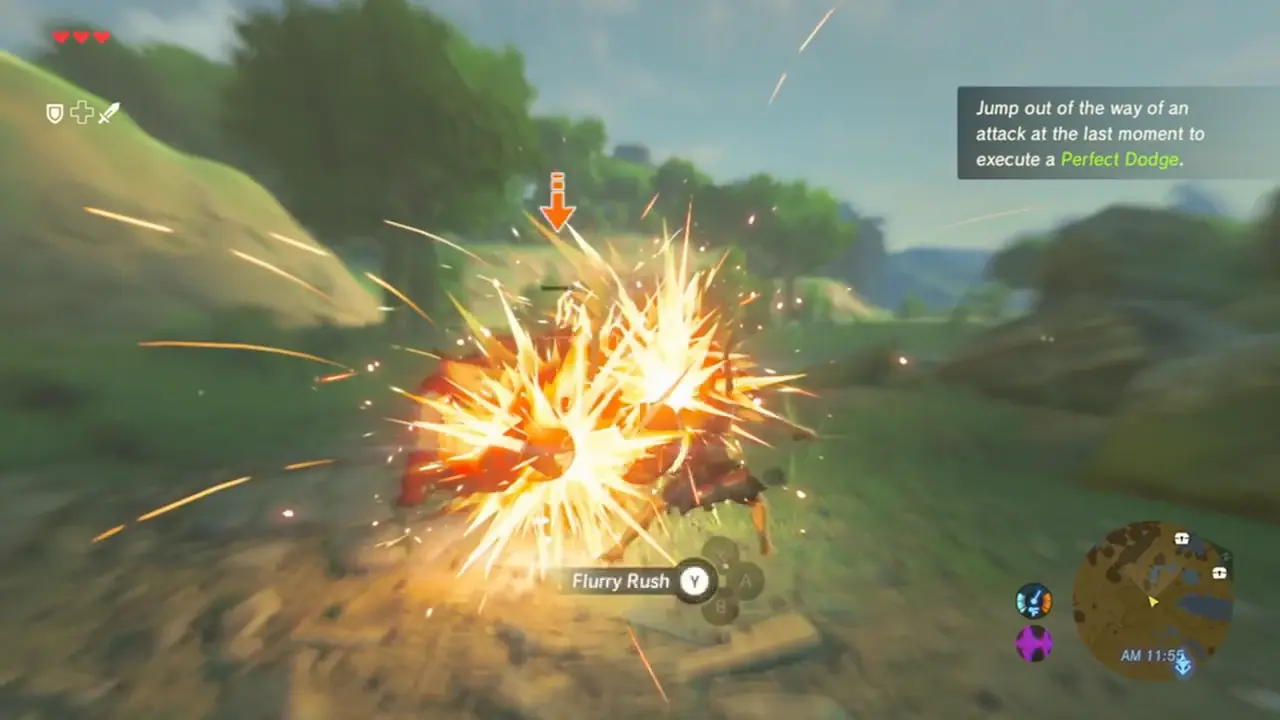
Dodge an attack at the last possible moment and time slows to a crawl while Link unloads a rapid series of hits. That is a flurry rush, and it is the highest damage-per-durability action available to you.
What makes it more than a flashy dodge:
- It bypasses shields and invincibility. Enemies blocking with a shield still eat the full flurry.
- It costs one dodge input for what would otherwise be five or six swings' worth of openings.
- It can be cancelled against you. If your weapon breaks mid-flurry, or you take a hit and get knocked back, the flurry ends immediately.
There is also a technical quirk worth knowing: you can jump during the final hit of a flurry rush to cancel it early, but doing that means you cannot immediately trigger another one. If you are chaining dodges against a fast enemy, let the flurry finish.
How to actually land a perfect dodge
The input is not a generic dodge. You need to be locked on to the enemy, then press jump plus a direction at the moment the attack is about to land:
- Backflip — jump with no directional input while locked on. Best against forward thrusts, charges, and anything that closes distance.
- Side-hop — jump with left or right while locked on. Best against horizontal sweeps and downward slams.
The read is the enemy's wind-up animation, not the swing itself. Most humanoid enemies telegraph for roughly the same beat, so the pattern transfers: Bokoblin, Moblin, Lizalfos, and Yiga Footsoldier all reward the same rhythm. Practice on red Bokoblins where a mistimed dodge costs a quarter heart instead of your run.
If nothing is happening when you dodge, the usual culprit is that you dodged too early. The window rewards patience — wait until the weapon is genuinely about to connect.
Perfect guard turns Guardians into free loot
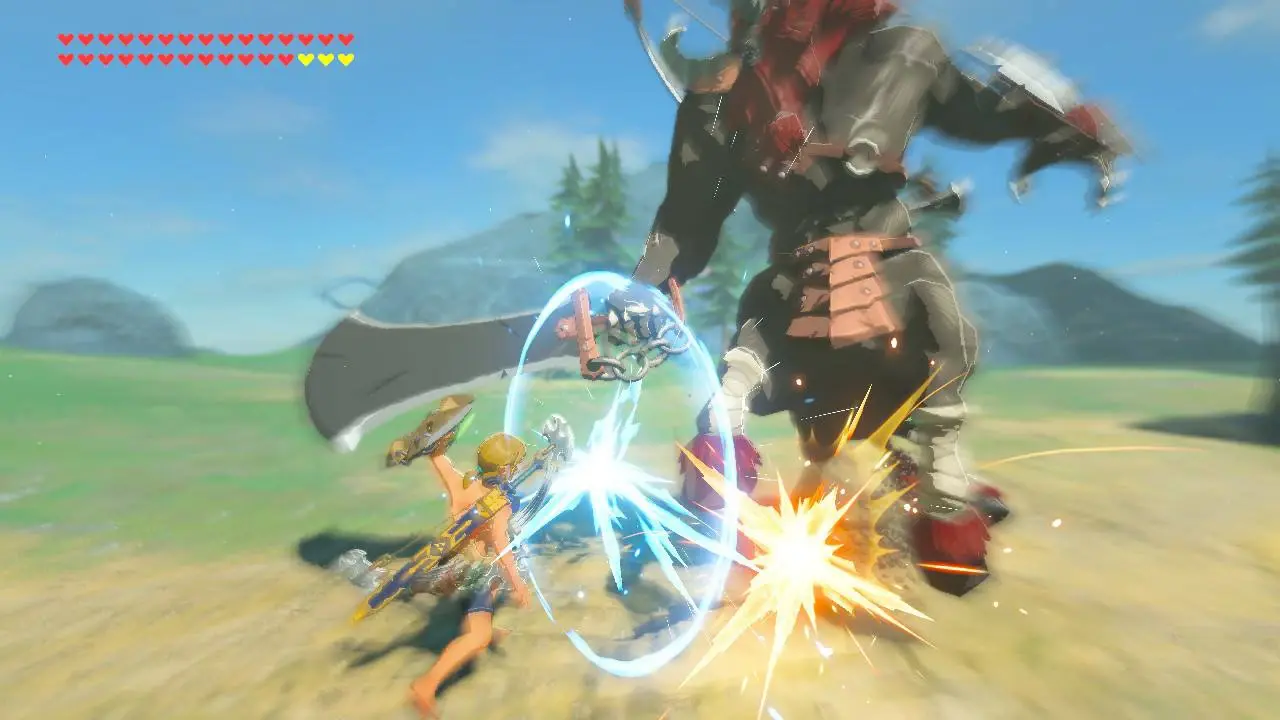
A perfect guard works with any shield — press the shield button at the moment before an attack connects, rather than holding it. The results:
- The enemy is temporarily stumbled, giving you a free counterattack window.
- It can disarm the enemy outright, which is how you steal Lynel weapons.
- It deflects certain projectiles straight back, most famously Guardian lasers.
The distinction between holding a block and timing a parry matters enormously. Holding a shield against a Guardian laser eats durability and still hurts. Timing it returns 500 damage to a 1,500-health Guardian Stalker. That is a three-parry kill on the scariest enemy in the overworld, and it drops Ancient materials you need for the best gear in the game.
Sneakstrikes deal eight times damage
Sneak up behind an enemy that has not noticed you, or attack one that is asleep, and your melee hit deals eight times its normal damage. Eight times. That is not a nudge, it is the difference between a five-minute camp clear and a two-second one.
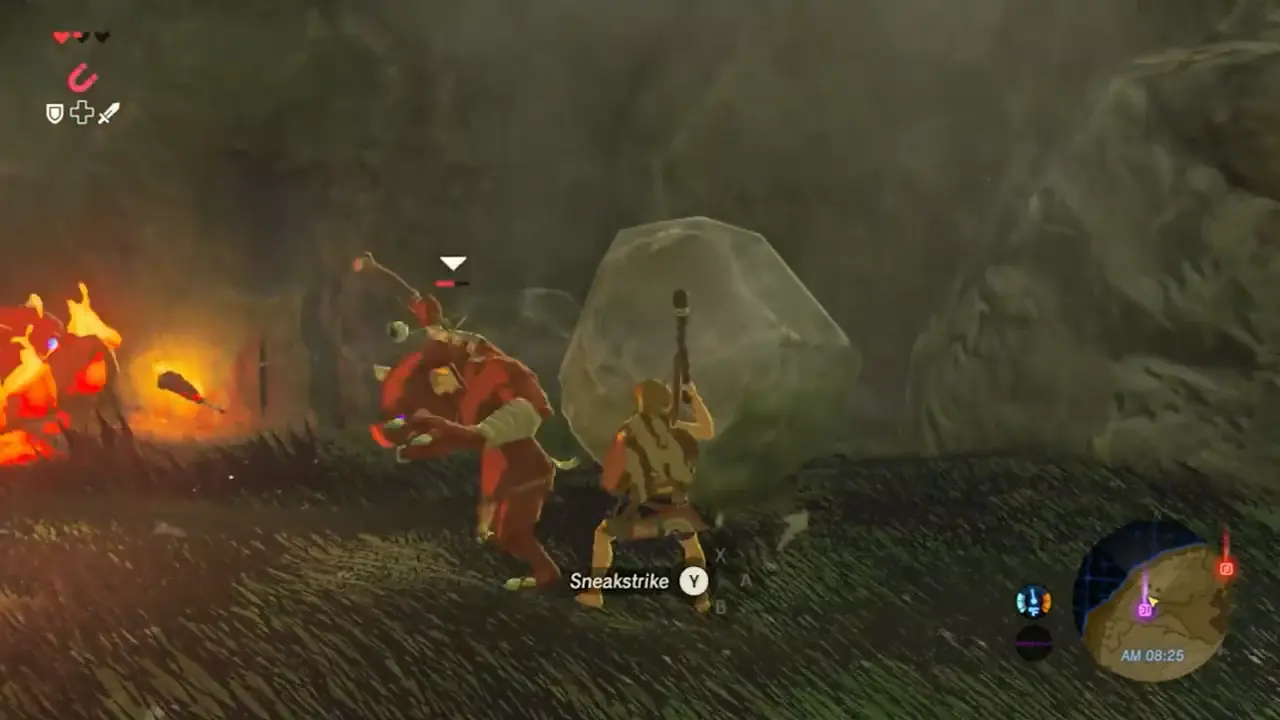
How to make it reliable:
- Fight at night. Most camps have sleeping enemies after dark, and sleeping counts as unaware.
- Wear stealth gear or eat a Sneaky dish. Both drop your noise floor enough to close distance across open ground.
- Crouch-walk on grass, not stone. Surface noise is real, and enemies react to it.
- Kill the lookout first. Camps have one enemy positioned to spot you. Remove it and the rest are still asleep.
A sneakstrike with a good two-handed weapon can one-shot most non-boss enemies in the mid-game. It is also durability-efficient, since one swing does the work of eight.
Bullet time and the airborne bow
Aim a bow while Link is airborne — mid-jump or under the paraglider — and time slows dramatically. Your stamina drains fast during it, and pulling the glider back out cancels the aim.
This is the technique everything else builds on. Practical setups:
- Jump off a ledge, aim, headshot. Headshots stun most humanoid enemies, setting up a free sneakstrike-tier follow-up.
- Burn grass for an updraft, glide up, aim down. You get height, distance, and slow motion in one motion.
- Dodge into a cliff jump. If a fight is going badly, verticality resets it entirely.
Bullet time plus the airborne bow is also the safest way to fight anything with reach on you, because you are not in melee range while it happens.
Fighting Lynels without losing your inventory
Lynels come in five variants — the standard red-maned, then Blue-Maned, White-Maned, Silver, and the Master Mode exclusive Golden. They are the only source of Lynel gear, which is the strongest non-unique weapon tier in the game, so learning them is not optional if you want good weapons.
The things that actually matter:
- They stare you down first. With the exception of the Lynel on Ploymus Mountain, a Lynel that spots you will hold off attacking for a short beat, staring. That is your window to leave if you are not ready.
- Their multishot arrows ignore invincibility frames. You get hit by each arrow individually, which is why a single volley can delete you. Do not tank it — dodge or break line of sight.
- They teleport. Both to flee briefly and to close on you. Do not commit to a long animation while one is repositioning.
- Perfect dodges and perfect guards work on most of their attacks. The whole fight is a rhythm test, not a gear check.
- Their fire attacks create updrafts. This is the key routine: when a Lynel breathes fire, glide up on the wind gust, aim down in bullet time, and shoot it in the head. A headshot stuns it and inflicts double damage.
- You can mount them. Sneak up from behind, or jump on while it is stunned, and you get a burst of free hits that cost no weapon durability at all.
The optimal loop is: stun with a headshot from the air, mount, ride out the free damage, dismount, perfect-dodge into a flurry rush, then bait another fire attack and repeat. Bring a Mighty dish and a Tough dish, and bring more arrows than you think you need.
Guardians: parry, arrow, or run
Three legitimate approaches, in ascending order of resource cost:
- Parry the laser. 500 damage per deflection against 1,500 health. Costs nothing but nerve and a little shield durability. The timing cue is the moment the laser beam's targeting sound peaks.
- Ancient Arrow to the eye. A direct eye hit instantly defeats a Guardian, full stop. There are nine Ancient Arrow chests at Hyrule Castle — three with a single arrow, five with bundles of three, and one with a bundle of five — and you can craft more from Ancient materials at the Akkala Ancient Tech Lab. Beedle also gifts you one at a stable after you free your first Divine Beast. Be warned: used on regular enemies, Ancient Arrows disintegrate them and their weapons, so you get no material drops.
- Break its legs. Cutting a Guardian Stalker's legs stuns it, drops Ancient materials, and can topple it outright. A bow shot to the eye achieves a similar stun. Stasis on a Guardian that is charging its laser will stun it afterward even if you never hit it during the freeze.
If none of those are available, running is a real answer. Guardian Stalkers relentlessly pursue but they lose track of targets, and no fight in the open field is mandatory.
Armor and food are half your damage output
Combat in this game is a two-sided equation and most players only optimize one side.
Damage you take is calculated as the enemy's attack value minus your total armor defense, with a hard floor of a quarter heart per hit. That floor is why stacking defense has such dramatic returns at the low end — going from zero to three defense turns a full-heart hit into a quarter-heart hit. Most armor can be upgraded four times at Great Fairies, gated by how many Great Fairies you have revived.
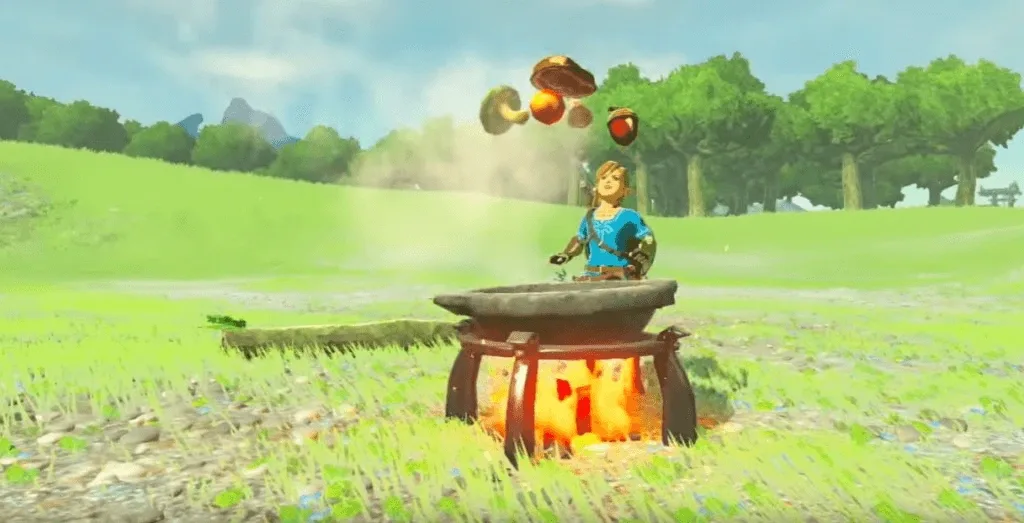
On the other side, a Mighty dish is a flat attack buff that applies to every swing and every arrow, and a Tough dish is a flat defense buff on top of your armor. Cooking one of each before a Lynel or a Blight fight is the cheapest power spike available. The full breakdown of how to build those without wasting ingredients is in our Breath of the Wild cooking guide.
Environmental kills are free damage
Hyrule's physics engine is a weapon and it costs no durability:
- Metal box plus Magnesis in a thunderstorm. Drop it near enemies and let lightning do the work.
- Metal weapons attract lightning. In a storm, unequip anything metal or you become the conductor.
- Fire spreads uphill and creates updrafts. Burn a camp's grass and both damage them and get an escape route.
- Stasis a boulder, hit it repeatedly, release. The stored kinetic force launches it through whatever is downrange.
- Push things off cliffs. Boulders, and enemies. Fall damage is real for them too.
- Octorok balloons and bomb barrels are placed in camps by the designers. That is an invitation.
- Shock arrows in water. Enemies standing in shallow water take chained damage and drop their weapons.
Shield surfing and durability discipline
Shield surfing is mobility, but the durability rules are specific and worth memorizing:
- Sand and snow do no durability damage at all. Surf those freely.
- Rocky terrain like Death Mountain drains shields rapidly. Do not surf your Hylian Shield down a volcano.
- Rain reduces durability damage further and increases your speed. Storms are actually the best surfing conditions.
Broader durability discipline: use the weakest weapon that finishes the job, throw weapons that are about to shatter for bonus damage, and remember that the Blood Moon respawns every enemy and restocks the world every two to three hours of play. Weapons are ammunition, not heirlooms. If you are still building your fundamentals, our Breath of the Wild beginner guide covers the progression side of that.
Habits that separate good players from dead ones
- Lock on before you dodge. Flurry rush is unreliable without a target.
- Fight at night when you have the option. Sleeping enemies are eight-times-damage targets.
- Always carry a shield you are willing to lose. Parrying is worth more than preserving it.
- Check your metal loadout when the sky turns. Lightning has killed more players than Lynels.
- Bait attacks instead of initiating them. This game rewards the counter-puncher, not the aggressor.
- Leave fights you did not plan. Enemy camps are optional content, and walking away costs you nothing.
- Photograph enemies for the Compendium. It sounds like busywork until sensor tracking finds you the exact material you need.
More Hyrule deep dives are on the Breath of the Wild coverage hub, and the rest of our coverage lives on the Mythras blog.
Quick Action Checklist
- Lock on, then backflip against thrusts and side-hop against sweeps, timed to the moment of impact.
- Let flurry rushes finish rather than jump-cancelling if you want to chain another one.
- Parry Guardian lasers for 500 damage a pop against 1,500 health — three deflections is a kill.
- Save Ancient Arrows for Guardian eyes; they instantly kill Guardians and disintegrate everything else's drops.
- Hunt at night and open camps with an eight-times-damage sneakstrike on the lookout.
- Use burning grass and Lynel fire breath for updrafts, then bullet-time headshots from the air.
- Against Lynels: headshot to stun, mount for free damage, dodge into flurry rush, repeat.
- Cook one Mighty dish and one Tough dish before any boss, Blight, or Lynel.
- Unequip metal gear during thunderstorms; equip it via Magnesis to kill enemies instead.
- Surf on sand and snow freely, never on Death Mountain rock, and treat rain as ideal surfing weather.
Frequently Asked Questions
How do I trigger a flurry rush in Breath of the Wild?
How much damage does a Guardian parry do?
How much extra damage does a sneakstrike do?
What is the best way to fight a Lynel?
Does shield surfing break my shield?
Keep Reading
Related Guides
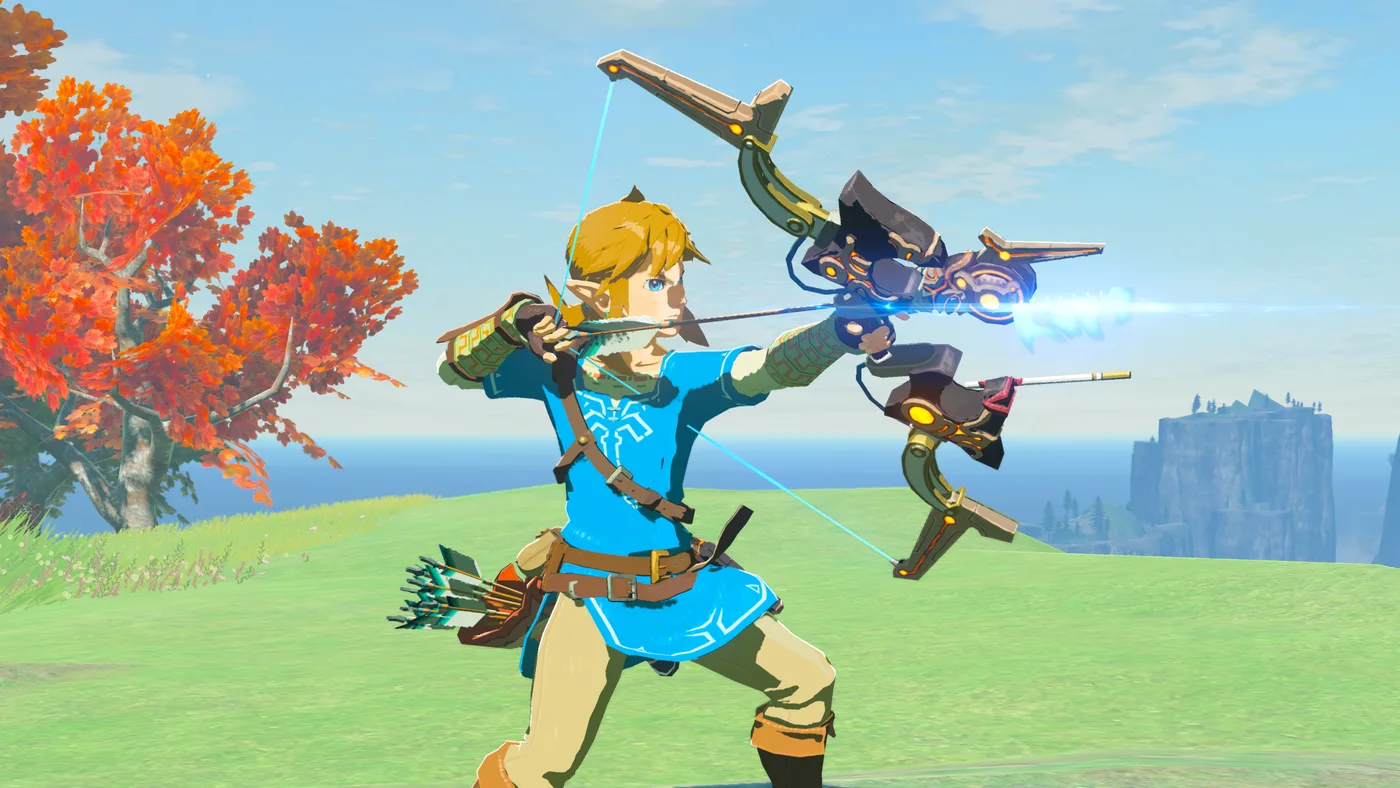
Breath of the Wild Best Bows: Stats and Where to Get Them
The Great Eagle Bow draws 1.8 times as fast as a Royal Bow, and the Ancient Bow's arrows fall under less than a third of normal gravity. Neither number is on the inventory card. Here are all 26 bows in Breath of the Wild, the hidden stats that separate them, where each one comes from, and what every arrow type adds.

Breath of the Wild Guardians: HP by Type and Every Drop
A Decayed Guardian has exactly 500 HP, and a Perfect Guard deals exactly 500 damage — parry once and it is dead. A Guardian Stalker takes three of the same parry, because it has 1,500. Six machines share the name "Guardian," and three of them tie at the exact same HP total.
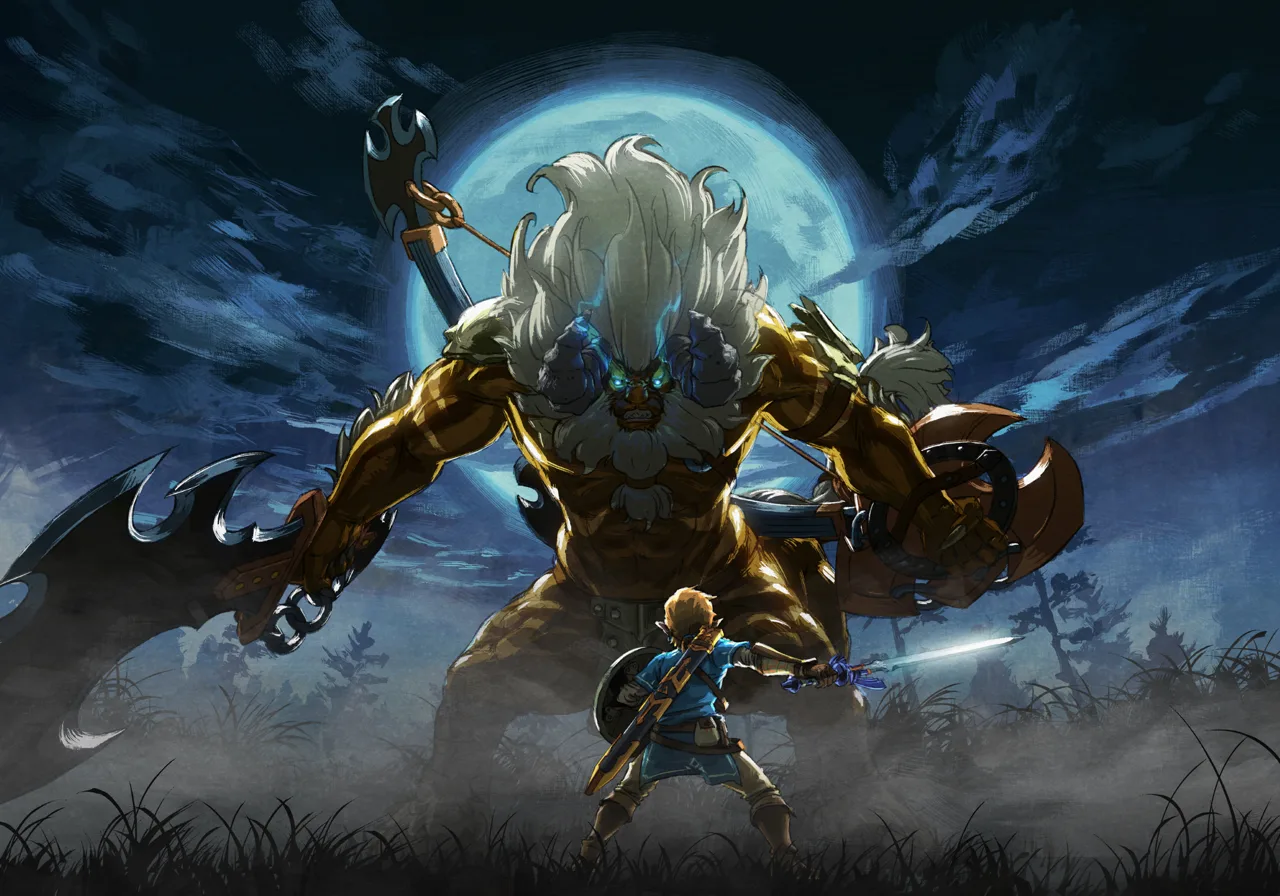
Breath of the Wild Lynel Guide: HP by Tier, Savage Gear, and the Farm Loop
A Silver Lynel has 5,000 HP. Calamity Ganon has 8,000. But a Lynel is not a wall — it is the best vending machine in Hyrule, and the Savage Lynel Crusher it drops has the highest base attack of any weapon in the game.
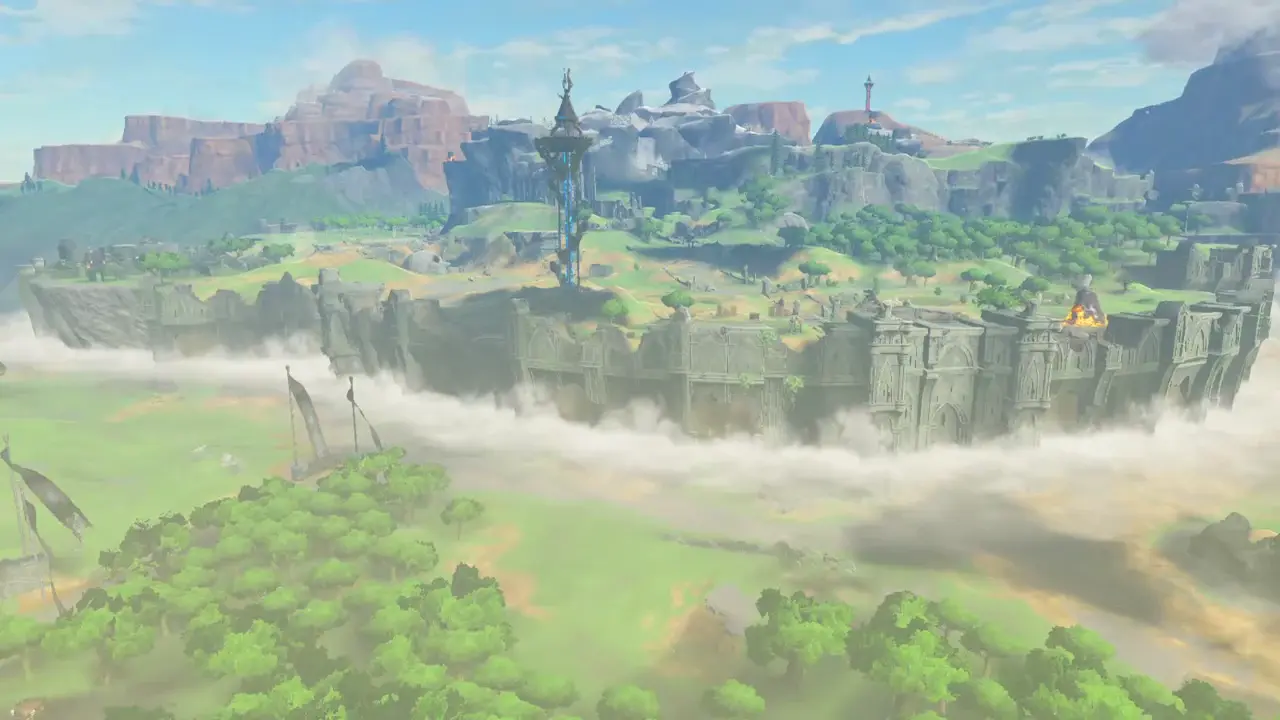
Breath of the Wild Beginner's Guide: Your First 10 Hours
Breath of the Wild does not tell you that armor matters more than hearts, that your weapons are ammunition, or that the Blood Moon is a restock button. Here is the stuff the game leaves you to discover the hard way.
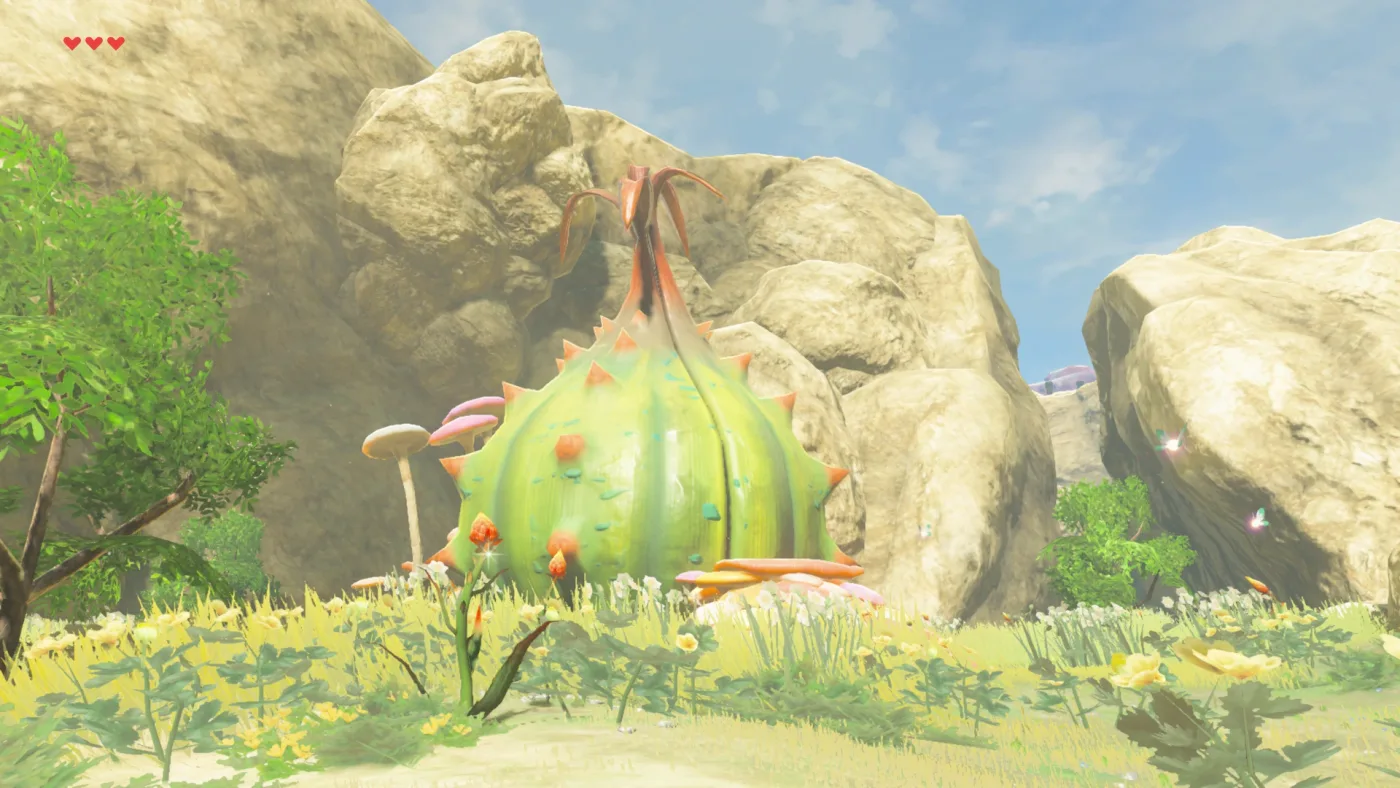
Breath of the Wild Great Fairy Fountain Locations and Costs
In Breath of the Wild the 10,000-rupee Great Fairy is not Tera. It is whichever fountain you open fourth. Here is where Cotera, Kaysa, Mija and Tera are, what each fairy you revive unlocks, and what every upgrade tier costs in materials once the rupees are paid.
Breath of the Wild Rupee Farming: How to Make Money Fast
Four Lynel Guts and an Energetic Rhino Beetle sell for 830 rupees raw and 2,330 as an elixir, by the selling formula Zelda Wiki publishes for Breath of the Wild. Here is what sells for the most, what the cooking pot does to a price, what Ramella pays for gems, where rupees still drop as rupees, and which side quests pay in cash or Diamonds.