Breath of the Wild Runes: Damage, Cooldowns and Upgrades
A Remote Bomb hits for 12 and recharges in six seconds; three Ancient Shafts make that 24 and three. Here is what each Sheikah Slate rune does, with the numbers where the wikis publish them, where each one stops working, and which of Purah's three upgrades to buy first.
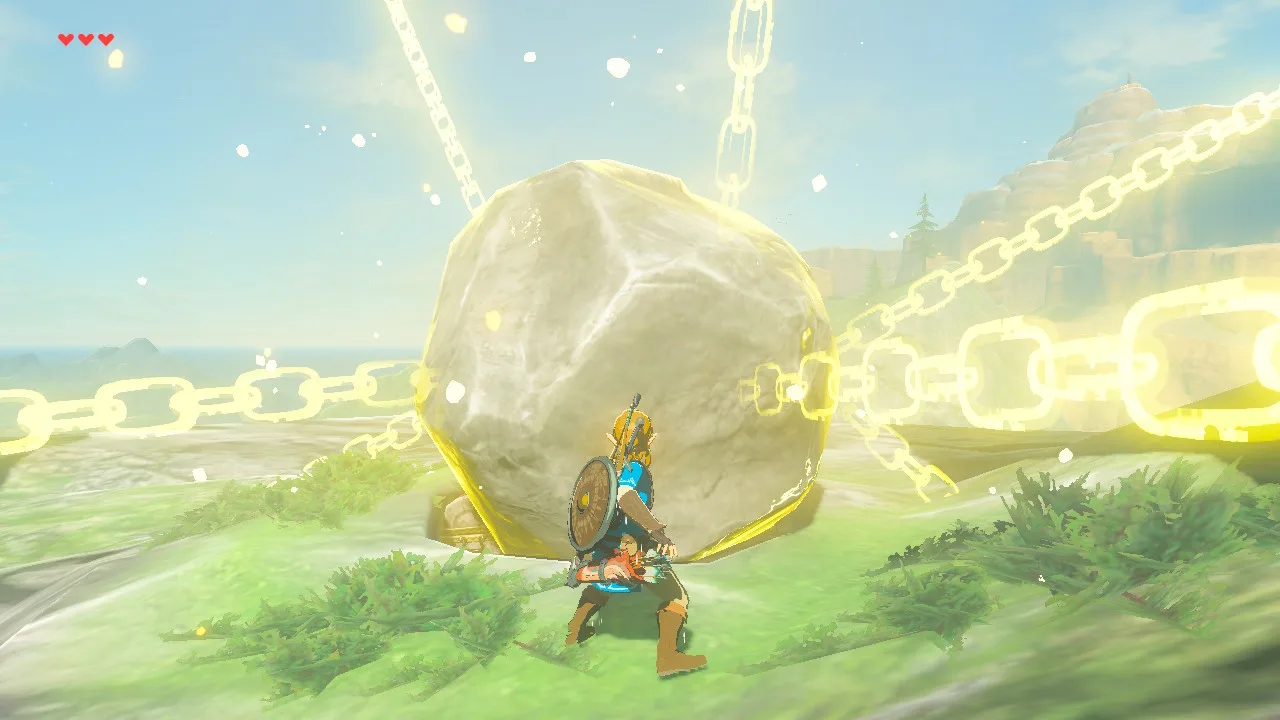
A Remote Bomb hits for 12. Hand Purah three Ancient Shafts and the same bomb hits for 24 and is ready again in three seconds instead of six, with the blast radius exactly where it was. None of Purah's other upgrades changes a number that much, and the rune menu shows you neither figure.
Breath of the Wild front-loads its toolkit. The four ability runes come out of the four Great Plateau shrines before you have even left the tutorial area, and Purah's lab in Hateno adds three upgrades later. The beginner guide covers getting them. This is the layer underneath: what each rune does, in numbers wherever the wikis publish them, where each one stops working, and which upgrade to buy first. The figures come from Zelda Wiki's rune pages, with Fandom's Zelda wiki used where it adds a number Zelda Wiki leaves out.
Every rune on the Slate
| Rune | Where you get it | What it does | Upgrade |
|---|---|---|---|
| Magnesis | Oman Au Shrine, Great Plateau | Lifts and moves metal objects | None |
| Remote Bomb | Ja Baij Shrine, Great Plateau | Round and cube bombs you detonate with L | Remote Bomb + (3 Ancient Shafts) |
| Stasis | Owa Daim Shrine, Great Plateau | Freezes an object in time and stores the force of hits | Stasis + (3 Ancient Cores) |
| Cryonis | Keh Namut Shrine, Great Plateau | Raises ice pillars from water | None |
| Camera | Hateno Ancient Tech Lab, once its furnace is relit | Takes pictures and registers Compendium entries | None |
| Sheikah Sensor | Any Sheikah Tower after the Plateau, or the Hateno lab | Beeps louder as you near a shrine | Sheikah Sensor + (3 Ancient Screws) |
| amiibo | Switched on in the Options menu | Scans a figure for items; some figures summon Epona or Wolf Link | None |
| Master Cycle Zero | Monk Maz Koshia, end of The Champions' Ballad | Summons the motorcycle | None |
The last two are edge cases. amiibo has its own amiibo guide, and Zelda Wiki notes it is unclear whether the Master Cycle Zero counts as a rune, even though the Adventure Log says you will find it "with your Runes". The Camera, Compendium, Album and Sensor are what the game calls basic runes: per Purah, the Camera, Compendium and album were all the Slate had a hundred years ago.
One piece of Plateau trivia from Zelda Wiki's Rune page: if you reach the end of one of the four rune shrines without pulling the rune from its Guidance Stone, the monk sends you back to get it before he will finish the shrine.
The numbers the rune menu never shows
| Rune | Effect | Cooldown | Limit |
|---|---|---|---|
| Remote Bomb | 12 damage | 6 seconds | Round and cube recharge separately |
| Remote Bomb + | 24 damage | 3 seconds | Same blast radius as before |
| Stasis | Freezes an object for up to 10 seconds | 10 seconds, shorter if you release early | Objects only |
| Stasis + | Also freezes enemies: about 5 seconds on weak ones, about 2 on strong ones | 10 seconds | A frozen enemy cannot be frozen, burned or shocked |
| Cryonis | Up to 3 ice pillars at once | A gauge refills after each pillar; no published time | A fourth pillar breaks the first |
| Magnesis | Grabs metal objects | No published figure | Metal only |
The Stasis + durations are Fandom's figure. Zelda Wiki only says the freeze "will end much faster" on an enemy. Neither wiki gives a time for the Cryonis gauge or any number at all for Magnesis, so treat a quoted figure for either one with suspicion.
Remote Bomb: two bombs, two timers
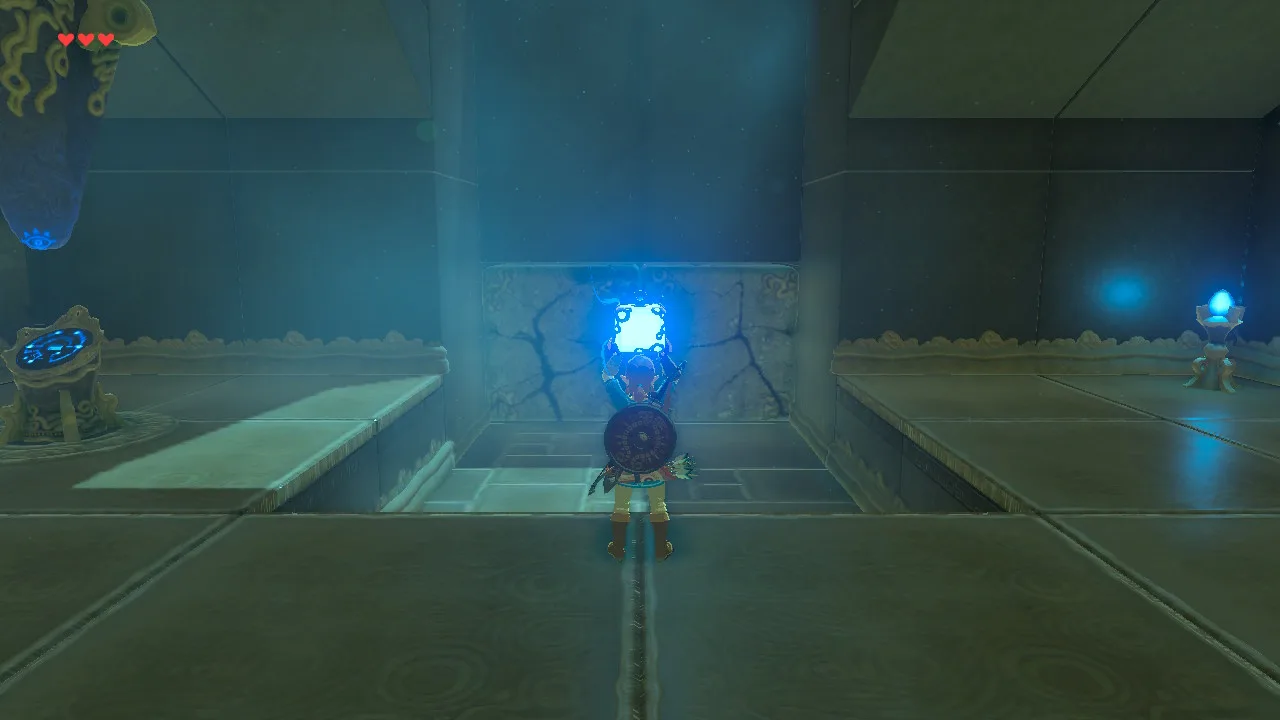
The rune gives you two bombs, not one. The round bomb rolls down slopes and gets pushed by wind; the cube is less prone to moving. Zelda Wiki says the two can be used at the same time and each has its own cooldown timer, so both can be out at once. That is 24 damage for a pair at base and 48 with Remote Bomb +, and with the upgrade both are back in three seconds.
The rest of the rules, all from Zelda Wiki's Remote Bomb page:
- L detonates it, and so does a projectile. An arrow sets one off, and so does an enemy's arrow.
- It works from the air. You can drop bombs below you while paragliding.
- Both shapes float in water, and an Octo Balloon attached to one makes it float in the air.
- Enemies can kick it, or pick it up and throw it back.
- The blast hurts you, unless something solid such as a wall sits between you and the bomb. A bomb loaded into the chamber of a Mine Cart or a cannon will not hurt you.
The free tool, not the damage tool
Put the bomb next to a Bomb Arrow and the job splits cleanly. Zelda Wiki's Bomb Arrow page says the arrow adds 50 to the bow's attack, and an enemy caught only by the explosion still takes 50 whatever bow fired it. That is more than twice an upgraded Remote Bomb. But a Bomb Arrow uses up an arrow you had to find or buy, fizzles in rain, and explodes on the draw in Death Mountain's scorching climate. The rune costs nothing but six seconds, or three.
So the bomb is for jobs where 12 or 24 is enough, or where the blast matters more than the damage:
- Blowing a Stone Talus's arms off, which buys time while they regrow (the field bosses guide has the full fight).
- Making a Molduga breach out of the sand, from the same guide.
- Fireblight Ganon's second phase. Zelda Wiki says its flaming shield blocks every attack except a Remote Bomb, sent in while it is pulling air toward itself, and the hit stuns it. The Divine Beasts guide has the rest of the fight.
- The Sentries on Death Mountain, which have 1,000 HP but die to a single Remote Bomb, per Zelda Wiki's Sentry page and our Guardian guide.
Stasis stores every hit
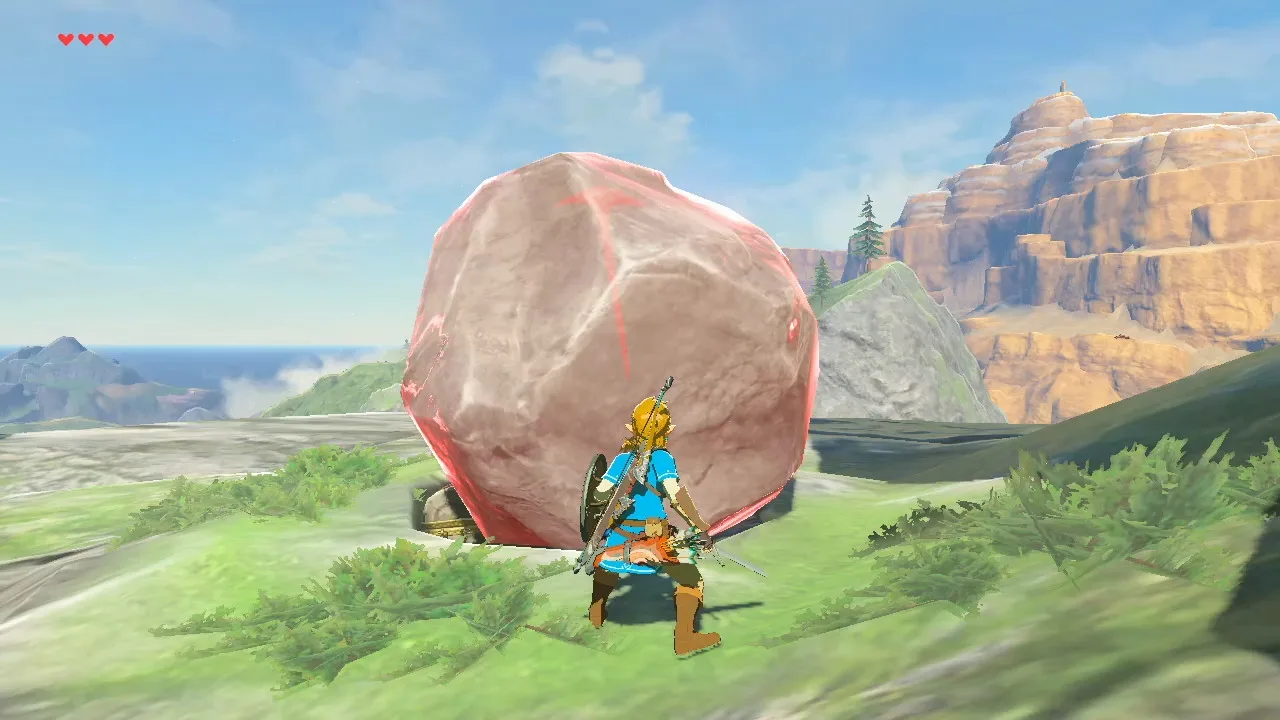
Stasis freezes an object for up to 10 seconds under a glowing yellow filter, then lets it go. While it is frozen, every hit you land with a weapon is stored as kinetic energy, and a yellow arrow shows which way the object will fly. When time restarts, the stored force goes off at once, which is how a boulder ends up airborne. The cooldown is also 10 seconds, and Zelda Wiki says releasing the object early shortens it.
That stored-force rule is what Boom Bam Golf is built on: Modar's ball barely moves unless you hit it under Stasis; the mini-games guide has the stroke tiers.
What the upgrade does to monsters
Plain Stasis only works on objects. Purah's pitch for Stasis + is that it will "target monsters too", and that is the upgrade's whole job.
- The freeze is short. Fandom puts it at about 5 seconds on weaker enemies such as red and blue Bokoblins, and about 2 seconds on stronger ones such as black and silver Bokoblins. The cooldown stays at 10 seconds.
- A frozen enemy cannot be frozen, burned or shocked. An Ice, Fire or Shock Arrow fired into an enemy under Stasis + will not freeze, burn or shock it.
- It stuns Stalkers and Turrets. Zelda Wiki's Guardian Stalker and Guardian Turret pages both say Stasis + on one that is charging its laser stuns it afterwards, even if you never hit it during the freeze.
- Master Kohga ignores it. Zelda Wiki says Master Kohga and his boulders cannot be stopped with Stasis at any point, while even Monk Maz Koshia can be. The Yiga Clan Hideout guide covers the fight.
Magnesis moves metal, and only metal
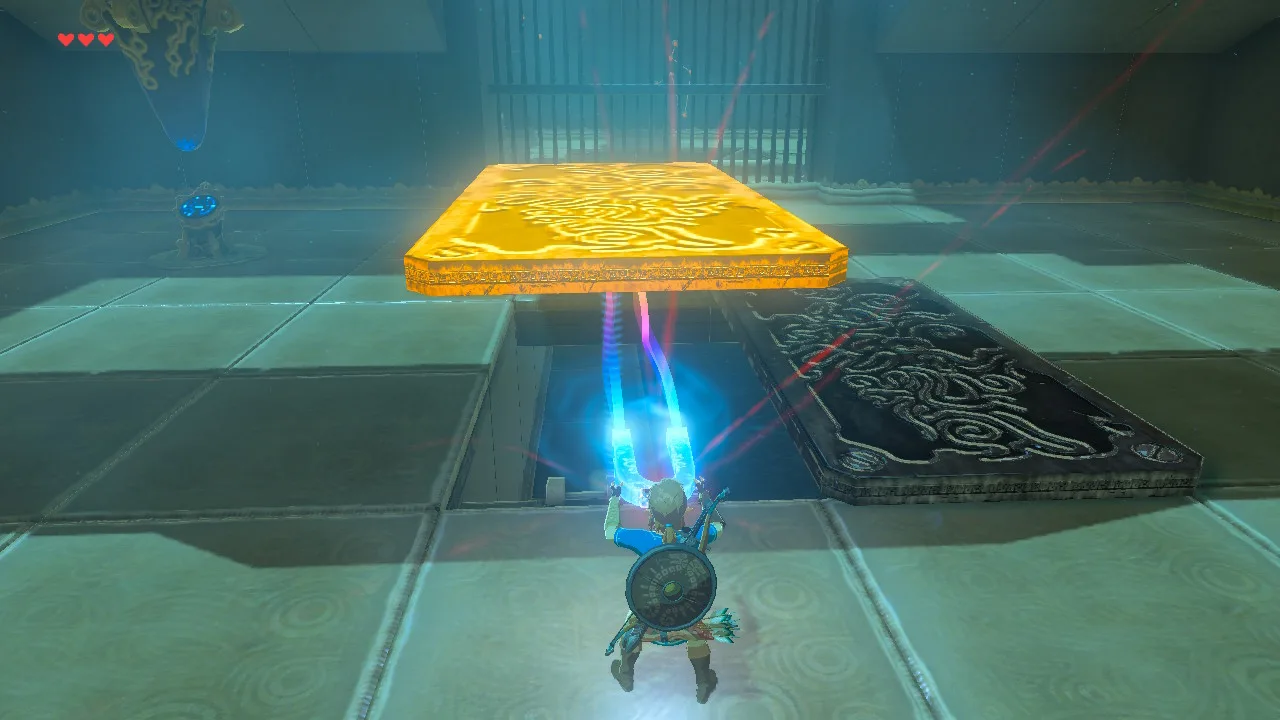
Switch Magnesis on and red grid lines cover the area around you. Anything you can lift takes a red filter and turns yellow under the cursor. Once it is held, you can raise it, lower it, push it, pull it or drop it, including dropping a heavy Iron Box on an enemy's head.
The rule that matters is the material. Magnesis grabs metal and nothing else:
- Metal chests count. Zelda Wiki says metal Treasure Chests can be lifted, which is how you get at the two sunken chests at the bottom of the Flight Range.
- Metal weapons count. Zelda Wiki's Weapon page says they sink in water, and Magnesis fishes them back out. The best bows and best shields guides sort the bows and shields by material.
- The Ancient and Guardian shields do not. Zelda Wiki's Ancient Shield and Guardian Shield pages both say Magnesis cannot pick them up.
- Wood and stone do not either. For a barrel or a stone slab, Zelda Wiki's Octo Balloon page says balloons lift non-metallic objects.
Zelda Wiki's Rusty Gear page lists Rusty Gear as metal that Magnesis can move; what a Rock Octorok does with a piece dropped in its path is in the weapon durability guide. Magnesis is also how you shove Master Kohga's third-phase boulder back into him.
Cryonis: three pillars, and where water counts
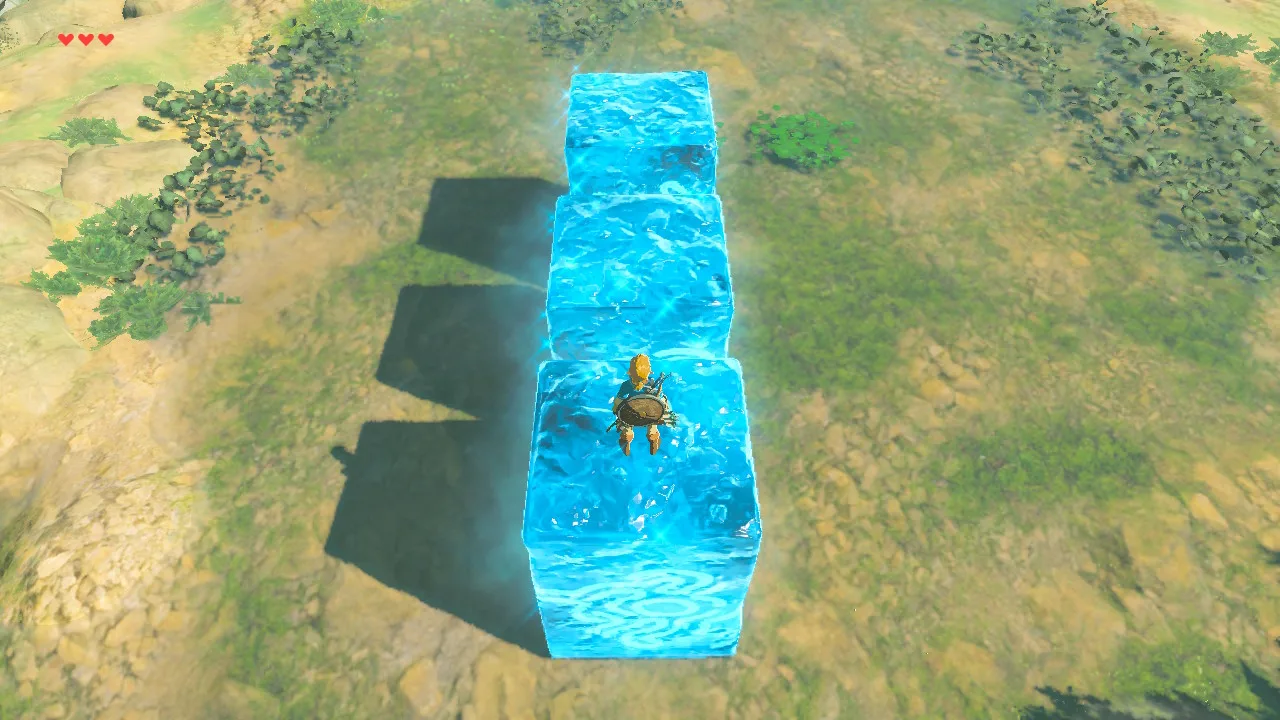
Cryonis raises a pillar of ice from any water surface, waterfalls included. You can keep three at once; raising a fourth breaks the first, and using Cryonis on a pillar breaks it on purpose.
Where it works, per Zelda Wiki's Cryonis page:
| Surface or attack | Result |
|---|---|
| Water, including waterfalls | Pillar forms |
| Bottomless Bog | Pillar forms |
| Hot spring water | No pillar |
| Water under the pillar evaporates | Pillar breaks |
| A hidden Korok moves under it | Pillar breaks |
| Remote Bomb | Pillar breaks |
| Bomb Arrow | No effect |
| Ancient Arrow | Pillar disintegrates, and the arrow is left behind |
| Other runes, weapons and arrows | No effect |
A pillar raised under something pushes it up, and Zelda Wiki's example is opening a gate by raising a pillar beneath it. Two places in this vertical depend on Cryonis:
- The Hylian Shield's room. The Lockup's portcullis under Hyrule Castle sits over a shallow pool, and a pillar raises it; the Calamity Ganon guide has the route.
- Wasteland Tower. It stands in a Bottomless Bog, and Cryonis or a paraglider is the way across, per the tower guide.
Vah Ruta and Waterblight Ganon can summon Cryonis pillars and spiked balls of ice, and Zelda Wiki says your rune breaks those like any other Cryonis formation.
Purah's three upgrades, and which to buy first
Purah offers the upgrades in the side quest Slated for Upgrades, during the Locked Mementos main quest at the Hateno Ancient Tech Lab. She suggests you see Impa first, but Zelda Wiki notes she will do the upgrade anyway if you already have the parts. Each one is done at the lab's Guidance Stone. Her offer also mentions Robbie in Akkala, and his lab is where the same Ancient materials buy gear from his Ancient Oven, Cherry, instead; that price list is in the Guardian guide.
| Upgrade | Cost | Sale value of the parts | What changes |
|---|---|---|---|
| Sheikah Sensor + | 3 Ancient Screws | 36 rupees | Tracks anything registered in your Hyrule Compendium; opens Symin's Sunshroom Sensing quest |
| Remote Bomb + | 3 Ancient Shafts | 120 rupees | Damage 12 to 24, cooldown 6 to 3 seconds |
| Stasis + | 3 Ancient Cores | 240 rupees | Freezes enemies as well as objects |
The sale values are the 12, 40 and 80 rupees a piece in Zelda Wiki's materials table. Once all three are done, the quest log says Purah has pushed your runes as far as they can go. Magnesis, Cryonis and the Camera never get an upgrade.
The order I would buy them in:
- Sheikah Sensor + first. It is the cheapest by a distance, and Zelda Wiki says Ancient Screws drop from any Guardian or from searching a destroyed one, including the wrecks lying around Hyrule. It also opens Symin's Sunshroom Sensing quest, and Zelda Wiki's Hyrule Compendium page says finishing that quest is what lets Symin sell you missing Compendium pictures; the Hyrule Compendium guide covers both.
- Remote Bomb + second. Double damage and half the cooldown is the largest change any of the three makes to a number, and it pays off on every bomb for the rest of the game.
- Stasis + when you can spare three cores. Zelda Wiki calls Ancient Cores a rare Guardian drop, and Cherry also wants three of them, on top of rupees and other parts, for each piece of Ancient armor; an Ancient Short Sword takes two. The Guardian stun is the reason to want it, so buy it before you go hunting Stalkers rather than after.
The Camera, the Sensor, amiibo and the Master Cycle Zero
Camera. Zelda Wiki's controls: A takes the picture, the right stick or motion controls aim it, up and down on the D-pad zoom, the minus button opens the Album, and X switches to a self-portrait. In a self-portrait Link has eleven poses, set by the left stick, ZL and the kind of weapon he has equipped. Pictures of creatures, monsters, materials, chests, ore deposits and equipment can register in the Compendium; the Compendium guide covers the rest.
Sheikah Sensor. It beeps louder as you close on a shrine, and the shrine guide covers hunting with it. The Sensor + version adds tracking for anything registered in your Compendium.
amiibo. Turned on from the Options menu. The drop tables are in the amiibo guide.
Master Cycle Zero. Zelda Wiki's rules for it:
- It can be summoned almost anywhere, but not in most of the Gerudo Desert or the burning parts of Eldin.
- It disappears if it ends up in water, and the moment you talk to a stable owner, so it cannot be registered.
- You take no fall damage while riding it, though a long enough drop throws you off.
- It runs on fuel. Zelda Wiki's Fuel page says every material works when dropped into the tank, though some give more fuel than others.
- Konba disqualifies it from his Foot Race as a "horse".
The Champions' Ballad guide covers how you earn it.
When the game takes your weapons away
Two challenges strip your gear and leave the Slate:
- Stranded on Eventide. Zelda Wiki says Korgu Chideh takes everything except the Sheikah Slate and key items. The shrine guide has the quest.
- The Trial of the Sword. Zelda Wiki says you start it without any equipment or weapons, and can use any rune but no Champion abilities. The Master Sword guide covers its floors.
In both you walk in without a single weapon, so the runes do the early work. Finish Purah's upgrades before you start either one.
The sequel dropped this kit. Zelda Wiki's Rune page says the four ability runes do not appear in Tears of the Kingdom, replaced by the Ancient Powers on Link's Right Arm, while the Camera, Compendium, Album and Sensor return as Purah Pad features; the Purah Pad guide covers that version. More Hyrule breakdowns are on the Breath of the Wild coverage hub, and the rest of our coverage is on the Mythras blog.
Quick Action Checklist
- Hand Purah 3 Ancient Screws for the Sheikah Sensor + as soon as you have them, then do Symin's Sunshroom Sensing.
- Upgrade Remote Bomb next with 3 Ancient Shafts: 24 damage and a 3-second cooldown instead of 12 and 6.
- Use the round and cube bombs together. Each has its own cooldown.
- Keep Bomb Arrows for damage (50 plus the bow) and Remote Bombs for terrain, Taluses, Molduga and Sentries.
- Buy Stasis + with 3 Ancient Cores before hunting Guardian Stalkers: freeze one while it charges its laser and it is stunned afterwards.
- Do not fire elemental arrows into an enemy under Stasis +. It cannot be frozen, burned or shocked until the freeze ends.
- Do not try Stasis on Master Kohga or his boulders.
- Use Magnesis for metal chests and metal weapons, and Octo Balloons for anything wooden or stone.
- Cryonis holds three pillars, and a fourth deletes the first. Clear one with Cryonis or a Remote Bomb, not a Bomb Arrow.
- Upgrade all three before Eventide Island or the Trial of the Sword, which both start you with no weapons.
Frequently Asked Questions
How much damage does a Remote Bomb do in Breath of the Wild?
How do you upgrade runes in Breath of the Wild?
Can you upgrade Magnesis or Cryonis in Breath of the Wild?
Does Stasis work on enemies in Breath of the Wild?
How many Cryonis pillars can you make in Breath of the Wild?
Which rune upgrade should you get first in Breath of the Wild?
Are the Breath of the Wild runes in Tears of the Kingdom?
Keep Reading
- Mythras blog
- Breath of the Wild coverage hub
- beginner guide
- amiibo guide
- field bosses guide
- Divine Beasts guide
- Guardian guide
- mini-games guide
- Yiga Clan Hideout guide
- best bows guide
- best shields guide
- weapon durability guide
- Calamity Ganon guide
- tower guide
- Hyrule Compendium guide
- shrine guide
- Champions' Ballad guide
- Master Sword guide
- Purah Pad guide
- Zelda Wiki — Rune: the Breath of the Wild rune list and sources, basic runes, the three upgrades, the Master Cycle Zero note, and the Tears of the Kingdom replacement by Ancient Powers
- Zelda Wiki — Remote Bomb: 12 damage and a six-second cooldown, 24 and three seconds as Remote Bomb +, unchanged blast radius, separate round and cube cooldowns
- Zelda Wiki — Stasis: 10-second freeze and 10-second cooldown, stored kinetic energy, Stasis + for 3 Ancient Cores, immunity to freezing, burning and shock
- Zelda Wiki (Fandom) — Stasis: Stasis + holds weaker enemies about 5 seconds and stronger ones about 2 seconds
- Zelda Wiki — Magnesis: metallic objects only, red grid and yellow highlight, metal Treasure Chests can be lifted
- Zelda Wiki — Cryonis: three pillars at once, waterfalls and Bottomless Bogs but not hot springs, what breaks a pillar
- Zelda Wiki — Slated for Upgrades: Purah upgrades the Sheikah Sensor for 3 Ancient Screws, Remote Bombs for 3 Ancient Shafts and Stasis for 3 Ancient Cores
- Zelda Wiki — Sheikah Sensor: unlocked by any Sheikah Tower after the Great Plateau or by the Hateno Ancient Tech Lab repair
- Zelda Wiki — Sheikah Sensor +: tracks Hyrule Compendium entries, opens Sunshroom Sensing
- Zelda Wiki — Hyrule Compendium: once Sunshroom Sensing is completed, Symin sells missing Compendium pictures
- Zelda Wiki — Weapon: stone and metal weapons sink in water, and metal ones can be manipulated with Magnesis
- Zelda Wiki — Camera: Hateno Ancient Tech Lab, controls, self-portrait with eleven poses, Compendium registration
- Zelda Wiki — Master Cycle Zero: summon limits, water and stable rules, fall damage, fuel and the Foot Race
- Zelda Wiki — Bomb Arrow: adds 50 to the bow, 50 from the blast alone, fizzles in rain, explodes on the draw in scorching climates
- Zelda Wiki — Materials in Breath of the Wild: Ancient Screw 12, Ancient Shaft 40 and Ancient Core 80 rupees
- Zelda Wiki — Ancient Screw: dropped by any Guardian or found by searching a destroyed one
- Zelda Wiki — Ancient Core: a rare Guardian drop, used for Stasis + and Ancient Soldier Gear
- Zelda Wiki — Guardian Stalker: Stasis + during the laser charge stuns it afterwards
- Zelda Wiki — Guardian Turret: Stasis + during the laser charge stuns it afterwards
- Zelda Wiki — Sentry: 1,000 HP, one of the few enemies a single Remote Bomb takes down
- Zelda Wiki — Master Kohga: he and his boulders cannot be stopped with Stasis; Magnesis returns the third-phase boulder
- Zelda Wiki — Ancient Shield: will not burn and cannot be picked up with Magnesis
- Zelda Wiki — Guardian Shield: not magnetic, cannot be manipulated with Magnesis
- Zelda Wiki — Ancient Oven: Ancient Short Sword takes 2 Ancient Cores, each Ancient armor piece takes 3
- Zelda Wiki — Fireblight Ganon: the second-phase flaming shield blocks every attack except a Remote Bomb
- Zelda Wiki — Stone Talus: a Remote Bomb blasts its arms apart, and lost parts regenerate shortly after
- Zelda Wiki — Molduga: sensitive to noise, stunned by Remote Bombs or Bomb Arrows once it jumps out of the sand
- Zelda Wiki — Boom Bam Golf: Stasis holds the ball in place while Link hits it
- Zelda Wiki — Fuel: every material can fuel the Master Cycle Zero, at different rates
- Zelda Wiki — Rusty Gear: made of metal, sinks in water and can be manipulated with Magnesis; a Rock Octorok swallows a piece placed in front of it while inhaling
- Zelda Wiki — amiibo (Ability): enabled from the Options screen; most figures summon items, Link figures summon Epona on first scan and the Wolf Link figure summons Wolf Link
- Zelda Wiki — Octo Balloon: lifts non-metallic objects such as barrels and stone slabs
- Zelda Wiki — Flight Range: two metal chests submerged at the bottom, pulled up with Magnesis
- Zelda Wiki — Lockup: the portcullis over a small pool is lifted with Cryonis
- Zelda Wiki — Wasteland Tower: reached by paragliding from above or by Cryonis
- Zelda Wiki — Stranded on Eventide: everything but the Sheikah Slate and key items is taken
- Zelda Wiki — Trial of the Sword: any rune can be used, Champion abilities cannot
Related Guides
Breath of the Wild Hyrule Compendium: All 385 Entries
The Hyrule Compendium has 385 entries in the base game, 394 with everything switched on, and one entry that Symin will never sell you no matter how many rupees you wave at him. Here is the whole register, the shop that fills the gaps, and the reward at the end.
Breath of the Wild Mini-Games: All 16, Costs and Prizes
Breath of the Wild has 16 mini-games, from Snowball Bowling to Gut Check Rock. Four of them stand between you and a shrine, and their prizes run from a refunded fee to a 300-rupee Gold Rupee. Here is every location, fee and prize tier, and which ones repay a second run.
Breath of the Wild Hateno House: Every Upgrade and Cost
Buying Link's house in Hateno Village is only the first half of Hylian Homeowner. Bolson then sells 14 additions at 100 rupees each, and nine of them do something. Here is the full 4,400-rupee bill, the conversation that unlocks the renovation menu, and what is worth hanging on the walls.
Breath of the Wild Best Shields: All 33, Stats and Locations
The Ancient Shield and the Royal Guard's Shield both block at 70 guard, but surf them down a rocky slope and the Royal Guard's loses durability fifteen times as fast. Here are all 33 shields with guard, durability, material and source, plus the surfing friction, surfing wear and Guardian-beam values from the game's data.
Breath of the Wild Beginner's Guide: Your First 10 Hours
Breath of the Wild does not tell you that armor matters more than hearts, that your weapons are ammunition, or that the Blood Moon is a restock button. Here is the stuff the game leaves you to discover the hard way.
Breath of the Wild Kilton: Shop Locations, Mon and Masks
Kilton pays 3 Mon for a Bokoblin Horn, exactly what a shop pays in rupees, and 100 Mon for a Lynel Guts a shop buys for 200. Here is where the Fang and Bone opens, the full Mon exchange table, all twelve wares and their Divine Beast unlocks, and what the masks, the Dark set and Monster Extract actually do.