Breath of the Wild Beginner's Guide: Your First 10 Hours
Breath of the Wild does not tell you that armor matters more than hearts, that your weapons are ammunition, or that the Blood Moon is a restock button. Here is the stuff the game leaves you to discover the hard way.
Here is the single most useful number in Breath of the Wild, and the game never shows it to you: three points of defense. Damage in this game is calculated as the enemy attack value minus your total armor defense, with a hard floor of a quarter heart. A Bokoblin swing that costs you a full heart in your starting rags costs you a quarter heart once you have three defense on your body. That is a 75% damage cut from one cheap shirt, and it happens long before you find your fourth Heart Container.
New players spend their first ten hours chasing hearts. Veterans spend them chasing defense, stamina, and a full cooking inventory. This guide is about closing that gap fast — what the Great Plateau actually teaches, what it hides, and the handful of systems that decide whether your first trip into Hyrule proper is a power fantasy or a slideshow of death screens.
Wake up, grab the slate, ignore the plot
You start in the Shrine of Resurrection with nothing, and the first meaningful item is the Sheikah Slate — the tablet that doubles as your map, your scope, your rune platform, and eventually your camera. Every ancient shrine door in Hyrule opens by pressing the Slate to a terminal, so it is not optional gear, it is the key to the entire progression system.
Do not sprint for the story. The disembodied voice will point you at the Great Plateau Tower in the northeast, and that is genuinely where you should go, but the run there is your first and best chance to learn three habits:
- Pick up literally everything. Apples, mushrooms, peppers, acorns. Ingredients are your healing economy and they weigh nothing.
- Watch your stamina wheel while climbing. Climbing drains it continuously, and running out mid-cliff means falling. Jump-climbing is faster per stamina point on short climbs and worse on long ones.
- Roast food at every campfire. Dropping a raw ingredient into flame turns it into a roasted version that heals 50% more. It costs you nothing but a second.
That last one matters more than it sounds. Before you have a cooking pot, roasting is your only way to stretch ingredients, and the Plateau is where you will need healing most because you have exactly three hearts.
The Great Plateau is a tutorial with no rails
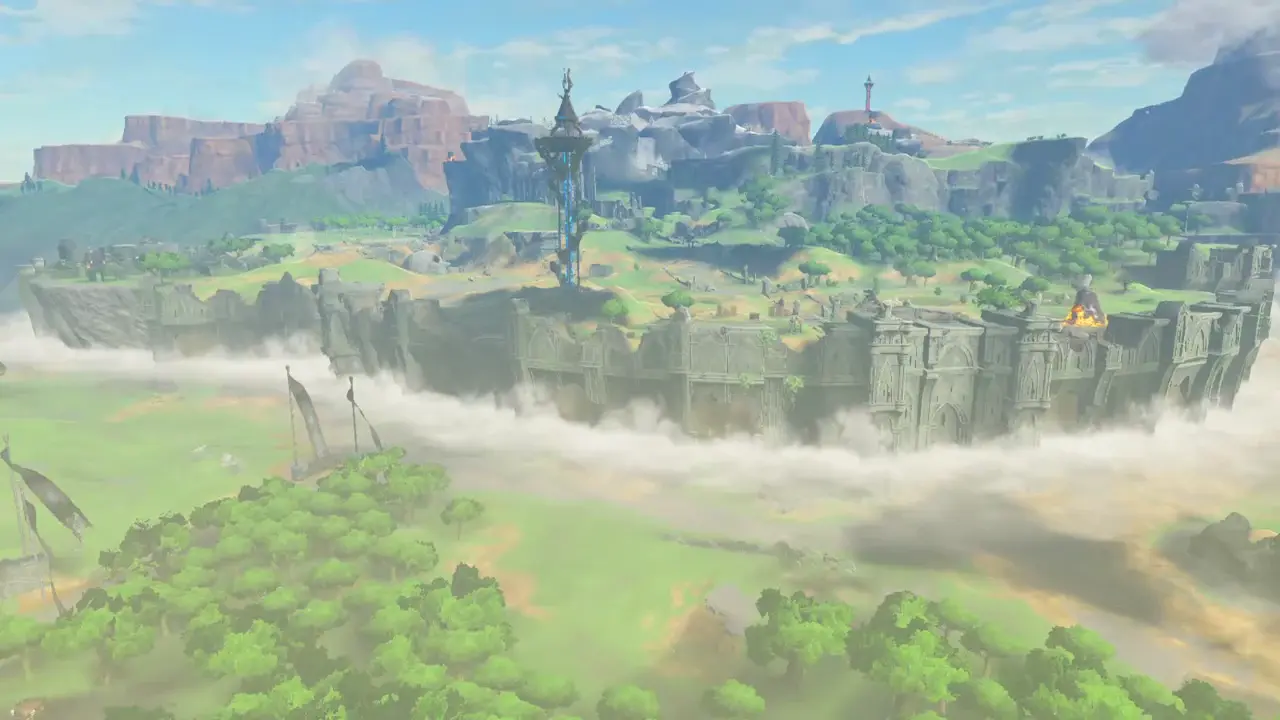
The Plateau is walled off by cliffs steep enough that nobody leaves without a paraglider. That is the whole design: a self-contained sandbox with one exit, one NPC — the Old Man — and four shrines that hand you the four tools the rest of the game is built around.
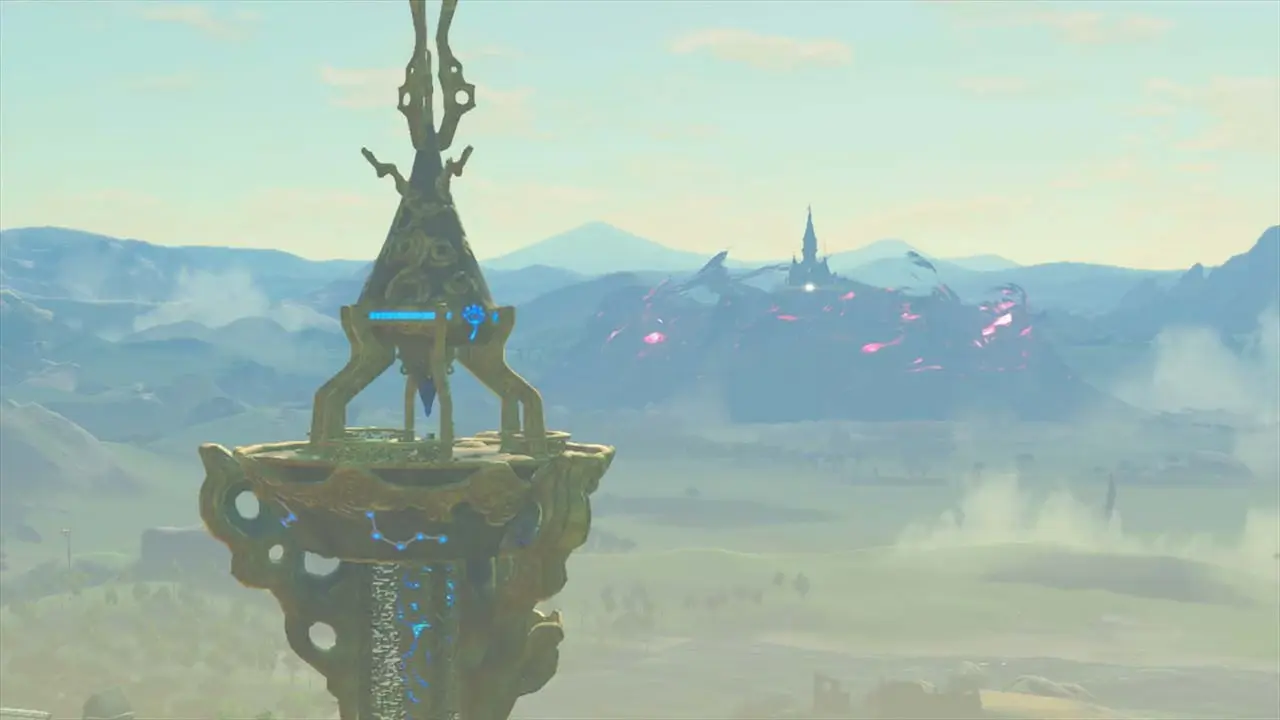
Activating the Great Plateau Tower does two things at once. It downloads the local map to your Slate, and it makes every ancient shrine in Hyrule start glowing orange — that orange light is your permanent, world-wide waypoint system. There are fifteen Sheikah Towers total across Hyrule, and each one unlocks the map for its region.
The four shrines and the four runes
The Old Man will not hand over the paraglider until you have cleared all four Plateau shrines. Each one is built around exactly one rune, and each rune is a tool you will use for the next hundred hours:
| Shrine | Trial name | Rune you get |
|---|---|---|
| Oman Au | Magnesis Trial | Magnesis — grab and move anything metal |
| Ja Baij | Bomb Trial | Remote Bomb — round and cube bombs, infinite, on a cooldown |
| Owa Daim | Stasis Trial | Stasis — freeze an object in time and load it with kinetic force |
| Keh Namut | Cryonis Trial | Cryonis — raise ice pillars out of any water surface |
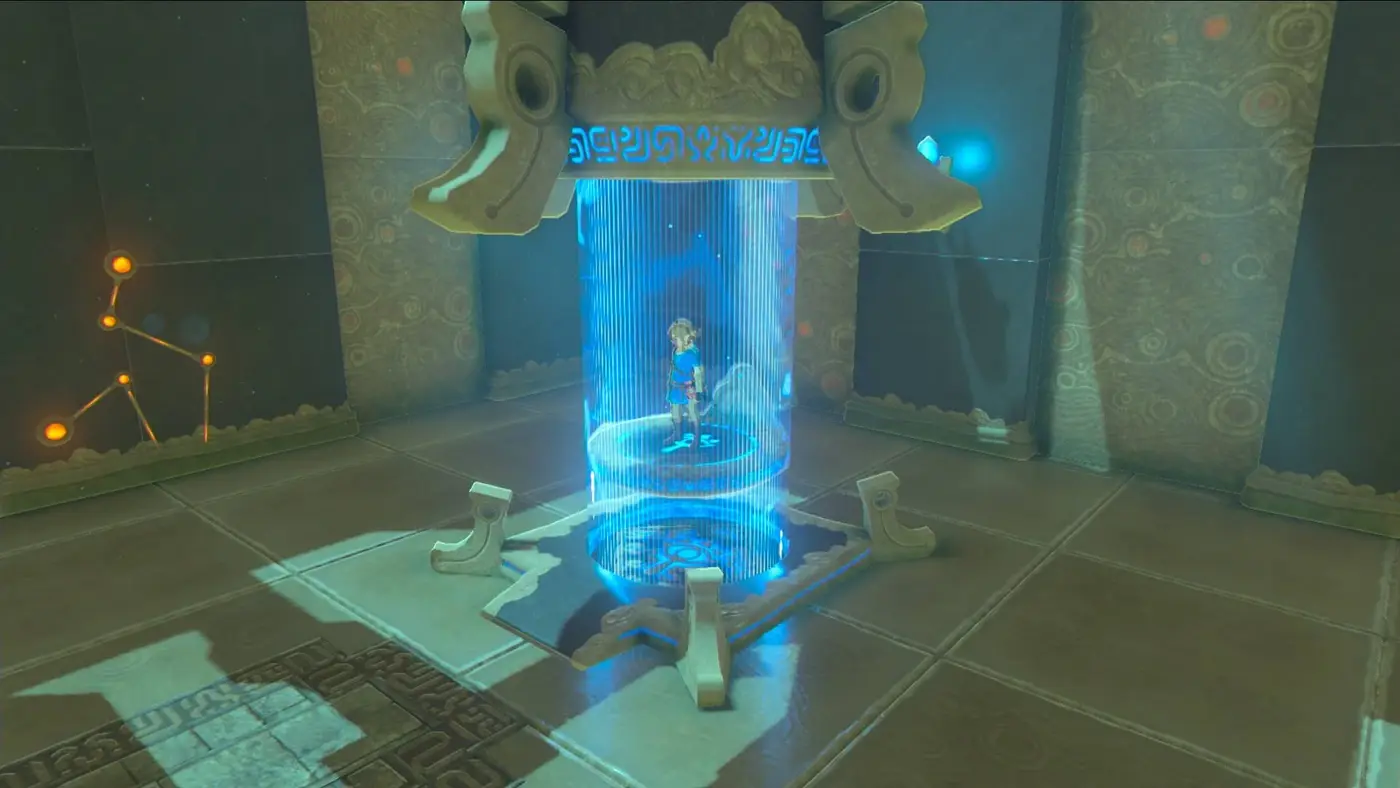
Ja Baij sits inside the ruins of the Eastern Abbey, which is patrolled by decayed Guardians. They cannot walk, but they can absolutely delete you with a laser at three hearts. You can either climb the wall to get in, or — and this is the funnier option — bait a Guardian into blowing open the bombable wall for you.
Keh Namut is up on Mount Hylia in freezing climate, and this is where the game first checks whether you have been paying attention to temperature. You need cold resistance to get there without draining hearts every few seconds.
Cold, food, and the Warm Doublet
Two ways to survive Mount Hylia. Cook a dish with Spicy Peppers — a cooked dish containing them grants cold resistance for a timed duration — or get the Warm Doublet, which gives one permanent level of cold resistance while worn.
The Old Man will trade you the Warm Doublet for a plate of Spicy Meat and Seafood Fry (raw meat plus a Hyrule bass plus a spicy pepper works), or you can just meet him at the summit of Mount Hylia. If you somehow skip both, he leaves it in a chest in his cabin once you have the paraglider. There is no way to permanently miss it, so do not stress.
The Spicy Pepper route is the better lesson, because it teaches you the core loop of the entire cooking system: environmental hazards are solved by food. That is covered in depth in our Breath of the Wild cooking guide, and it stays relevant right up to the final boss.
Getting the paraglider and leaving
Four shrines done, four Spirit Orbs in the bag, and the Old Man reveals himself and hands over the paraglider. This is the actual start of the game.
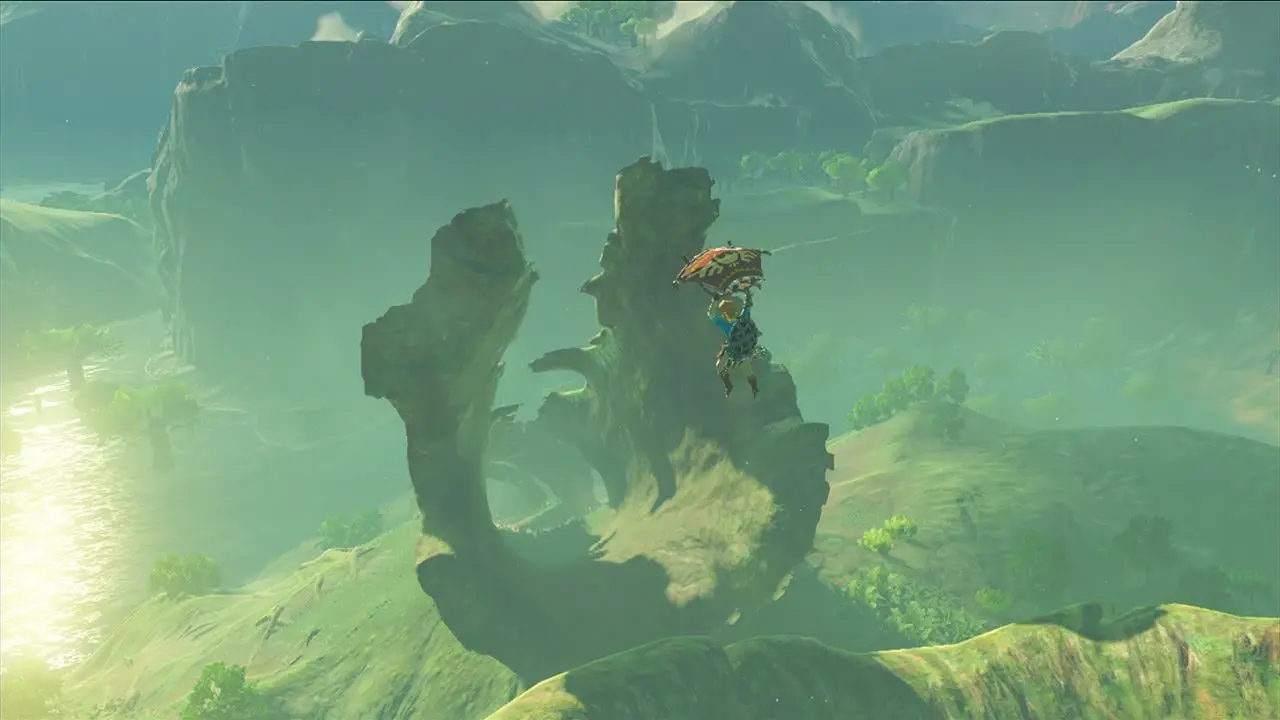
The paraglider consumes stamina while open, and when stamina hits zero you put it away and fall. Two things worth internalizing immediately:
- Burning grass creates an updraft. Shoot a fire arrow into grass, or drop a torch, open the glider over the column, and you get free vertical height. This is how you cheat climbs.
- Aiming a bow while airborne slows time. It drains stamina fast, but it is the single most reliable damage window in the game against anything bigger than you.
That second one is a combat cornerstone, not a travel trick. It is the setup for half the techniques in our Breath of the Wild combat tips.
Hearts or stamina: the first real decision
Every shrine gives one Spirit Orb. Four Spirit Orbs traded at a Goddess Statue buys either one Heart Container or one Stamina Vessel. There are 120 shrines in the base game, so 120 orbs, so exactly 30 upgrades to distribute across your entire playthrough. The Champions' Ballad DLC adds four more orbs on the Plateau for a 31st.
Here is the honest answer for a first playthrough: go stamina first, at least two vessels. Reasons:
- Hearts protect you from damage you can avoid. Stamina lets you reach places, and reaching places is how you find the shrines and armor that make damage irrelevant.
- Armor scales your effective health far harder than raw hearts do. See the defense math above.
- A short stamina wheel is the single biggest thing stopping you from climbing the interesting cliff you can see right now.
After two or three stamina upgrades, switch to hearts until you are comfortable, then go back to stamina. And know that you need 13 hearts on the counter to pull the Master Sword — that is a hard gate, not a suggestion, so bank toward it if that is your goal.
Towers before shrines, always
The efficient loop in Hyrule is: climb the region tower, download the map, then stand at the top and use the Slate scope to physically look for orange shrine lights and drop pins on them. Then glide down and clear them.
This flips the game from "wander until something happens" to "I can see eleven objectives from here." It also means you never walk anywhere twice, because every shrine you complete becomes a fast travel point the moment you open its door — you do not even have to finish the trial inside.
That last detail is worth repeating. Opening a shrine door activates its travel gate. If you find a shrine you cannot solve yet, open it anyway. Free waypoint.
Weapons break. Stop hoarding them
Every weapon in Breath of the Wild has hidden durability and every weapon eventually shatters. New players respond by saving the good stuff for a boss that never comes, then dying with a full inventory of pristine claymores.
Treat weapons as ammunition:
- Use the weakest thing that will do the job. Tree branches for pots and crates, real weapons for real fights.
- Throwing a weapon that is about to break deals bonus damage and salvages the last swing.
- Elemental weapons have utility beyond damage — a flame blade lights campfires and burns grass for updrafts, an ice weapon freezes enemies in place.
- Inventory slots are the real bottleneck, not weapon quality. Which brings us to Koroks.
There are 900 Korok Seeds hidden in Hyrule, and you trade them to Hestu to expand your weapon, bow, and shield stashes. You only need 441 of them to max out every slot, which means the last 459 exist purely to reward completionists with a joke. Grab the ones you stumble across; do not go hunting.
Armor beats hearts for survivability
Armor pieces each carry a numeric defense value, and your total defense is subtracted from incoming attack power. Most clothing can be upgraded up to four times by Great Fairies, with the number of available upgrade tiers gated by how many Great Fairies you have found and paid to revive.
Practical early priorities:
- Buy anything cheap and wear all three slots. Three pieces of even the weakest armor beats one strong piece and two empty slots.
- Find Great Fairies early. An upgraded cheap set outperforms an un-upgraded expensive one, and upgrades cost materials you are already collecting.
- Climbing gear is a mobility upgrade, not a defense one. The set effect that speeds up climbing changes how you traverse Hyrule more than any heart does.
- Set bonuses need all three pieces at the same upgrade level. Do not upgrade one piece three times and leave the others at zero.
The Blood Moon is your restock button
Blood Moons trigger at midnight in-game roughly every two to three hours of continuous play, and they do not start happening at all until you have the paraglider and leave the Plateau. When one fires, every defeated enemy in Hyrule respawns where it stood, ore deposits refill, and materials and dropped gear regenerate.
Framed as horror, it is actually the game's resource faucet. It is why you can never permanently strip Hyrule of weapons or ingredients. Practically:
- If you are farming a specific enemy for parts — Lynel horns, Hinox guts — a Blood Moon resets your farm.
- If a Blood Moon is coming, spend your durability freely. Everything you break is coming back.
- Blood Moons do not revive story bosses, Divine Beast bosses, or Master Kohga, and they do not undo quest progress.
Where to go after the Plateau
Glide down toward the northeast and follow the road. The intended path takes you past the Dueling Peaks and into Kakariko Village to meet Impa, which unlocks the Divine Beast questline.
The four Divine Beasts — Vah Ruta among the Zora, Vah Rudania in Goron country, Vah Medoh in Rito territory, and Vah Naboris out in the Gerudo desert — can be tackled in any order. Vah Ruta is the softest landing because the region is compact and the Zora hand you shock-resistant gear. Vah Naboris is the hardest for an under-equipped player, since the desert punishes you with scorching days and freezing nights.
You can also walk straight into Hyrule Castle at hour three and fight Calamity Ganon with three hearts. The game will let you. It will not be a good time, but the fact that it is legal is the whole thesis of Breath of the Wild.
More Hyrule breakdowns live on the Breath of the Wild coverage hub, and everything else we cover sits on the Mythras blog.
Mistakes that cost new players hours
- Selling ore. Amber, opal, and topaz feel like money. They are armor upgrade materials, and buying them back later is miserable.
- Ignoring the Hyrule Compendium. Photographing enemies and materials unlocks sensor tracking for specific items, which turns "where do I find flint" into a solved problem.
- Fighting everything. Enemy camps are optional. If a camp has nothing you want, walk around it.
- Climbing in the rain. Wet surfaces make you slide. Sit at a campfire until morning instead.
- Skipping shrine quests. Some shrines only appear after you solve an overworld puzzle. Those are the ones people finish the game without ever seeing.
Quick Action Checklist
- Get the Sheikah Slate, then the Great Plateau Tower, then all four Plateau shrines.
- Take Magnesis, Remote Bomb, Stasis, and Cryonis — you need every one of them.
- Solve Mount Hylia's cold with a Spicy Pepper dish or the Warm Doublet from the Old Man.
- Trade four Spirit Orbs at a Goddess Statue; put your first two or three into stamina.
- Wear something in all three armor slots immediately — three defense cuts most early hits to a quarter heart.
- Climb the region tower first, then scope-pin every orange shrine light you can see.
- Open shrine doors even if you cannot solve them. The travel gate activates on entry.
- Treat weapons as consumables and throw the ones about to break.
- Keep ore and monster parts; sell gemstones only when you are certain you do not need them.
- Let the Blood Moon do your farming. Spend durability before it lands, not after.
Frequently Asked Questions
Should I put my first upgrades into hearts or stamina in Breath of the Wild?
How do I get the paraglider in Breath of the Wild?
Why do my weapons keep breaking in Breath of the Wild?
What does the Blood Moon actually do?
How many Korok Seeds do I actually need?
Keep Reading
Related Guides
Breath of the Wild Champions' Ballad: Every Trial in Order
The Champions' Ballad is the only quest in Breath of the Wild that takes your hearts away. Sixteen new shrines, a real dungeon, a 4,000 HP monk, and a motorcycle at the end of it — here is the whole run, in order, with the numbers.
Breath of the Wild Korok Seed Guide: You Only Need 441 of the 900
Breath of the Wild has 900 Korok seeds and you need 441 of them. The other 459 buy a golden novelty item. Here is the exact cost curve, the smart buy order, and where Hestu keeps wandering off to.
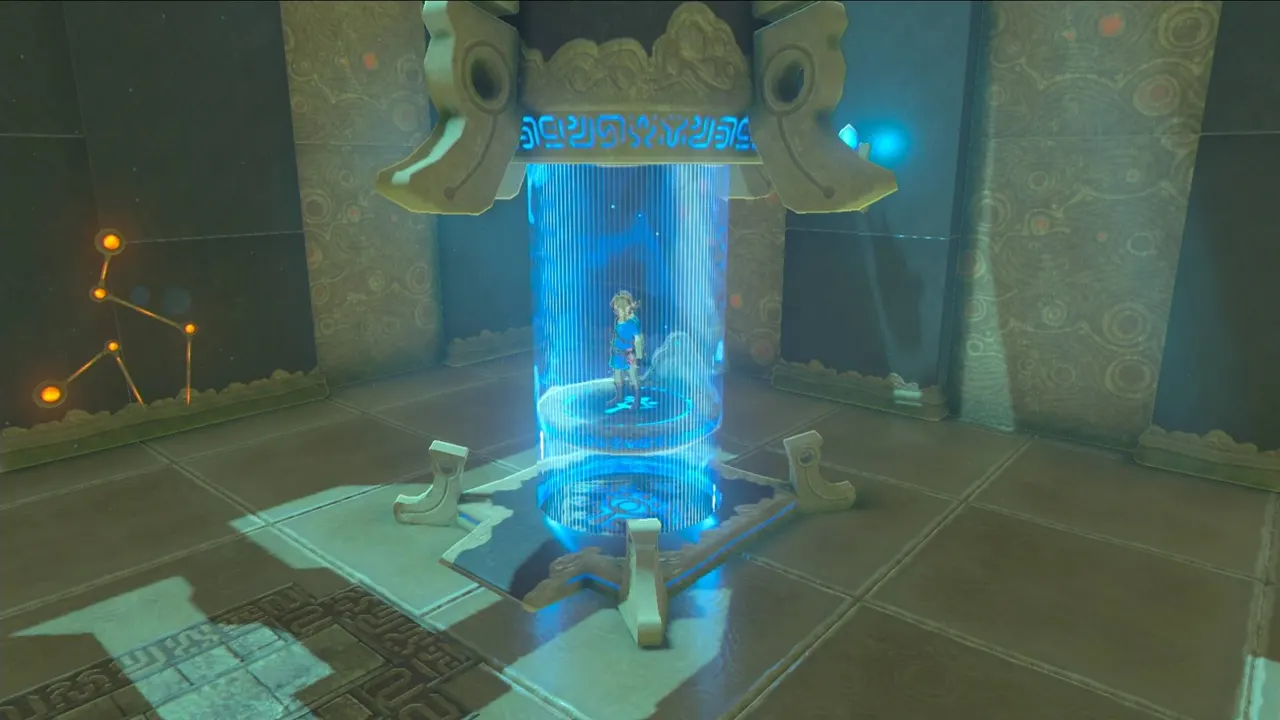
Breath of the Wild Shrine Guide: All 120, Sorted by What They Actually Give You
There are 120 shrines in Breath of the Wild and they are not interchangeable. Some are ten-minute puzzles, some are the best weapon farm in the game, and 42 of them are hidden behind overworld quests you can miss entirely.
Breath of the Wild Best Armor Guide: Sets That Actually Matter
Defense in Breath of the Wild is not a bar that fills up — it is a subtraction problem, and understanding the math tells you exactly which armor sets are worth farming and which are cosmetic traps.
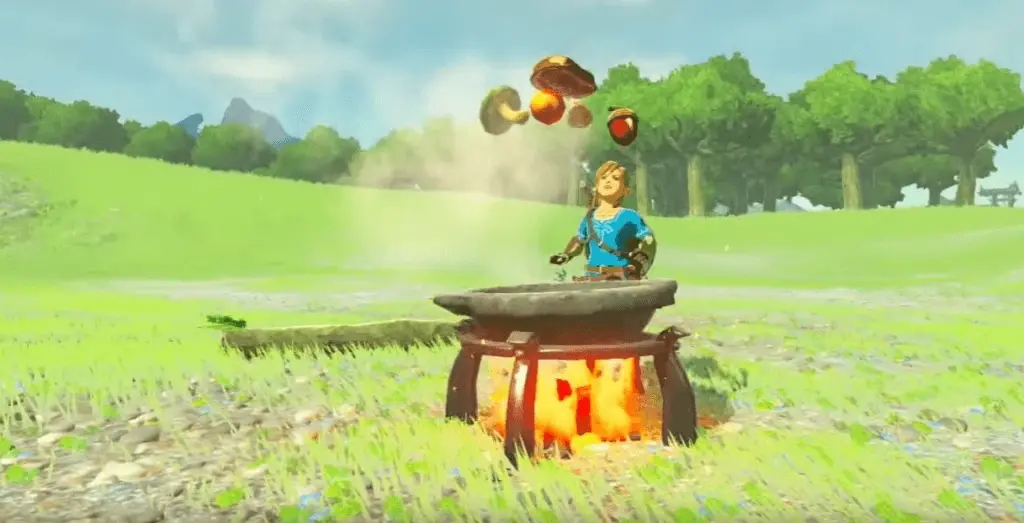
Breath of the Wild Cooking Guide: The Recipes That Matter
Cooking in Breath of the Wild is not flavor text. It is your entire healing economy, your climate gear, and your damage buff — and almost every failed dish comes down to one rule people never get told.
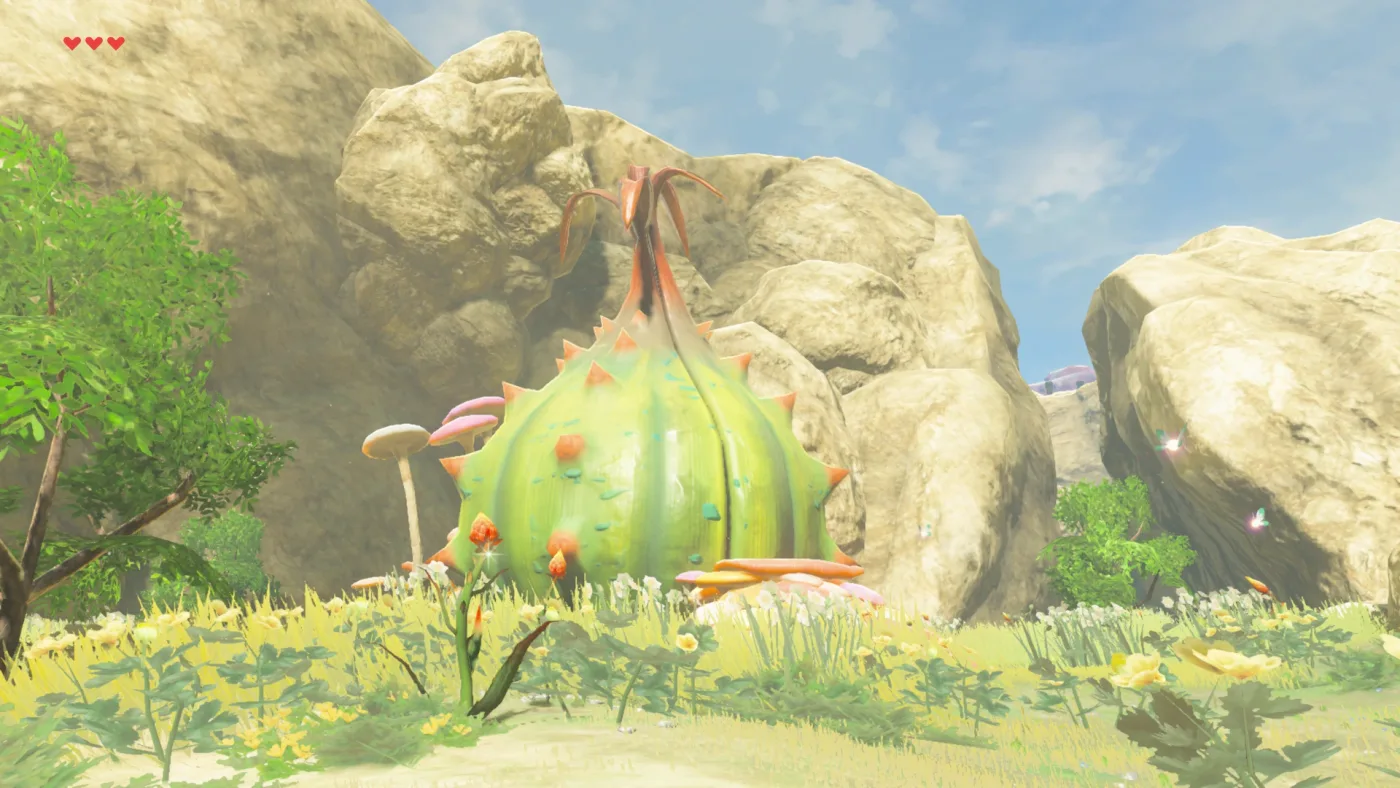
Breath of the Wild Great Fairy Fountain Locations and Costs
In Breath of the Wild the 10,000-rupee Great Fairy is not Tera. It is whichever fountain you open fourth. Here is where Cotera, Kaysa, Mija and Tera are, what each fairy you revive unlocks, and what every upgrade tier costs in materials once the rupees are paid.