Baldur's Gate 3 Dark Urge Guide: Every Fork in the Bloodiest Origin
The Dark Urge is a custom character with a knife taped to the back of it. Here is every forced event, every check DC, and why Slayer form is worse than the cutscene makes it look.
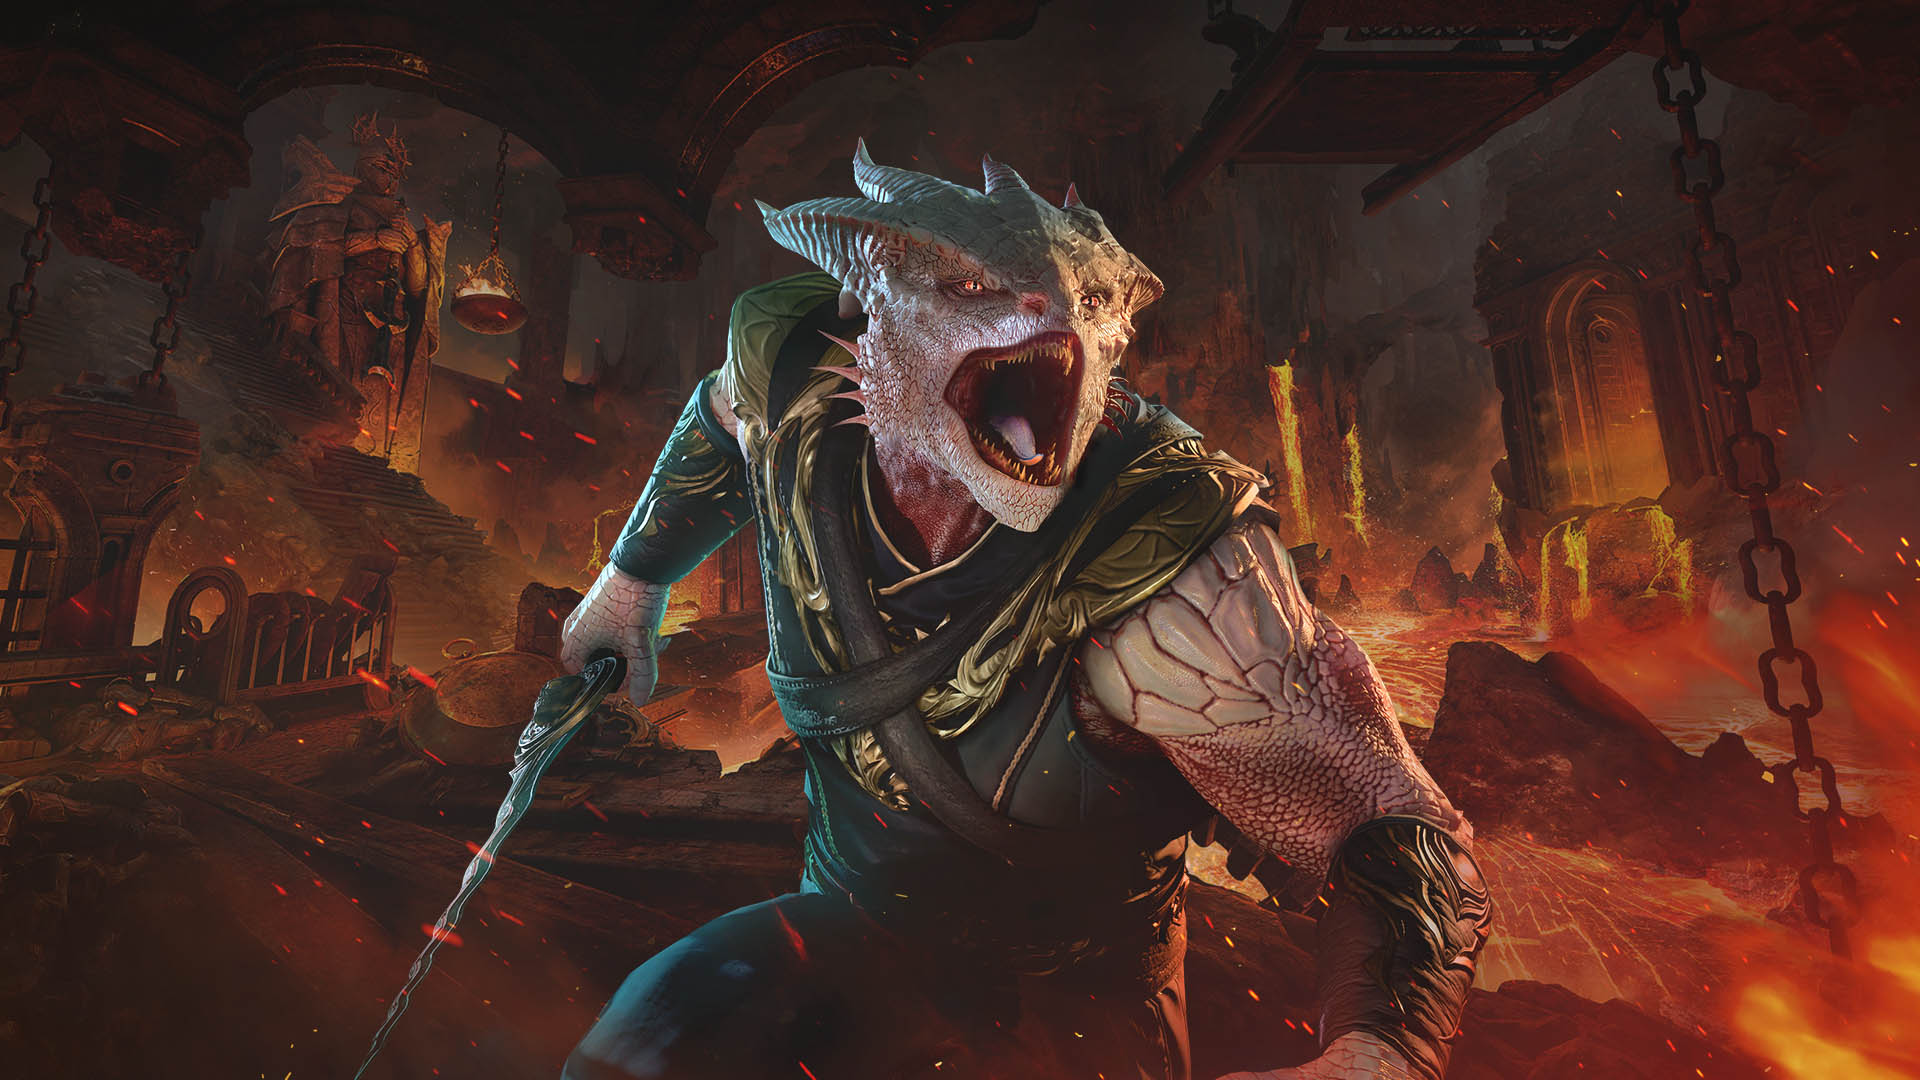
Somewhere around hour twelve of my first Dark Urge run, the game took the controller out of my hands, made my character kick a squirrel to death, and then handed it back like nothing happened. No prompt. No dice roll. No "are you sure?" That is the pitch, and it is the single best argument for why the Dark Urge is the way to play Baldur's Gate 3 the second time.
Larian sold this origin as an evil playthrough. It is not. It is a horror story about consent, and the mechanical layer underneath it is stranger and stingier than most guides admit. Here is what actually happens, act by act, with the numbers.
The Dark Urge is a custom character with a story attached
Mechanically, the Dark Urge is the only origin that lets you pick any race and any class. The default is a white dragonborn Storm Sorcerer, but that is a suggestion, not a rule. You can build a Githyanki Fighter, a halfling Rogue, a Tiefling Warlock, whatever you want, and the entire Urge storyline still fires.
Two things are locked. Your background is always Haunted One, and your deity is Bhaal. That is it. Everything else in the character creator is yours.
The story underneath is that you are a Bhaalspawn, but not in the usual way. You were made from Bhaal's dead flesh rather than born to a mortal parent, which is why the game treats you as something closer to a limb of the god than a child of one. You led the Cult of Bhaal, you allied with Enver Gortash and Ketheric Thorm to take the Crown of Karsus, and then your jealous second-in-command Orin the Red put a dagger through your skull and infected you with a tadpole. That is the amnesia. That is why you wake up on the beach with a headache and a corpse fetish.
What it actually costs you
Very little, and this is the part people get wrong. Picking Dark Urge does not weaken your build. It does not lock your class. It adds an entire second quest line on top of a normal run.
The genuine downsides are short:
- You cannot recruit the Dark Urge as a companion. It is the only origin that is player-exclusive, so if you want another player's avatar to run around with, pick someone else.
- Body type locks after character creation. Name, gender and appearance are editable later with the Magic Mirror, but body type is set the moment gameplay starts.
- Paladins have a problem. Give in to an Urge and your Oath breaks. Playing an Oathbreaker on purpose is fine; sleepwalking into it is not.
- A handful of cruel actions happen without your input. The squirrel. The NPC whose legs you snap. No check, no warning, no undo short of a reload.
That last one is the whole design. Most "evil" RPG paths are a menu. This one is a compulsion, and the game is very deliberate about which moments it takes from you.
The prologue tell: a corpse on the beach
The first Urge event fires before you have a party. On the Ravaged Beach after the nautiloid crashes, you find the Mangled Fisher corpse. Inspect it and the game rolls a DC 7 Intelligence check to resist.
DC 7 is a joke of a difficulty, which is the point. Larian wants nearly everyone to pass their first save so the failure later actually lands. Resist and you get a flash of a thousand different dead people. Give in and your character just smiles at the body. Nobody sees. Nothing changes. Yet.
Act 1: Alfira dies and you cannot stop it
Here is the one that makes people restart the game.
The trigger is your first Long Rest after crossing the bridge between the Emerald Grove and Moonhaven. Alfira, the tiefling bard, shows up at camp asking to travel with you. During the night the Urge takes over and kills her. There is no save to prevent this. There is no dialogue tree. It happens.
What you do control is the cleanup, and this is where the checks live:
- Hide the body: a DC 12 Stealth or Strength check. Pass it and there is no morning confrontation, and you quietly pick up Lihala's Lute.
- Wash the blood off: a passive Perception check that changes the conversation. If you wash, lying to the party is a DC 15 Deception check. If you do not wash and go straight back to sleep, it drops to DC 7, which is the counterintuitive bit players miss.
- Do nothing: the party finds the corpse and you get a confrontation with real approval consequences.
One useful bit of trivia: if Alfira is already dead or unconscious when the trigger fires, the game substitutes Quil Grootslang and runs the identical scene. You cannot dodge it by killing the bard early. Larian thought of that.

Sceleritas Fel runs the reward economy
The morning after, a fiend in butler's clothing introduces himself as your loyal and ever-adoring servant. Sceleritas Fel has been waiting for you to remember what you are, and he is the mechanism through which the game pays you for cooperating.
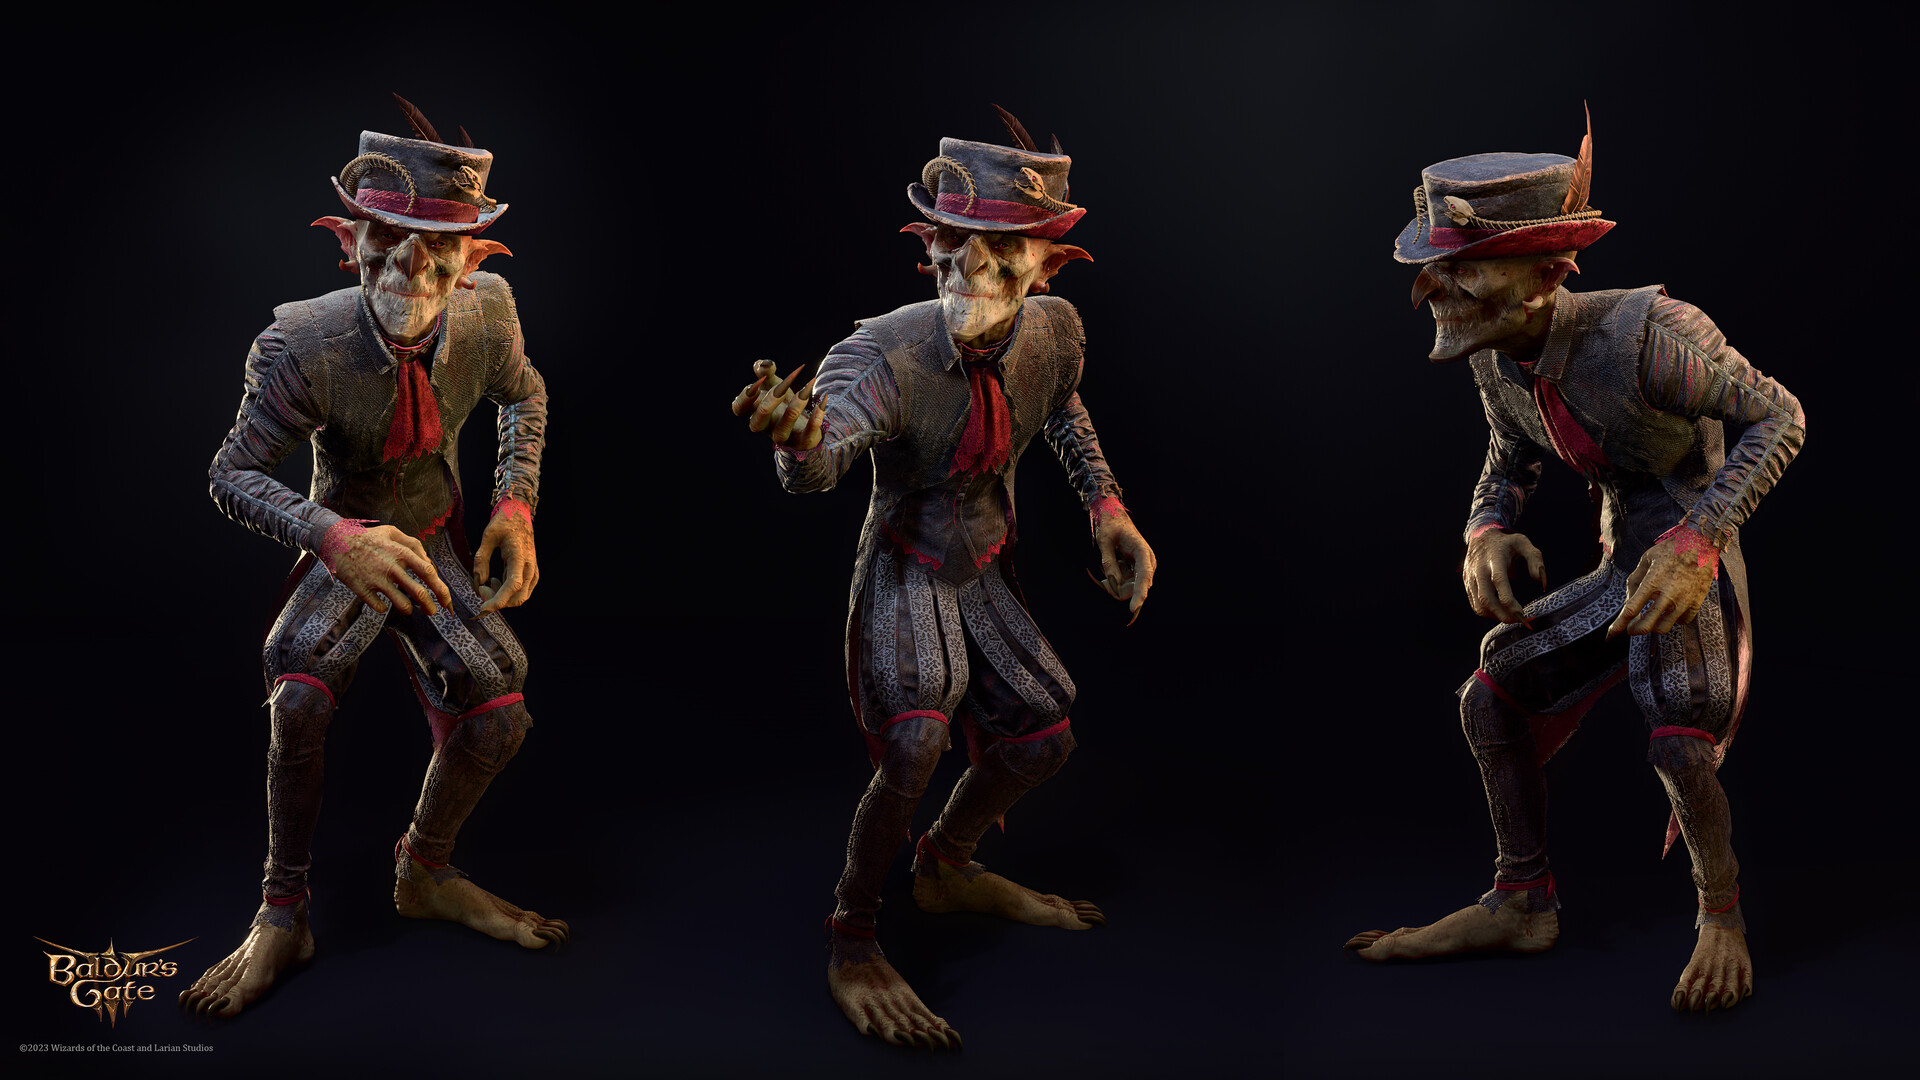
For Alfira, he gives you the Snipping the Chords inspiration and, if you personally landed the kill, The Deathstalker Mantle. That cloak is genuinely strong: its passive, The Shadow Itself, turns you Invisible for 2 turns after you kill an enemy. Two caveats that matter in practice — it only fires once per turn, and it only counts direct kills in combat. Blowing up a barrel and letting the fire finish someone off does nothing.
For a Rogue or a Gloomstalker, a rare cloak in Act 1 that grants free invisibility on every kill is a legitimate power spike, and it is the single best mechanical argument for going along with the Urge early.
Sceleritas is also functionally unkillable. You can attack him before you reach Moonrise Towers if you want, and he simply reappears unharmed at the next Long Rest without mentioning it.
Act 2: the Isobel fork is the real decision
Act 2 is where the origin stops being flavour. Sceleritas orders you to kill Isobel at Last Light Inn, and this time it is a genuine choice with a genuine cost on both sides.
Kill her and you are rewarded with Slayer form, plus you have gutted the Harpers' protection over the inn — which is not a small knock-on effect for the rest of the act.
Refuse, and the Urge collects anyway. You get hit with a DC 14 Wisdom saving throw during a possessed episode at camp, and failing it means killing your closest companion. Not knocking them out. Killing them. If that companion is your romance, the run you were playing is over and a different one starts.
The correct play, if you want to resist the Urge without losing anyone, is boring and effective: get your Wisdom save as high as you can before that Long Rest. Resistance and inspiration points exist for exactly this moment, and this is the save worth burning them on. If you are running through the game on the hardest setting, our Honour Mode tips apply double here, because there is no reload.
Slayer form is a trap, and here are the numbers
Everyone wants the Slayer. Four arms, mandibles, the works. Then they use it in Act 3 and quietly never press it again.
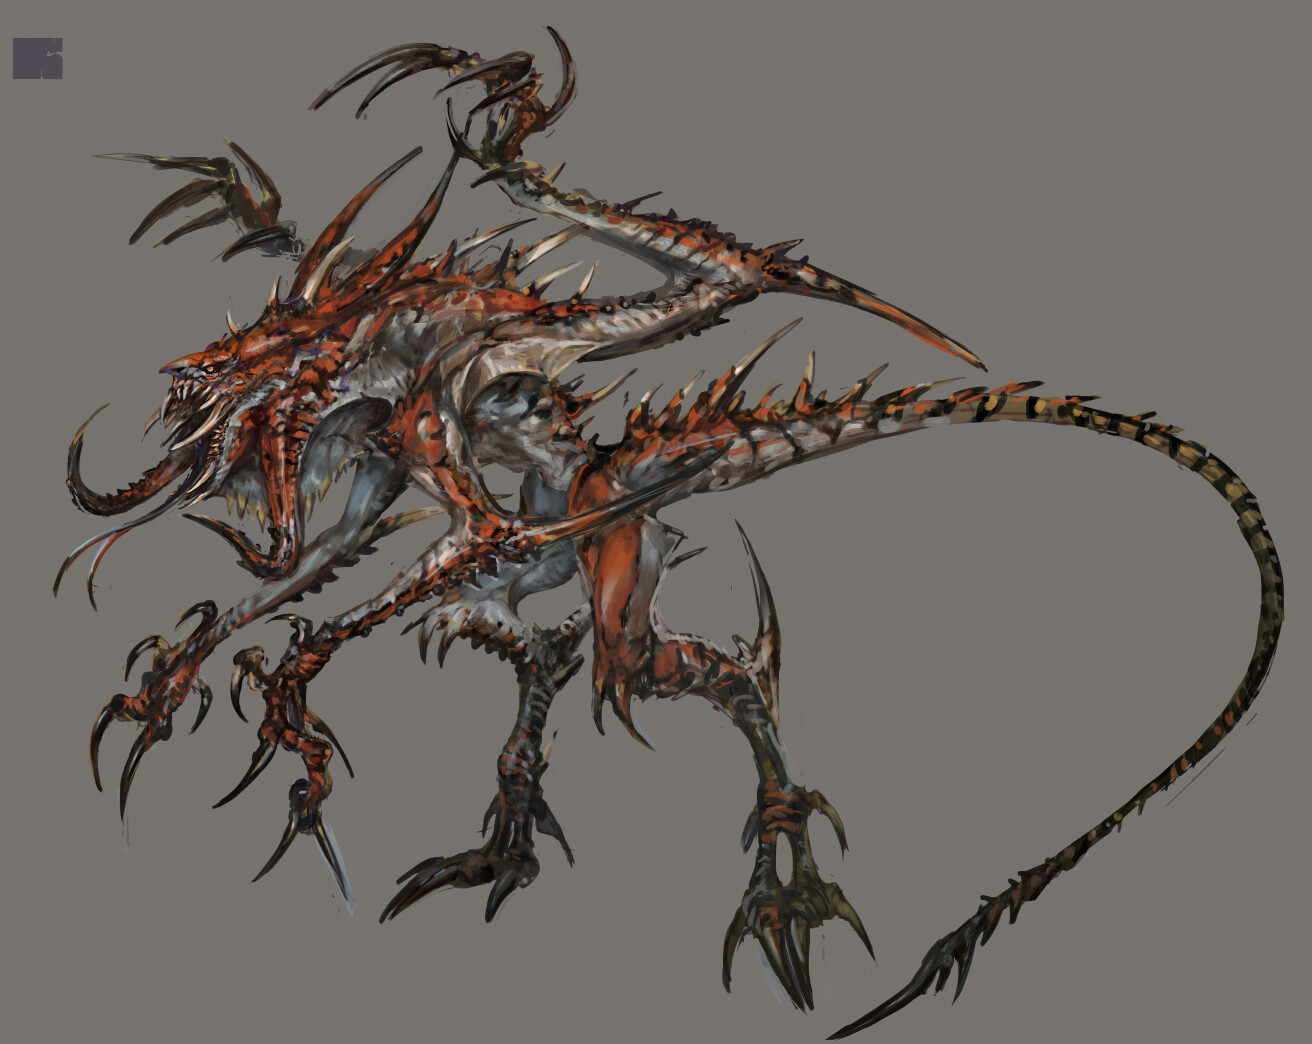
On Balanced difficulty the Slayer sits at Armour Class 16 with 98 hit points, scaling to 153 HP at character level 10, and moves 10.5 metres a turn. Its kit is fine: Multiattack for 4d4 slashing, Slay for 4d6+7 slashing, Piercing Growl for 3d8 piercing with a chance of Bleeding and Fear, Relentless Lunge as a bonus action for 2d6+7 bludgeoning, and Sumptuous Blood Bath, which opens an artery and heals you off the bleed.
Now the catch. While transformed you lose most equipment, many feats, some class passives, all spellcasting, and every magic item activation. You also cannot speak, which breaks dialogue and some quest items outright. And the Slayer's attacks are not considered magical, so anything with nonmagical resistance shrugs a chunk of it off.
Do the comparison honestly. A geared Act 3 character is walking around at AC 20 or better with a legendary weapon and a stack of passives you spent forty hours assembling — see our legendary weapons guide for what that looks like. Swapping into AC 16 and 4d4 claws is a downgrade in every fight where you are not already about to lose. The Slayer peaks in Act 2, when your gear is mediocre and 98 HP is a real body count of extra damage soaked. Use it there, or use it for the theatre. Do not build around it.
Act 3: resist, obey, or defy
Act 3 opens with a dream that fills in the rest: you were the Chosen of Bhaal, Gortash was a friend who called you his favourite assassin, Sarevok Anchev is family, and Orin is the sister who stabbed you and stole your job. Then the Temple of Bhaal asks you what you are.

Resist: die, then come back as yourself
Reject Bhaal and he drains the unholy blood out of you, which kills you on the spot. Withers resurrects you as a reborn person with no Urge at all. From there the rest of Act 3 plays exactly like any other origin, except you keep the violent dialogue options minus the Bhaal framing. It is the closest thing the game has to a redemption arc that costs something.
Embrace and obey Bhaal
Take the gifts, become the Chosen again, seize the Netherbrain and end all life in Faerûn. The ending has you standing in an empty world worshipping your father, and the game lets you choose how your companions go out beforehand. It is bleak, it is well written, and it is the only ending where you truly win on your own terms.
Embrace and defy Bhaal
Take the power, then refuse the order. Bhaal shreds your mind within minutes of the victory. You get a shortened epilogue with a blood-soaked, insane version of your character already planning the murders of everyone who helped you. Mechanically it is the worst outcome and narratively it is the most interesting one, which is very Baldur's Gate 3.
How to build a Dark Urge
Since class is unrestricted, build for the fantasy. A few combinations that actually sing with the writing:
- Rogue or Gloomstalker Ranger. The Deathstalker Mantle's invisibility-on-kill passive is tailor-made for them, and the sneaking-murderer fantasy needs no explanation.
- Storm Sorcerer, the default, if you want the canonical look and a caster that can nuke a room when the Urge wins.
- Oathbreaker Paladin. Start as an Oath of Vengeance Paladin and let the Urge break you. The mechanics and the story do the same thing at the same time, which almost never happens in an RPG.
- Barbarian, if you want the character's body to keep making decisions their head disagrees with.
If you are still deciding, our best classes for beginners and multiclassing guide cover the mechanical side. Nothing there changes because you picked Dark Urge, which is exactly the point.
Quick Action Checklist
- Any race, any class. Only your background (Haunted One) and deity (Bhaal) are locked. Body type locks when gameplay starts.
- Prologue: DC 7 Intelligence check at the Mangled Fisher on Ravaged Beach. Nearly free to pass.
- Alfira dies no matter what at the first Long Rest after the Emerald Grove to Moonhaven bridge. Hide the body on a DC 12 Stealth or Strength check to skip the confrontation entirely.
- Do not wash the blood off if you plan to lie. Lying after washing is DC 15 Deception; lying without it is DC 7.
- Kill Alfira personally to get The Deathstalker Mantle from Sceleritas Fel. Invisible for 2 turns after a direct kill, once per turn, combat only.
- Act 2 is the real fork. Kill Isobel for Slayer form, or refuse and pass a DC 14 Wisdom save or the Urge kills your closest companion for good.
- Slayer form peaks in Act 2. AC 16 and 98 HP is a downgrade once you are geared, and it disables spells, most equipment, magic items and speech.
- Resisting in Act 3 kills you and Withers brings you back Urge-free; the rest of the act plays like a normal run.
- Playing a Paladin? Every indulged Urge breaks your Oath. Plan for Oathbreaker or plan to resist.
- Save before every Long Rest in Act 2. The possessed episode is the one moment in the origin that can permanently delete a companion.
Frequently Asked Questions
Can you save Alfira as the Dark Urge in Baldur's Gate 3?
Does picking the Dark Urge lock your class in Baldur's Gate 3?
How do you get Slayer form in Baldur's Gate 3?
Is Slayer form actually good in Baldur's Gate 3?
What happens if you resist the Urge in Act 3?
Can the Dark Urge kill a companion permanently?
Keep Reading
Related Guides
Baldur's Gate 3 Saves: Where They Live, What Larian Deletes
Since 29 September 2026, Larian deletes cross-save copies older than six months. Your own drive was never part of it. Here is where Baldur's Gate 3 actually keeps a campaign on each platform, how cross-save moves one between machines, and the Honour Mode and Custom rules that turn a whole run into one file.
Baldur's Gate 3 Camp Supplies: What to Carry and Sell
A Grilled Steak weighs 3 kilograms and pays 8 Camp Supplies. A Poutine weighs a quarter of a kilogram and pays 20. Both are just "food" in your inventory, and the game never shows you the ratio. Here are the supply-per-kilogram and supply-per-gold numbers from bg3.wiki item data, and the camp chest trick that makes most of the carrying argument moot.

Baldur's Gate 3 Inspiration: What You Can Actually Reroll
Inspiration can stop paying out without telling you. The pool is shared across the party, it caps at four, and a trigger you hit while full gives you the experience and nothing else. Here is the cap, the exact list of rolls the "Roll Again" button will and will not touch, and the enumerated count of how many inspiration goals bg3.wiki lists for each of the twelve backgrounds.
Baldur's Gate 3 Approval: Thresholds and Romance Numbers
The approval bar on a companion's character sheet shows you a category. The scripts behind it check integers, and the two do not line up — Gale's Mystra scene wants 36, Minthara's romance wants 31, and neither number has a band boundary anywhere near it. Here is the threshold table, the per-companion romance numbers the wiki documents, and the things that quietly cost you ten points.
Baldur's Gate 3 Beginner Guide: What Nobody Tells You
The tutorial teaches you to move and attack. It does not teach you that advantage is worth more than any weapon you will find in Act 1, or that Withers will rebuild your entire character for 100 gold. Here is the actual onboarding.
Baldur's Gate 3 Companion Recruitment Guide: Where Everyone Is and Who You Can Lose Forever
Half the companion roster can be permanently missed by doing things in the wrong order, and the game never warns you. Here is where all ten companions are, the two non-lethal knock-outs that matter, and the deadlines that quietly delete people from your run.