Baldur's Gate 3 Beginner Guide: What Nobody Tells You
The tutorial teaches you to move and attack. It does not teach you that advantage is worth more than any weapon you will find in Act 1, or that Withers will rebuild your entire character for 100 gold. Here is the actual onboarding.
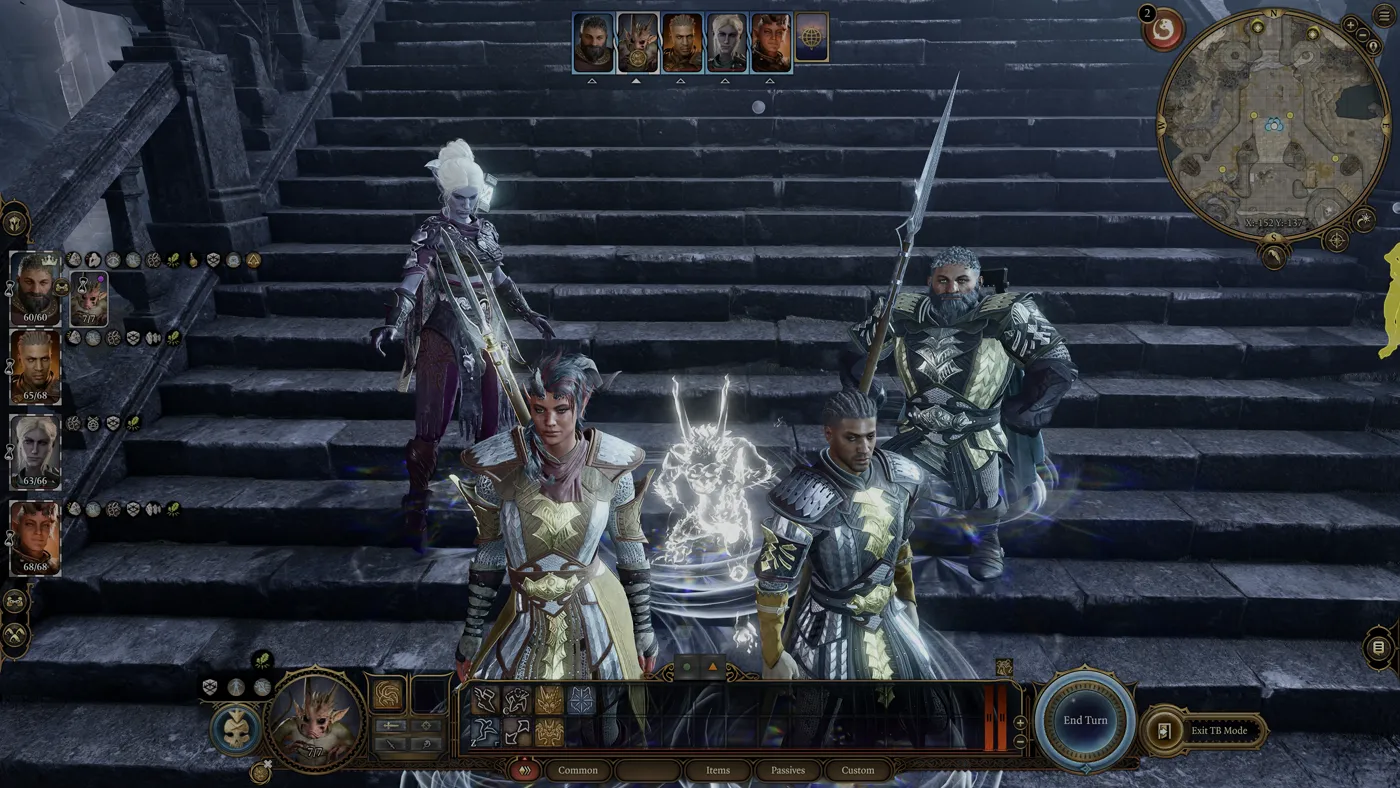
You will lose your first real fight. Probably to a pack of gnolls, or to the goblin camp when you decide diplomacy is for cowards, or to a bugbear who critted a sleeping party member. That is not a difficulty problem, it is an information problem — Larian's tutorial teaches you to move and swing, then stops explaining things right before the systems that actually decide combat kick in.
The single most valuable thing to internalise before you leave the beach: advantage on an attack roll is worth more than almost any weapon upgrade you will find in Act 1. Rolling two d20s and keeping the higher is a bigger swing than +1 to hit, and the game hands out advantage constantly through conditions and stealth. High ground is a separate thing — a flat +2 to the attack roll, not advantage — but it is added on top of whatever you roll, so it never goes to waste. New players hunt for better swords. Experienced players hunt for a target that cannot see them — and a ledge to shoot it from.
Here is what the game assumes you already know.
Build your character with the 27-point rule in mind
Character creation looks intimidating because it front-loads twelve classes, eleven races, and a stat screen. Here is the part that matters.
You get 27 points to spend on ability scores. Each score starts at 8 and can be raised to a maximum of 15 during point-buy. After that, you personally assign a +2 and a +1 to any two abilities you like — this is the big change from tabletop 5e, where those bonuses are welded to your race. In Baldur's Gate 3 your race grants features, not stat bumps, so a Gnome Barbarian is mechanically fine. Your highest possible starting score is 17.
That 17 is the number to aim for. Put your +2 into your class's primary ability and get it to 17, because ability modifiers are calculated as (score − 10) ÷ 2, rounded down — which means 16 and 17 give the identical +3. If you can only reach 16, the 17 is not worth contorting your build for. If you can reach 17 for free, take it, because your first Ability Improvement feat at level 4 will push it to 19, and then to 20 at your next one.
Backgrounds are lighter than they look. They grant two skill proficiencies and decide which acts earn you Inspiration — and the wiki disagrees with itself on whether they do anything beyond that. Its character-creation page says backgrounds "do not impact dialogue or quests"; its dedicated Backgrounds page says they "also have narrative effects, including options in dialogue and the opinions or attitude of others towards the character." Your class then gives you 2 to 4 more skill proficiencies on top. So pick a background for the skills you want and the Inspiration triggers you will actually hit, and treat any Folk Hero dialogue option as a bonus rather than the plan.
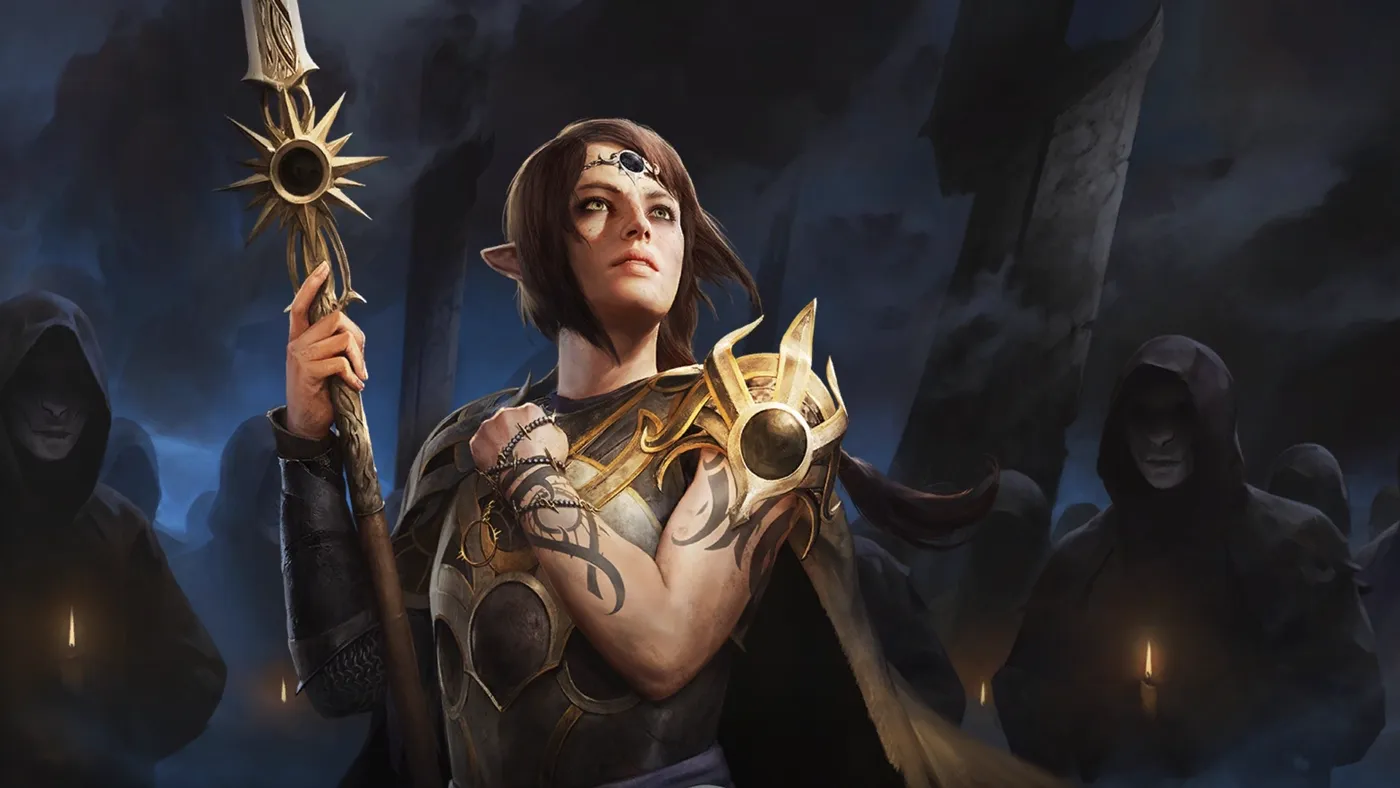
One structural fact that should shape every decision: the level cap is 12. Not 20. You have twelve levels across a roughly hundred-hour campaign, which means every single level-up is a meaningful percentage of your total build. It also means the classic tabletop advice about "it comes online at level 14" is worthless here. If a class feature arrives after level 12, it does not exist.
The four systems that decide every fight
Advantage is the whole game
Advantage means rolling two d20s and taking the higher. Disadvantage means taking the lower. In practical terms, advantage is roughly equivalent to a +5 on your attack roll in the mid-probability band, and it also roughly doubles your critical hit chance because you get two chances to roll a 20.
You get advantage from: attacking a target that cannot see you, attacking a restrained enemy, attacking a prone enemy from within 3 metres (prone does nothing for a shooter further away), and a stack of conditions and spells. You give it away by attacking in the dark without darkvision, or being blinded. High ground is not on either list — it is a flat +2 or -2 to the roll, and it gets its own section below.
The corollary nobody says out loud: a spell that inflicts a condition is usually stronger than a spell that deals damage, because a condition gives your entire party advantage for multiple turns. Casting Hold Person is worth more than casting a damage cantrip four times.
Height and positioning
Attacks from 2.5 metres or more above a target get a flat +2 High Ground bonus to the attack roll; from 2.5 metres or more below, a -2 Low Ground penalty. That is not advantage. It is a fixed number added to whatever you roll, which is exactly why it still counts in full when you already have advantage from a restrained target or an unseen attack — two advantage sources collapse into one roll, but a +2 is always a +2. The rule technically applies to every attack roll, but melee attacks rarely have the reach for elevation to matter, so in practice it is a ranged-character mechanic. It shows up under the target's HP bar next to the other modifiers, and it is why so many encounters in the game hand you a ledge, a rooftop, or a set of crates. The full rule — the threshold, the range extension, what Sharpshooter actually cancels — is in our high ground guide.
Before you walk into a room, look up. Send ranged characters to the highest reachable point and melee characters to the chokepoint. Jump is a free bonus action; use it to reach ledges instead of walking around.
Surfaces and the environment
Baldur's Gate 3 tracks surfaces and they interact. Grease is flammable. Water conducts lightning and freezes into ice, ice knocks creatures prone, and prone creatures grant melee attackers advantage. A barrel of oil thrown into a crowd, then a Firebolt, out-damages anything your level 3 party can do with weapons.
You can also shove. It costs a bonus action, and shoving an enemy off a cliff deals falling damage that scales with the drop. The game is full of cliffs. That is not an accident.

Action economy beats raw damage
Every turn you get one action, one bonus action, and your movement. The players who win hard fights extract value from all three every round, not the ones with the biggest weapon.
Bonus actions are the most-wasted resource in the game for new players. Off-hand attacks, Shove, Jump, thrown healing potions (which splash), Cunning Action Dash and Disengage on a Rogue, a Cleric's healing word. If you are ending turns with your bonus action unspent, you are playing at roughly 70% capacity.
Your party of four is a toolkit, not a friend group
Your active party is capped at four, and every companion you have recruited but left behind waits at camp. You can swap freely at camp at no cost, which most new players never do because they get attached in the first ten hours and then run the same four for the rest of the campaign.
Treat the slot allocation as coverage, not affection. Across four characters you want, at minimum:
- A frontline body in heavy armour with high HP to absorb hits and hold a chokepoint.
- A healer with utility — in practice a Cleric or Druid, so you can revive a downed ally without burning a Scroll of Revivify.
- A skill monkey with high Dexterity and proficiency in Sleight of Hand and Perception. Failing a lockpick is annoying. Failing to spot a trap in Act 2 is a party wipe.
- A face. Charisma checks gate an enormous amount of content, and the character who speaks is your protagonist. A main character with Charisma 8 is locked out of the game's best outcomes.
If you want the fastest read on which classes cover which of these roles, we broke it down in our ranking of the best beginner classes.
Rest more than you think you should
This is the single most common new-player mistake, and it is entirely the game's fault for making resting feel punitive.
A Long Rest costs 40 Camp Supplies on Explorer and Balanced difficulty, and 80 on Tactician and Honour. It fully restores hit points, all spell slots, all class resources, and both of your Short Rest charges. A Short Rest costs nothing, you get two per Long Rest, and it restores up to half your maximum HP plus short-rest class resources like a Cleric's Channel Divinity charges or a Warlock's entire spell slot pool.
If you do not have enough supplies, you get a Partial Long Rest, which restores only half of your maximums and does not give back your Short Rest charges. That is the worst of both worlds — so do not scrape by.
New players hoard supplies like they are running out. They are not — every crate of food and wheel of cheese counts, and you will end Act 1 with hundreds if you loot casually.
More importantly, long resting is how the story progresses. Companion conversations, romance scenes, dream sequences, and several quest triggers fire on Long Rest. Players who save resting for emergencies finish the game having seen maybe a third of their companions' writing. Rest after every story beat, every cleared dungeon, and every new camp arrival.
Withers is your undo button
Withers is the skeletal gentleman you find in a sarcophagus in the Dank Crypt, near the beach, in the first hour of the game. Go get him. He relocates to your camp permanently and offers three services that make the entire game less stressful:
- Respec for 100 gold. He resets a character to level 1 and lets you rebuild them completely — class, subclass, ability scores, skills, spells, and feats. One hundred gold is a trivial sum by Act 1's midpoint. This means every build decision in this game is reversible, and there is no reason to restart a save because you picked the wrong subclass at level 3.
- Resurrection for 200 gold per fallen companion. If someone dies permanently and you do not have a Scroll of Revivify, Withers fixes it.
- Hirelings, unlocked once you reach character level 3. These are blank-slate mercenaries you build yourself. They have no personality and no quest content, but they fill a party slot with exactly the class and stat spread you want.
The respec service in particular changes how you should play. Do not agonise over your level 4 feat. Take something, see how it feels for ten hours, and pay 100 gold to change your mind.
Difficulty modes, and which one to start on
Baldur's Gate 3 ships five difficulty settings, and the numbers behind them are more specific than most players realise.
Explorer cuts enemy maximum HP by 30%, gives your party a 100% bonus to hit points, makes merchant goods 20% cheaper, and increases proficiency bonuses by 2. It also disables multiclassing entirely — which is the one thing that should give you pause. If you want to experiment with build combinations, Explorer is not the mode for you.
Balanced is the baseline everything else is measured against. This is where a first playthrough belongs.
Tactician raises non-player maximum HP by roughly 20–30% with bigger boosts on bosses, gives every non-party character +2 to attack rolls and +2 to spell save DCs, doubles camp supply costs to 80, and makes enemy AI nastier — it targets your spellcasters and finishes off downed characters.
Honour Mode is Tactician plus a single save file that overwrites on quit, roughly 30 boss fights redesigned with Legendary Actions, and a difficulty you cannot change. A party wipe means either converting to Custom (ending the Honour attempt) or deleting the save. Do not start here.
Custom lets you tune individual sliders, including whether multiclassing is allowed. Two settings lock permanently once you start: the Ruleset and the Single Save toggle.
Start on Balanced. If combat is frustrating after ten hours, drop to Explorer — just know you are giving up multiclassing to do it.
Mistakes that cost new players hours
- Selling everything to one merchant. Merchant attitude affects prices. Sell to the vendor you buy from, and gift an item to raise attitude before a big purchase.
- Ignoring the Camp chest. Carry weight is finite and encumbrance halves your movement. Dump art objects and spare armour into the shared camp storage.
- Never using Non-Lethal Attacks. A toggle makes melee attacks knock enemies unconscious instead of killing them, preserving quest options you did not know you had.
- Treating dialogue rolls as save-scummable but not preparable. Before a big conversation, swap your high-Charisma character in to lead, cast Guidance, and spend Inspiration to reroll.
- Not reading spell descriptions past the damage number. Concentration is the hidden tax on half the good spells — one at a time, and taking damage forces a Constitution save to keep it.
Once you are comfortable with the fundamentals, the next real power spike comes from combining classes. Our multiclassing guide covers the rules BG3 actually enforces and which two-level dips are worth the delay.
Quick Action Checklist
- Spend all 27 points in character creation, then assign your +2 and +1 yourself — race does not grant ability scores in BG3.
- Aim for a 17 in your primary ability if it is free; 16 and 17 give the same +3 modifier.
- Remember the level cap is 12. Every level is roughly 8% of your entire build.
- Recruit Withers from the Dank Crypt in your first hour. Respec costs 100 gold, resurrection 200 gold.
- Take the high ground with ranged characters before every fight — it is a flat +2 to the attack roll, not advantage, so it stacks with the real thing. Advantage beats gear.
- Spend your bonus action every single turn — Shove, Jump, off-hand attack, thrown potion.
- Long Rest costs 40 supplies on Balanced, 80 on Tactician and Honour. Rest after every story beat; that is how companion content triggers.
- Use both Short Rests before you Long Rest — they are free and restore half your max HP.
- Build your four-person party around frontline, healer, skills, and Charisma, not around who you like most.
- Start on Balanced. Explorer disables multiclassing; Honour Mode deletes your save on a wipe.
Frequently Asked Questions
What is the level cap in Baldur's Gate 3?
How do ability scores work in Baldur's Gate 3 character creation?
How many Camp Supplies does a Long Rest cost?
Can you respec your character in Baldur's Gate 3?
Which difficulty should a first-time player pick?
Keep Reading
- BG3 Wiki — high ground rules: the flat +2/-2 attack-roll modifier and the 2.5m elevation threshold
- BG3 Wiki — advantage and disadvantage, including the sources that grant them on attack rolls
- BG3 Wiki — Prone: attacks against a prone creature have advantage only within 3 m (10 ft)
- BG3 Wiki — character creation, point-buy, and backgrounds
- BG3 Wiki — difficulty modes and their exact modifiers
- BG3 Wiki — Long Rest, Short Rest, and Camp Supply costs
Related Guides
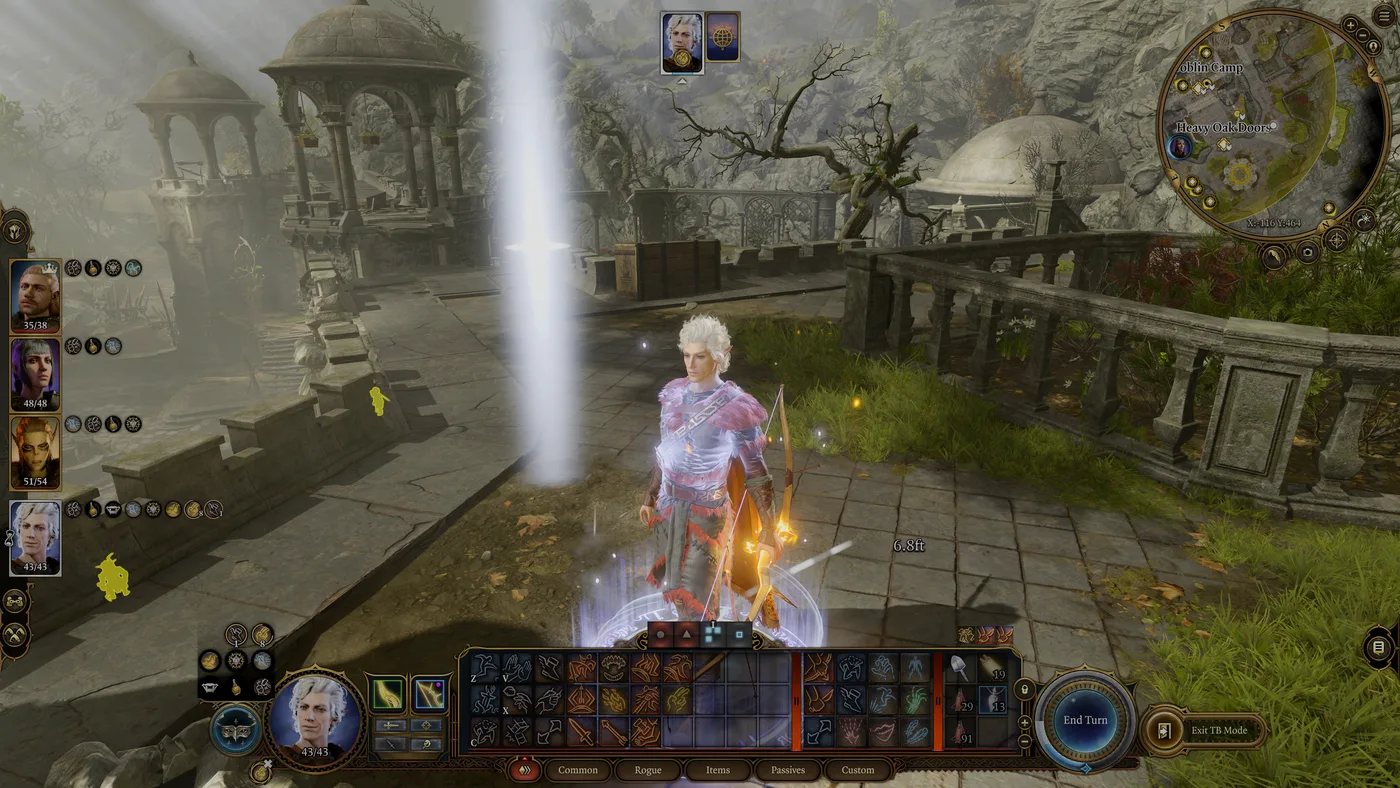
Baldur's Gate 3 Initiative and Surprise: How to Go First
Tabletop D&D rolls initiative on a d20. Baldur's Gate 3 rolls it on a d4, which turns a +5 from Alert from a nudge into something close to a guarantee. Here is how turn order is built, what Surprised takes away, and the line-of-sight rule that decides whether your ambush gets a surprise round at all.
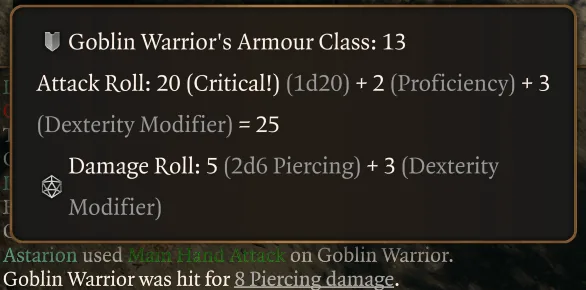
Baldur's Gate 3 Critical Hits: What Actually Doubles
A natural 20 doubles your damage in Baldur's Gate 3 — but "doubled" hides real nuance: which half of that number actually doubles, which of the game's dozen crit-threshold sources stack together, and how "immune to critical hits" still lets a natural 20 miss outright. bg3.wiki's own combat-log breakdown settles all three.
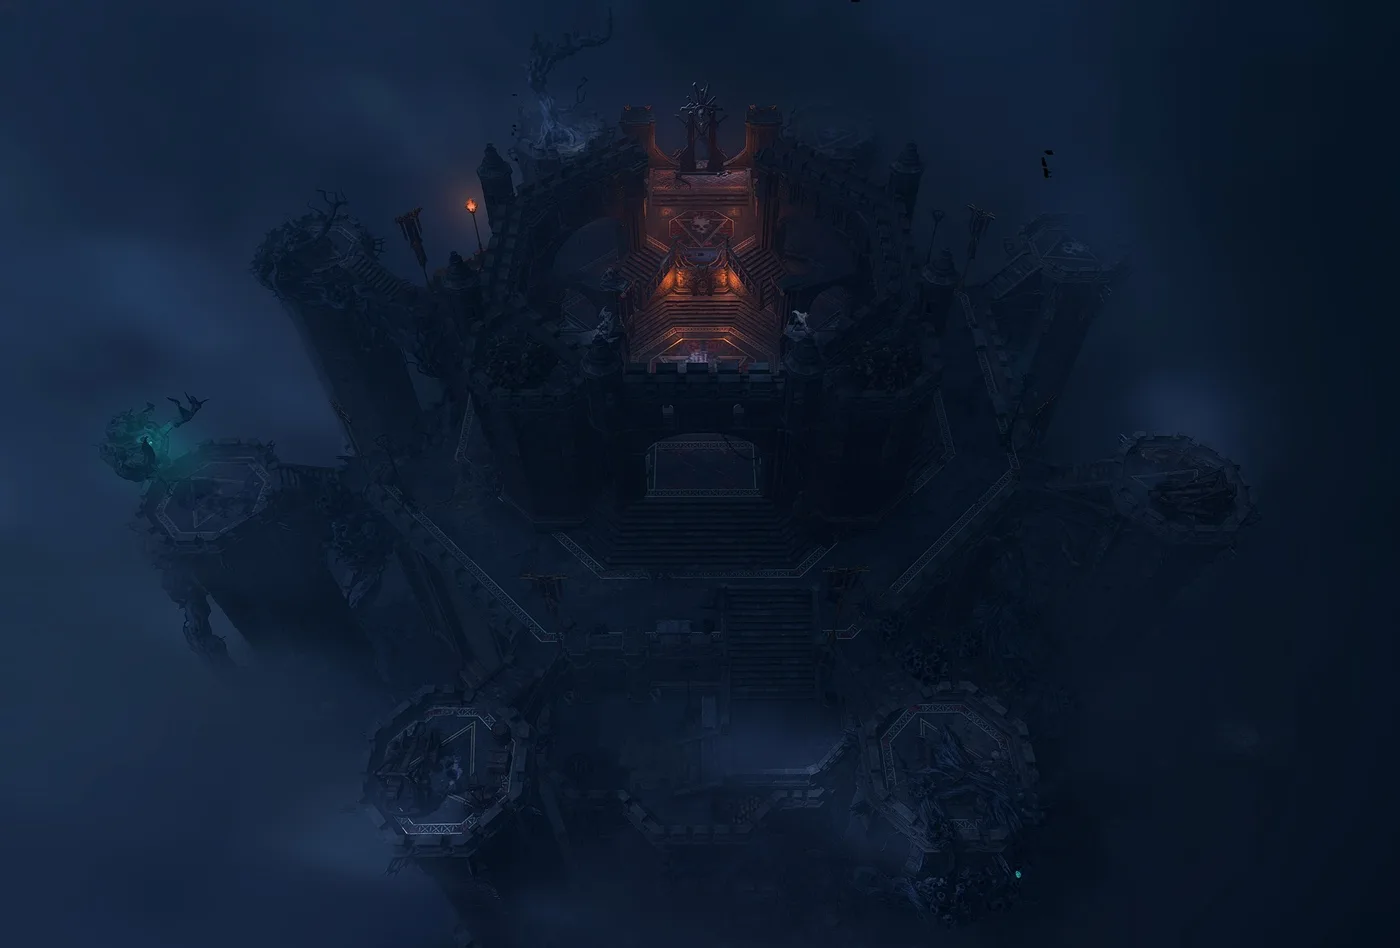
Baldur's Gate 3 High Ground: It's Not Advantage
The standard beginner tip in this game is "take the high ground" — and it leaves it there, as if it works the same way a Prone target or an unseen attacker does. It does not. High ground is a flat, separately tracked +2 or -2 bolted onto the attack roll, and bg3.wiki's own numbers show it does things the "it's advantage" version of the rule never predicted.
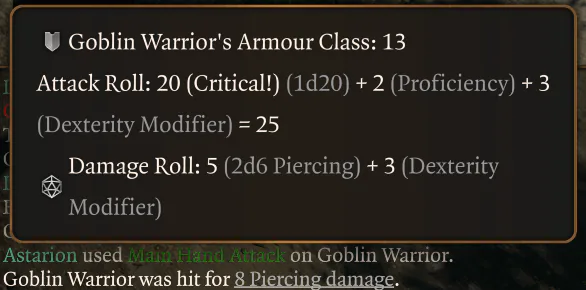
Baldur's Gate 3 Karmic Dice: What It's Secretly Fixing
There is a setting on by default in every new Baldur's Gate 3 save that changes the odds of your next roll based on how badly the last one went, and the game never tells you it exists. Here is the formula bg3.wiki has worked out, the three roll types it can and cannot touch, and the two documented bugs sitting on top of it.
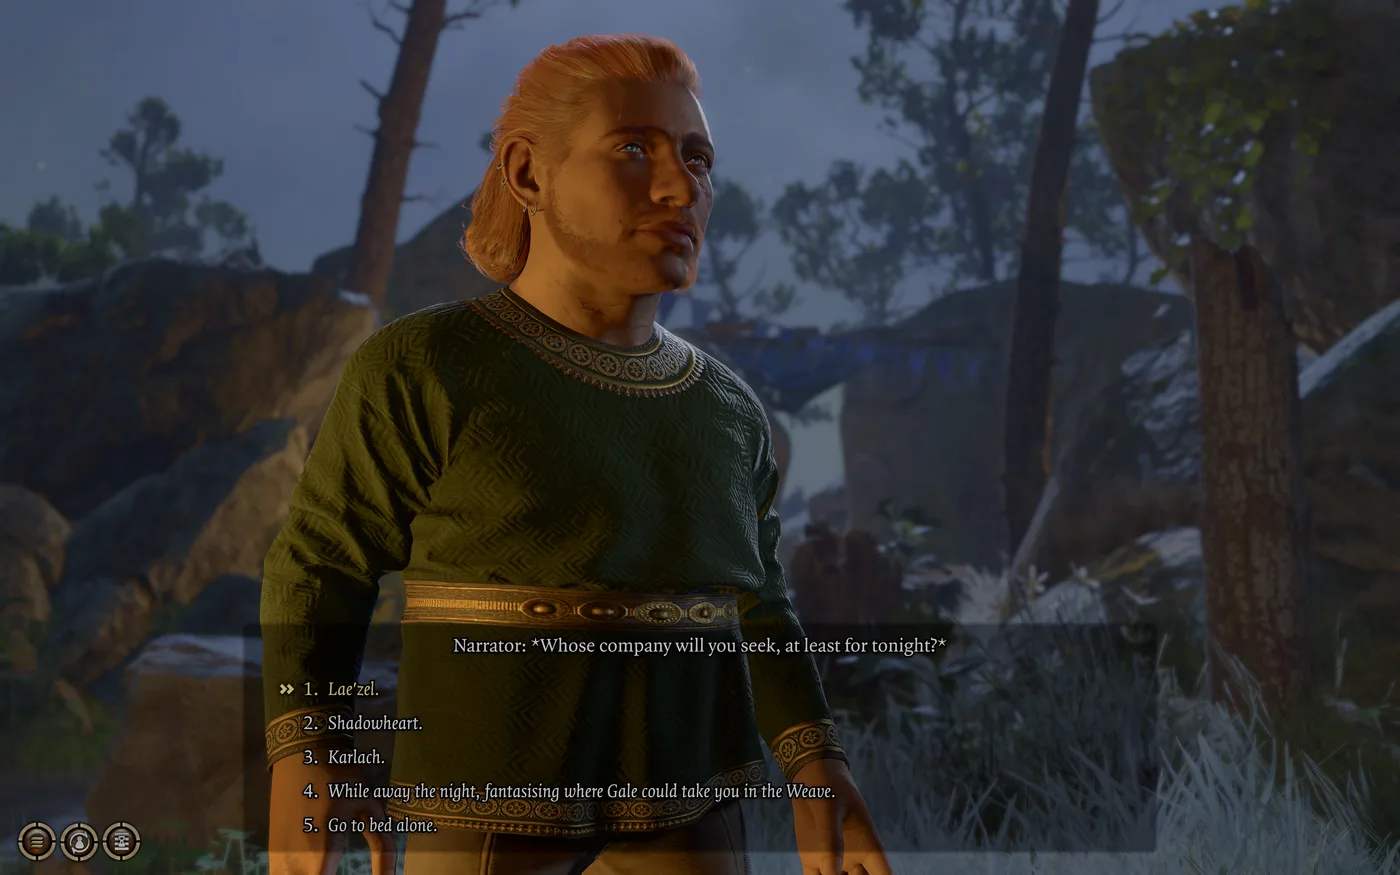
Baldur's Gate 3 Approval: Thresholds and Romance Numbers
The approval bar on a companion's character sheet shows you a category. The scripts behind it check integers, and the two do not line up — Gale's Mystra scene wants 36, Minthara's romance wants 31, and neither number has a band boundary anywhere near it. Here is the threshold table, the per-companion romance numbers the wiki documents, and the things that quietly cost you ten points.
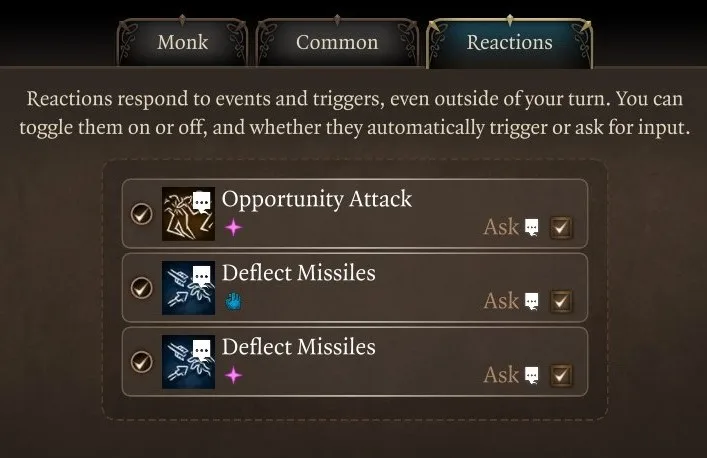
Baldur's Gate 3 Reactions: Why Yours Did Not Trigger
Every creature in Baldur's Gate 3 carries exactly one Reaction charge and gets it back at the start of its turn. What that charge can answer is narrower than the tooltips suggest: the game decides which reactions are eligible for an event before any of them resolve, and whole categories of damage and saving throws are invisible to the system entirely. Here is the reaction list by source and cost, the rules that gate it, and the bugs the wiki has documented on top.