CS2 Crosshair Settings: Every Command That Actually Matters
Your crosshair is the only part of your config you look at for every second of every round, and most players have never touched it beyond picking a color. Here is every CS2 crosshair command that matters and how to assemble one that supports your crosshair placement instead of hiding it.
There is exactly one thing on your screen that you look at during every second of every round, and for most players it is still whatever Valve handed them on install day with the color nudged to cyan. The crosshair is not decoration. It is the reference point your entire aim is built around, and a bad one actively hides information from you — where your bullets are going, whether you are pre-aimed at head level, whether that dark doorway on Mirage has a body in it.
The good news is that CS2's crosshair system is about a dozen console commands, all of them exposed in the settings menu, and you can build a correct one in five minutes. Here is what each command does and how to assemble the thing.
Static or nothing
Start with the argument, because it decides everything else. cl_crosshairstyle takes values 0 through 5:
| Value | Style |
|---|---|
| 0 | Default, dynamic — expands as you move and fire |
| 1 | Default, static |
| 2 | Classic, static with dynamic dots on each side |
| 3 | Classic, dynamic |
| 4 | Classic, static |
| 5 | Classic, static except when shooting (legacy behavior) |
The default is 0. Nearly every professional plays on 4.
The pitch for a dynamic crosshair sounds reasonable: it shows your current inaccuracy, so you know when your shot will land. In practice it does the opposite of what you want. A crosshair that grows and shrinks four times a second is a moving target for your own eyes, and it trains you to read the crosshair instead of reading the map. Worse, the expansion tells you what you already know — you are moving, therefore you are inaccurate. That information was free.
A static crosshair keeps your aiming reference in exactly the same pixels no matter what your feet are doing. That is what makes crosshair placement trainable in the first place: the whole skill is holding a fixed point at head height as you clear angles, and you cannot build muscle memory around a shape that changes size.
Style 4 also has a practical advantage nobody mentions. Because it never expands, you can run it small enough to see through, which matters enormously at the long ranges CS2 is actually decided at.
Every crosshair command that matters
All of these live in Settings → Game → Crosshair, but the console is faster and lets you paste a whole config at once. Bind the console to a key you can hit mid-warmup and iterate on an aim map rather than in a live match.
Shape: size, gap and thickness
cl_crosshairsize— the length of each arm, default 5. This is the single most personal value. Big crosshairs are easier to find on a busy screen; small ones occlude less of the head you are trying to hit. Most players end up somewhere between 1 and 3 once they stop losing the thing.cl_crosshairgap— the distance between the center point and where each arm starts. Negative values pull the arms inward and tighten the whole cluster. A tight gap makes the crosshair read as a single point, which is what you want for headshot placement; a wide gap frames the target instead of covering it, which some AWPers prefer.cl_crosshairthickness— line width, default 0.5. Go up to 1 if you are losing the crosshair against bright surfaces, but understand the trade: at 1,920 pixels wide, a thick crosshair at long range covers most of a head model at A-long distance.cl_crosshairdot— 0 or 1, adds a center dot. Useful if you run a large gap and need a precise center; redundant and cluttering if your gap is already negative.cl_crosshair_t— 0 or 1. Removes the top arm and gives you a T shape. It sounds gimmicky and it is genuinely useful: the top arm is the one that sits directly over a distant head when you are pre-aimed correctly.
Visibility: color, alpha and outline
cl_crosshaircolor— 0 is red, 1 is green, 2 is yellow, 3 is dark blue, 4 is cyan. Set it to 5 and CS2 uses your custom values fromcl_crosshaircolor_r,cl_crosshaircolor_gandcl_crosshaircolor_b, each 0 to 255.cl_crosshairalphaandcl_crosshairusealpha— transparency, 0 to 255, gated behind the usealpha toggle. Set alpha to 255 and stop thinking about it. There is no upside to a semi-transparent crosshair.cl_crosshair_drawoutlineandcl_crosshair_outlinethickness— a black border around the arms. Turn the outline on. It is the difference between a crosshair you can always see and one that vanishes against the light concrete on Ancient B or the sand on Dust II. Keep the thickness at 1 or below; heavier outlines just make the crosshair fatter.
The color question has one real answer and a lot of noise around it. Pick a color that does not exist naturally on the maps you play. Green and cyan survive almost every CS2 environment. Red is a bad idea because blood, health bars and the enemy team's own crosshair-adjacent visual noise all live in that band. Yellow is fine until you play Dust II or Anubis, where the whole world is yellow.
Behavior: style, recoil and weapon gap
cl_crosshairgap_useweaponvalue— 0 or 1. With it on, the gap changes per weapon, so your Deagle crosshair is not your P90 crosshair. It is a defensible choice if you want the crosshair to signal what you are holding, but it fights the consistency argument for static crosshairs. Leave it off.cl_crosshair_recoil— 0 or 1. A CS2 addition that makes the crosshair follow your actual recoil while firing. More on this below, because it deserves its own section.cl_crosshair_friendly_warning— flags when you are aimed at a teammate. Harmless, occasionally saves you a $300 teamkill penalty, which is real money in a tight economy.
Build one in five minutes
Do not copy a config blind. Do this instead, on an aim or workshop map, in this order:
- Set
cl_crosshairstyle 4andcl_crosshairalpha 255. Non-negotiable starting point. - Set the color to something you can find instantly. Custom RGB via color 5 if you are picky; cyan otherwise.
- Turn the outline on at thickness 1.
- Set size to 5 and gap to 0, then shrink both until the crosshair stops covering the heads you are shooting at. Stop the moment you start losing it during a fight — that is your floor, and it is different for everyone depending on resolution and monitor size.
- Set thickness last. Thickness fixes visibility problems that size and outline could not.
- Play three full matches before touching it again.
That last step is the one people skip. A crosshair feels wrong for about twenty minutes and then becomes invisible in the good way. Changing it every session means you never build the reference at all, and you will blame your sensitivity for what is actually a config you rewrite twice a night.
One related setting worth sorting out in the same sitting: viewmodel_fov caps at 68, and pushing it to the maximum drops your gun model lower and further right, which frees up a meaningful chunk of the bottom-right of your screen. A crosshair you can see and a gun that is not eating your screen are the same project.
The sniper crosshair nobody configures
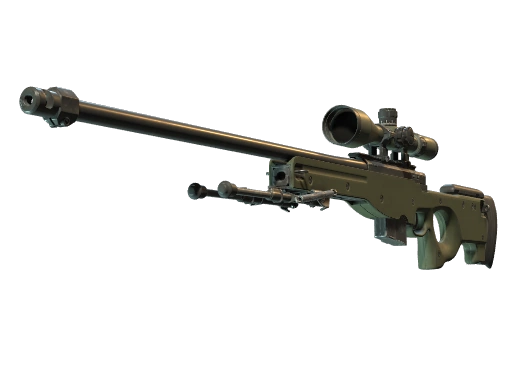
Scoped rifles do not use your crosshair. They use the scope overlay, and its line width is controlled by cl_crosshair_sniper_width, which defaults to 1 pixel.
One pixel is nearly invisible on a 1440p or 4K display, and on a bright skybox it disappears entirely. Set it to 2 and the scoped AWP suddenly has a crosshair you can actually see. Most serious AWPers run 2; some go to 3 for a very heavy line. This is the highest value-per-second-of-effort change in the entire settings menu and almost nobody makes it.
It applies to the SSG 08's scope as well, and to the scoped modes on the AUG and SG 553 — which is worth remembering if you are one of the people who still buys the AUG on CT side and wonders why the scope feels imprecise.
Share codes, and why copying a pro is a trap
CS2 has a native crosshair share format. Open Settings → Game → Crosshair → Share or Import, paste a code that starts with CSGO- followed by five blocks of characters, hit import, and the whole config lands at once. It is genuinely convenient, and it is the fastest way to test five crosshairs in one warmup.
The trap is treating a pro's code as an answer. Those settings were tuned for that player's monitor, resolution, aspect ratio and stretched-or-native preference. A crosshair that reads as a fine point on a 24-inch 1080p panel at 4:3 stretched is a different physical object on a 27-inch 1440p 16:9 display. Import codes to sample shapes, then adjust size and gap for your own screen. The style, alpha and outline settings port cleanly; the size numbers do not.
Also worth saying plainly: no crosshair adds aim. It removes friction. If you are stuck in a rank band and blaming your config, the honest diagnosis is usually somewhere in crosshair placement, spray discipline or utility usage rather than in three pixels of line thickness.
Follow recoil is a training tool, not a setting
cl_crosshair_recoil 1 makes the crosshair climb and drift with your actual recoil while you hold the trigger. It is not an aim assist — the bullets were always going there, CS2 is just drawing it for you now.
As a permanent setting it is questionable, because a crosshair that jumps during every spray reintroduces exactly the visual instability you turned off style 0 to avoid. As a training tool for a couple of hours it is excellent: fire a full AK magazine at a wall with it on, and the abstract spray pattern you have been trying to memorize becomes something your eyes track directly. Turn it on for practice, off for matches.
That pairs naturally with actual pattern work, which is a separate discipline entirely and the fastest route out of the lower Premier rating bands.
Five crosshair mistakes that cost you kills
- A crosshair bigger than a head at 20 meters. If your arms and gap together span more than the head model at common engagement distance, you are aiming at an occluded target. Shrink it.
- Semi-transparent lines. Alpha below 255 for aesthetics is a straight downgrade. There is no scenario where a fainter crosshair is better.
- No outline. Every map has at least one surface your color disappears against. The outline is free insurance.
- Dynamic style out of habit. If you have never deliberately chosen style 4, you are still on 0 because you never opened the menu, not because you decided anything.
- Never touching
cl_crosshair_sniper_width. A one-pixel scope line on a high-resolution monitor is functionally no crosshair at all, and it applies to the most expensive gun in the game.
Everything else in this menu is preference. Those five are just wrong. Fix them and the rest of the CS2 fundamentals start paying off properly, because you can finally see the thing you are aiming with.
Quick Action Checklist
- Set
cl_crosshairstyle 4. Static or nothing. - Set
cl_crosshairalpha 255and turncl_crosshairusealphaon. - Turn
cl_crosshair_drawoutlineon, thickness 1 or lower. - Pick a color that does not appear on your maps — cyan and green are safest, red and yellow are not.
- Shrink size and gap until the crosshair stops covering heads, then stop.
- Set
cl_crosshair_sniper_width 2if you touch the AWP, SSG 08, AUG or SG 553 at all. - Leave
cl_crosshairgap_useweaponvalueat 0 for a consistent reference across every gun. - Use
cl_crosshair_recoil 1in practice sessions only, then turn it off. - Import share codes to sample shapes, not to inherit sizes — your monitor is not their monitor.
- Commit for three matches before changing anything. Twenty minutes of "wrong" is the adjustment period, not a verdict.
Frequently Asked Questions
What is the best crosshair style in CS2?
What do the cl_crosshairstyle values mean in CS2?
How do I set a custom crosshair color in CS2?
How do I import a crosshair code in CS2?
What does cl_crosshair_sniper_width do?
Should I use cl_crosshair_recoil in CS2?
Is copying a pro crosshair code a good idea?
Does a better crosshair actually improve your aim?
Keep Reading
Related Guides
CS2 Spray Control Guide: Recoil Patterns That Work
The AK spray pattern is identical every single time you pull the trigger. That is not a figure of speech — it is a lookup table. Here is how CS2 recoil and inaccuracy actually work, and how to practise the parts that transfer to a real round.
CS2 Practice Server Setup: The Commands That Work
sv_grenade_trajectory does not exist in Counter-Strike 2. Neither does cl_grenadepreview or r_cleardecals. Half the practice configs online are CS:GO leftovers that fail silently. Here is what CS2 actually ships.
CS2 AWP Guide: How to Justify a $4,750 Rifle
The AWP one-shots anywhere but the legs, moves at half speed while scoped, pays a $100 kill reward instead of $300, and now throws away live rounds every time you reload. Here is the whole cost sheet, and the case for buying a Scout instead.
CS2 Economy Guide: Buy Rounds, Loss Bonus, and MR12
Half the rounds you lose in CS2 are lost in the buy menu, before anyone fires a shot. Here are the exact payout numbers, the loss bonus ladder, and the force-buy math that decides whether your next three rounds are winnable.
CS2 Wingman Explained: Maps, Money and Rank
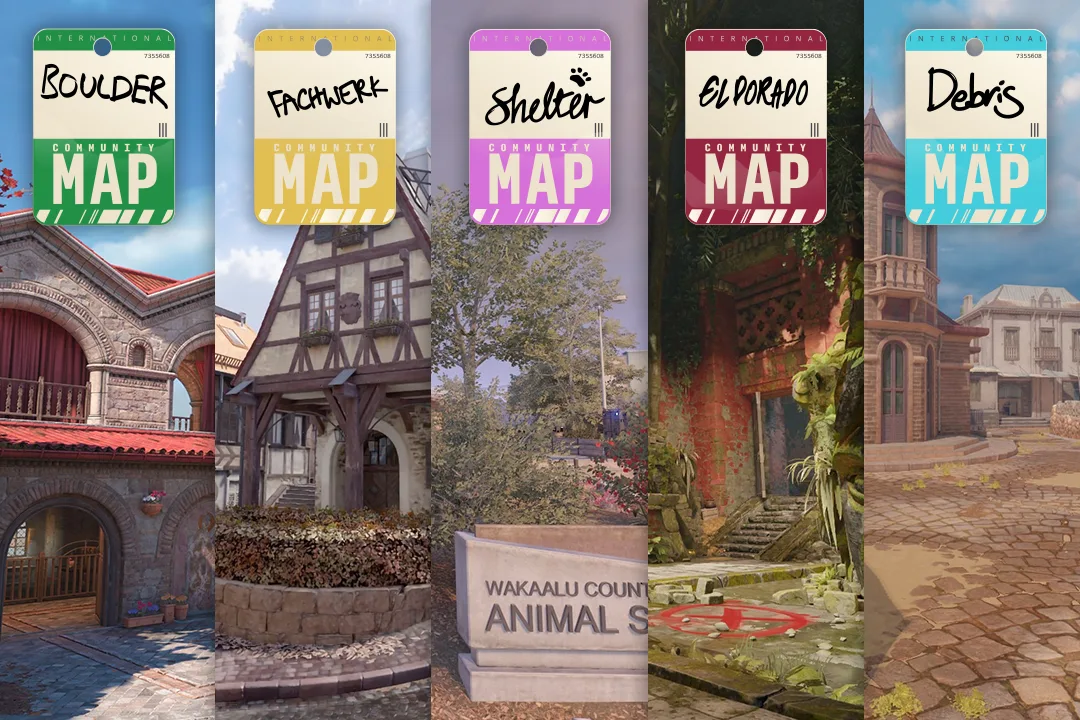
Lose the first four rounds of a Wingman half and the fourth loss pays you $2,900, while an elimination win pays $2,750. Counter-Strike 2's 2v2 mode runs on its own config: smaller round awards, a higher and flatter loss bonus, an $8,000 cap, a 90-second clock and a seven-map pool that ignores Active Duty. Here is the whole mode from the game files and Valve's release notes, including every community map Valve has rotated through it.
CS2 SCAR-20 vs G3SG1: The $5,000 Two-Shot Autosnipers
The SCAR-20 and G3SG1 are the same rifle in Counter-Strike 2's weapon file except for three values: reload time, recoil, and the flinch numbers behind tagging. Both cost $5,000, pay $300 a kill, kill with any two hits and one-tap a helmet at any range. Here is the pair from the game files, what March 2026 did to their ammo, and how the money compares with the AWP.