Crimson Desert Camp Guide: Greymane Camp, Cooking and Dispatch
The farm, the cooking fire and the dispatch board look like optional cosy filler. They are actually where your boss-fight power comes from, and the game barely tells you.
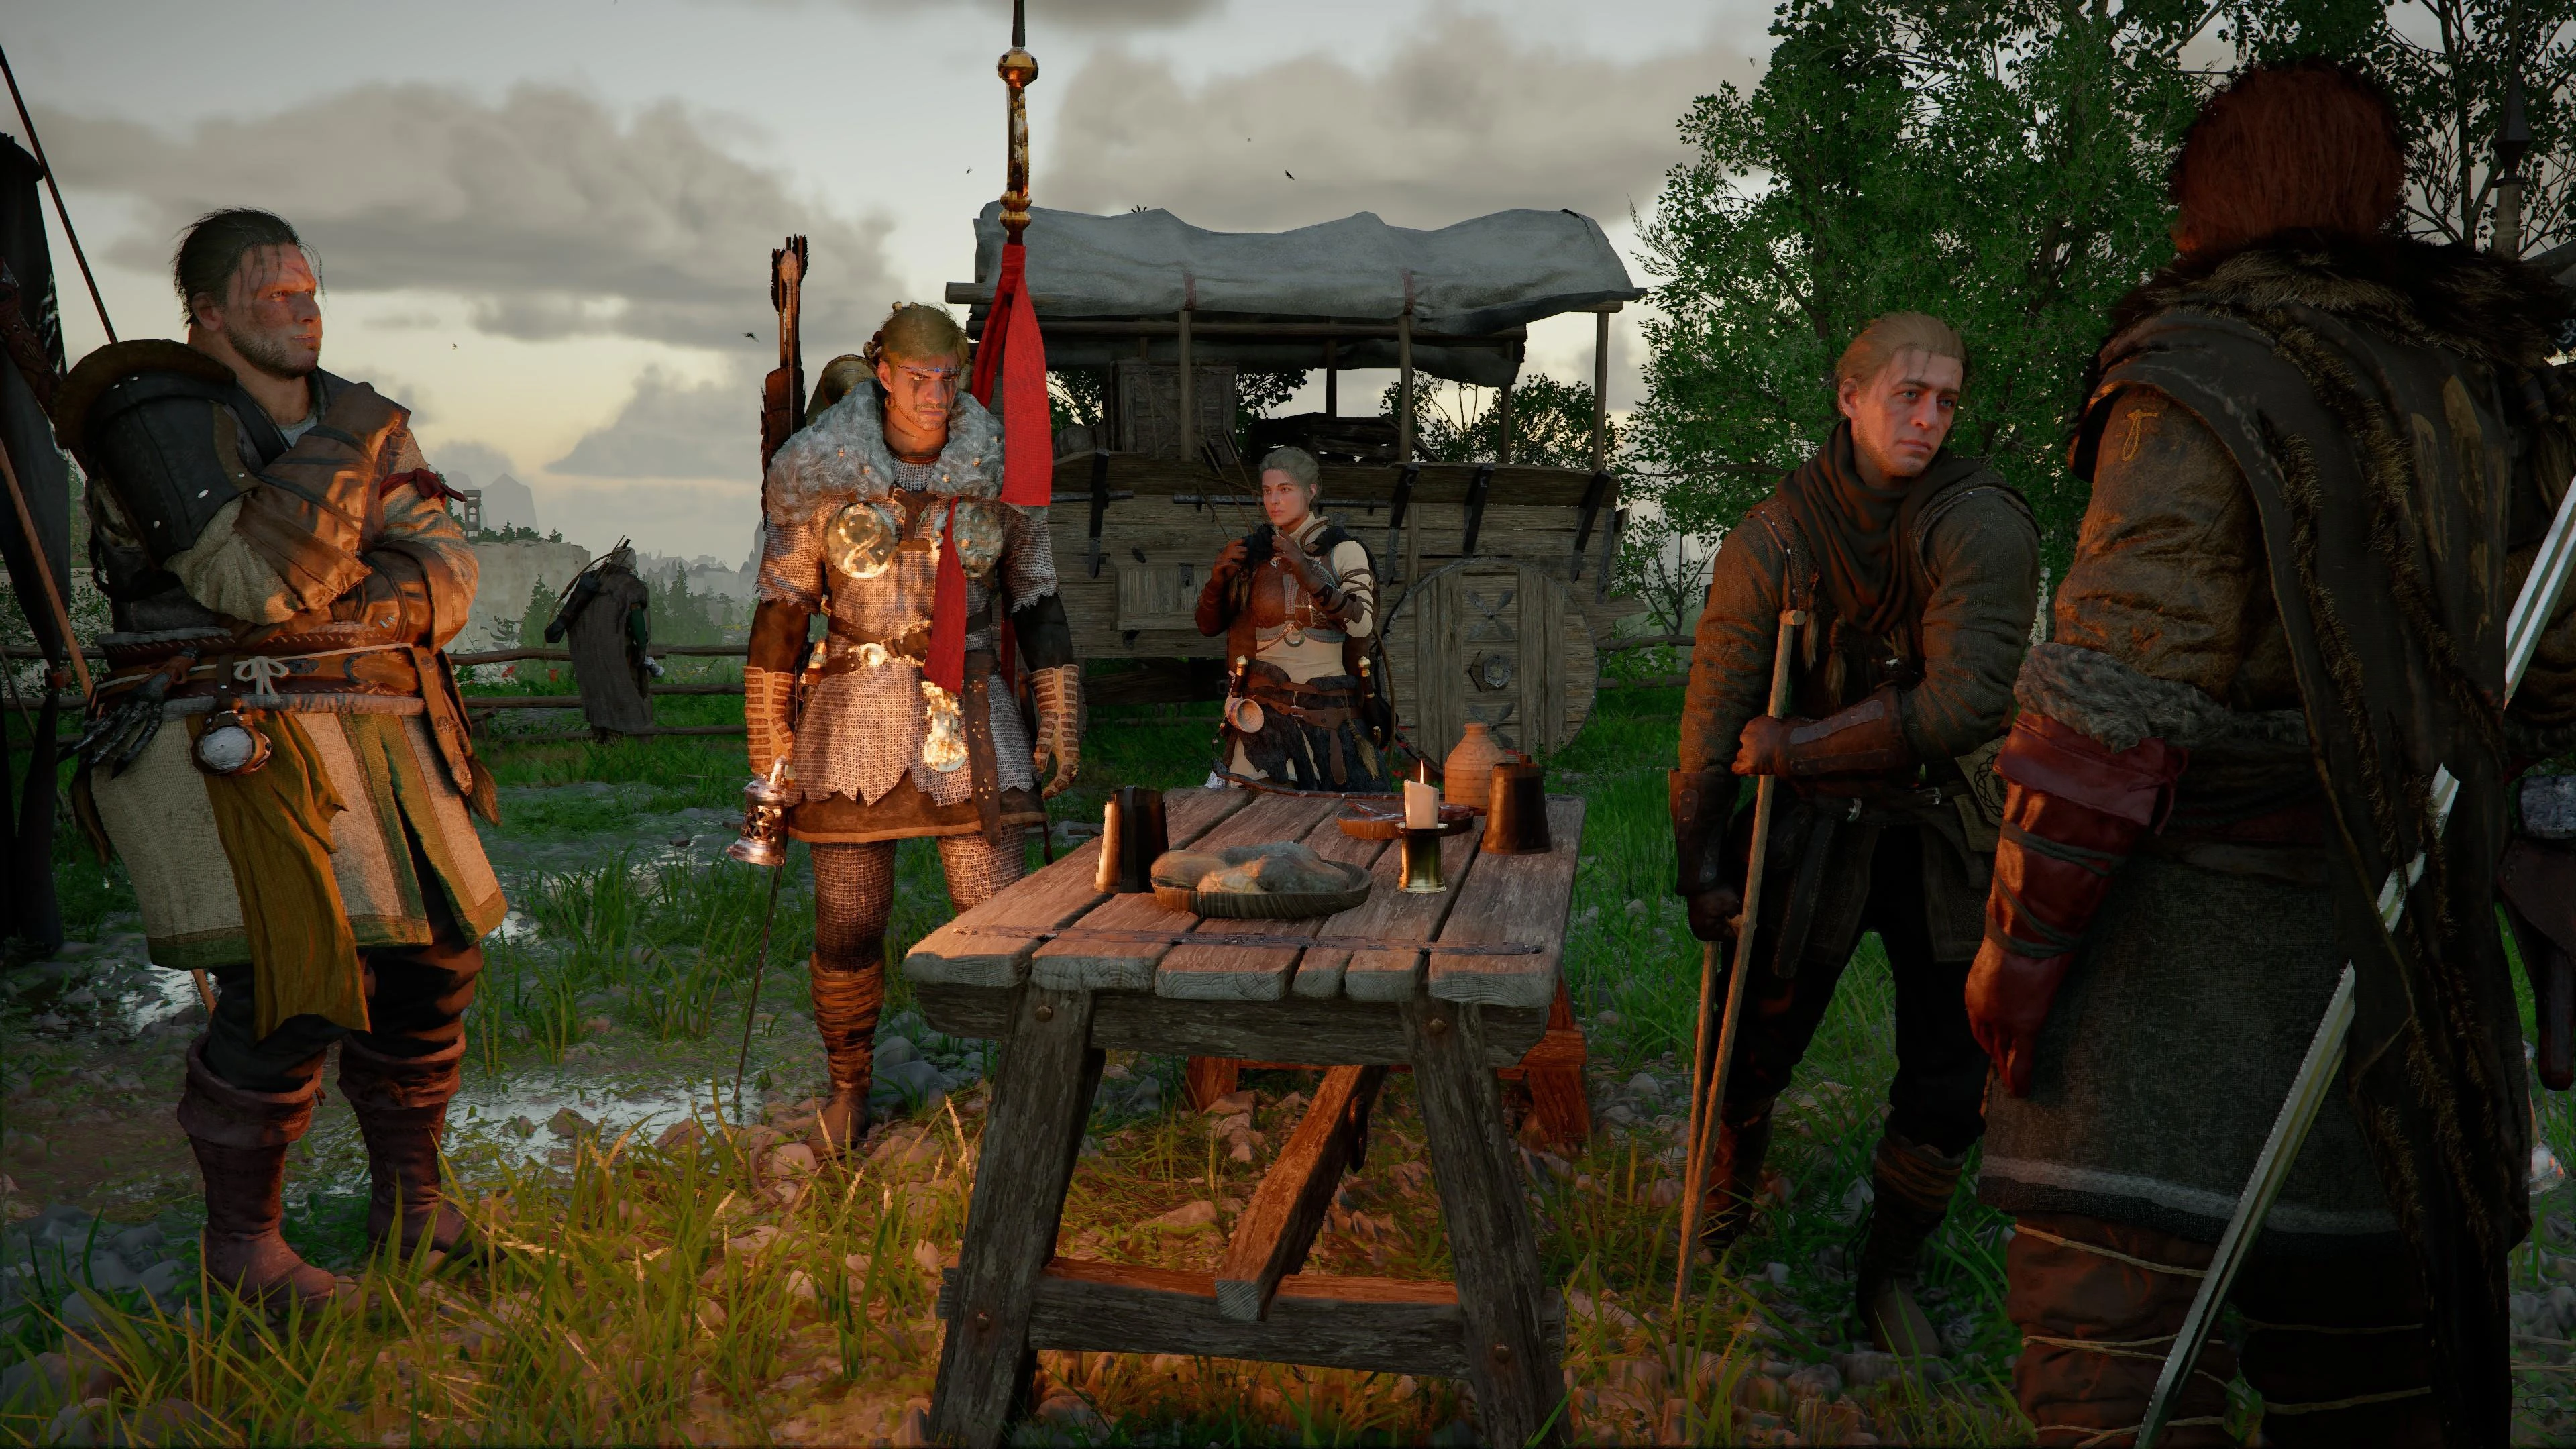
The systems you skipped are the ones capping your damage
There is a particular kind of player who hits Chapter 3 of Crimson Desert, gets handed a plot of dirt on a hill, and files the whole thing under "cosy side content I will get to later." I was that player. Later never arrives, and twenty hours on you are in front of a boss wondering why the fight feels tuned against someone better equipped than you.
They are not better equipped. They cooked.
Crimson Desert buries a genuinely large amount of its power budget in the systems that look optional — the Greymane Camp, the dispatch board, the cooking fire, the cauldron, the farm. The game shows you a bonfire and moves on. What it does not say is that the food off that fire is how you get elemental resistance for a specific boss, and the cauldron next to it is how you get a second life in every fight for the rest of the game.
This is the guide for the half of Crimson Desert that does not involve hitting anything.
Unlocking the Greymane Camp
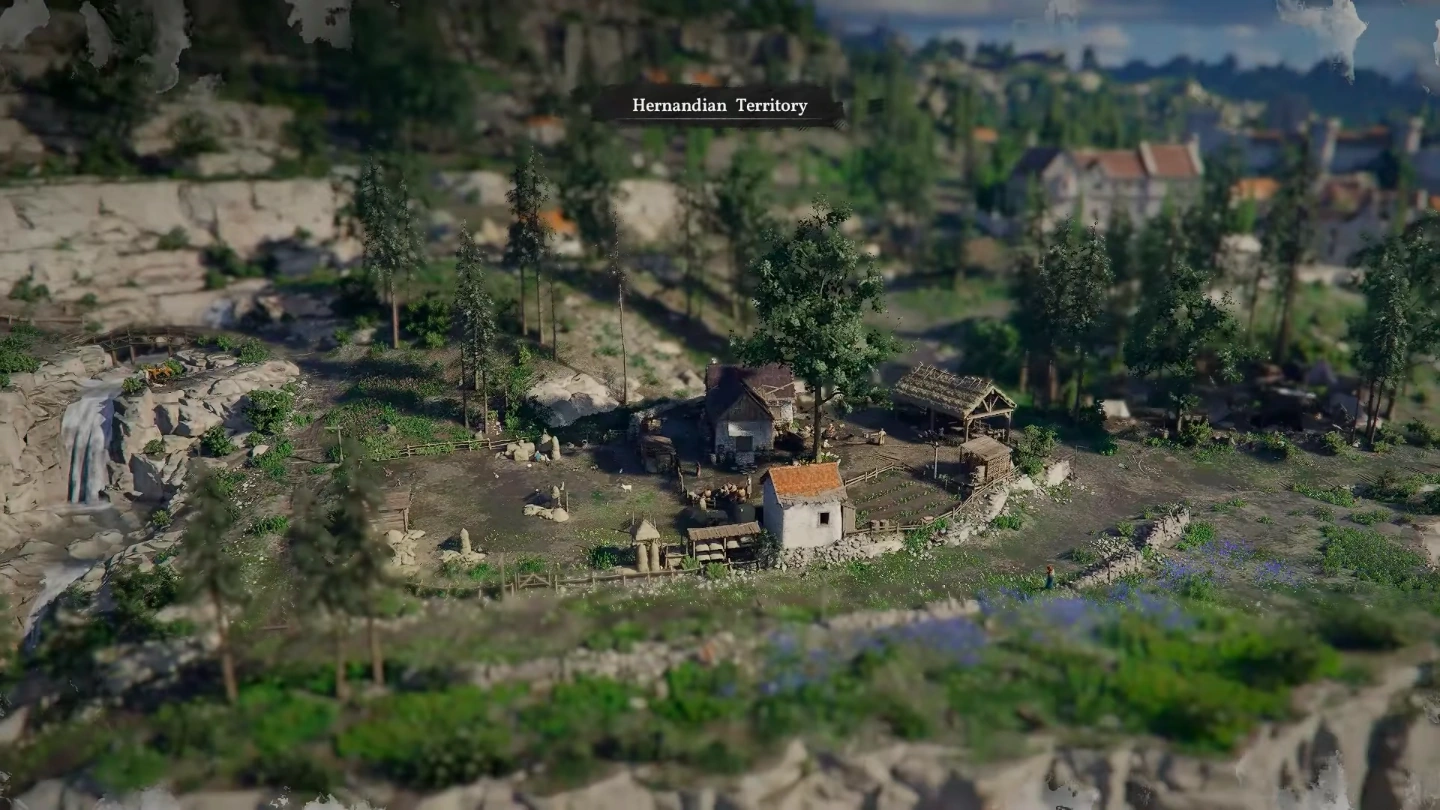
The camp arrives in Chapter 3, after the Hornsplitter fight closes out Chapter 2. Kliff plants a banner at Howling Hill in Hernand and that hilltop becomes your permanent base of operations for the rest of the game.
Two things unlock in the same beat, and they matter for different reasons:
A permanent bonfire. You get your own cooking station the moment the camp exists, which removes the main friction from cooking — no more hunting for a fire when you happen to have ingredients.
The comrade and dispatch system. Game8's walkthrough puts the first Freeswords, Luke and Ronald, in the "Pioneering" quest of the Chapter 3 questline. From that point you have people to send places.
Camp growth itself runs through the Grounds of the Sunrise questline under the Greymane faction quests. Expansion Missions are the milestones — each one is a chunk of resources handed over in exchange for a camp level, and each level opens more facilities, more recruit capacity and more dispatch slots.
Here is the part worth underlining: your comrades' skill levels scale with camp progress. Upgrading the camp makes the people you send out better at gathering the resources you need to upgrade it. It is a compounding loop, which means the earliest hours you put into it are worth the most. Start it early. That is the entire argument.

Comrades and the dispatch loop
Dispatch is the closest Crimson Desert gets to idle-game design, and it is easy to forget about because it lives in a menu you have no reason to open. To use it: open the map from the pause menu, put the cursor over the Greymane Camp at Howling Hill, hit the inspect prompt, and go to the Missions tab. That is the whole interface, buried three inputs deep behind a map hover, which is why so many people play forty hours without touching it.
The mechanics are straightforward:
- Not everyone can be sent out. Only Freeswords are dispatchable. Story-critical camp members like Marius, Carl and Ross stay home.
- Some missions need two or more comrades. Bigger jobs want a crew, so a roster of one useful person is a roster that cannot run half the board.
- Missions run on real elapsed time. You dispatch, you go play the game, you come back to a payout. The correct move is to fire off everything available immediately before you leave camp, not to stand around waiting.
- More comrades recruited means more missions running at once. Greymane faction quests are what expand the roster, so faction content pays into this loop directly.
The rule that covers ninety percent of it: never leave a comrade idle while a mission is open. An unassigned Freesword is a resource generator you turned off.
Which dispatch missions to run first
There is a rough priority order that holds up early:
- Construction and expansion missions. These feed camp levels directly, and camp level feeds everything else including comrade skill. Highest compounding return.
- Resource missions. Wood, stone and food are what Expansion Missions eat. Keep the pipeline full.
- Silver missions. Useful, but silver has a competing sink you care about more — socket creation, covered in the Abyss Cores guide. Do not starve your build to fund a barn.
The interface flags which comrade suits which job. Take that seriously rather than dispatching the first three names on the list.
Cooking is boss prep, not flavour text
If you take one practical thing from this guide, take this one.
Food in Crimson Desert restores Health and Spirit, which is the obvious part. The part that changes how you play is that cooked dishes grant temporary resistances — including elemental resistances that map directly onto specific fights and specific regions.
That reframes cooking from "healing item" to "pre-fight loadout decision." You are already re-socketing before a boss because swapping Abyss Cores is free. Cooking belongs in the same ritual — walking into a fire-heavy encounter without a fire-resistance dish is the same category of error as walking in on an empty Stamina bar, which the bosses guide hammers for exactly the same reason.
Regions apply the same logic. If you are pushing into the hostile terrain covered in the Pywel exploration guide, cook before you go rather than after you notice the problem.
Grill, Field Pot, or Improvise
Three ways to turn ingredients into food, and they are not equivalent.
Grilling is the fast option. It instantly improves what a raw ingredient recovers. Low effort, low ceiling, and perfectly fine for topping off between fights.
Field Pot cooking requires an unlocked recipe and more ingredients, and the dishes are meaningfully better than grilled equivalents. This is where the real buffs live. If a dish matters, it is a Field Pot dish.
Improvise is the experimental path: throw ingredients in without a recipe. Get the right ones in the right quantity and you unlock that recipe permanently. Get it wrong and you produce a mystery dish with subpar recovery. So improvise with common ingredients you have stacks of, never with anything rare — permanent unlock against a handful of wasted herbs is a good trade all day.
Palmar Pills are the best thing alchemy gives you
Cauldrons sit near campsites and in towns, and the single most valuable thing you can make at one is a Palmar Pill.
A Palmar Pill lets Kliff get back up. Go down in combat with one in your inventory and you can hold the revive input to stand back up on the spot with 30% of your health, instead of eating a checkpoint reload. There is no once-per-fight restriction — if you are carrying five pills, you have five extra attempts inside the same encounter. The upgraded Refined Palmar Pill does the same thing and restores full health instead.
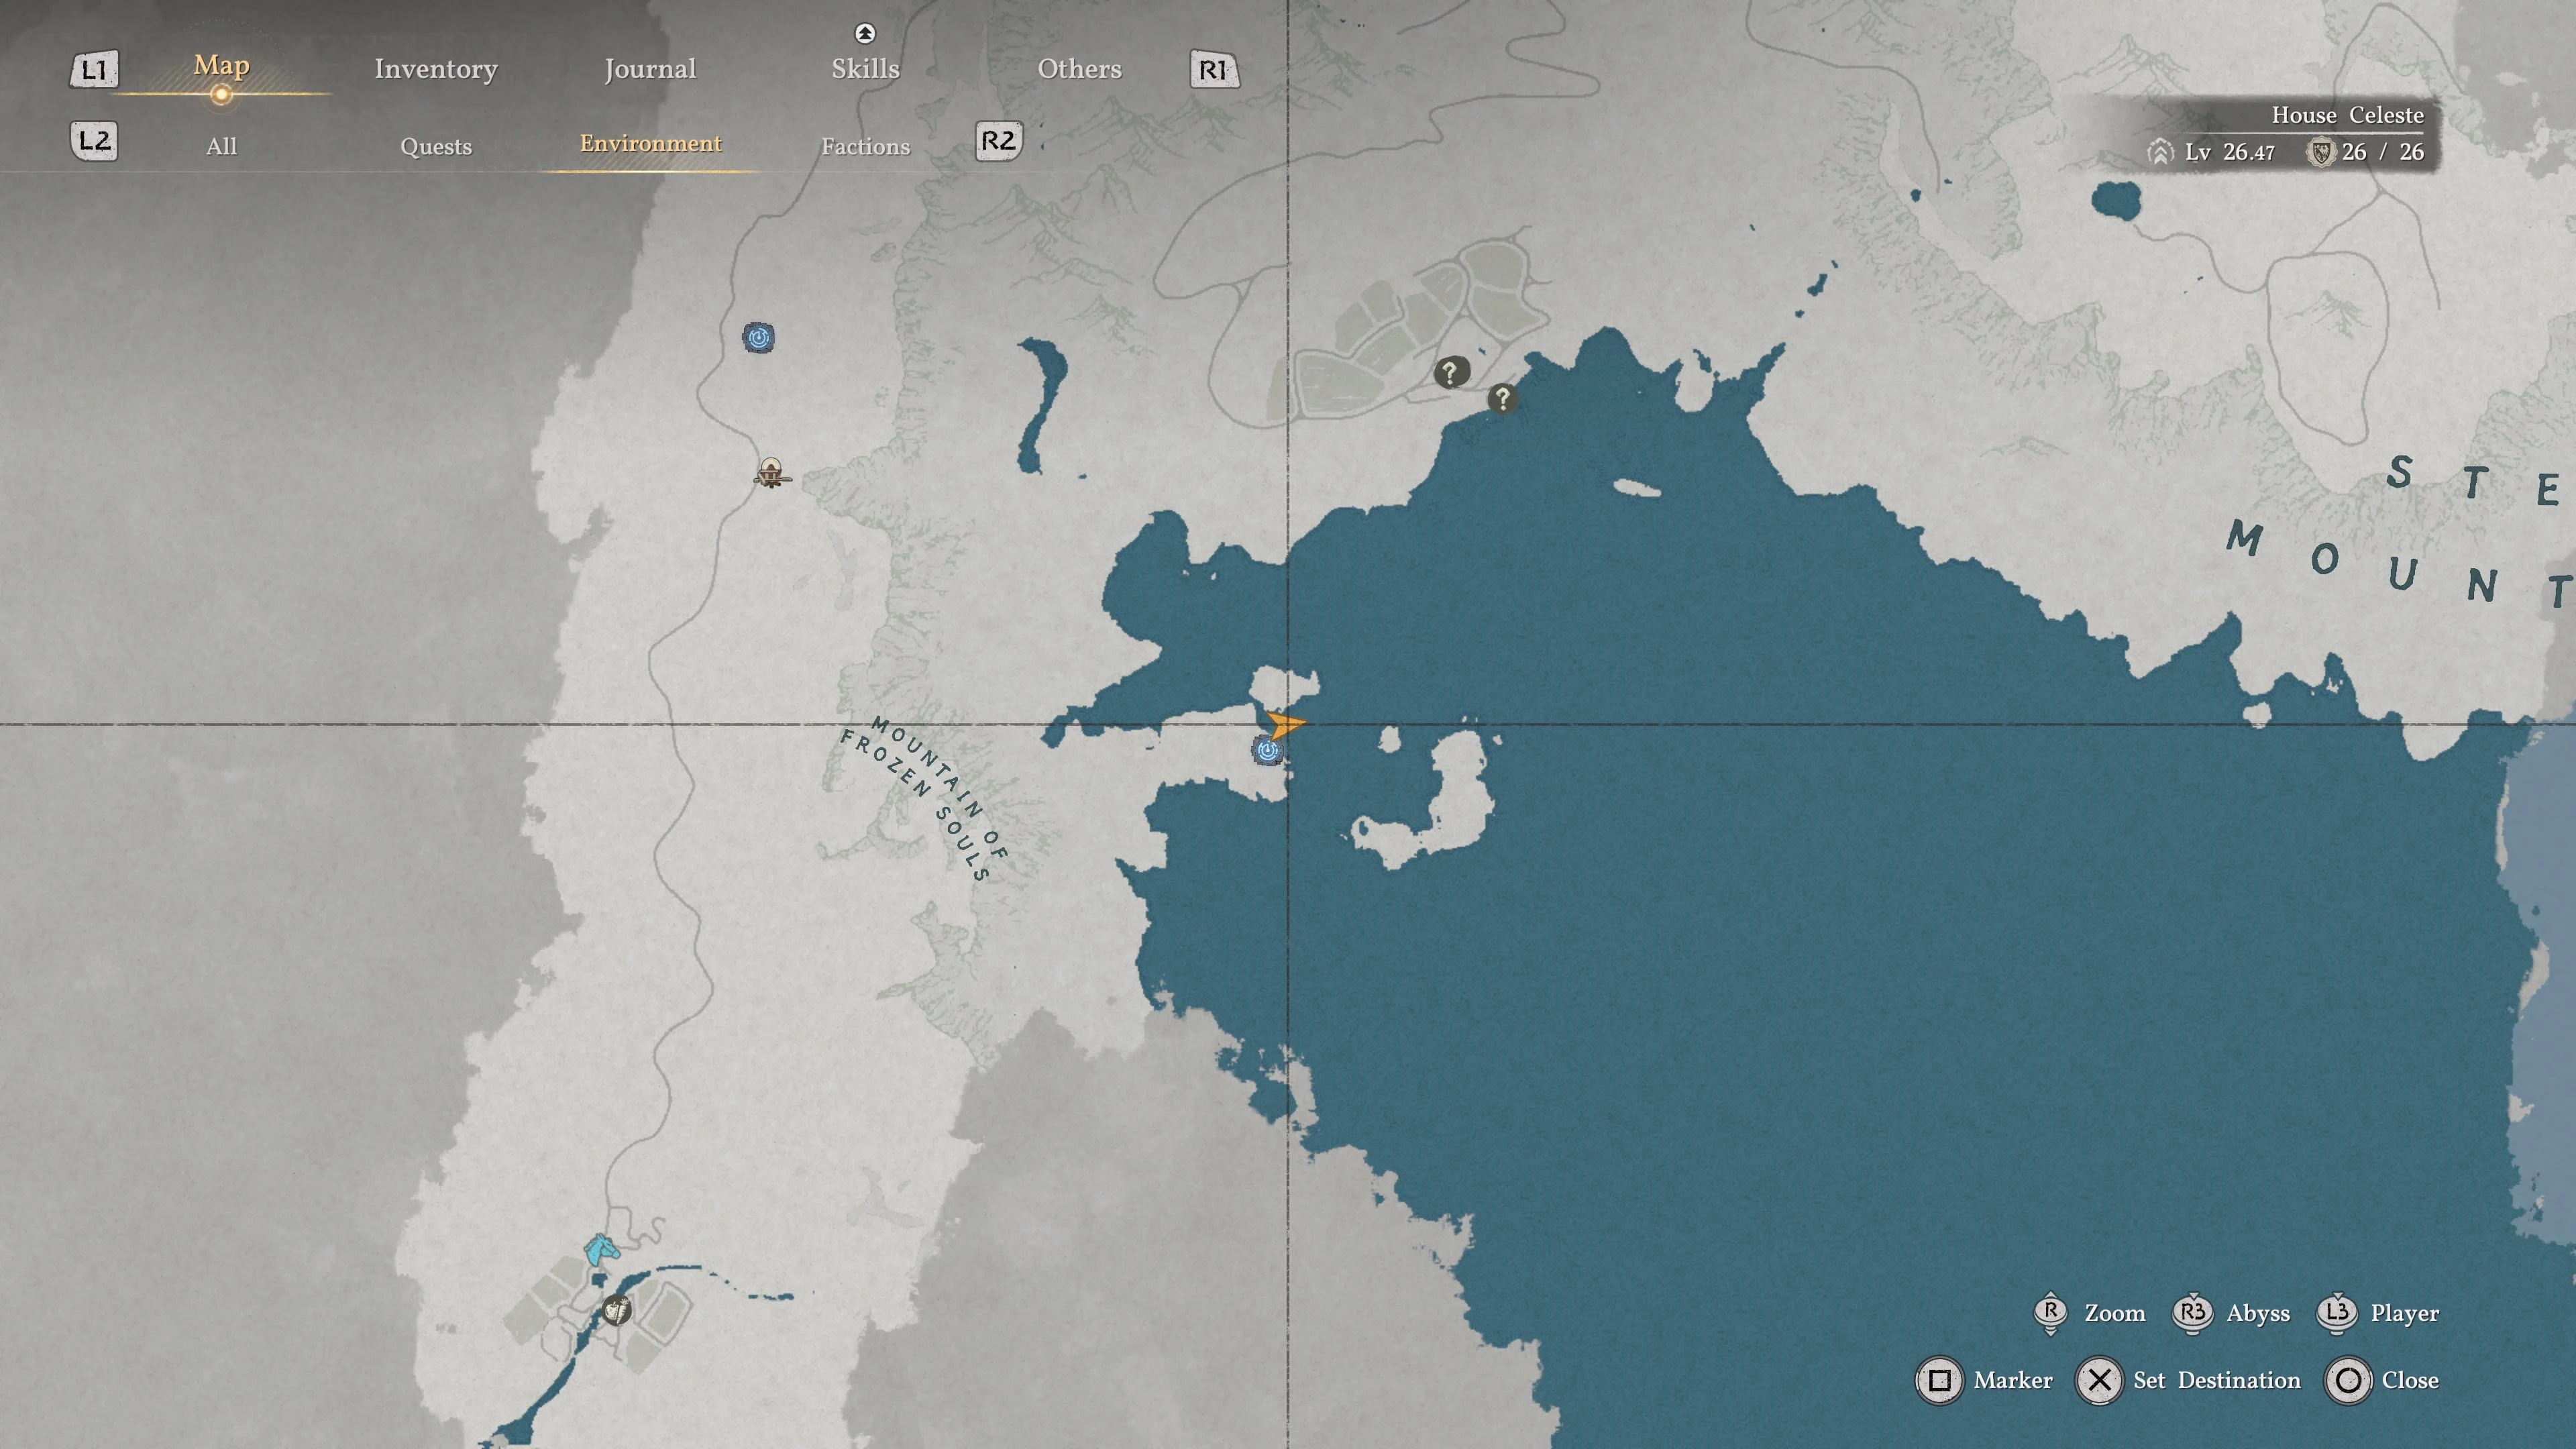
The Alchemy Formula for the basic pill is a crafting manual you find out in the world, sitting on a book-covered table inside Shadow's Whisper Cave on the west shoreline of Three Saints' Falls, in Hernand. Once you have it, the recipe is almost insultingly cheap: two Water and fifteen medicinal herbs, where "medicinal herb" covers the ordinary plants and flowers you have been walking past since the tutorial.
Do the arithmetic on that. A renewable, mass-producible extra life, built from vendor water and roadside weeds. Every hour without the formula is an hour of harder boss attempts than you needed to have.
You will also find Palmar Pills as glowing pickups around enemy camps, but pickups do not scale. Crafting does.
The farm and the ranch are a supply line
Once the camp expands far enough, you can put in a farm for crops and a ranch for animals. Both are passive producers, both need a builder comrade assigned, and both take in-game time to mature.
The reason to bother is not the homestead fantasy. It is that everything above — cooking, alchemy, crafting at the smithy — runs on ingredients, and there are exactly three ways to get them: buy them, gather them in the field, or grow them. Growing them is the only one that costs nothing on an ongoing basis. A farm and ranch ticking over in the background means the Field Pot dish you want before a boss is something you just make, rather than a shopping trip.
Fishing, hunting and the rest of the life skills
Crimson Desert runs a full spread of non-combat skills alongside the swordfighting: fishing with a timing-based reel minigame, hunting wildlife with melee weapons or bows, gathering herbs, chopping wood, mining ore, rearing animals and taming horses. There are competitive diversions too — arm wrestling, horse racing, archery contests — which exist for texture more than power.
The productive ones all terminate in the same place. Hunted meat and caught fish are cooking ingredients. Gathered herbs are alchemy ingredients. Ore and wood are crafting and construction materials. This is not a parallel game; it is the input side of the system that buffs your combat.
Which is also permission to not grind any of it. You do not need to max fishing; you need enough fish for the resistance dish you want on Thursday. Treat the life skills as supply runs with a purpose and they are pleasant. Treat them as a completion checklist and they are the thing that makes people call this game bloated.
How to fit this around actually playing
A routine that keeps the camp compounding without turning into a second job:
Every time you pass through camp, do three things. Dispatch every idle comrade, collect finished missions, cook whatever your next objective calls for. Ninety seconds, and the whole loop keeps turning.
Prioritise Expansion Missions over hoarding. Resources sitting in storage do nothing. Camp levels raise comrade skill, which raises the rate resources come in.
Cook to a plan, not to a full pantry. Decide what you are fighting next, make the dish that counters it, go.
Get the Palmar Pill formula early. Of everything in this guide, it is the single change with the biggest effect on how the back half of the game feels, and the combat fundamentals get a lot easier to practise when a mistimed parry costs you 70% health instead of a reload.
Quick Action Checklist
- Establish the Greymane Camp at Howling Hill in Chapter 3 and start using it immediately, not "later."
- Push the Grounds of the Sunrise questline for Expansion Missions. Comrade skill scales with camp level.
- Open the map, inspect the camp, and check the Missions tab every time you pass through.
- Never leave a Freesword idle while a mission is available. Story NPCs cannot be dispatched.
- Dispatch construction and resource missions before silver missions.
- Cook resistance dishes before boss fights and before entering hostile-climate regions.
- Use Field Pot cooking for real buffs and grilling only for quick top-ups.
- Improvise with common ingredients to unlock recipes permanently. Never improvise with rare ones.
- Grab the Palmar Pill formula in Shadow's Whisper Cave at Three Saints' Falls, then stock up.
- Craft Palmar Pills from two Water and fifteen common herbs at any cauldron. Carry several.
- Build the farm and ranch to make ingredients passive instead of a shopping trip.
- Treat fishing, hunting and gathering as targeted supply runs, not completion checklists.
Frequently Asked Questions
When do you unlock the camp in Crimson Desert?
How do you dispatch comrades in Crimson Desert?
How do you upgrade the Greymane Camp?
What do cooked foods do in Crimson Desert?
What is the difference between grilling and Field Pot cooking?
How do you get Palmar Pills in Crimson Desert?
What does a Palmar Pill actually do?
Keep Reading
Related Guides
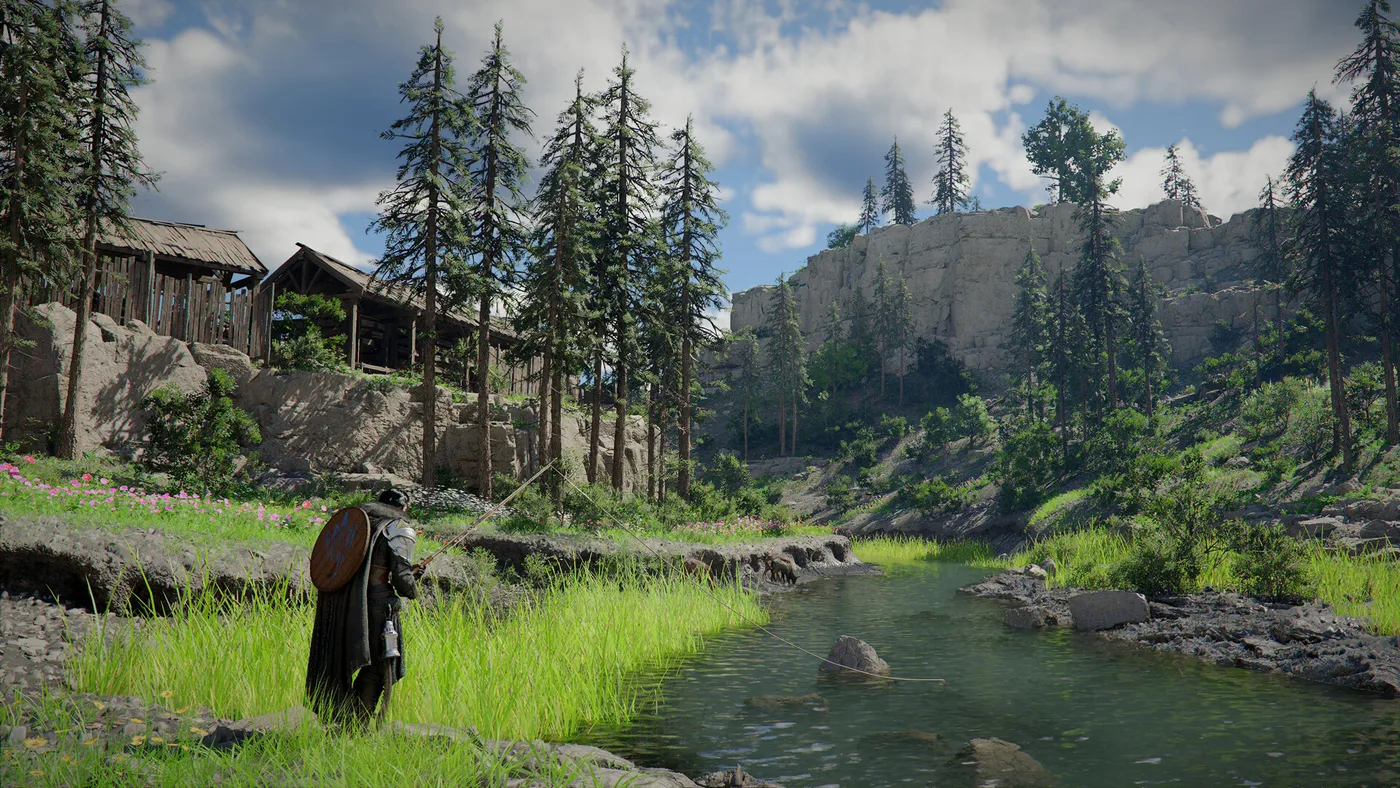
Crimson Desert Fishing Guide: Rods, Legendary Fish, Pond
Crimson Desert fishing in one place: how to learn it, the four rods and how to get each, the spots two guides agree on, all five legendary fish, the camp pond, and the May patch that made legendary fish unsellable while a March guide still lists a sell price for them.
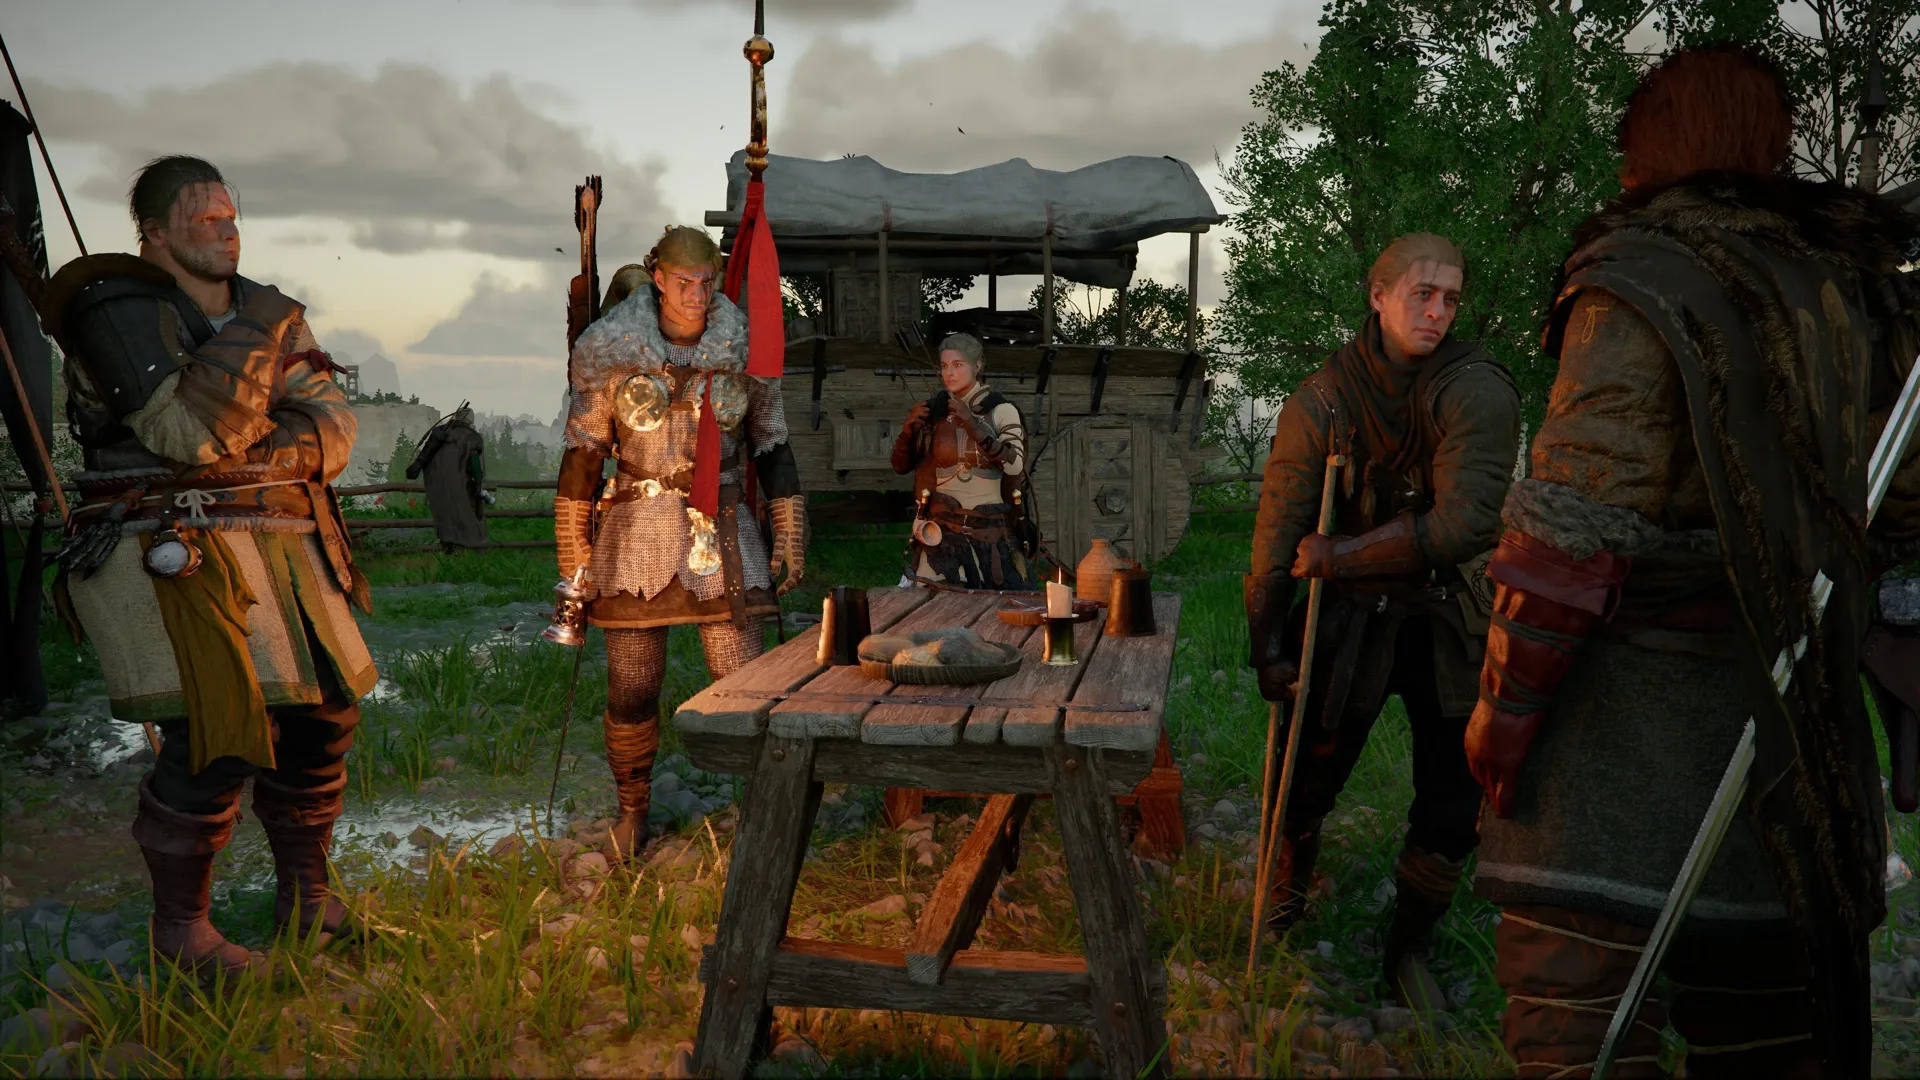
Crimson Desert Housing Guide: Howling Hill, Furniture and the Outdoor Overhaul
Crimson Desert hands you a clifftop estate in Chapter 3 and most players never do anything with it. Here is how the housing system works, where the furniture actually comes from, and why the June patch made the yard the best part.
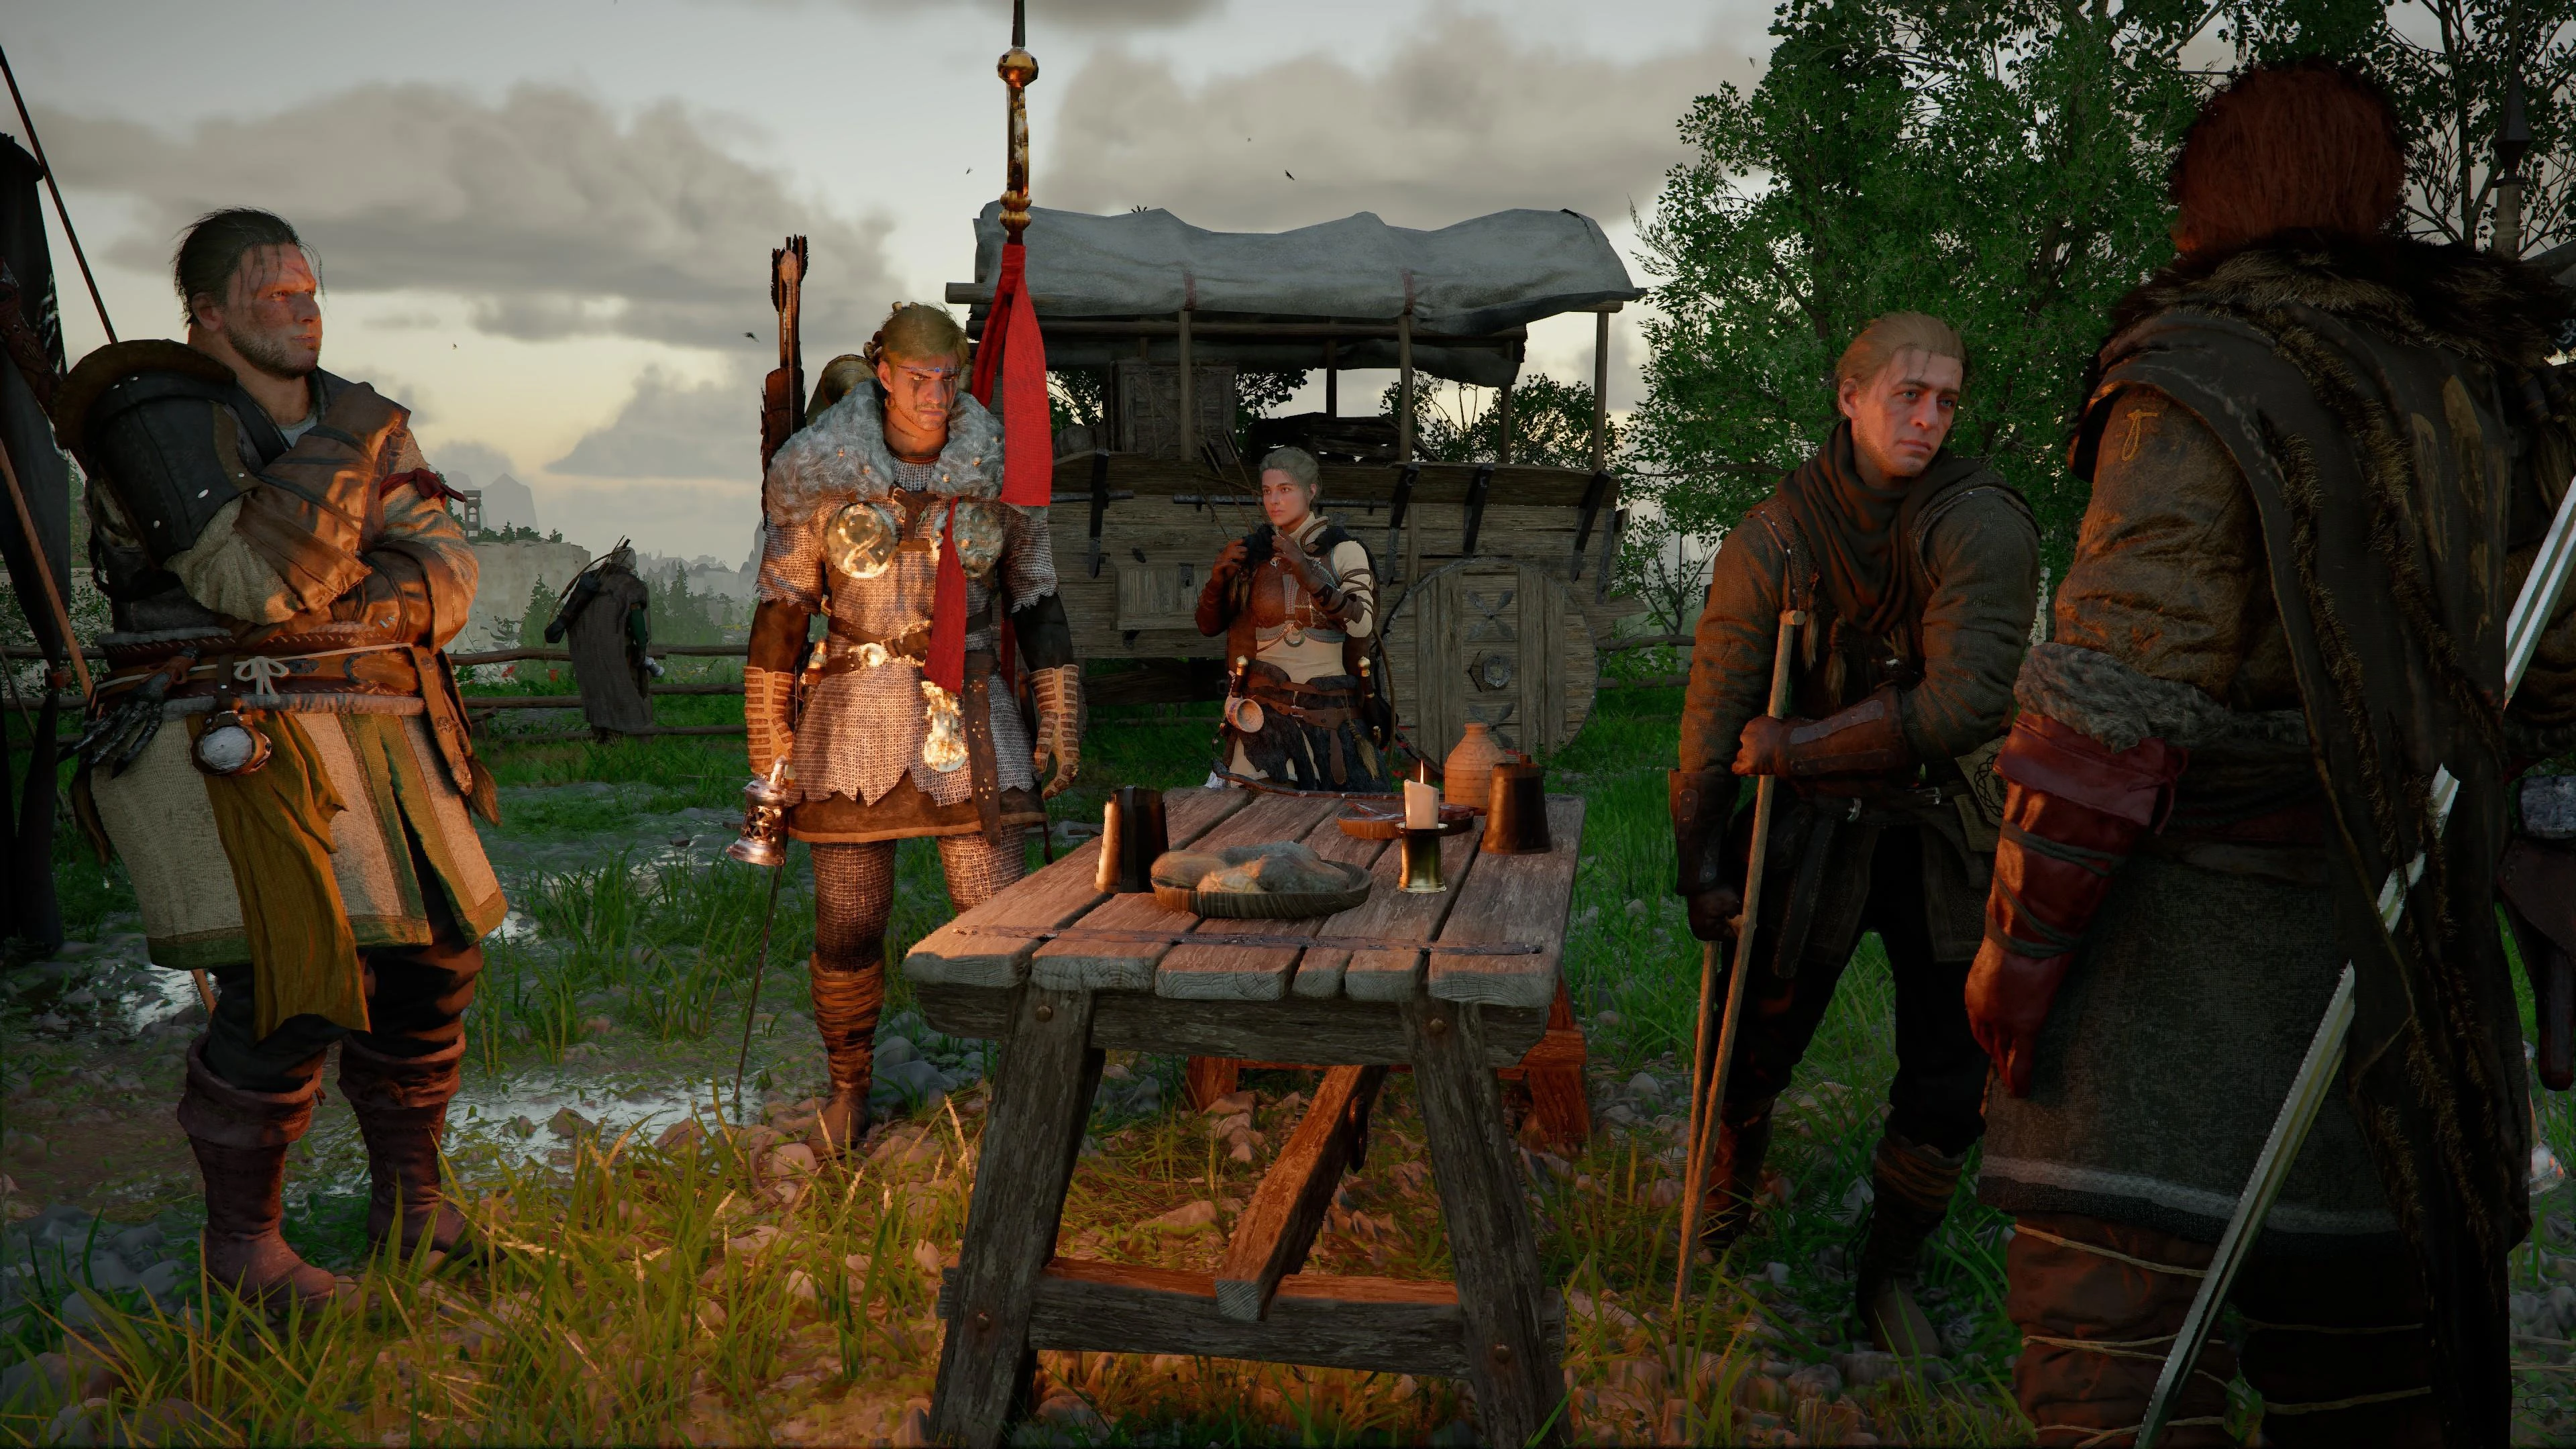
Crimson Desert Comrades Guide: How to Recruit the Greymanes
Comrades are the free workforce most players never actually build. The recruitment system hides behind a faction menu, and the people you skip are the ones mining your upgrade materials for you.

Crimson Desert Achievements: All 34, Rarity and Missables
Five of Crimson Desert's 34 achievements come from the story and camp. The other 29 each ask for a whole family of Challenges. Here is every one with its Steam unlock rate, the Sealed Abyss Artifact rule, and the missables list rechecked against Pearl Abyss's patch notes.

Crimson Desert Combat Guide: Parry, Counter, Watch & Learn
Crimson Desert is not a Souls game wearing a bigger map. It is closer to a fighting game, and the players bouncing off it are all making the same three mistakes.
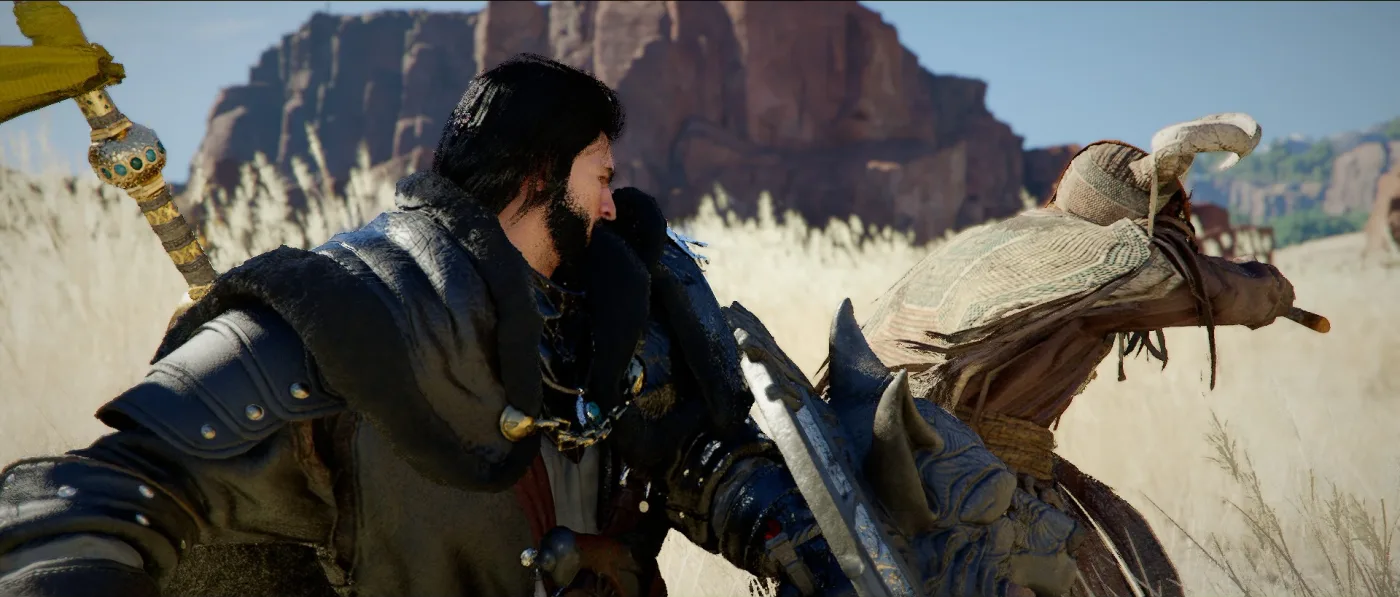
Crimson Desert Boss Rematch: Reminisce vs Resonate
Beat a boss once and its Memory Fragment lets you fight it again, as any of the three characters, in one of two modes. Here is how Rematch works, why it pays nothing, and what 1.07.00 and 1.13.00 moved.