Crimson Desert Mounts: Horse Taming, Wyvern and Blackstar
The exploration guide told you when to ride and when to grapple-glide. This is the other half: how you actually get a mount — taming wild horses, buying safe ones, raising a wyvern from an egg, hunting the eight legendary animals, and the Chapter 11 dragon.
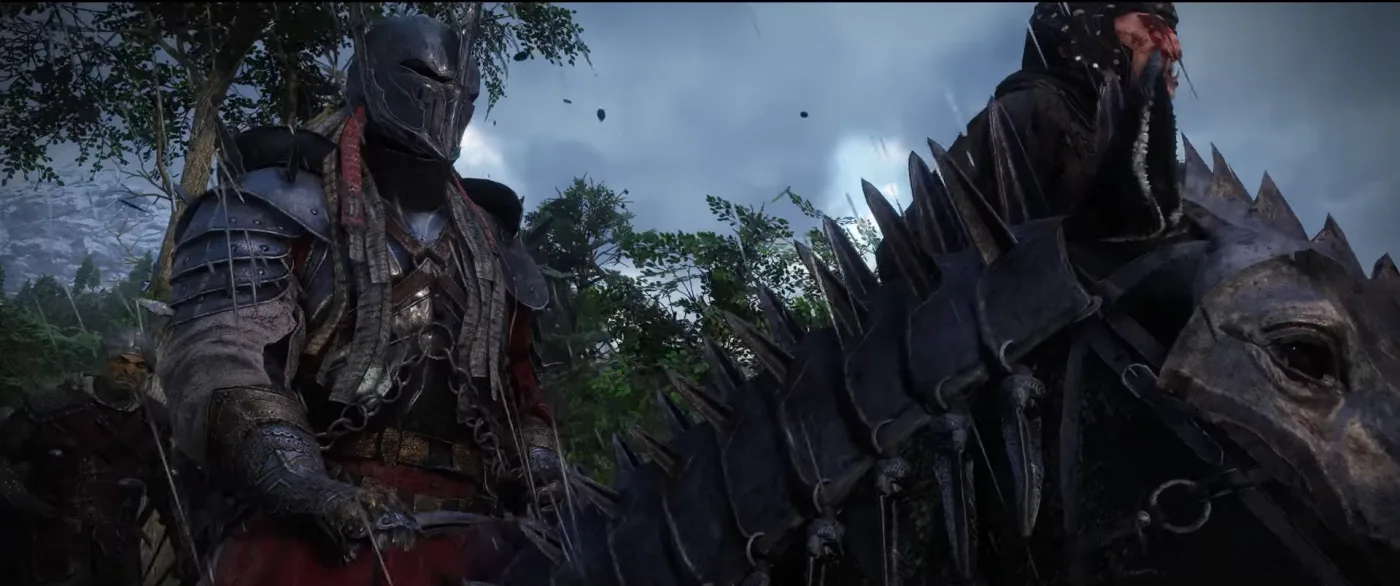
The exploration guide told you when to ride. This is how you get the horse
Our Pywel exploration guide settled the strategic question — mounts for open terrain, grapple-glide for the vertical stuff — and then moved on, because it was a guide about routes. What it never covered is the supply side: where mounts come from, why the taming minigame keeps bucking you off, what the breeds actually differ in, and how a game about a horse ends up handing you a fire-breathing dragon in Chapter 11.
That is this guide. And it is a bigger system than "press X near horse." It spans wild taming, purchased horses, five-slot gear loadouts, eight legendary mounts — five animals gated behind crafted sigils, three horses you tame — a wyvern you raise from an egg like a Tamagotchi, and Blackstar, a dragon on a literal cooldown timer. Pearl Abyss has also kept touching the system — Patch 1.18.00 on August 15, 2026 made horse gear equippable at the stable, and the two hotfixes that followed on August 16 (1.18.01 at 04:00 UTC, 1.18.02 at 10:00 UTC) bring the current version to 1.18.02 as this goes up.
Your first horse is free. Every better one is earned
You do not have to do anything to own a horse. Per the wiki, the prologue mission "New Journey" — the ride to the City of Hernand — hands you a Herspia, the standard, reliable baseline breed. It sprints, it tramples, it fights under you, and if its health drops too low it stops accelerating until you heal it, which you do by aiming the Force Palm skill at the horse's body.
Everything past that starter animal comes through one of four doors:
| Route | What you get | The catch |
|---|---|---|
| Tame a wild horse | Any breed, including the three legendary horses | Minigame with a stamina check; stats are hidden until you succeed |
| Buy from a stable | Known stats, registered instantly | Costs silver; per Method.gg the stables sit in major cities |
| Steal one | A free ride right now | Per TheGamer, stolen horses are the ones you can sell — at a Horse Fence, like the one at Saddlewind Ranch — not keep as clean registered mounts |
| Sigils, eggs and story | The legendary animals, the wyvern, Blackstar | Each has its own unlock chain, covered below |
Taming a wild horse: bait, mount, counter
The taming loop has three phases.
Getting close. Horses bolt when they spot you. The quiet route is crouching through tall grass, per TheGamer. The reliable route is bait: buy hay, carrots, sugar beets or sugar cubes from any Saddlery, hold one out via the inventory's Take Out option, and drop it (Y/Triangle) near the horse. It walks over to eat instead of running, and you walk up to a stationary target.
Starting the tame. Get in range and hold X/Square to vault on.
The minigame. The horse bucks and pulls in random directions, and you push the left stick — direction keys on keyboard — opposite to its movement to counter, filling the taming meter. Game8 and Method.gg both describe it the same way; Method.gg adds the technique that makes it click, which is holding back on the stick while keeping the camera centred directly behind the horse and rotating the camera as the horse spins. Your stamina drains the whole time. Run out and you are thrown — though Method.gg notes the horse stays nearby, so a failed attempt costs you a retry, not a chase.
That stamina drain is why the legendary horses are a mid-game project rather than a day-one one: Game Rant flags all three as needing a deep stamina pool to outlast. If your bar is small, that is a cooking buff and stat problem before it is a horse problem.
Where the wild horses are
Two sources, four early spots, all in Hernand:
- Northeast Hernand, east of the Hills of No Return, near Drakesfall Gorge (TheGamer).
- The open fields east of Saddlewind Ranch (TheGamer).
- East of Hernand Town, the patch of land between two streams (Method.gg).
- The fields south of the river below Howling Hill (Method.gg) — convenient once the Greymane Camp is your home base.
Method.gg's general rule: horses gather in open areas near water.
The three choices after a successful tame
The post-tame menu shows the horse's stats and three options, per TheGamer: Register and Ride, Register and Send to Stable, or plain Ride — which does not register the horse at all. That third option is the trap. An unregistered horse is a borrowed horse; if you want it in your stable, register before you ride off into an ambush.
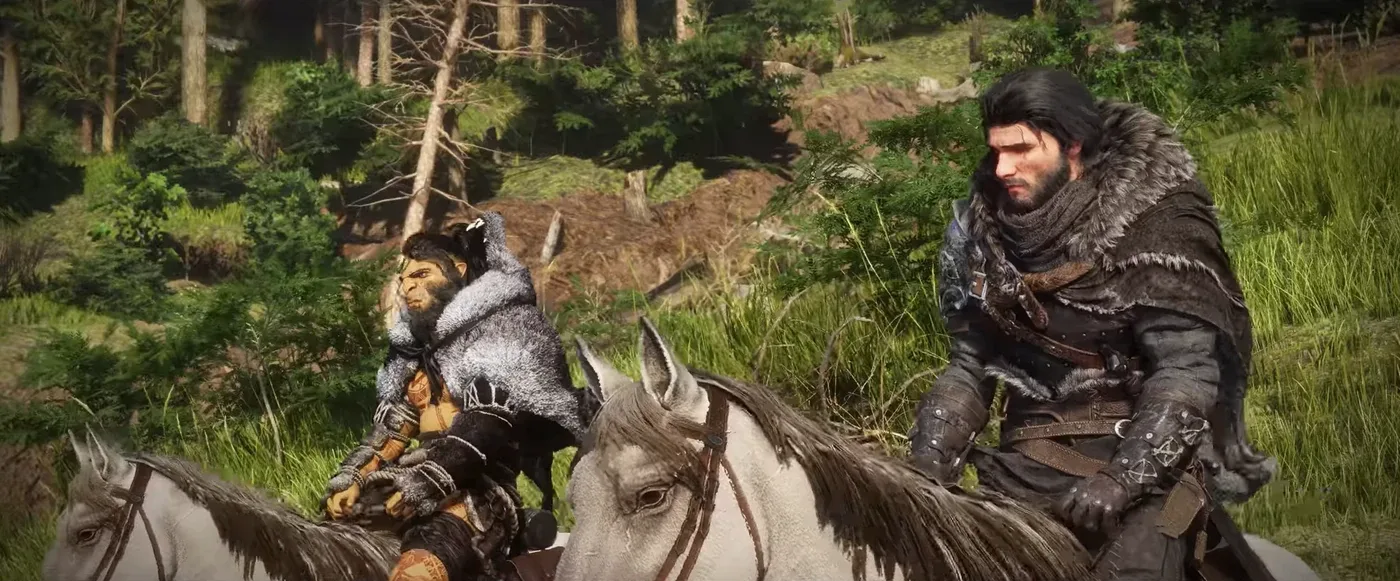
Breeds are builds, not paint jobs
The breed you tame decides what the horse is for. Method.gg's breakdown:
| Breed | Profile | Signature ability |
|---|---|---|
| Herspia | Balanced all-rounder, the starter breed | Standard skill set |
| Priden | Highest defence | High Jump |
| Brianto | Speed-focused | Boost, Double Boost |
| Numont | Acceleration and attack | Charge |
| Elantrima | Health and combat | Lateral Movement |
TheGamer's read adds that abilities differ by breed — its examples give Brianto a Dash/Drift/Kick/Sprint kit while Herspia and Priden pick up swimming and jumping strengths — and the wiki lists Dash, Drift, Back Kick and Sprinting as the horse skills that unlock as any horse levels. The practical translation: Brianto for covering Hernand's plains fast, Priden or Elantrima if you fight from the saddle, Numont if you like arriving at full speed into someone's shield wall.
Levels, gear and the stable since 1.18.00
Horses level by being ridden and by being fed treats — TheGamer counts five levels — and levels are what unlock the skill kit above. The horse you use is the horse that gets good.
Gear is the other half. TheGamer puts most of the accessories at Saddlery vendors across Pywel, with barding sold instead at special contribution vendors, and maps the five slots to what they boost:
| Gear slot | What it boosts |
|---|---|
| Saddle | Maximum HP |
| Barding | Defence |
| Champron | Attack |
| Horseshoes | Health regeneration |
| Stirrups | Stamina regeneration |
Saddleries also stock Horse Feed — stimulants, tonics and horse-friendly vegetables for health and stamina recovery, per the wiki — plus Horse Tack for temporary and passive buffs.
Two quality-of-life notes from the current patch cycle, both from Pearl Abyss's own 1.18.00 notes: horse gear can now be equipped at the stable rather than juggled from your own menus, and the lock-on fix for ranged weapons while mounted means horseback archery works in situations where it previously refused to. Stables in major cities also revive injured mounts, per Method.gg — and to get any registered horse back to your side, whistle: up on the D-pad, or H on keyboard, and it spawns in behind you, per Shacknews.
The eight legendary mounts and the Sigil of Solidarity
This is the part of the mount system that behaves like a monster-hunting checklist. Game Rant counts eight legendary mounts: five animals and three horses.
The animals are not tamed — they are hunted. Kill one, skin it for a unique material, take that material to any Witch and craft the matching Sigil of Solidarity under Craft Abyss Gear. The sigil is the mount.
| Mount | Where | Unlock | Health | Stamina | Attack | Defence |
|---|---|---|---|---|---|---|
| White Bear | Five-Finger Mountain cliffs, northwest Pailune | Kill it (and its cubs), craft its sigil from the White Bear Claw | 1,500 | 180 | 180 | 35 |
| Rock Tusk Warthog | Bordig Ruins, southern Crimson Desert | "Master of the Wetlands" faction quest, defeat Ravok of the Savage Fangs | 800 | 200 | 100 | 25 |
| Silver Fang | Howling Hollow, north of The Sage's Peak, Hernand | Defeat Black Fang first (House Celeste line), then Silver Fang | 430 | 100 | 100 | 45 |
| Snowwhite Deer | Silver Wolf Mountain, Pailune | Kill and skin it for the Snowwhite Deer Antlers | 400 | 300 | 25 | 50 |
| Icicle Edge Alpine Ibex | Wayward Woods, western Pailune | "The Sports Hunter" faction quest, defeat Moren the Mistwood Huntmaster | 400 | 300 | 25 | — |
| Royler (white horse) | Snowgrass Shelter, Silver Wolf Mountain, Pailune | Tame it directly | 375 | 345 | 12 | 50 |
| Rokade (black horse) | Spire of Insight, Steel Mountains, south of Demeniss | Tame it directly | 600 | 240 | 15 | 65 |
| Camora (red horse) | Redtree Forest, far southern Crimson Desert | Tame it directly | 450 | 240 | 27 | 100 |
Stats per Game Rant. Read the table before you pick a target: the White Bear is a war machine at 1,500 health, nearly double the next animal in the table, the Snowwhite Deer and Ibex are stamina animals for covering ground, and among the horses Camora trades speed stats for a 100-defence hide. Four of the eight live in Pailune, so the snow region the exploration guide told you to save for later is also the legendary-mount safari zone.
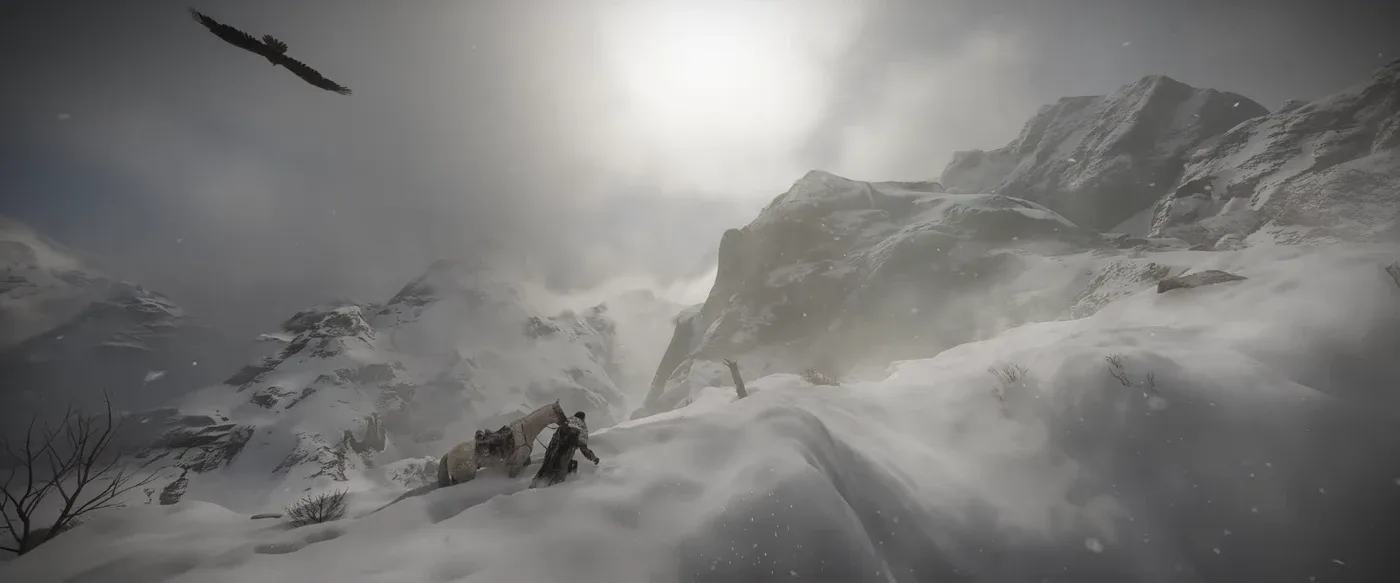
The wyvern is a pet first and a mount third
The wyvern is the flying mount you do not have to wait until Chapter 11 for, and it works nothing like taming.
The chain, per VULKK's guide: a Wyvern Egg sits in a cave at the Wyvern's Cradle in southwestern Delesyia, northwest of Fort Windridge — you need the Focused Force Palm ability to get at it, and it shares the cave with a chest holding the Skyblazer Armor Set helm, so the trip pays twice. Carry the egg to the nearby Wyvern Nest, drop it in the middle, and wait for the Hatch prompt. The baby is yours on the spot; no minigame.
Then you raise it. Feed the baby wyvern meat — the feeding is capped per in-game day, the same daily-limit design as pet Trust — and when it reaches Growth Level 3, interact with it and select Grow. The baby becomes a rideable adult. Update 1.10.00 is what turned this from a pet into a mount line, and VULKK notes it also added a second egg location, so you can keep a baby as a pet and fly the other.
What you get is a genuine flyer with ranged projectile attacks that — unlike Blackstar — is allowed inside cities, with the caveat that it is enormous and VULKK warns landing it in town produces property-destruction vandalism notices. Accessorising is optional but real: a Wyvern Saddle from the Saddlery south of Delesyia, and a Small Wyvern Aviator Hat from the pet store in Pororin, because Pearl Abyss knows exactly what it is doing. Pearl Abyss's 1.18.00 notes also fixed special mounts getting stuck on low ledges, which is the current patch cycle still sanding this system's edges.
Blackstar: the Chapter 11 dragon
The endgame mount is a story unlock, and the sequence matters because two of its missions blur together.
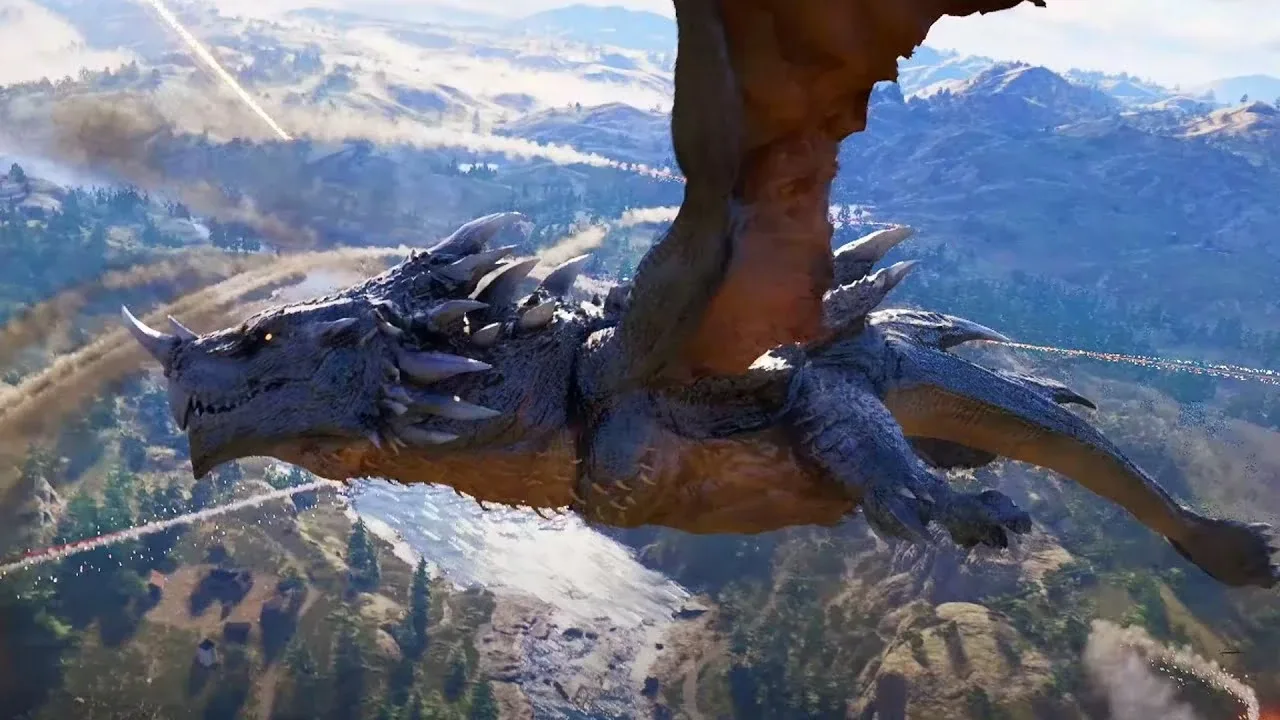
Per the Crimson Desert wiki: in Chapter 11, the mission "Master of a Forgotten Land" has you defeat the Mechanical Dragon and secure the fragment of the Golden Star. When it falls, White Crow — the same witch who handed Kliff the Crow's Wing glider — appears and grants you the dragon Blackstar. The next mission, "Whispers in the Wind," is your first flight, and it is a combat tutorial with a flying fortress as the target: you learn Fireball and Fire Breath by using them on it. Game8 places all this at the end of Chapter 11, just before the final chapter — around 60+ hours in on a story-focused run.
Once the mission chain completes, Blackstar becomes a permanent summon with the game's strangest call condition: leap off a cliff and whistle. The balancing lever is time — the wiki puts Blackstar's active duration at 15 minutes, followed by a 50-minute cooldown. That is the number to plan around: the dragon is a burst tool for crossing the map or opening a stronghold assault from above, not your commuter mount. The wyvern keeps that job.
Temporary mounts and other oddities
The wiki splits mounts into permanent — registered horses, the sigil animals, Blackstar — and temporary, which is the game letting you ride whatever you can subdue. The temporary list runs black bear, brown bear, boar, buffalo, camel, cow, elephant and greywolf. Game8 describes the bear loop: fight one until a mounting prompt appears, ride it until you dismount, at which point it remembers it hates you.
Vehicles are their own lane — wagons come from the comrade dispatch build chain, cloudcarts and boats from projects and commissions, and Delesyia runs a train you can simply board. None of that needs taming; all of it is covered where the trading economy lives.
Quick Action Checklist
- Heal your starter Herspia with Force Palm aimed at its body whenever it stops accelerating.
- Buy treats at a Saddlery before your first tame. Bait beats sneaking.
- In the minigame, hold the stick opposite the buck with the camera square behind the horse. Watch the stamina bar, not the horse.
- Always pick a Register option after taming. Plain Ride keeps nothing.
- Pick breeds by job: Brianto to travel, Priden or Elantrima to fight mounted, Numont to hit things at speed.
- Gear all five slots — a Saddlery for most of it, special contribution vendors for barding. Since 1.18.00 you can equip it at the stable directly.
- Build stamina before hunting Royler, Rokade or Camora; all three tames are stamina checks.
- Skin every legendary animal you down and craft its Sigil of Solidarity at a Witch under Craft Abyss Gear.
- Grab the Wyvern Egg at the Wyvern's Cradle in southwestern Delesyia once you have Focused Force Palm, hatch it at the nest, feed it meat daily to Growth Level 3.
- Treat Blackstar as a 15-minutes-on, 50-minutes-off tool. Fly the wyvern between summons — it can even enter cities.
Frequently Asked Questions
How do you tame a horse in Crimson Desert?
What horse breeds are in Crimson Desert and which is best?
How do you get the dragon mount in Crimson Desert?
How do you get the wyvern mount in Crimson Desert?
What are the legendary mounts in Crimson Desert?
How do you equip horse gear in Crimson Desert?
Keep Reading
- Pearl Abyss — Patch Notes Version 1.18.00 (horse gear at stables, special mount and mounted lock-on fixes)
- Pearl Abyss — Patch Notes Version 1.18.01 hotfix, August 16, 2026
- Pearl Abyss — Patch Notes Version 1.18.02 hotfix, August 16, 2026
- Crimson Desert Wiki — Mounts: Herspia starter, gear, permanent and temporary mount lists
- Crimson Desert Wiki — Blackstar dragon: Chapter 11 unlock, 15-minute duration, 50-minute cooldown
- TheGamer — Horse taming, bait method, register options, gear slots and horse locations
- Method.gg — Taming minigame technique, horse breed table, stables and locations
- Game8 — How to Tame Horses (minigame inputs, temporary bear mounts)
- Game8 — How to Unlock the Dragon (end of Chapter 11, story-only unlock)
- Game Rant — All eight legendary mounts, locations, Sigil of Solidarity crafting and stats
- VULKK — Baby wyvern egg location, hatching, Growth Level 3 evolution and wyvern mount
- Shacknews — Summoning your horse (D-pad up / H key whistle)
Related Guides
Crimson Desert Golden Star Boss Fight Guide
Golden Star is the Chapter 11 boss that hands you Blackstar, and no guide on this site has ever explained how to beat it. Here is the arena, the four attacks, the stagger loop that wins the fight, and an honest account of what update 2.00.00 changed about it — because every walkthrough of this fight, including ours, predates that patch.
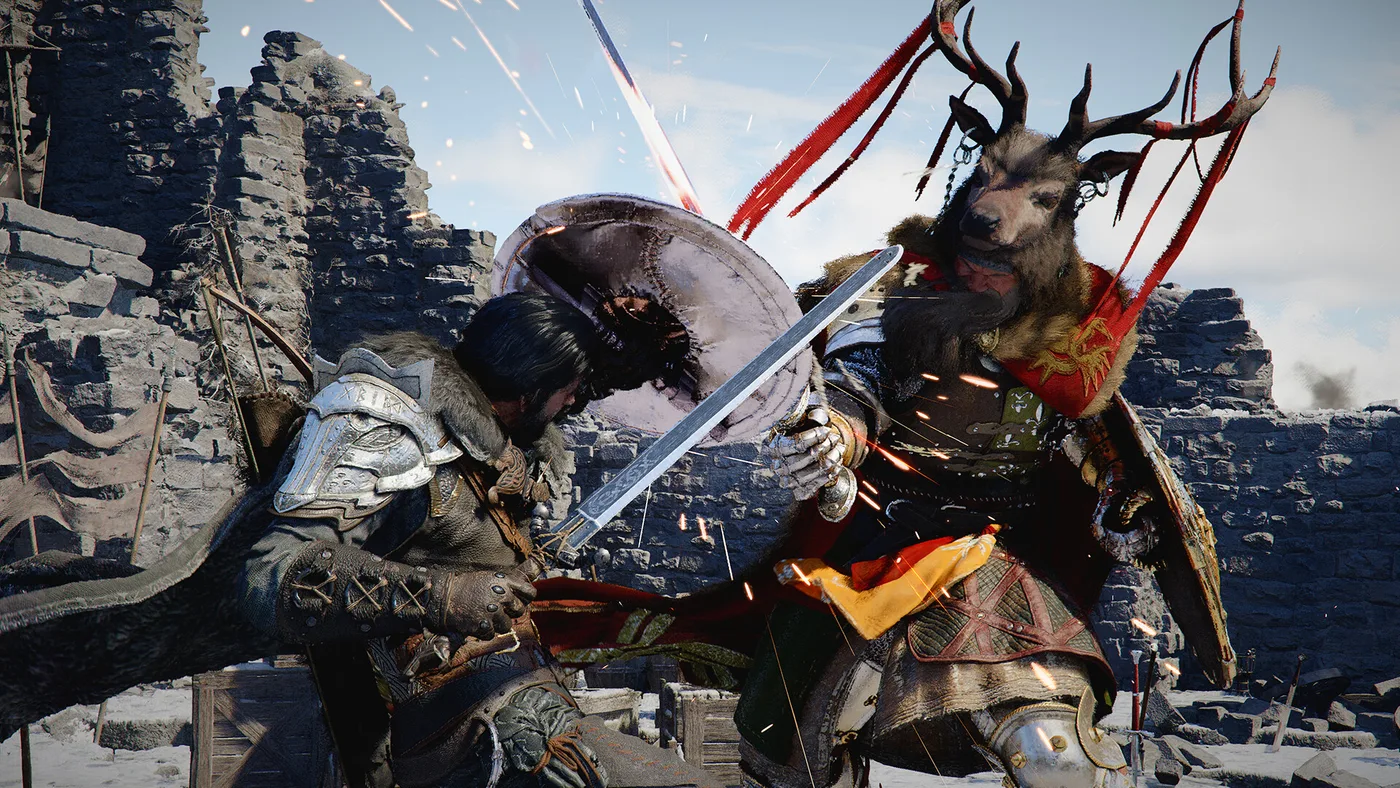
Crimson Desert Difficulty: Easy vs Normal vs Hard Explained
Pearl Abyss's own change list for Crimson Desert's three difficulty settings, where the option sits and when you can switch, the Hard rule that delays food healing and the four eating and consumption fixes that followed, how far Normal moved before the menu existed, and what the setting leaves alone.
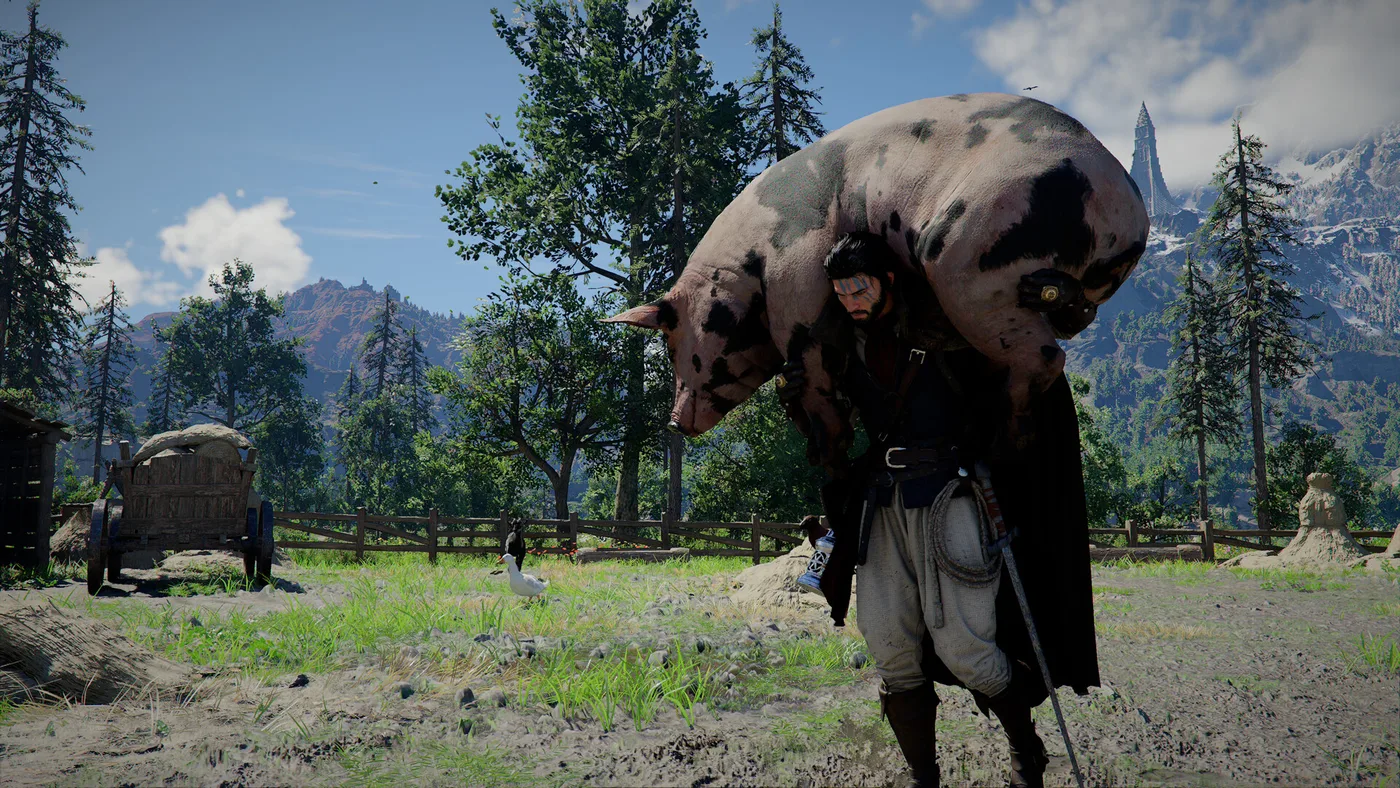
Crimson Desert Bounty Guide: Crime, Masks, Jail and Outlaws
Crimson Desert crime from both sides of the law: the mask that unlocks stealing, how a witnessed crime becomes a regional bounty, the Writ of Absolution against jail, what being wanted blocks, the nine Hernand outlaws and what each pays, and the March patch that launch-week guides still contradict.
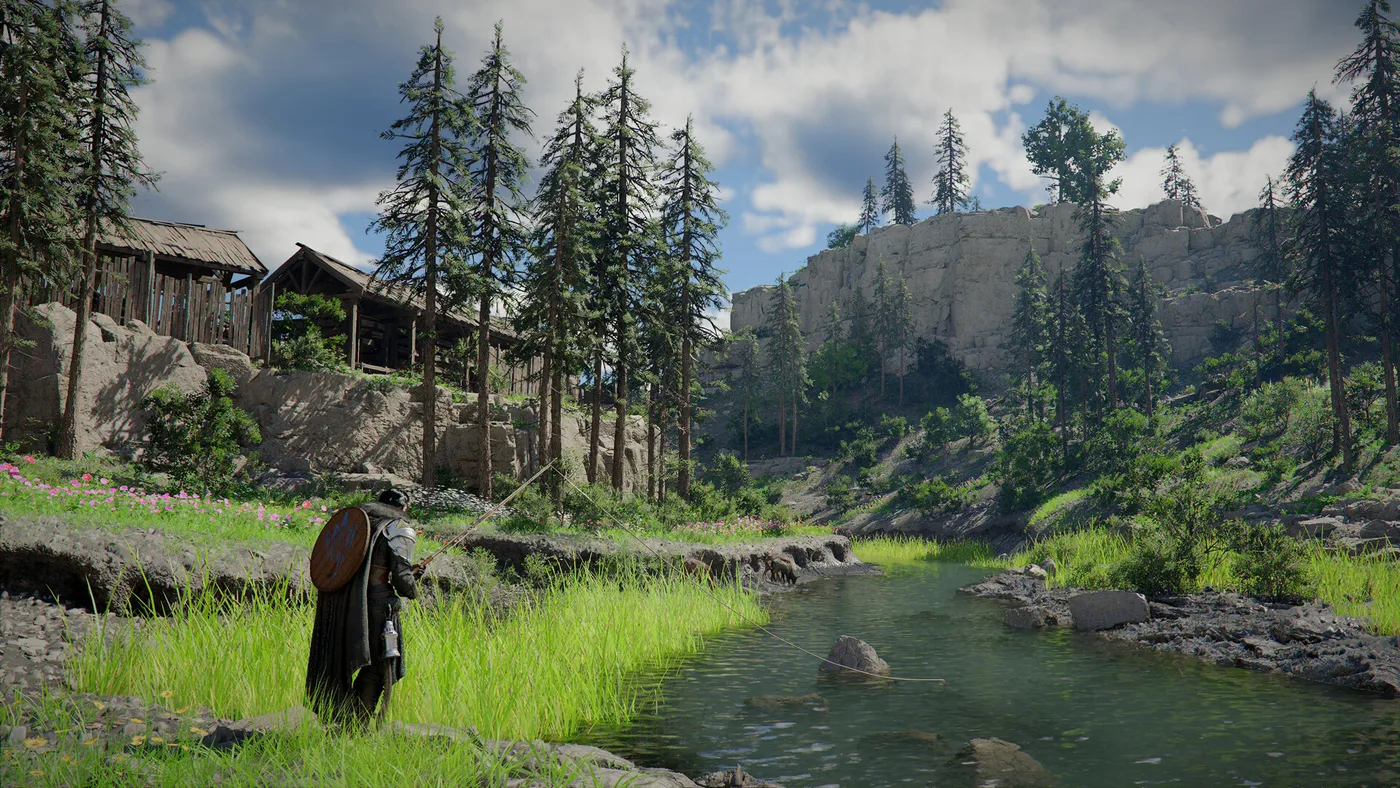
Crimson Desert Fishing Guide: Rods, Legendary Fish, Pond
Crimson Desert fishing in one place: how to learn it, the four rods and how to get each, the spots two guides agree on, all five legendary fish, the camp pond, and the May patch that made legendary fish unsellable while a March guide still lists a sell price for them.
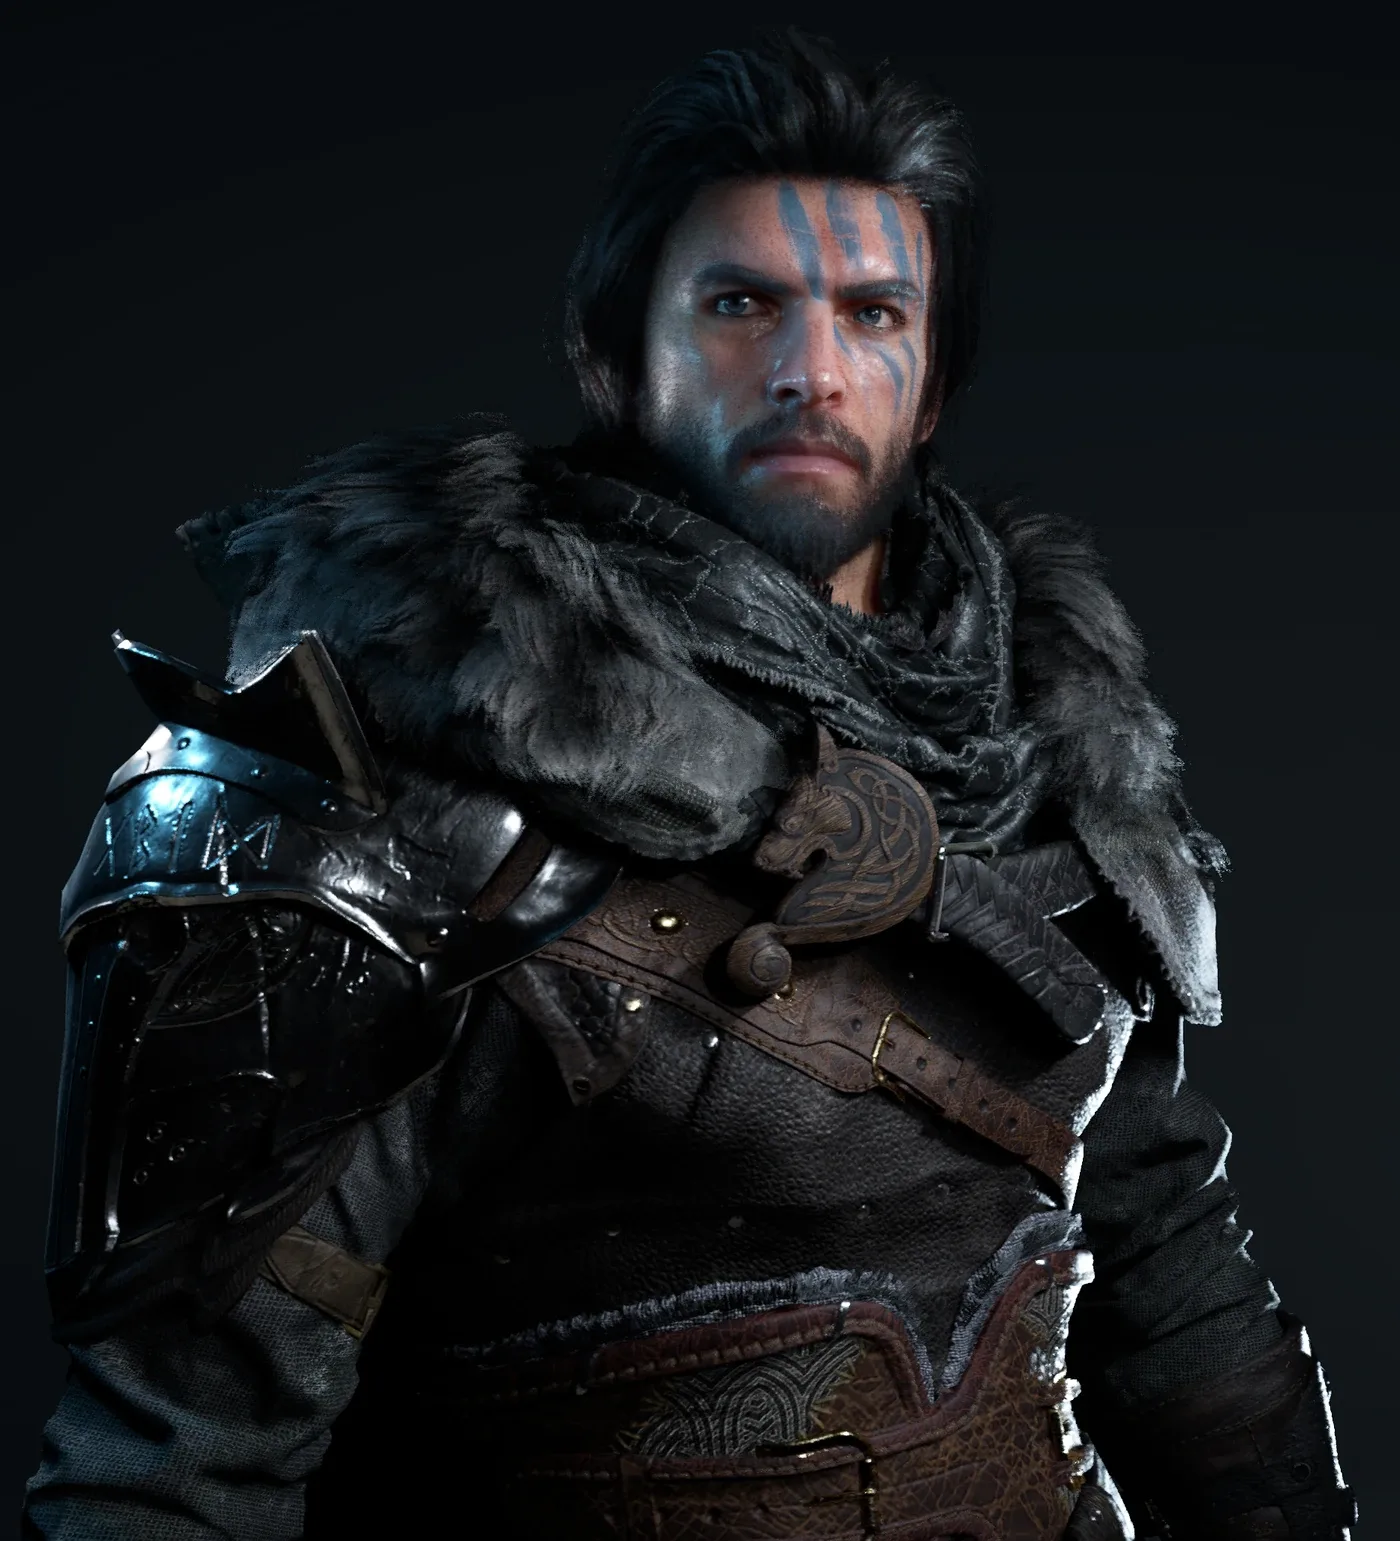
Crimson Desert Combat Guide: Parry, Counter, Watch & Learn
Crimson Desert is not a Souls game wearing a bigger map. It is closer to a fighting game, and the players bouncing off it are all making the same three mistakes.
Crimson Desert Achievements: All 34, Rarity and Missables
Five of Crimson Desert's 34 achievements come from the story and camp. The other 29 each ask for a whole family of Challenges. Here is every one with its Steam unlock rate, the Sealed Abyss Artifact rule, and the missables list rechecked against Pearl Abyss's patch notes.