Crimson Desert Trading Guide: Wagons, Royal Posts and the 1.16 Rewrite
Crimson Desert shipped with a trading system that paid worse than mining diamonds by hand. On August 1 Pearl Abyss quadrupled royal trading post prices, added 133 posts and finally let you see prices before you drive. Here is the whole system, and the maths that now works.
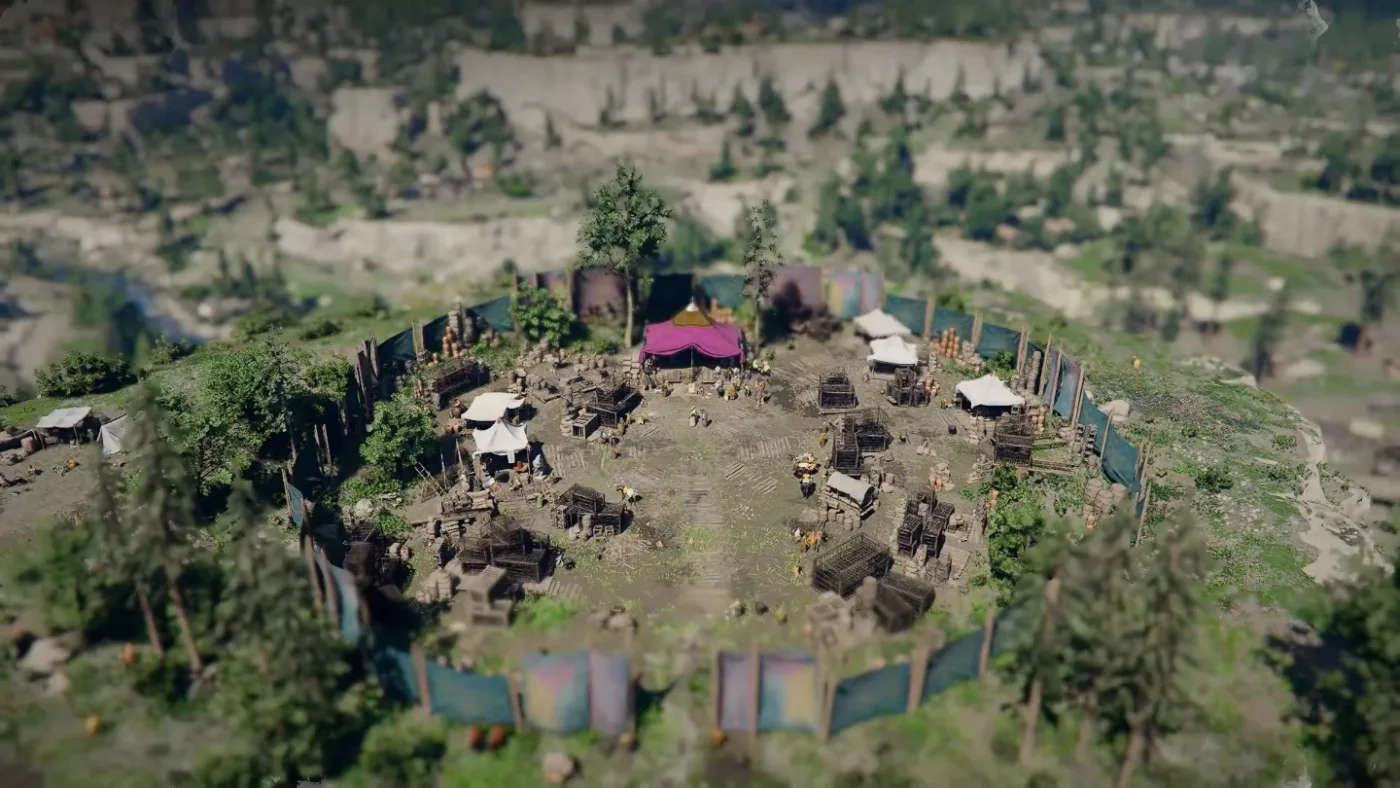
Trading was the worst deal in Pywel until August 1
Here is the number that explains the state of Crimson Desert's economy for its first four months: a diamond mined out of Hernand Highlands Cavern sells for 2.28 silver. A shield stripped off a dead enemy sells for 6.68 silver. Those are the rates people were grinding, because the alternative — the full trading system, with its wagon build chain, its packaging fees, its 25-item minimums and its cross-map hauls — paid badly enough that you were better off punching outlaws and selling their gear.
Then Pearl Abyss shipped Patch 1.16.00 on August 1, 2026 at 03:30 UTC, and the headline line in the patch notes is four words long: "Quadrupled the prices of trade goods at royal trading posts."
That is not a tuning pass. That is the studio conceding the system did not work and moving the decimal point. Alongside it came 133 new trading posts, 28 new trade goods, seven wagon workshops, and — the change that matters more than the price multiplier — a Trade tab on the world map that shows you what a post is paying before you spend forty minutes driving there.
The currency, because none of the numbers work without it
Crimson Desert runs three denominations, and the conversion between them is the first place money quietly leaks.
| Unit | Worth | Where it matters |
|---|---|---|
| Copper | 100 copper = 1 silver | Common drops, small fees; converts automatically |
| Silver | The working currency | Vendors, smiths, services, packaging fees |
| Gold Bar | 500 silver at a bank | Bank interest, bond investment, high-value trades |
The trap is in that last row. A gold bar exchanges for 500 silver at a bank, but sell one to an ordinary merchant and you get 190 silver — 310 silver of value handed over for the convenience of not walking to a bank. PowerPyx's money guide flags this, and it is worth internalising early, because gold bars drop steadily from pickpocketing and looting long before the bank becomes relevant to you. Hold that 500-silver figure; it is what makes the bond economy later in this guide comprehensible.
The packaging fee sits at the other end of the scale. Turning an item into a sellable trade good costs a flat 100 copper, which is exactly one silver. A full 25-item stack costs 25 silver to prepare — about eleven diamonds' worth. Whatever makes trading expensive, it is not the fee.
What Patch 1.16.00 actually changed
Everything in this table is quoted or paraphrased directly from Pearl Abyss's own 1.16.00 patch notes. It is worth reading as a list of things that were previously broken, because that is what it is.
| What changed | Detail |
|---|---|
| Royal trading post prices | Quadrupled |
| Wagons after a royal delivery | No longer disappear |
| New trading posts | 133, including the merchant at the Pailune Trading Post |
| New trade goods | 24 high-value plus 4 regular |
| Wagon workshops | 7 added across Pywel |
| Packaged goods stacking | Now stack to 10 or 100, depending on price |
| Unpackaged trade items | Now stack to 5 or 50 per slot |
| Selling a single good | Now possible; previously bulk only |
| Horse and wagon inventory | Trade goods can now be moved between them |
| Flooding a market | Prices now drop if you sell too many at one location |
| Overall profit | "Increased the overall amount of profit earned through trading" |
| Losses on retrieval | Increased goods lost when retrieving a horse or wagon, or destroying a wagon |
| Hard-to-reach posts | Explicitly pay more: "You can make higher profits by trading at a post that is hard to reach by wagon" |
Read the bottom three rows together and the design intent is obvious. Pearl Abyss made the payout bigger, made the remote runs pay best, and made bailing out mid-route hurt more. Trading went from a chore to a risk-reward loop.
The 1.17.00 patch that followed on August 7 at 12:30 UTC contains almost nothing for traders — one line fixing "abnormal trade route display on maps." If you noticed routes rendering wrong in the first week of the overhaul, that is the fix.
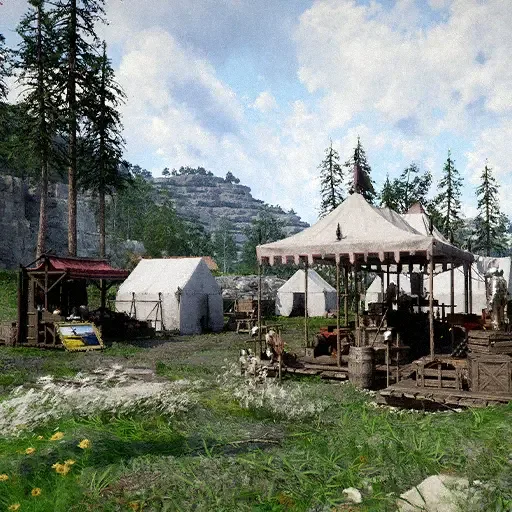
Unlocking trading: Carl first, wagon second
Trading is gated behind the same event that gates half this game's systems: Kailok the Hornsplitter, whose defeat closes Chapter 2 and opens Chapter 3. Kliff plants the banner at Howling Hill, the Greymane Camp comes online, and with it Carl, the Camp Provisioner.
Carl is the entire supply side of your trade business. Talk to him, choose Camp Provisions, and pick an item from your inventory to package. Packaging costs money and simply fails if you cannot cover it, so keep a silver buffer before you start converting stock.
For the selling side, Game8 points you at Ugmon, on the west side of the Goldleaf Guildhouse, to open the trading screen for the first time. That guildhouse is not a neutral shop, incidentally — per the Crimson Desert wiki it is the seat of the Goldleaf Merchant Guild, a goblin-run trade organisation that Kailok himself used to run, and which passes to Shakatu after you kill him. You are, functionally, doing business with the faction whose boss you just removed.
The 25-item rule
Trading posts will not buy a stack smaller than 25 identical items, and packaging locks that stack. Package eighteen of something and you are holding eighteen units of inconvenience until you find seven more.
The Royal Trading Post carries no such minimum, which since 1.16.00 makes it the better target twice over — no floor on quantity, and quadrupled prices on what you bring.
So the working order is: accumulate to 25 of one good first, package second, haul third. Never in the other order.
Building a wagon is a dispatch chain
You can steal a wagon. Put on a mask, commit the crime, drive it away. The catch, per Game Rant's wagon guide, is that a stolen wagon can only be sold at illegal black markets — it will not get you through the door at a legitimate trading post. As a shortcut to the trade economy it is a dead end.
The real path runs through the comrade dispatch system, in four steps:
- Unlock Brice. Complete "A rumor in Glenbright Farm" to bring in Brice, who runs the Wagon Management Office.
- Recruit an engineer. You need a Freesword with the Engineering skill to run the build mission. Arnold, from "A rumor in St. Halssius," is the quickest route. Otto comes early from "A rumor in Hills of No Return" but needs Engineering unlocked first. Terry and Falstaff both come from "A rumor in Calphade."
- Dispatch the mission. Speak to Ross, choose Mission Dispatch, and find Timberturner Wainwright in the task list.
- Collect and load. The finished wagon appears at Brice's workshop, where you load cargo before driving it out.
Larger wagons demand more workers, more resources and more crafting time — which is to say the wagon you can build is a direct function of how deep your comrade roster is.
Which wagon tier to actually build
Three tiers exist: the Old Wagon, the Freight Wagon and the Trading Wagon. The trade-off is legible.
The Old Wagon is fast to build and easy to handle, and its cargo capacity is small enough that it mostly buys you an earlier start rather than a better business. The Freight and Trading Wagons carry far more per run — the same drive time for a much larger load — at the cost of being slower and clunkier on the road. The Trading Wagon needs something in the region of ten active Comrades to source materials for.
If you are close to that comrade count, wait: an upgrade multiplies profit per run without adding a minute of travel. If you are not, build the Old Wagon and start learning the routes.
Where to sell: three tiers of buyer
Ordinary merchants will not touch trade goods at all. Your buyers are these:
| Buyer | Takes | Rate | Notes |
|---|---|---|---|
| Black market | Unpackaged goods, stolen items | Low | Nine locations; zero prep. The one in west Hernand, southeast of the jail, is the convenient early option |
| Trading post | Packaged goods, 25-item minimum | High | The Goldleaf Guildhouse is the standard first stop |
| Royal trading post | Packaged goods, no minimum | Highest since 1.16.00 | Prices quadrupled; your wagon now survives the delivery |
There is a fourth, narrower outlet: Edmond, the Livestock Fencer, west of Muckroot Ranch, who buys stolen livestock. Not trade goods in the packaged sense, but a real silver tap if your crimes trend agricultural.
The strategic rule after 1.16.00 comes straight from the patch notes — posts that are hard to reach by wagon pay more. The system now explicitly pays you for inconvenience, which means the obvious nearby post is usually the worst one on your list.
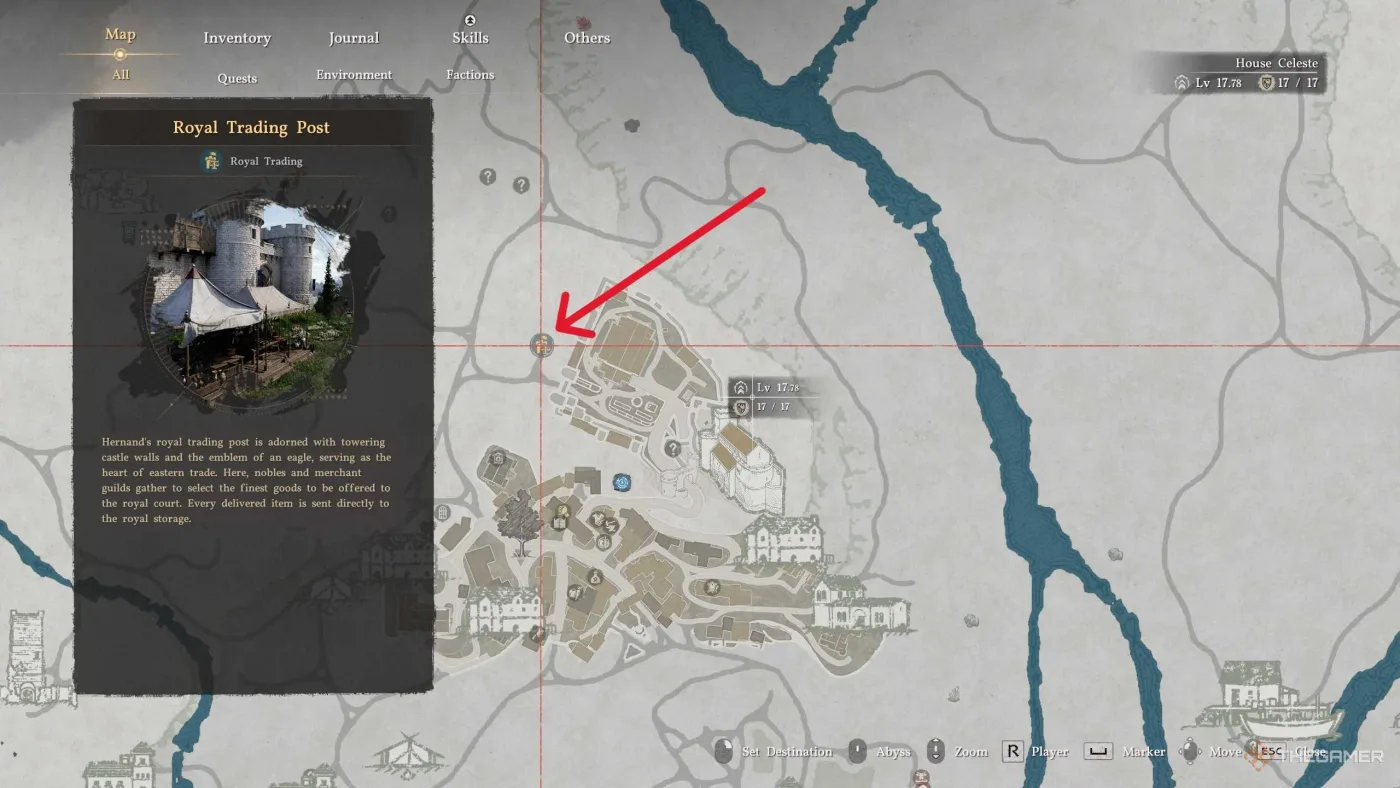
The seven new wagon workshops
1.16.00 added wagon workshops at Hernand, Demeniss, Delesyia, Pailune, Tommaso, Urdavah and Varnia. They function as intermediate trading posts where you can package and load trade goods, which means you no longer have to route every haul back through camp to convert stock.
That is a quieter change than the price multiplier and arguably a bigger one. Seven packaging points spread across Pywel turns trading from a hub-and-spoke chore into something you can run as a loop.
The Trade tab is the real headline
Before 1.16.00, working out where to sell meant driving there and looking. The patch added a Trade tab to the world map, and the feature list is the sort of thing that should have shipped at launch:
- Trading posts, royal trading posts, wagon workshops and wagon routes all shown on one tab.
- Filters to find posts selling the specific goods you want.
- Market prices for all goods, viewable in a post's details.
- The average buy price for a trade good displayed, so you can tell a good offer from a bad one.
- Quantities of a good already sitting on your horses and wagons shown alongside.
- The ability to register an item to the map filter directly from horse inventory, wagon inventory, a trade shop's buy/sell screen or storage.
- A special marker on merchants buying or selling goods affected by trade events.
- Wagon routes drawn on the minimap while you are riding a wagon.
Combined with the new anti-flooding rule — dump too much of one good in one place and its price falls — the Trade tab converts the system from memorisation into planning. Check the tab, pick the remote post paying above average, register the good to your filter, drive.
Bonds and the bank: where the money goes
The other half of 1.16.00 is a banking layer, and it is where large fortunes are meant to disappear.
The mechanics, from the official notes: bank interest gains and losses are now capped at 40 gold bars. A new Claim Bank Strongbox lets you start investing once you have deposited 10 or more bonds. Bonds exchange against gold bars at a rate of 1 bond to 10 gold bars. And a new Bond Shop sells rare items for bonds. VULKK's write-up adds that opening the strongbox is a one-time 1,000 silver cost, that investments update once every 7 in-game days, and that the Bond Shop stocks house decorations at 60 and 80 bonds each.
Now do the arithmetic, using the bank's own 500-silver gold bar rate:
- 1 bond = 10 gold bars = 5,000 silver
- A 60-bond decoration = 600 gold bars = 300,000 silver
- An 80-bond decoration = 800 gold bars = 400,000 silver
Those last two figures are derived, not printed anywhere in the patch notes — but they follow directly from two published exchange rates. Set 300,000 silver against the 6.68 silver you get for a looted shield and the purpose of the whole 1.16.00 package becomes clear. Pearl Abyss did not quadruple royal trading post prices out of generosity. It built a sink deep enough to need a real income stream, then built the income stream to feed it. If you have been decorating your house at Howling Hill, the Bond Shop is now the top of that ladder.
Trade Challenges pay in artifacts, not silver
Sitting alongside the economy is a set of Trade Challenges, which reward Abyss Artifacts and Faded Abyss Artifacts rather than money. Abyss Artifacts learn and enhance skills or core stats; Faded Abyss Artifacts buy skill tree resets, which makes them the respec currency for anything you build in the Abyss Cores system.
Game8 lists five, with locations:
| Challenge | Where |
|---|---|
| Traveler with Oak Barrels | Centre of Pailune, just north of the Abyss Nexus |
| Rainbow Mane | Follow the road south of Alabaster Bridge, by a rocky wall roadside |
| Mysterious Accessory Shop | The crossroad outside the southern main gate of Demeniss |
| Contract of the Golden Crown | West of Arcosa, following the road east of the Desert Freesword Camp Hearth |
| Magnate of the Golden Desert | Near the Western Outpost in Delesyia |
Three of those five sit in or beside towns that received a wagon workshop in 1.16.00, so they fold into a trade route rather than needing a dedicated trip.
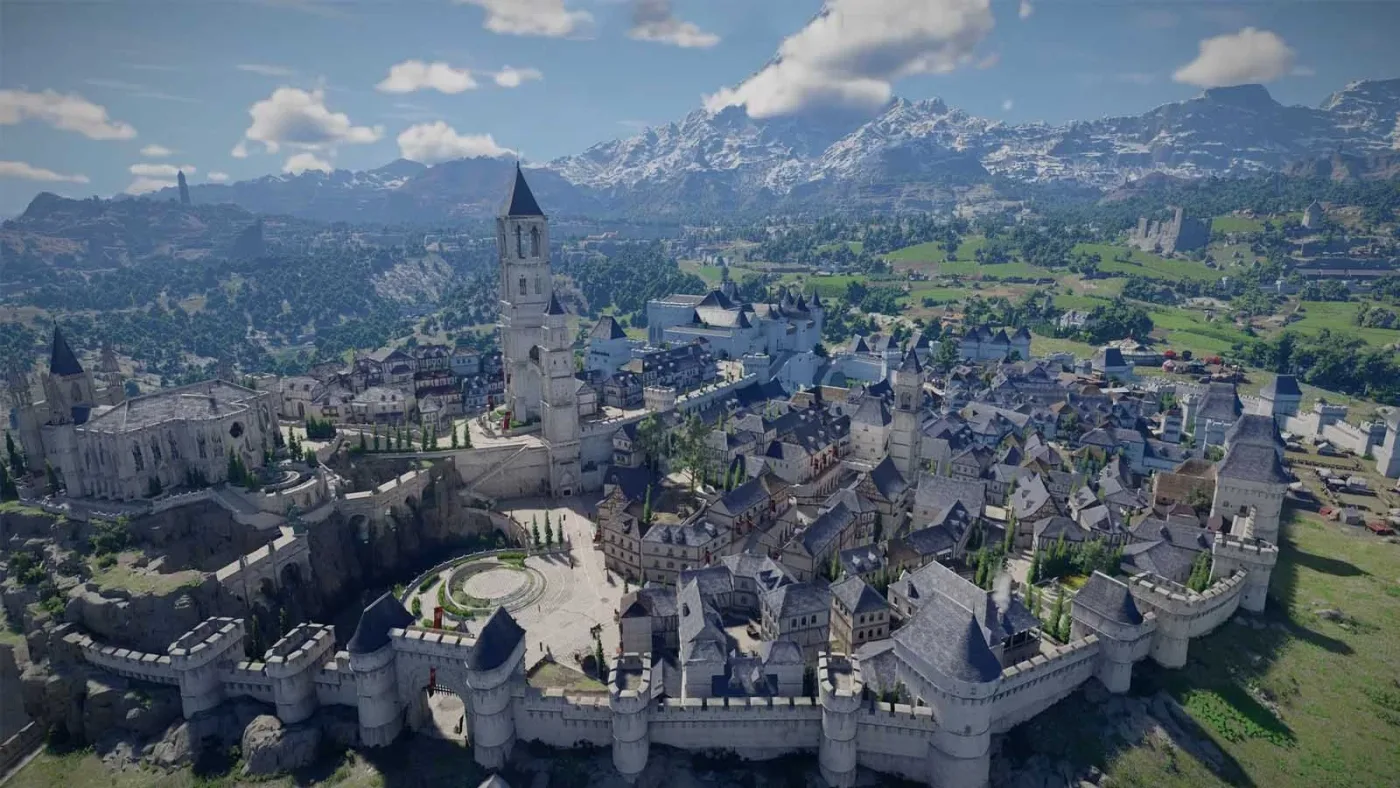
Demeniss is worth a detour for a different reason. Per the wiki, its port is run by the Silvermoon Trade Group under Brollam, a merchant faction whose questline, The Day the Moonlight Waned, has Kliff investigating attacks on its merchants and eventually restoring its trade with the Greymanes. Crimson Desert ties its commerce to its factions rather than treating it as a detached minigame, which is the most interesting thing about the system on paper.
What can still go wrong
The overhaul did not remove the failure modes. It added one.
- Bailing out costs more now. 1.16.00 explicitly increased the volume of trade goods lost when you retrieve your horse or wagon, or destroy your wagon. Abandoning a run mid-route is a real loss, not a reset.
- Big wagons are slow. The Freight and Trading Wagons handle worse and move slower, which makes them easier prey for bandits on the roads between posts.
- Stolen wagons are a dead end. They sell at black markets only. If your plan is legitimate trade, build.
- Packaging is one-way. Package below 25 and the stack is stuck until you top it up.
- Markets flood. Selling too much of one good in one place drives its price down. Rotate posts, or watch the Trade tab price fall in real time.
Quick Action Checklist
- Finish Chapter 2 by beating Kailok the Hornsplitter; the camp and Carl arrive in Chapter 3.
- Run "A rumor in Glenbright Farm" for Brice, then "A rumor in St. Halssius" for Arnold — the fastest engineer.
- Dispatch Timberturner Wainwright through Ross. Wait for roughly ten Comrades if you want the Trading Wagon.
- Accumulate 25 identical items before you let Carl package anything. One silver per item.
- Open the map's Trade tab, filter for your good, and compare against the displayed average buy price.
- Prioritise royal trading posts — quadrupled prices, no minimum stack, and your wagon survives the delivery now.
- Prefer the post that is annoying to reach. The patch notes say that is where the margin is.
- Take gold bars to a bank for 500 silver, never to a merchant for 190.
- Once you are liquid, open the Claim Bank Strongbox for 1,000 silver and start converting gold bars into bonds.
Frequently Asked Questions
How do you unlock trading in Crimson Desert?
What did Crimson Desert Patch 1.16.00 change about trading?
How many trade goods do you need to sell at a trading post in Crimson Desert?
Which wagon should you build in Crimson Desert?
What are bonds in Crimson Desert and what are they worth?
Keep Reading
- Pearl Abyss — Patch Notes Version 1.16.00 (trading overhaul, 133 posts, banking)
- Pearl Abyss — Patch Notes Version 1.17.00 (trade route map display fix)
- Game8 — Trading System Explained (Carl, Ugmon, wagon unlock)
- Game8 — Best Ways to Farm Money (enemy equipment and gold bar rates)
- Game8 — Trade Challenges and locations
- KeenGamer — Crimson Desert Trading Guide: Wagons, Routes, and Camp Resources
- Method.gg — Crimson Desert Trading Guide (packaging cost, wagon tiers)
- NeonLightsMedia — How to Sell Trade Goods (black markets, 25-item rule)
- Game Rant — How to get a wagon, engineer comrades and the Timberturner dispatch
- PowerPyx — Crimson Desert money guide (gold bar bank vs merchant rates)
- TheGamer — Fast Ways To Make Silver (currency conversion rates, diamond prices)
- VULKK — Update 1.16 trading revamp and banking update (strongbox cost, bond shop)
- Crimson Desert Wiki — Goldleaf Merchant Guild and Silvermoon Trade Group
Related Guides
Crimson Desert Bounty Guide: Crime, Masks, Jail and Outlaws
Crimson Desert crime from both sides of the law: the mask that unlocks stealing, how a witnessed crime becomes a regional bounty, the Writ of Absolution against jail, what being wanted blocks, the nine Hernand outlaws and what each pays, and the March patch that launch-week guides still contradict.
Crimson Desert Fishing Guide: Rods, Legendary Fish, Pond
Crimson Desert fishing in one place: how to learn it, the four rods and how to get each, the spots two guides agree on, all five legendary fish, the camp pond, and the May patch that made legendary fish unsellable while a March guide still lists a sell price for them.

Crimson Desert Achievements: All 34, Rarity and Missables
Five of Crimson Desert's 34 achievements come from the story and camp. The other 29 each ask for a whole family of Challenges. Here is every one with its Steam unlock rate, the Sealed Abyss Artifact rule, and the missables list rechecked against Pearl Abyss's patch notes.
Crimson Desert Boss Rematch: Reminisce vs Resonate
Beat a boss once and its Memory Fragment lets you fight it again, as any of the three characters, in one of two modes. Here is how Rematch works, why it pays nothing, and what 1.07.00 and 1.13.00 moved.

Crimson Desert Combat Guide: Parry, Counter, Watch & Learn
Crimson Desert is not a Souls game wearing a bigger map. It is closer to a fighting game, and the players bouncing off it are all making the same three mistakes.
Crimson Desert Contribution Guide: All 5 Regional Shops
Three sibling posts on this site name-drop "Contribution" in passing. None of them explain what it is, how to earn it, or why one of its five shops does not open until the literal last chapter of the game.