Fortnite Best Mouse Settings: DPI, Sensitivity, and eDPI
There's no magic sensitivity that makes you hit shots — but there is a right way to set your mouse up so your aim is consistent. Here's DPI, eDPI, Fortnite's separate sens sliders, and the Windows settings quietly sabotaging you.
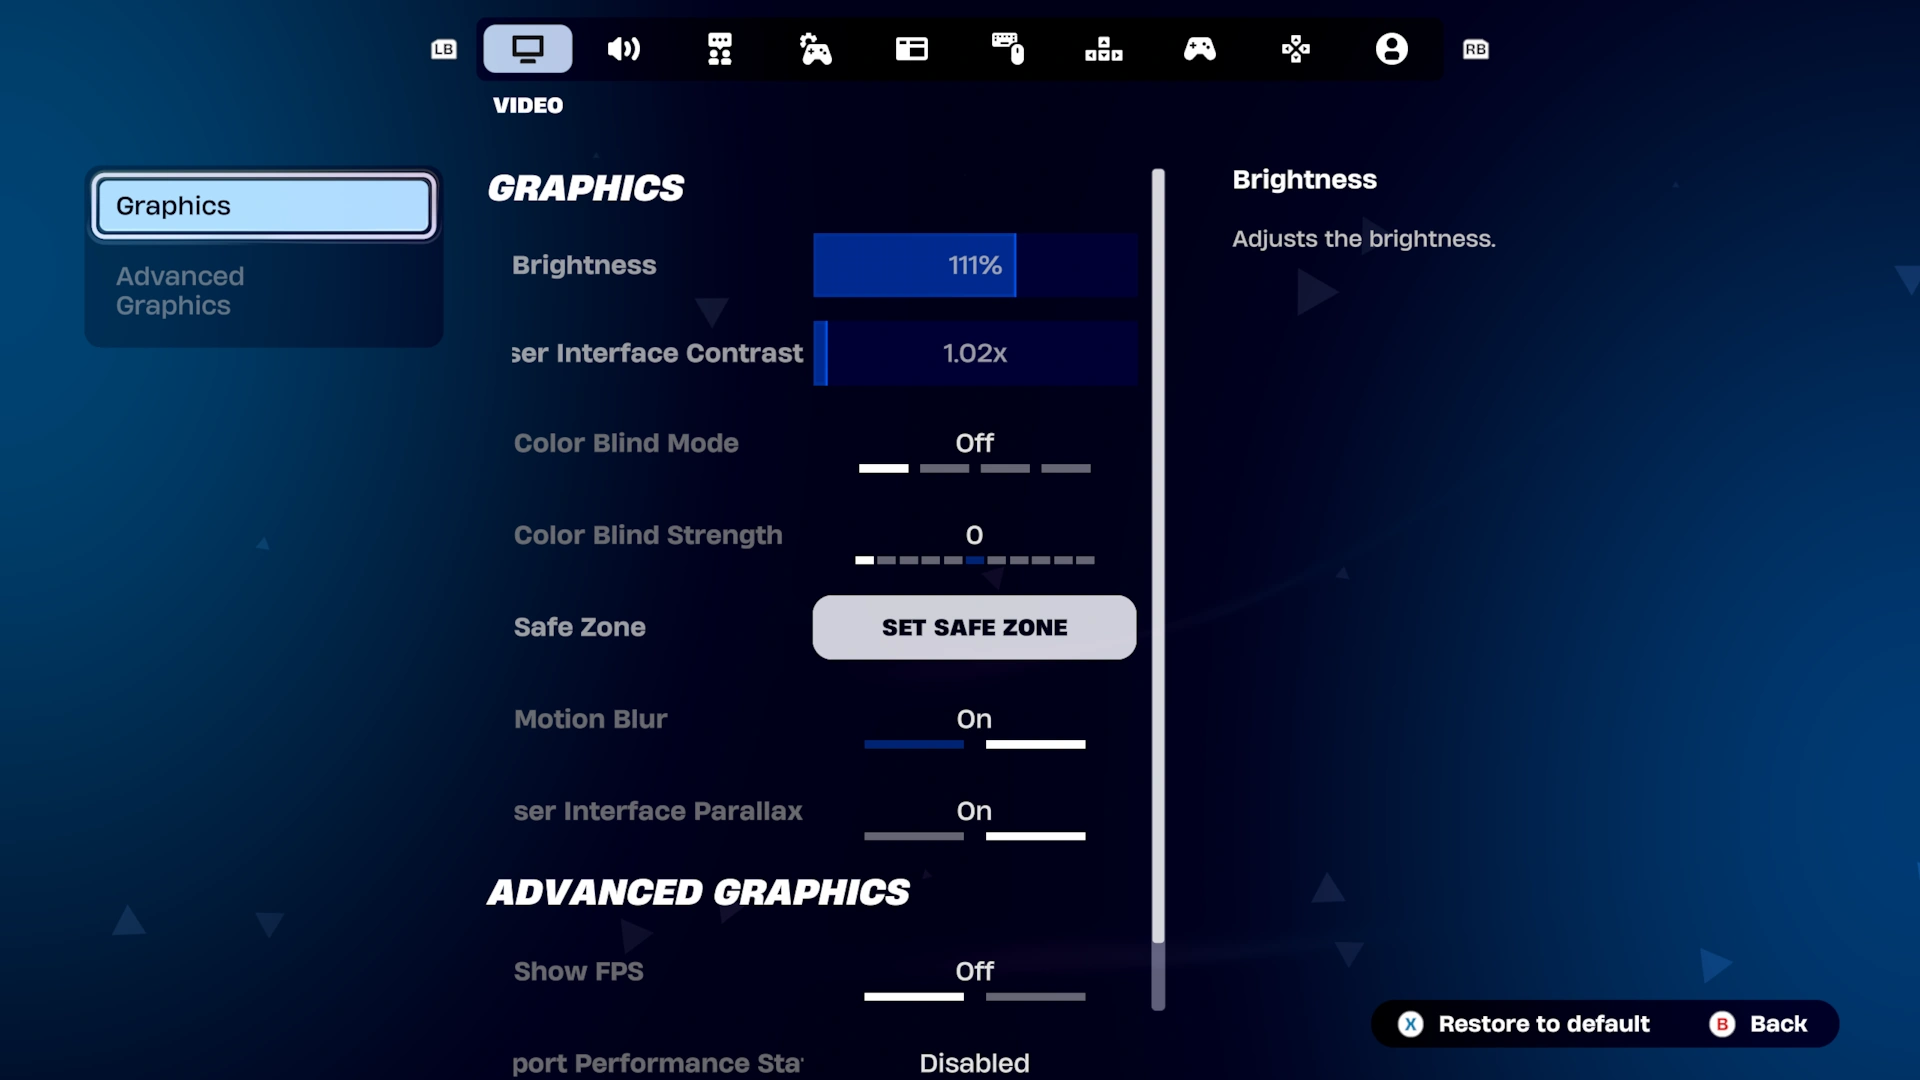
There is no secret sensitivity that turns you into a better player. If someone tells you a pro's exact settings will fix your aim, they're selling you a shortcut that doesn't exist. What good mouse settings actually do is quieter and more important: they make your aim consistent, so the same flick lands the same way every time and your muscle memory has something stable to build on. That's the whole job. Get it right once and stop thinking about it.
Fortnite makes this trickier than most shooters because your mouse isn't just aiming — it's also building and editing at speed, which means the sensitivity that feels great for a 180 spray can feel awful for a clean wall-take. Epic knows this, which is why the settings menu has a stack of separate sliders instead of one. This guide walks through every knob that matters, in the order that matters, and skips the placebo ones.
Why your mouse settings matter
Aim is muscle memory. Your brain learns "this much hand movement equals this much crosshair movement" and repeats it thousands of times until it's automatic. The catch: that learning only sticks if the relationship never changes. Every time you tweak your DPI, swap your in-game sensitivity, or leave a Windows setting on that warps your movement, you reset that muscle memory to zero.
So the real goal isn't finding the best number — it's picking a reasonable number and then leaving it alone long enough to get good with it. The players who chase settings every week never build consistency, because they're always relearning. Pick, commit, grind. That's the actual meta, and it pairs directly with the deliberate reps in our Fortnite aim training guide.
One more thing before the numbers: your aim can only be as consistent as your frame rate. A stable, high FPS keeps mouse-to-screen latency low and even, and stutters throw off flicks in ways no sensitivity change can fix — so square away the performance and FPS settings first, then dial in the mouse.
DPI and in-game sensitivity: the two that matter
Two settings control how far your crosshair travels per inch of mouse movement, and they multiply together:
- DPI (dots per inch) is set on the mouse itself, in its software or via a button. It's how many "counts" the sensor reports per inch you move. Higher DPI = crosshair moves further per inch.
- In-game sensitivity is Fortnite's own multiplier on top of that, set as an X-Axis and Y-Axis percentage in the settings menu.
Here's the part people overthink: there is no magic DPI. 400, 800, and 1600 are all common and all fine. What matters is the product of DPI and in-game sens, not either number alone. A player on 400 DPI with high in-game sens can have the exact same effective aim as a player on 1600 DPI with low in-game sens.
That said, a sane default exists. 800 DPI is the most common starting point among PC players because it's a native step on most sensors and leaves the in-game slider in a comfortable middle range. Set your mouse to 800, then tune the in-game percentage until the feel is right — don't touch DPI again after that. If you want the mouse-agnostic version of this plus the rest of the video options, our best Fortnite settings guide covers the full menu.
eDPI: the only number worth comparing
Because DPI and in-game sensitivity multiply, the honest way to describe "how fast is your aim" is a single combined number: eDPI (effective DPI) = DPI × in-game sensitivity. This is what people actually mean when they compare sens, and it's the only apples-to-apples figure.
Two players with wildly different DPI can share the same eDPI and aim identically. So when you copy a "pro's settings," copy their eDPI, not their raw DPI — then hit that eDPI with whatever DPI your mouse and pad prefer.
For Fortnite specifically, aim tends to run lower than in a pure aim-shooter like a tac-FPS, and there's a reason: you're not just aiming, you're throwing walls and ramps and doing fast 180s to take high ground. Too high and your building gets twitchy and imprecise; too low and you can't turn fast enough to retake. Most players land in a low-to-moderate range that lets them cover a decent swipe of the mousepad for a full 180. If your current sens makes a 180 feel like a wrist flick, it's almost certainly too high — drop it and let your muscle memory recalibrate over a week.
Fortnite's separate sensitivity sliders
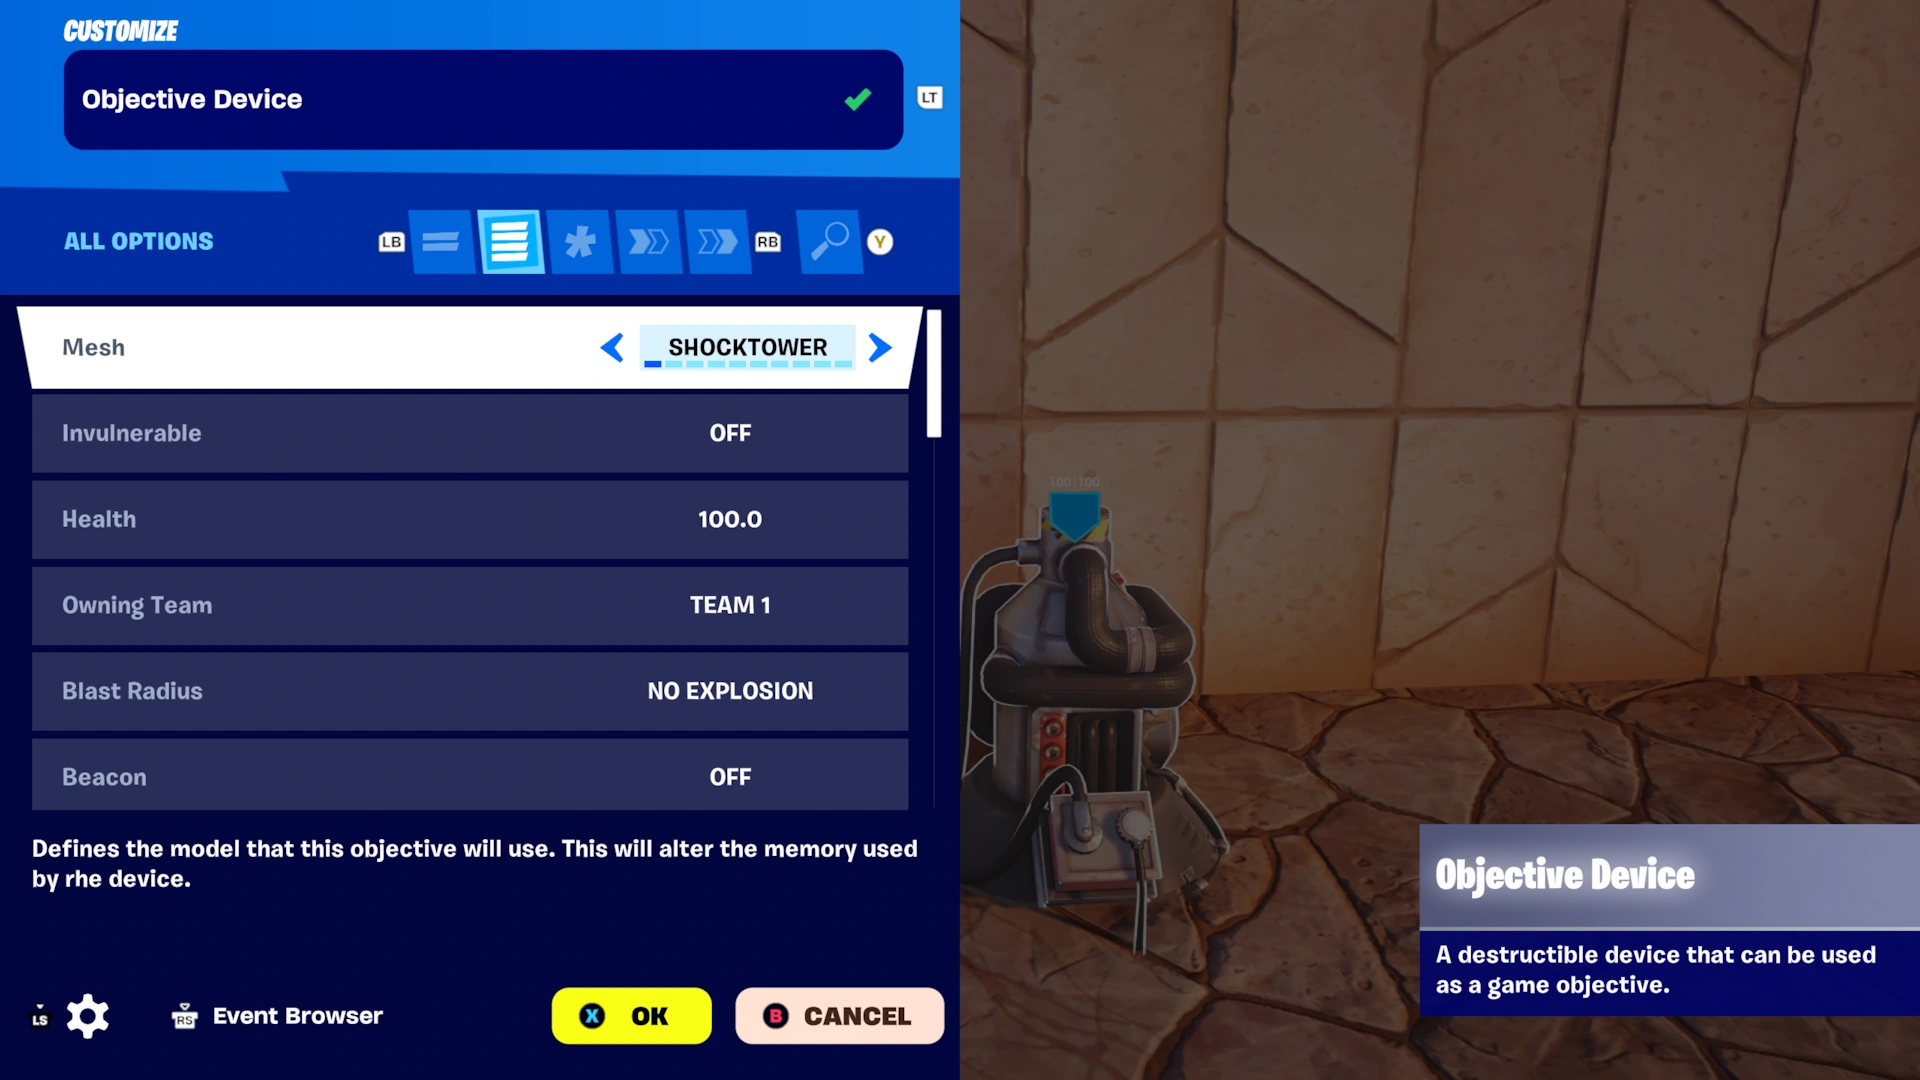
This is where Fortnite differs from most shooters. It doesn't give you one sensitivity — it gives you several, each governing a different context. Getting these balanced is half the battle:
| Setting | What it controls | Rule of thumb |
|---|---|---|
| X/Y-Axis Sensitivity | Your base hip-fire aim and building | Your core number — set this first |
| Targeting Sensitivity | Aim while ADS (aiming down sights) | Usually keep near default so ADS feels proportional |
| Scope Sensitivity | Aim while scoped (snipers) | Lower than base for precise long-range corrections |
| Build Mode Sensitivity Multiplier | Turn speed while placing builds | Raise it if your 90s feel sluggish to spin |
| Edit Mode Sensitivity Multiplier | Cursor speed while editing a piece | Raise it for faster edit selections |
The two multipliers at the bottom are Fortnite's secret weapon and the most-slept-on settings in the menu. Your base sens should be tuned for aiming, because that's the precise, unforgiving part. But building and editing reward a faster turn than clean aiming does — so instead of compromising your aim sens upward, you crank the Build Mode and Edit Mode multipliers to make construction snappier without touching the aim you spent weeks learning.
If your aim feels solid but your 90s feel like you're spinning through mud, don't raise your base sens — raise the Build Mode multiplier. If your edits feel like you're dragging a heavy cursor across the piece, raise the Edit Mode multiplier. Tune those two independently until building feels fast and aiming stays precise. That separation is the single biggest reason to actually read this menu instead of copying one number off a leaderboard.
Windows settings that secretly ruin your aim
You can set a perfect eDPI and still have inconsistent aim because Windows is quietly mangling your mouse input. Fix these once:
- Turn off Enhance Pointer Precision. This is Windows' built-in mouse acceleration — it moves your cursor further when you move the mouse faster, which means the same physical flick produces a different in-game result depending on speed. That is the exact opposite of what aim consistency needs. It lives in Control Panel under Mouse > Pointer Options. Uncheck it and never look back.
- Leave the pointer speed slider at the middle (6th of 11 notches). Any other position makes Windows scale your input, adding or dropping mouse counts. The 6/11 middle setting is the only true 1:1 position.
- Disable any mouse acceleration in your mouse's own software too, if it has an "acceleration" or "angle snapping" toggle. You want raw input, straight through.
Mouse acceleration is the number-one hidden killer of aim consistency, and most players never check for it. A mouse that "feels floaty" or aim that's "good some days, bad others" is very often accel that's still switched on somewhere. Kill it in both Windows and your mouse software.
Polling rate and what actually matters on the hardware
Polling rate is how often your mouse reports its position to the PC, measured in Hz. 1000 Hz (once per millisecond) is the standard and what you want — it's the default on essentially every gaming mouse and keeps input latency minimal and even. Newer mice advertise 4000 Hz or 8000 Hz; the returns are marginal and only matter with a high-refresh monitor and the frames to feed it. Don't lose sleep over it. Set 1000 Hz, move on.
Beyond that, the hardware specs that actually affect your aim are simpler than marketing suggests:
- Sensor quality: any modern flagship sensor is flawless for Fortnite. You do not need the newest one.
- Weight: a lighter mouse is easier to flick and re-aim quickly, which suits Fortnite's constant repositioning. This matters more than DPI ceiling or RGB.
- Cable or wireless: modern wireless is genuinely latency-free; a stiff cable that drags on your desk is worse than a good wireless mouse. If you're wired, use a bungee.
Picking a mouse and mousepad
You do not need an expensive mouse to be good, but two things genuinely help in Fortnite: light weight and a shape your hand actually likes. Because you're constantly re-aiming and throwing builds, a lighter mouse reduces fatigue and lets you reset your aim faster. Grip style matters more than brand — palm, claw, and fingertip grips each suit different shapes, so if a mouse feels wrong in your hand, it's the wrong mouse regardless of the spec sheet.
The mousepad matters more than people expect, and here's why: it determines how much room you have to move. Fortnite's lower sens plus fast 180s means you need real estate. A large (or extended) cloth pad gives you room to make a full turn without lifting and repositioning the mouse mid-flick. If your pad is small and you're constantly running out of space, that's a consistency problem no sensitivity setting fixes — you're introducing a lift every time you turn, and lifts are where aim errors hide.
Arm aim versus wrist aim
Lower sens naturally pushes you toward arm aiming — moving from the shoulder and elbow for big motions, using the wrist only for micro-adjustments. This is the more consistent long-term style for Fortnite because it gives you fine control over large flicks and holds up under pressure better than pure wrist aim, which gets shaky over big turns. If you've committed to a lower eDPI, plant your arm on the desk, aim from the shoulder, and let a big cloth pad give you the space to do it.
How to find your sensitivity
Enough theory. Here's the actual process to land on a sens and stick with it:
- Set DPI to 800 in your mouse software (or 400 if you prefer a native low step).
- Turn off all acceleration — Enhance Pointer Precision off, pointer speed at 6/11, mouse software accel off.
- Set polling to 1000 Hz.
- Pick a starting in-game sensitivity on the low-to-moderate side. Load Creative and check that a comfortable swipe of your pad gives you a clean 180. If a 180 takes more room than your pad allows, raise sens slightly; if it's a tiny wrist flick, lower it.
- Tune Targeting and Scope sens so ADS and scoped aim feel proportional — most players keep Targeting near default and drop Scope a bit for precision.
- Raise the Build and Edit multipliers independently until building and editing feel snappy, without touching your base aim sens.
- Commit for at least a week. Do not tweak daily. Give your muscle memory time to adapt before you judge anything. Log real reps in aim training and a proper warm-up routine before you decide a setting is wrong.
The temptation to fiddle after every bad game is strong. Resist it. Ninety percent of "my sens feels off" is actually a cold-hands or tilt problem, not a settings problem. Warm up, play, and only adjust if a specific issue persists across many sessions — like consistently over-flicking (lower it) or running out of pad on turns (raise it).
Quick Action Checklist
The fastest path from "random settings" to consistent aim:
- Set mouse DPI to 800 (or 400) and leave it permanently
- Understand your real number is eDPI = DPI × in-game sensitivity
- Start on a low-to-moderate in-game sens so a full 180 fits your pad
- Turn Enhance Pointer Precision OFF and pointer speed to 6/11
- Disable acceleration in your mouse software too
- Set polling rate to 1000 Hz
- Keep Targeting near default, drop Scope sens for precision
- Crank Build and Edit multipliers so construction is fast without raising aim sens
- Get a large cloth mousepad and lean toward arm aiming
- Commit for a week before changing anything — consistency beats the "perfect" number
Frequently Asked Questions
What is the best DPI for Fortnite?
What is eDPI in Fortnite?
Why does Fortnite have so many separate sensitivity settings?
Should I turn off mouse acceleration for Fortnite?
Is a higher polling rate better for Fortnite?
Should I use a high or low sensitivity in Fortnite?
Does the mousepad actually matter for Fortnite?
How long should I stick with a sensitivity before changing it?
Keep Reading
Related Guides

Fortnite Blitz Royale Guide: How the 5-Minute Mode Works
Blitz Royale was meant to close on July 15, 2025. Fifteen months later it has its own dev team, a $1,000,000 mobile tournament and a victory emote you can only earn inside it. Here is how a match actually runs: the kit everyone lands with, what Blitz Levels pay out, where the gold loot is, how fast the storm kills, and what Epic has and has not changed this season.

Fortnite Kingdom Hearts Skins: Price, Keyblade and More
Our Chapter 7 Season 4 weapons post named the Kingdom Key and Rebecca's Guns as arrivals Epic had announced but not shipped — 'neither is in the pool yet,' it said, three weeks ago. Update v42.20 shipped both, plus a four-skin Kingdom Hearts bundle tied for the most expensive in the game's history, four new Sprites, and six new Match Overrides. Here's what actually landed, what it costs, and what Epic still hasn't published.
Fortnite OG Season X: The BRUTE and Rift Zones Return
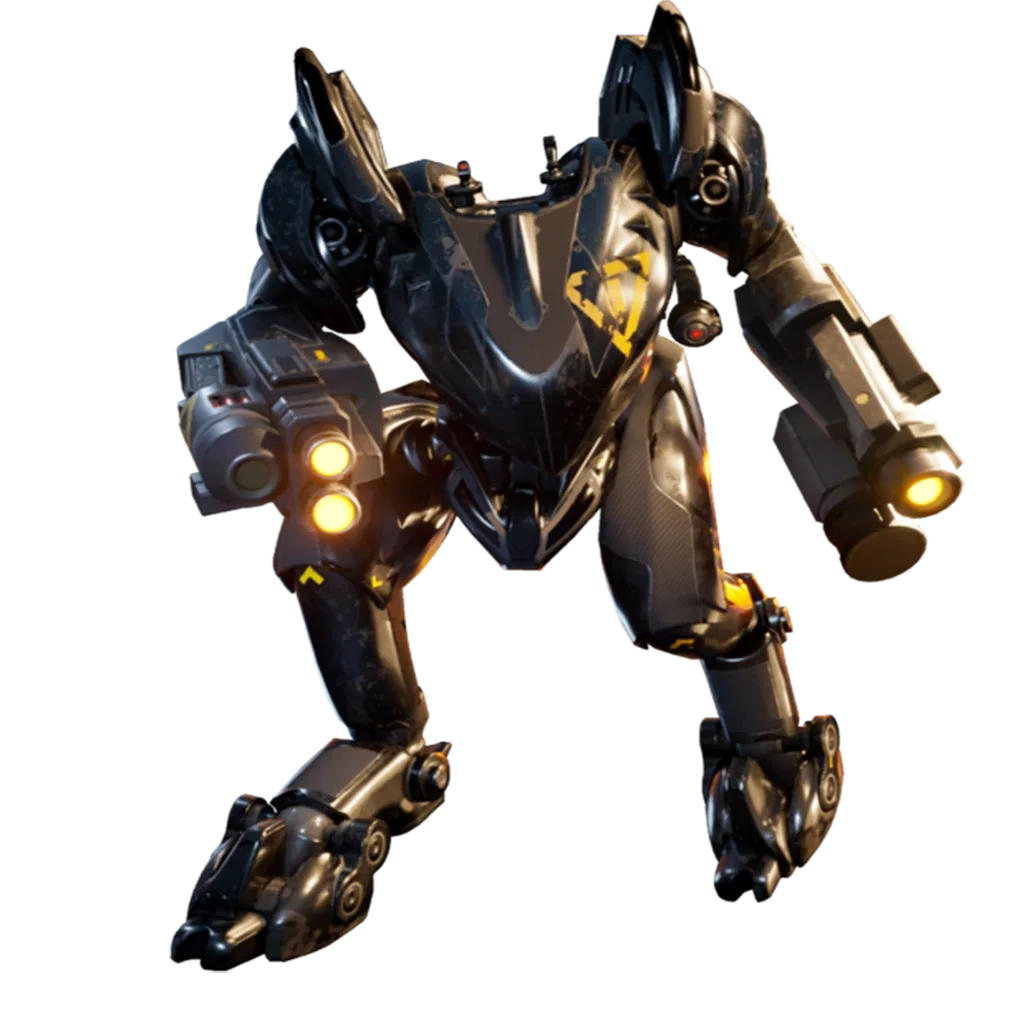
Our OG mode guide explains how the permanent playlist works in general. It doesn't tell you what's live right now, because that changes every season — and on September 3, the tenth one brought back a two-person mech, a fully automatic sniper, and three Rift Zones with rules of their own.

Fortnite Storm Phases: Damage and Timings Per Zone
Our rotation guide tells you the storm "ramps up" and leaves it there. This one gives you the actual clock: how many seconds each of the 12 Battle Royale phases waits and shrinks for, what the safe zone radius drops to, what the damage per second is at each step, and how Reload, Fortnite OG and Blitz differ. Plus the five cells where the Fortnite Wiki table disagrees with the wiki's own change log.
Fortnite Weapon Tier List: How to Rank Any Loot Pool
Any Fortnite tier list is stale the second a patch drops. So instead of memorizing this season's gun names, learn how to rank weapons by class and role — the framework that's S-tier in every season.

Best Fortnite Settings for PC & Console
Half your settings menu is noise; a handful of options decide whether you can see, aim, and build. Here's what to change on PC and console, why, and the one number nobody else can pick for you.