Genshin Lunar Reactions Guide — Moonsign, Triggers, Scaling
Genshin has quietly added five reactions since Version 5.8, and they break the oldest rules in the combat system: they CRIT, they ignore DMG Bonus and enemy DEF, and they refuse to fire at all unless the right character is standing in your party.

The Reaction Chart Grew While You Were Farming
For four years the Genshin reaction chart was a closed book. Seven elements, four mechanical families, and one iron rule: only the stats of the character who triggers the reaction count. Whole guides — including ours — were built on that foundation.
Between Version 5.8 and Version 7.0, which released on 12 August 2026, HoYoverse added five reactions that do not play by them. The three Lunar Reactions — Lunar-Charged, Lunar-Bloom and Lunar-Crystallize — and the two Stellar Glimmer Reactions — Stellar-Conduct and Stellar Swirl — can CRIT and ignore DMG Bonus and enemy DEF entirely, and three of the five read the stats of up to four characters at once.
And here is the part that matters most: none of them fire on element pairs alone. Slam Electro into Hydro all day and you get ordinary Electro-Charged, forever, unless a specific enabler character is in the party. These are not new cells on the element grid. They are conversions of reactions you already know, switched on by specific passives. Knowing who holds the switch is most of the guide.
Five New Reactions, and the Characters That Switch Them On
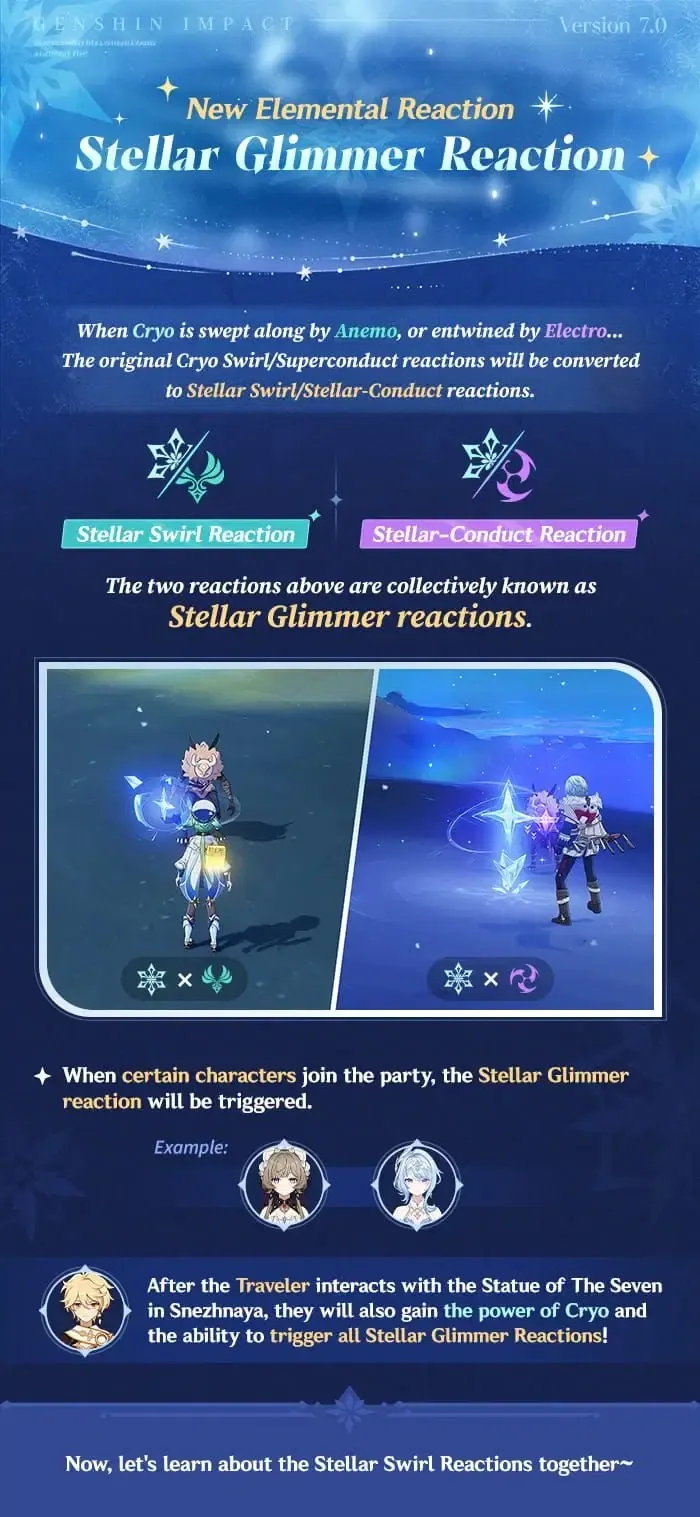
Each new reaction replaces a classic one when an enabler's passive — a Moonsign Benediction passive for Lunar, a Stellar Jubilee passive for Stellar — is present in the party.
| Reaction | Elements | Converts | Enabler characters | Added in |
|---|---|---|---|---|
| Lunar-Charged | Electro + Hydro | Electro-Charged | Ineffa, Flins, Columbina | Version 5.8 |
| Lunar-Bloom | Dendro + Hydro | Bloom | Lauma, Nefer, Columbina | Version Luna I |
| Lunar-Crystallize | Geo + Hydro | Hydro Crystallize | Zibai, Linnea, Columbina | Version Luna IV |
| Stellar-Conduct | Cryo + Electro | Superconduct | Sandrone, Odette, Cryo Traveler | Version Luna VIII |
| Stellar Swirl | Anemo + Cryo | Cryo Swirl | Sandrone, Odette, Cryo Traveler | Version 7.0 |
Two things to read off that table. First, Columbina is the outlier on the Lunar side — her Moonlight, Lent Unto You passive converts all three base reactions at once, where every other Lunar enabler converts exactly one. Second, the Stellar side is more economical: all three Stellar enablers convert both Superconduct and Cryo Swirl, so one of Sandrone, Odette or the Cryo Traveler unlocks the whole Stellar family.
The conversion is total, not optional. With Ineffa in the party, your Electro-Charged is Lunar-Charged — there is no toggle. Each enabler also carries a personal Base DMG bonus for the reaction they enable, scaling off their own signature stat: Ineffa and Flins add up to 14 percent from ATK, Lauma and Nefer up to 14 percent from Elemental Mastery, Zibai and Linnea up to 14 percent from DEF, and Columbina up to 7 percent from Max HP.
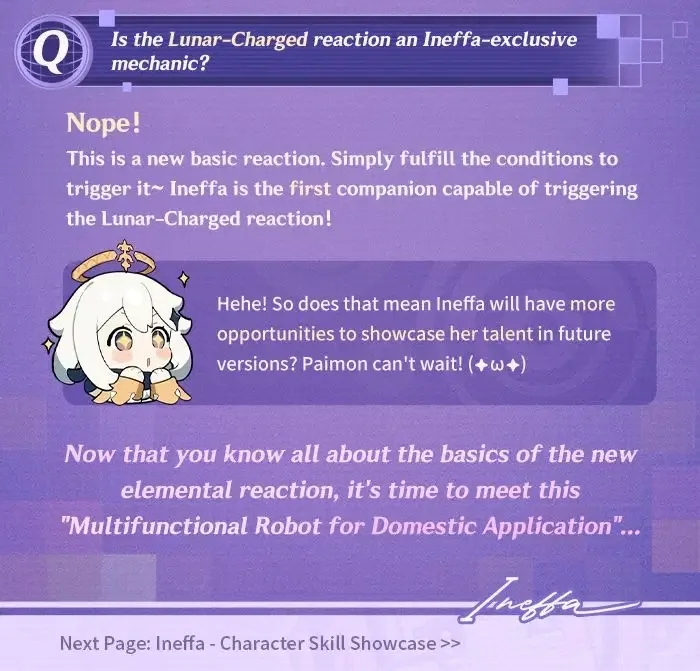
The Rules That Changed — CRIT, Contributors and the 60-30-5-5 Split
Classic transformative reactions — Electro-Charged, Superconduct, Bloom and the rest — cannot CRIT by default, scale off one character's level and Elemental Mastery, and ignore everything else. Their Lunar and Stellar replacements tear that up in three ways.
They CRIT. Lunar and Stellar Glimmer damage uses the contributors' ordinary CRIT Rate and CRIT DMG — the same stats your on-hit damage uses, not a special reaction stat. Whether the combined hit counts as a CRIT (for things like the Favonius weapon passives) is decided by whether the top contributor's roll was a CRIT.
Everyone contributes. For indirect Lunar-Charged, Lunar-Crystallize and Stellar Swirl damage, the game runs a full damage calculation for every character who applied one of the reaction's elements — their level, Elemental Mastery, reaction bonuses and CRIT — then combines the results by rank: the highest individual result counts at 60 percent, the second at 30 percent, and the third and fourth at 5 percent each. Fewer contributors simply drop entries without inflating the rest, which means a lone contributor's reaction lands at 60 percent weight and a second contributor is worth their entire result at 30 percent on top. The old rule — aura character's stats never matter — is dead here. In a Lunar team, your applier's build is part of the reaction's damage.
The scaling knobs moved. The Elemental Mastery bonus for Lunar and Stellar reactions follows 6 × EM / (EM + 2000) — a much flatter curve than the 16-coefficient formula classic transformative reactions use. At 200 EM that is a 54.5 percent bonus; at 1,000 EM it is 200 percent, where a transformative reaction at the same 1,000 EM gets 533 percent. Meanwhile the level multiplier still applies (1,446.85 for a level 90 character), and the damage ignores DMG Bonus goblets and enemy DEF but is still cut by elemental RES. The practical read: EM is still good, but it is no longer the only stat — CRIT and the contributor mechanic mean Lunar teams reward real, rounded builds.
Base reaction coefficients, for the people who run the numbers:
| Reaction | Indirect coefficient | Direct coefficient |
|---|---|---|
| Lunar-Charged | 3 | 3 |
| Lunar-Bloom | — (no indirect DMG) | 1 |
| Lunar-Crystallize | 1.6 | 1.6 |
| Stellar-Conduct | — (no indirect DMG) | 1 to 2, scaling with Polestar Field hits |
| Stellar Swirl | 0.75 initial, 2 at Lv. 1, 3 at Lv. 2 | 1 |
Moonsign Is the Team Bonus Lunar Damage Scales On
Every Lunar enabler raises the party's Moonsign by one level, and the level is a team-wide bonus in its own right — it sits alongside Elemental Resonance on the party screen.
One Moonsign character puts the party at Nascent Gleam. Two puts it at Ascendant Gleam, which does two things: it enhances certain talents and skills of the Moonsign characters themselves, and it turns your non-Moonsign teammates into Lunar damage batteries. For 20 seconds after a non-Moonsign character casts a skill or burst, they boost the Lunar Reaction damage of all nearby characters based on their own element's signature stat, capped at 36 percent:
| Non-Moonsign character's element | Rate | Stat needed for the 36% cap |
|---|---|---|
| Pyro, Electro or Cryo | 0.9% per 100 ATK | 4,000 ATK |
| Hydro | 0.6% per 1,000 Max HP | 60,000 Max HP |
| Geo | 1% per 100 DEF | 3,600 DEF |
| Anemo or Dendro | 2.25% per 100 Elemental Mastery | 1,600 Elemental Mastery |
That table quietly redefines what a "support stat" is in a Lunar team. A Hydro character sitting on a huge HP pool, or an Anemo unit stacked with EM, is contributing Lunar damage just by existing and pressing their skill on cooldown. When you are picking the third and fourth slots of a Lunar-Charged team, this table is the tiebreaker.
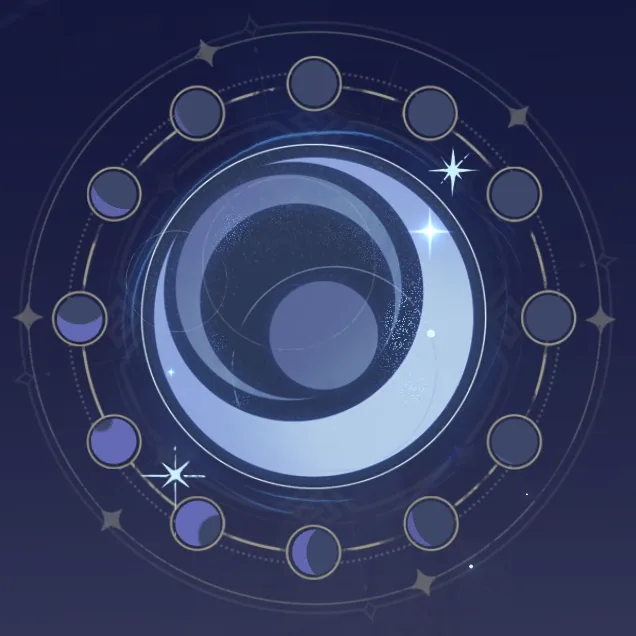
What Each Reaction Actually Does
Lunar-Charged Parks a Thundercloud Over the Fight
Lunar-Charged spawns a thundercloud that positions itself between your party and its targets and deals Electro damage every 2 seconds to opponents affected by both Wet and Electro. Each damage tick consumes 0.4 gauge units of both auras at once. The cloud lasts 6 seconds, refreshes its duration on a new Lunar-Charged trigger, and only one can exist at a time — trigger the reaction outside the cloud's range and a new cloud replaces the old one at the new location.
With a coefficient of 3, plus CRIT scaling and the contributor split, this is the workhorse of the Lunar family. Ineffa and Flins are its dedicated enablers.
Lunar-Bloom Deals Nothing on Its Own
Lunar-Bloom is the odd one out: it deals no damage when triggered. On the current patch, Lunar-Bloom damage comes only from character talents and constellations — Lauma and Nefer are built to convert Bloom and then pump the resulting Lunar-Bloom numbers themselves. The Dendro Cores it creates are identical to ordinary Bloom cores, and the cores' own damage does not count as Lunar-Bloom damage.
Triggering it also banks Verdant Dew, a stackable resource capped at 3 that persists through party changes, teleports, daily resets and even logging out. If you run Lauma or Nefer, the reaction is their engine rather than a standalone payoff.

Lunar-Crystallize Counts to Three
When Geo hits a Hydro aura with Zibai, Linnea or Columbina in the party, Crystallize becomes Lunar-Crystallize and creates three Moondrifts around the target. While Moondrifts are on the field, every third Lunar-Crystallize reaction makes them resonate — Moondrift Harmony — firing a homing projectile that deals Geo damage at a 1.6 coefficient.
Moondrifts count as Geo constructs, and the Geo resonance (Enduring Rock) has been rewritten around them: characters near a Moondrift get the same 15 percent damage boost and 20 percent Geo RES shred that shielded characters get.
Stellar-Conduct Builds a Field That Pays by the Hit
Stellar-Conduct converts Superconduct when Sandrone, Odette or the Cryo Traveler is in the party, and like Lunar-Bloom it deals no damage on its own — its damage comes from those characters' talents, landing as either Cryo or Electro depending on the source.
What it does do is create a Starlight Prism that sustains a Polestar Field for 7 seconds. The Prism counts Cryo and Electro hits that apply their element inside the field, resetting every 4 seconds, and pays out on the count: the reaction's base coefficient jumps from 1 to 1.45 at one recorded hit and climbs by 0.05 per hit to 2 at twelve; the field's Cryo and Electro DMG Bonus starts at 20 percent and climbs to 40; and every enemy inside loses 40 percent Physical RES — the same shred Superconduct gave. It is a reaction that pays you for attacking fast, which is exactly what Cryo-Electro teams already do.
Stellar Swirl Is the One That Chains
Stellar Swirl arrived with Version 7.0 and converts Cryo Swirl — Anemo hitting a Cryo aura, including a Cryo-created Freeze aura. It is the only new reaction that keeps Swirl's signature trick: indirect Stellar Swirl applies its element onward, so it can trigger further reactions down the line, using the initial trigger's stats. Its indirect coefficient starts at 0.75 for the initial reaction and rises to 2 and 3 at its Lv. 1 and Lv. 2 states.
It also has teeth in the new region: Stellar Glimmer reactions disable certain attacks of the Snowland Fae and Aberrant Chimeric Monsters, the enemy groups Version 7.0 shipped. Stygian Onslaught has already started keying boss shields to these reactions — the Savage Tremors iteration's Whisperer of Nightmares took bonus shield damage from Lunar Reaction DMG, covered in our Stygian Onslaught guide.
Building for Lunar and Stellar Damage
The artifact system has caught up with the mechanics, and the new sets are where builds should start.
Three sets serve Lunar teams. Night of the Sky's Unveiling gives 80 EM on two pieces, and its four-piece grants Gleaming Moon: Intent — 15 or 30 percent CRIT Rate depending on whether the party sits at Nascent or Ascendant Gleam. Silken Moon's Serenade runs 20 percent Energy Recharge on two pieces and feeds the whole party 60 or 120 EM from off-field. Aubade of Morningstar and Moon gives 80 EM and boosts Lunar Reaction damage by 20 percent while its wearer is off field, rising by a further 40 percent at Ascendant Gleam. Each distinct Gleaming Moon effect in the party also adds 10 percent Lunar Reaction damage for everyone, which nudges Lunar teams toward spreading the sets across members rather than stacking one. Stellar teams get Heart of the Furnace: 18 percent ATK on two pieces, and a four-piece that adds 12 percent ATK to the wearer and 50 percent Stellar Glimmer reaction damage to the party when they trigger one.
Resonance picked up Lunar clauses too. High Voltage (double Electro) now guarantees its Electro particle on Lunar-Charged and Stellar-Conduct triggers, and Sprawling Greenery (double Dendro) hands out its 30 EM party buff on Lunar-Bloom.
As for stats: the flat 6-coefficient EM curve means you stop short of the 1,000-EM piles that Hyperbloom triggers wear. Contributors want level 90 first — the level multiplier is the biggest single number in the formula — then a working CRIT build, then EM. And because up to four characters contribute at 60/30/5/5, a Lunar team has no true stat-stick passenger; the damage formula is now being run on everybody.
What Still Holds From the Classic Reaction Rules
The classic chart is untouched underneath. Vaporize is still 2x for Hydro-onto-Pyro, Melt still flips it, aura decay and internal cooldown still decide whether anything fires at all, and in a party with no enabler the five new reactions simply do not exist — Electro plus Hydro is the same Electro-Charged it was in 2020. Our elemental reactions guide covers that foundation; note that it predates the Lunar era, so its "four families" framing and its trigger-stats-only rule describe the classic set, not these five.
The mental shift worth making is this: classic reactions are something any team does by accident. Lunar and Stellar reactions are something you build a roster for on purpose — one enabler minimum, two Moonsign characters for Ascendant Gleam, and third and fourth slots chosen off the 36-percent buff table. That is a different team-building question than classic reactions ask.
More Genshin coverage lives on the Genshin Impact coverage hub, and the rest of our game guides are on the Mythras blog.
Quick Action Checklist
- Lunar and Stellar reactions only exist while an enabler is in the party: Ineffa/Flins (Lunar-Charged), Lauma/Nefer (Lunar-Bloom), Zibai/Linnea (Lunar-Crystallize), Columbina (all three), Sandrone/Odette/Cryo Traveler (both Stellar reactions).
- They can CRIT with ordinary CRIT stats, ignore DMG Bonus and enemy DEF, and are reduced by elemental RES.
- Indirect Lunar-Charged, Lunar-Crystallize and Stellar Swirl damage combines every contributor's individually calculated result at 60/30/5/5 by rank — appliers' builds now matter.
- The EM bonus is 6 × EM / (EM + 2000): 54.5 percent at 200 EM, 200 percent at 1,000 EM. Flatter than classic transformative scaling, so build CRIT alongside EM.
- One Moonsign character = Nascent Gleam; two = Ascendant Gleam, which buffs Moonsign characters and lets non-Moonsign teammates add up to 36 percent Lunar damage off ATK, HP, DEF or EM.
- Lunar-Bloom and Stellar-Conduct deal no damage on their own — their numbers come from enabler talents, so do not run them without Lauma, Nefer or a Stellar enabler built for it.
- Lunar-Crystallize fires a homing Geo projectile every third trigger while Moondrifts stand; Moondrifts are Geo constructs and feed the reworked Enduring Rock resonance.
- Stellar-Conduct keeps Superconduct's 40 percent Physical RES shred inside its Polestar Field, and its coefficient climbs from 1.45 to 2 as the field records up to 12 Cryo/Electro hits.
- Artifact sets: Night of the Sky's Unveiling, Silken Moon's Serenade and Aubade of Morningstar and Moon for Lunar; Heart of the Furnace for Stellar.
Frequently Asked Questions
What are the Lunar reactions in Genshin Impact?
Can Lunar reactions CRIT in Genshin?
What is Moonsign and what does Ascendant Gleam do?
Which characters enable Lunar-Charged?
How does Elemental Mastery scale Lunar reaction damage?
What is Stellar Swirl in Genshin?
Keep Reading
- Genshin Impact Wiki — Lunar Reactions: enabler requirement, CRIT rule and the seven Moonsign Benediction enabling passives
- Genshin Impact Wiki — Stellar Glimmer Reactions: enabler requirement, Stellar Jubilee passives and Snowland Fae interaction
- Genshin Impact Wiki — Lunar and Stellar Glimmer reaction damage formulas, base coefficients, EM bonus and the 60/30/5/5 contributor split
- Genshin Impact Wiki — Moonsign levels, Ascendant Gleam buff rates and thresholds, and updated Elemental Resonance effects
- Genshin Impact Wiki — Lunar-Charged thundercloud behaviour, tick rate and aura consumption
- Genshin Impact Wiki — Lunar-Bloom damage sources and Verdant Dew
- Genshin Impact Wiki — Lunar-Crystallize Moondrifts and Moondrift Harmony
- Genshin Impact Wiki — Stellar-Conduct Polestar Field hit scaling, DMG bonus and Physical RES shred
- Genshin Impact Wiki — full reaction table including the Lunar and Stellar Glimmer families
- Genshin Impact Wiki — reaction level multiplier tables
- Genshin Impact Wiki — Version 7.0 "Everwinter Without Mercy" release date
- HoYoverse (HoYoLAB) — official announcement of the Stellar Swirl reaction for Version 7.0
Related Guides
Genshin Damage Formula Guide — Which Multiplier Your Build Is Missing
A level 90 character hitting a level 90 enemy loses exactly half its damage before resistance, before crits, before anything you can see. That 0.5 is not difficulty tuning — it falls straight out of one line of arithmetic, and it is the reason your next upgrade probably is not another CRIT DMG roll.

Genshin Energy Recharge Guide — How Much ER You Actually Need
Xingqiu drops exactly five Hydro particles per skill cast. Standing on him when they land is worth 15 Energy. Swapping away first is worth 9. Same cooldown, same rotation, six Energy gone — and that is before you touch the Energy Recharge stat at all.

Genshin Elemental Reactions Guide — Every Multiplier Explained
Most players know Hydro plus Pyro equals Vaporize. Far fewer know that swapping which element lands first is the difference between a 2x multiplier and a 1.5x one — the same rotation, a third of the damage gone.
Genshin Flins Build Guide — Talents, Weapon, Artifacts
Flins does not poke a shield and walk away. His whole kit is a two-stage transformation that turns his own Elemental Skill and Burst into direct Lunar-Charged hits, which means the stat priorities and artifact math for a normal Electro DPS do not apply to him. Here is what actually moves his damage, talent by talent.
Genshin Artifact Guide — Stats, Rolls and Resin Math
A five-star artifact can roll the exact same substat four times and give you anywhere from 10.88 percent to 15.54 percent CRIT DMG. Understanding that spread is the difference between a functional account and a museum of half-built characters.
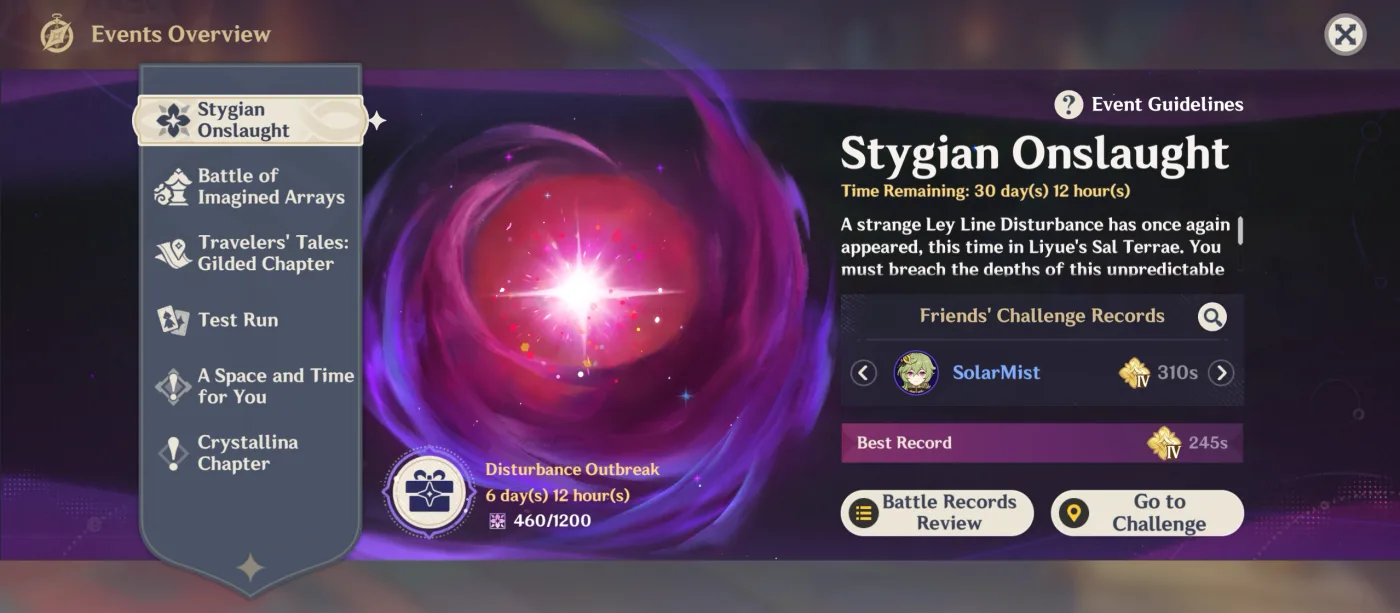
Genshin Stygian Onslaught Guide — The Primogems Stop at Difficulty Three
Genshin has three permanent endgames. The third one hands you its entire Primogem payout at difficulty three of six, then spends the top half of the ladder paying you in artifact currency and weapon skins instead. The reward table is the whole strategy.