Best Minecraft Shaders to Install Right Now
The right shader pack turns Minecraft's flat lighting into rolling shadows, real water, and sunsets that actually look like sunsets. Here are the packs worth installing, ranked by how good they look against how hard they hit your frame rate, plus the install path that does not involve OptiFine.
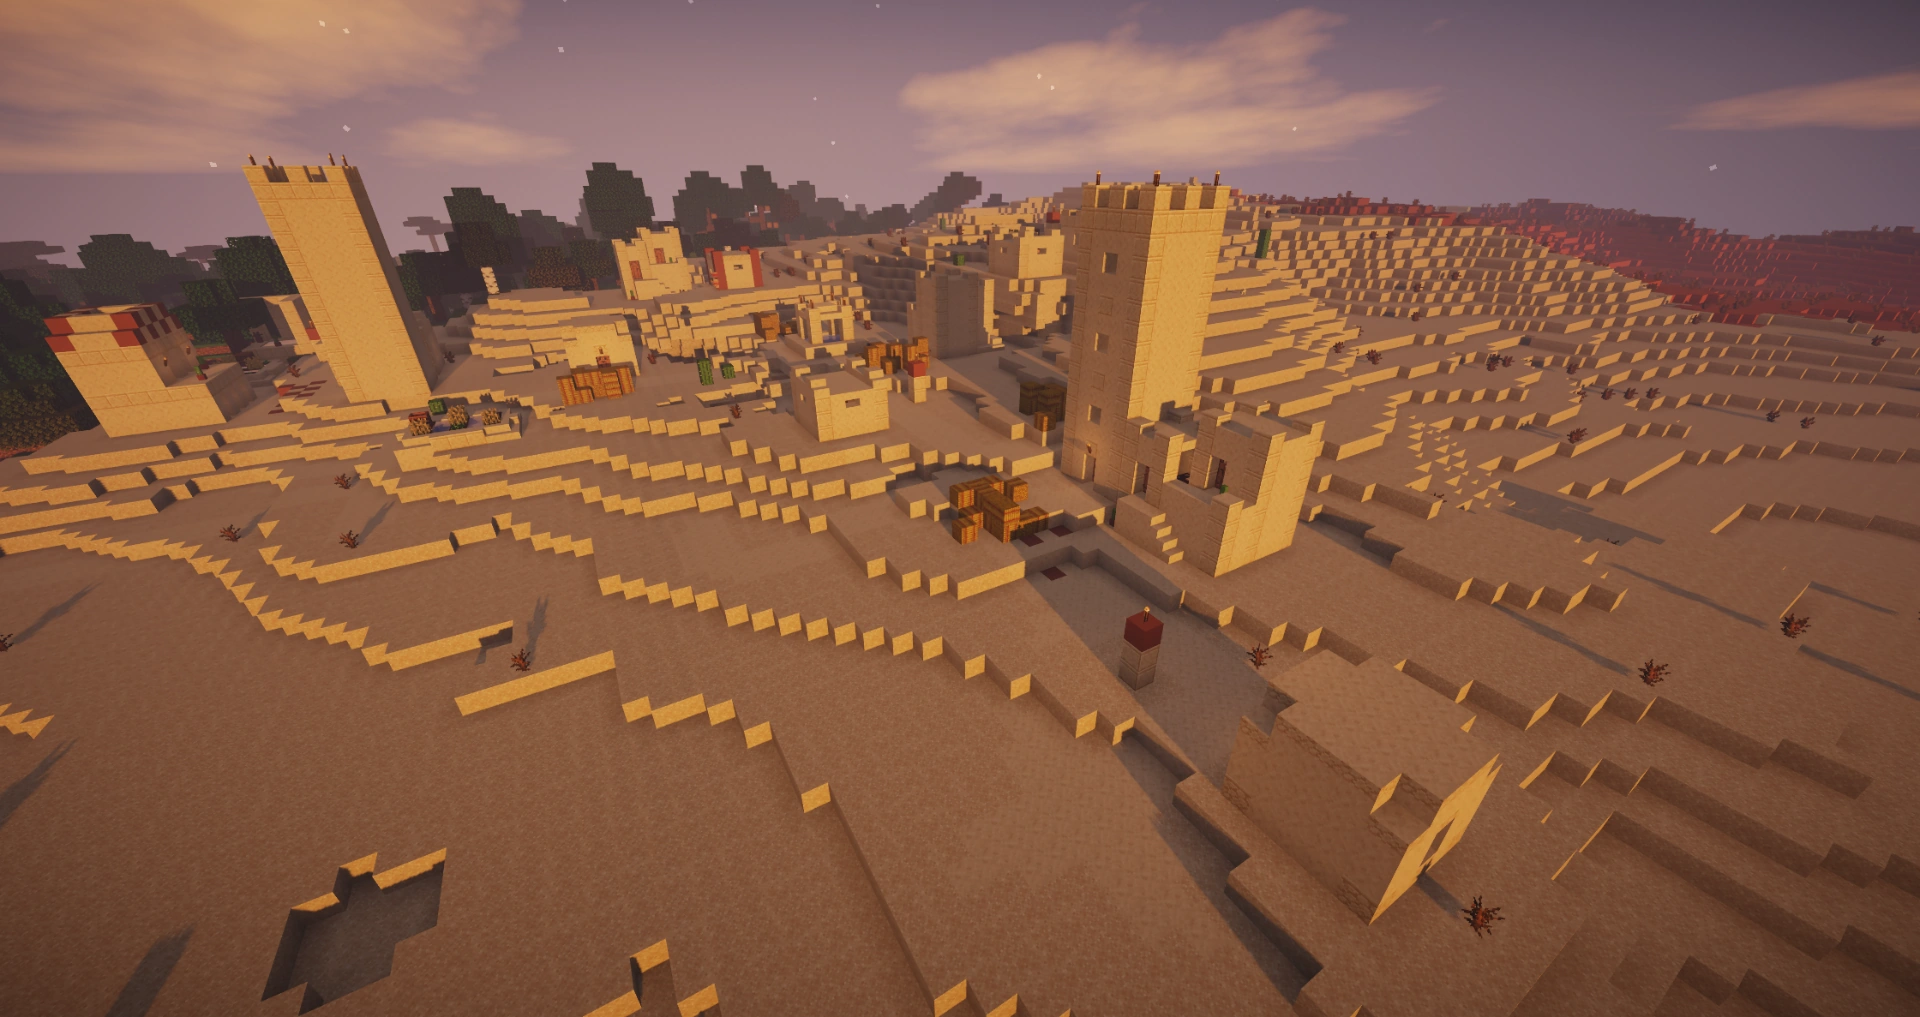
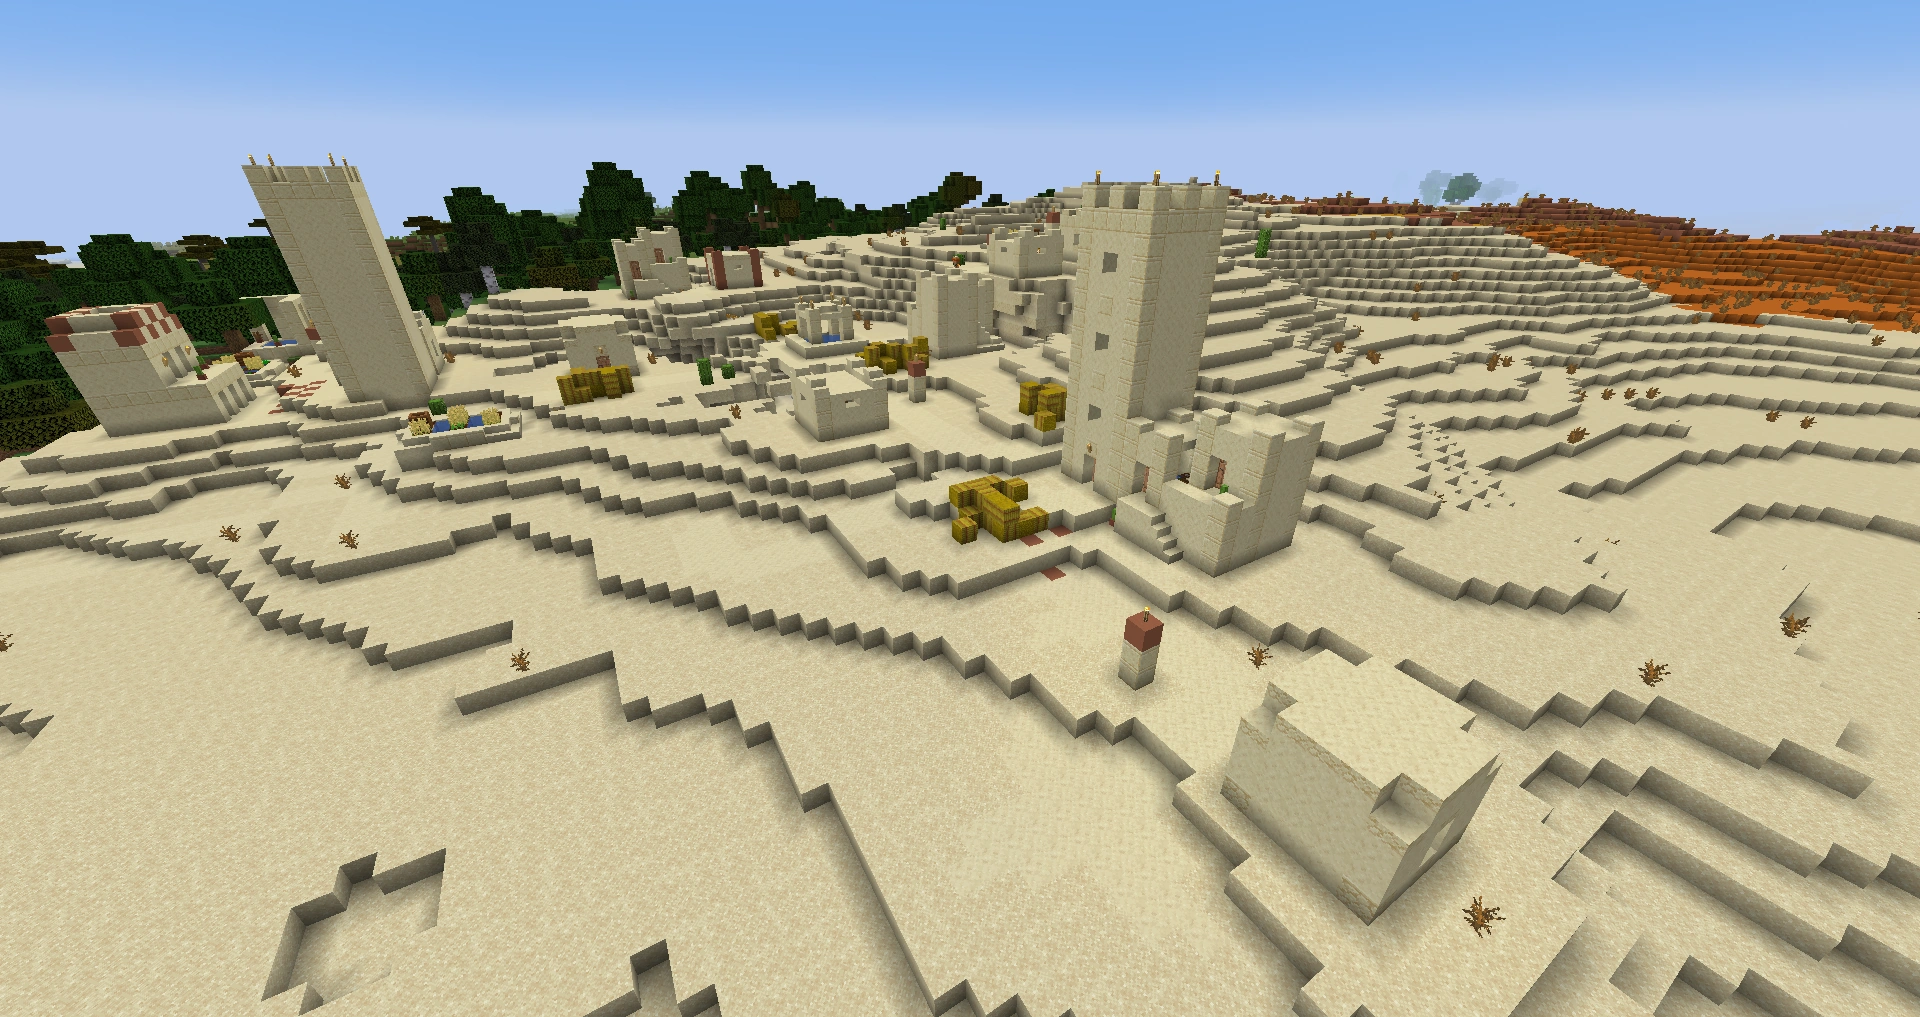
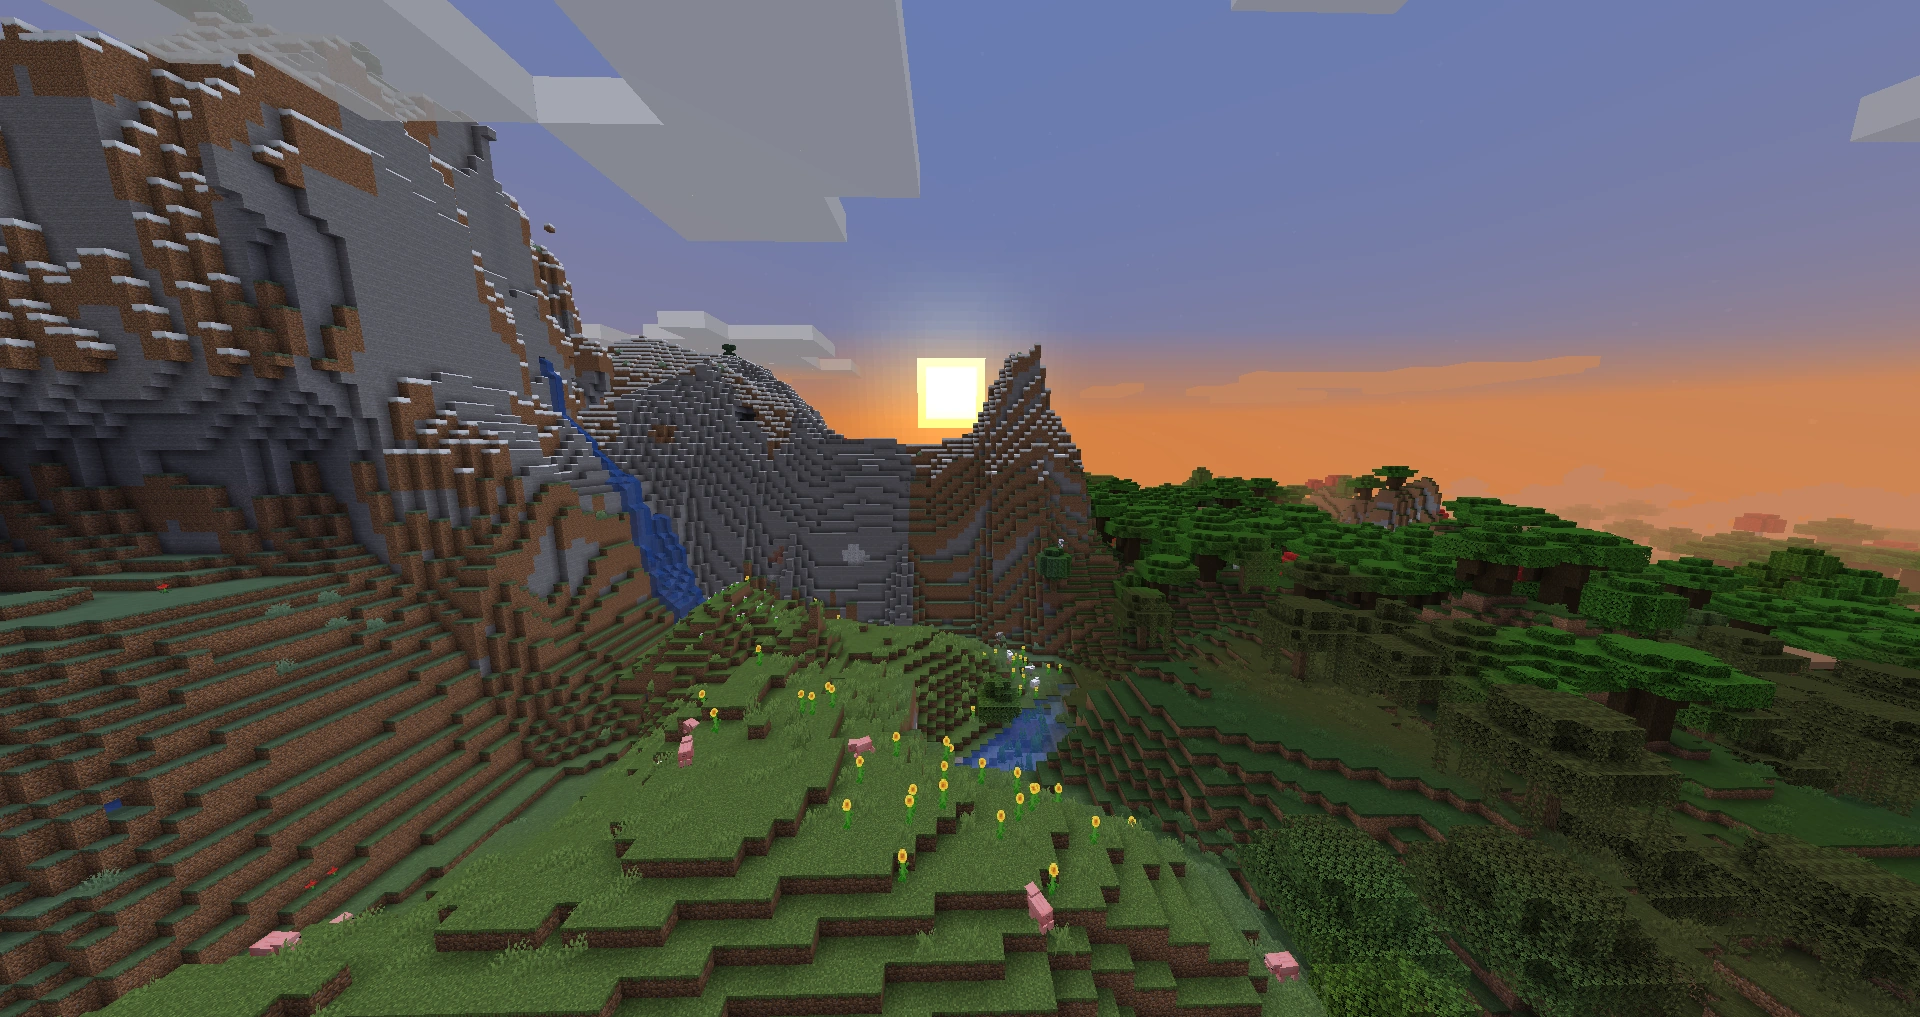
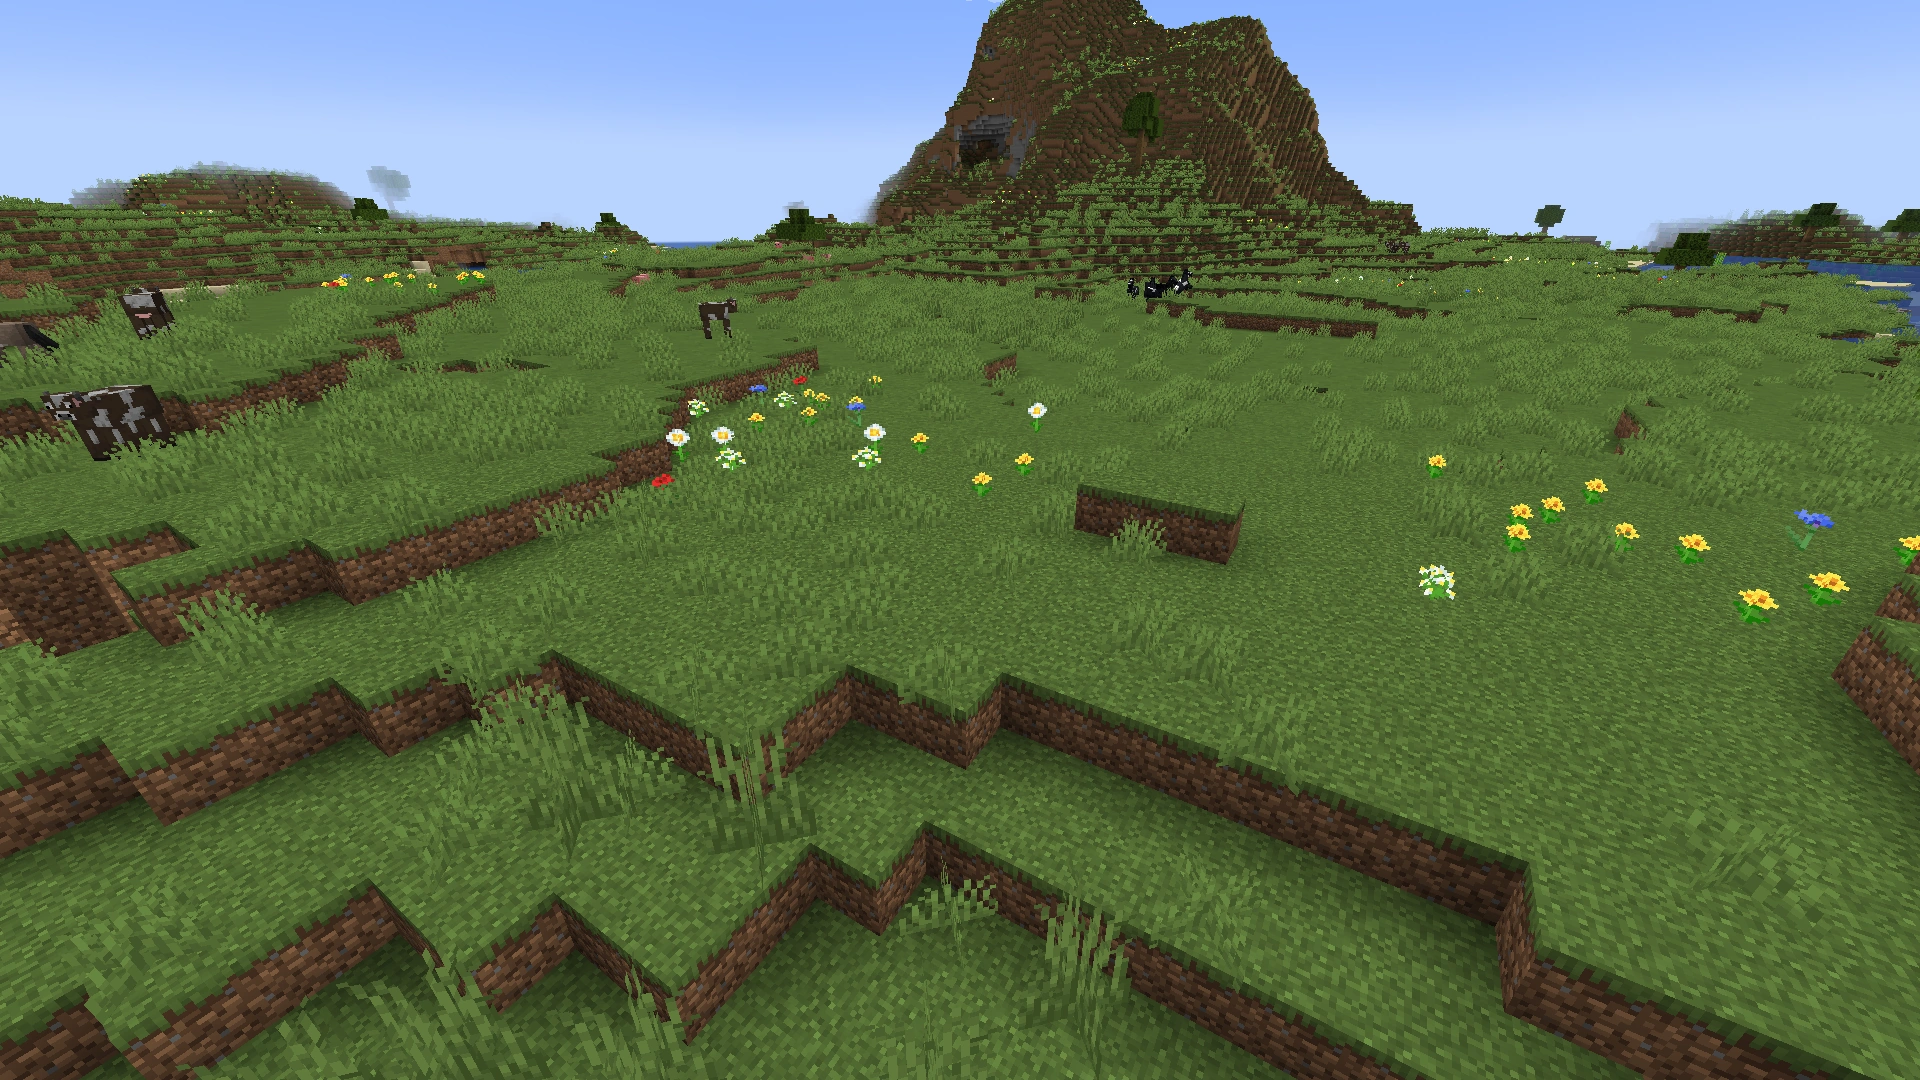
Vanilla Minecraft lighting is a lie. Blocks are either lit or they are not, water is a flat blue pane, and the sun is a sticker that slides across the sky without casting a single real shadow. Then you drop in a shader pack and the same world suddenly has god rays cutting through the trees, water that reflects the clouds, and shadows that stretch and shorten as the day moves. It is the single biggest visual upgrade you can make to the game, and unlike a texture pack, it changes how the world behaves in light, not just what the blocks look like.
The catch is that shaders are expensive. A heavy pack can cut your frame rate in half or worse, and the shader scene is full of packs that look identical in screenshots but perform wildly differently in motion. So this is a ranking by the only metric that matters: how good it looks weighed against how hard it hits your FPS. We are Java-focused throughout, because real shader packs are a Java feature — Bedrock's RTX is a completely separate system, and we cover that at the bottom.
What a shader pack actually does
A shader pack is a set of programs that rewrite how Minecraft draws each frame. Instead of the game's flat block lighting, the shader recalculates lighting, shadows, water, and atmosphere per pixel. The features you are paying for in frame rate:
- Dynamic shadows — the sun and moon cast real, moving shadows that change angle and length through the day.
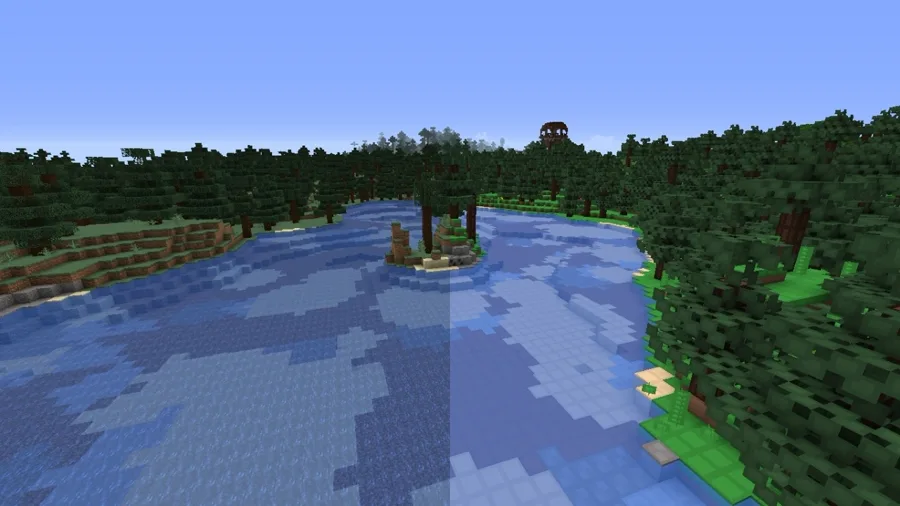
- Realistic water — reflections, refraction, and waves instead of a flat translucent texture.
- Volumetric lighting — visible "god rays" of light through gaps in trees, clouds, and cave openings.
- Better sky and clouds — colored sunrises and sunsets, volumetric clouds, and proper night skies.
- Ambient occlusion and bloom — soft contact shadows in corners and a glow around bright light sources.
None of this changes gameplay. Mobs do not get smarter, blocks do not gain new properties. It is purely a visual layer — which is exactly why it is worth being picky about the performance cost.
Iris or OptiFine: pick your loader first
Before any shader pack, you need something that can load it. For years that meant OptiFine, the all-in-one optimization-and-shader mod. In 2026 the better answer for most people is Iris.
- Iris — a modern shader loader built on the Fabric loader. It runs on top of (and bundles) Sodium, the rendering rewrite that roughly doubles vanilla FPS, so you get a performance boost and shader support from the same install. It updates to new Minecraft versions fast and runs most popular shader packs better than OptiFine does.
- OptiFine — the old standard. It still works and still loads shaders, but it has fallen behind: slower to update, lower base FPS than the Sodium-plus-Iris stack, and it does not play nicely with the modern Fabric mod ecosystem. The one thing it has going for it is that a handful of older shader packs were written specifically against OptiFine's quirks.
The practical rule: install Iris. You get faster base performance from Sodium underneath, and nearly every shader pack worth running supports it. Only reach for OptiFine if a specific pack you want explicitly requires it. Iris and OptiFine cannot both be active at once — you pick one per profile.
The best Minecraft shaders, ranked
Ranked by visual payoff against performance cost. Every one of these runs on Iris.
| Rank | Shader pack | Looks | Performance | Best for |
|---|---|---|---|---|
| 1 | Complementary (Reimagined / Unbound) | Excellent | Great for what it does | The default everyone should try first |
| 2 | BSL Shaders | Excellent | Mid-weight | Stylized, vibrant, highly configurable |
| 3 | Sildur's Vibrant | Very good | Scales from light to heavy | One pack, many tiers |
| 4 | SEUS (PTGI / HRR) | Stunning | Heavy | Screenshots and strong GPUs |
| 5 | Photon | Excellent | Mid-weight | Natural, realistic lighting |
1. Complementary Shaders is the pack to install first, full stop. It comes in two flavors — Reimagined (a slightly stylized, punchy look) and Unbound (more neutral and realistic) — and both are gorgeous, deeply configurable, and tuned to run well relative to how good they look. It is the most popular shader for a reason: it is the best balance of looks and frame rate, and the in-game settings menu lets you tune almost everything. If you only ever try one shader, make it this.
2. BSL Shaders is the stylish all-rounder. Vibrant colors, beautiful water, and a clean look that photographs incredibly well. It is a touch heavier than Complementary on most setups but lighter than SEUS, and it has been a top-three pack for years because the defaults just look great out of the box.
3. Sildur's Vibrant Shaders is really a family of presets — Lite, Medium, High, and Extreme — so it is the pack that scales across the widest range of hardware. Run Lite on a weak machine and Extreme on a strong one, all from the same download. The look is warm and saturated. It is the friendliest pack for "I'm not sure what my PC can handle."
4. SEUS (Sonic Ether's Unbelievable Shaders) is the screenshot king. The PTGI and HRR builds chase path-traced-style lighting and produce some of the most photorealistic Minecraft you will ever see. The price is steep: SEUS is heavy and the cutting-edge ray-tracing builds want a strong GPU. Run it when you want to take screenshots, not necessarily for daily play on a mid-range rig.
5. Photon is the newer realism pick — natural, physically-grounded lighting without BSL's saturation. It sits in the mid-weight tier alongside BSL and is worth a look if you want "realistic" over "vibrant."
Honorable mentions worth knowing: Rethinking Voxels (Complementary-based with voxel-traced lighting, heavier), Nostalgia Shaders (a clean, lighter look), and MakeUp Ultra Fast for the low end (more on that next).
Best shaders for a low-end PC
If your machine struggles with vanilla, you can still run shaders — you just pick the lightweight ones and the lightweight presets.
- Complementary Unbound on a lowered profile — Complementary's settings let you turn off the expensive features (high shadow resolution, volumetric fog) while keeping the core look.
- Sildur's Vibrant — Lite — purpose-built to be the light tier of a flexible pack.
- MakeUp Ultra Fast — designed from the ground up for weak hardware; you still get shadows and decent water at a fraction of the cost.
- Builder's QOL / Potato-tier packs — minimalist shaders that add basic shadows and waving foliage for almost no frame-rate hit.
The biggest free win on any machine is the Sodium-plus-Iris base itself — you are starting from a higher FPS floor than OptiFine would give you, which leaves more headroom for the shader to spend. Lower your render distance to 8-12 chunks before blaming the shader; render distance is usually the bigger frame-rate lever than the pack you chose.
How to install shaders with Iris
The whole process is about ten minutes if you have never done it.
- Install the Fabric loader for your Minecraft version. The easiest path is a launcher that handles it — Prism Launcher (free, open source) or the official launcher both support Fabric profiles.
- Install Iris. Download Iris from its official site or Modrinth, matched to your exact Minecraft version. Iris bundles Sodium, so you do not install Sodium separately. Drop the jar in your
modsfolder (or add it through your launcher). - Download a shader pack. Get packs from a legitimate host — Modrinth and CurseForge are the trusted ones, plus each pack's official page. Avoid random "free shaders" sites; that is how you get malware. The shader file is a
.zip— do not unzip it. - Drop the pack in the shaderpacks folder. Launch the game once on the Iris profile, then go to Options → Video Settings → Shader Packs. There is a button to open the shaderpacks folder; move the
.zipthere. - Select and apply. Back in the Shader Packs menu, click your pack and apply. Give it a few seconds to compile the first time. Done.
The single rule that prevents most headaches: match the shader and Iris to your exact Minecraft version. A pack built for an older version may render with broken water or just refuse to load.
Dialing in performance
A shader that runs badly is almost always fixable without dropping the pack:
- Render distance is the big one. Every chunk the shader has to light and shadow costs frames. Dropping from 16 to 10 chunks can claw back a huge amount of FPS with minimal visual loss.
- Shadow distance and resolution live in the shader's own settings menu. Halving shadow resolution is often invisible in motion and cheap on the GPU.
- Turn off the expensive extras you do not care about — volumetric fog, reflections on every surface, motion blur. Most packs expose these as toggles.
- Cap your frame rate to your monitor's refresh rate so the GPU is not burning effort on frames you cannot see.
- Use the pack's built-in profiles if it has them (Sildur's Lite/Medium/High, Complementary's quality presets). They are tuned trade-offs, not guesses.
What about Bedrock and RTX
Here is the honest answer: the shader packs above are Java only. Bedrock Edition — consoles, mobile, the Windows store version — does not load Java shader packs at all. Bedrock has its own systems:
- RTX (ray tracing) is Bedrock's built-in path-traced lighting, available on supported hardware with PBR-enabled resource packs. It is genuinely impressive but completely separate from the Iris/OptiFine world — different tech, different content, and it requires an RTX-capable GPU and specially-authored texture packs.
- Bedrock "shaders" on the Marketplace are mostly resource-pack tweaks within Bedrock's limits, not the deep per-pixel shaders Java runs. Quality varies and many are paid.
If shaders are a big reason you play Minecraft, play Java. That is where Complementary, BSL, SEUS, and the whole ecosystem live, and it is not close.
Quick Action Checklist
The fastest path to a great-looking, smooth-running game:
- Install the Fabric loader (Prism Launcher makes this painless)
- Install Iris — it bundles Sodium, so you get a free FPS boost too
- Skip OptiFine unless a specific pack requires it
- Start with Complementary (Reimagined or Unbound) — best looks-to-FPS balance
- On weak hardware, run Sildur's Lite or MakeUp Ultra Fast
- Get packs only from Modrinth, CurseForge, or the official pack page
- Match the shader and Iris to your exact Minecraft version
- If FPS tanks, drop render distance to 8-12 chunks before blaming the pack
- Bedrock can't run these — use RTX, or play Java for real shaders
Frequently Asked Questions
Keep Reading
Related Guides
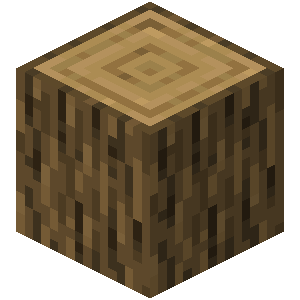
Best Minecraft Texture Packs to Try
A texture pack swaps what every block looks like without touching how the game plays — and the right one fixes vanilla's blurriest, ugliest textures or doubles the resolution. Here are the packs worth installing, what each one actually changes, and the install path for both Java and Bedrock.
Best Minecraft Mods to Install Right Now
You do not need fifty mods. You need the right eight. Here are the Minecraft mods that actually change how the game feels — performance, quality of life, and big content — with the loader notes nobody tells you up front.

Minecraft Woodland Mansion Guide: Loot, Vindicators & the Totem
A woodland mansion is the only structure where you can punch an evoker to death and walk out with a Totem of Undying — the item that revives you the next time something one-shots you. It's also a maze full of axe-wielding vindicators and hidden rooms with diamonds behind fake walls. Here's how to find one, clear it without dying, and grab everything worth grabbing.
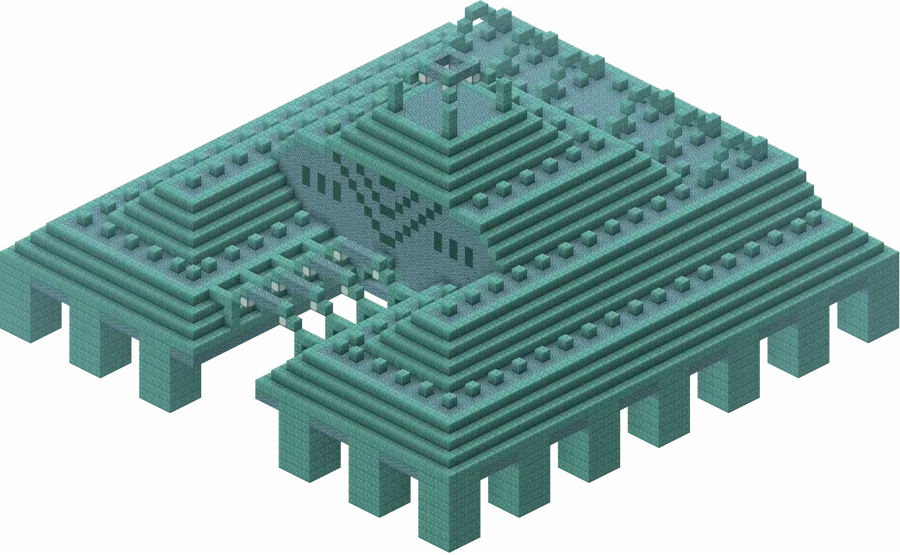
Minecraft Ocean Monument Guide: Guardians, Loot & Conduits
An ocean monument is the only place in Minecraft you'll find sponges, three elder guardians that hit you with Mining Fatigue III before you even see them, and the prismarine you need to build a conduit. Here is how to find one, beat it, and walk out with the loot.
Minecraft Survival Guide for Beginners — Surviving Your First Days
You have about ten minutes of daylight before the sun sets and the world tries to kill you. Here is exactly what to do with them — punch a tree, build a tool chain, and get a roof over your head before the zombies arrive.
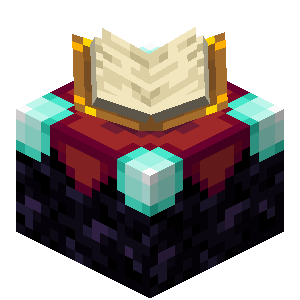
Best Minecraft Enchantments, Ranked — The Ones Worth Your XP
Mending is the enchantment that ends the grind — gear that repairs itself forever. Everything else is a fight over your XP and anvil uses. Here is what actually earns a slot, ranked, with the real max levels.